
Learn how to make moist cakes every single time you bake them so that your friends and family will always be impressed! Whether you are a beginner or a professional baker, these tips and tricks will certainly elevate your cakes to the next level! Get ready to enjoy some delightfully moist, tender, and delicious cakes!
How To Make Moist Cake Every Time
Nothing is more disappointing than going through all of the time and effort to bake a cake just to find it dry and tough. With these simple bits of advice, you'll know exactly how to keep your cakes perfectly moist!
Jump to:
🎂 How To Bake A Moist Cake
Before I get into all of these awesome tips and tricks for making moist cakes, remember to always consult your recipe first! Take into account what ingredients are required and if it specifically mentions to avoid any certain substitutions.
🥛 Use The Right Ingredients
Ingredients are the base of any great cake, so make sure you use them correctly!
Choose A Fresh Leavening Agent
Unless you bake all the time, you may forget to check the expiration date on your baking powder and baking soda. They do last a good amount of time, but the expiration can easily sneak up on you (and sometimes they lose their freshness before the expiration date!)
When your baking powder or baking soda are no longer fresh, they won't be able to do their job and you'll end up with a flat cake that didn't rise.
Take a look at my page that compares baking soda vs baking powder to learn the difference (as well as how to check them for freshness!)
Use Full-Fat Dairy Products
Most cake recipes are the best (more flavorful and moist) when you use the full-fat options of your required dairy products. If you are using milk, make sure it is whole milk rather than skim, and choose full-fat cream cheese, too.
I also recommend using actual buttermilk (if called for) rather than the homemade buttermilk that is created by combining milk and vinegar.
Use The Right Variety Of Flour
Again, it is also important to read the recipe you are following. However, cake flour has a lower amount of protein than typical all-purpose flour which leads to less gluten development and creates a softer, fluffier consistency.
You can choose to use recipes that already call for cake flour, or experiment with swapping all-purpose flour out for cake flour. However, if you are exchanging them, you may want to add an extra 2 tablespoons of cake flour.
Use Room Temperature Ingredients
Cold ingredients straight from the fridge (think milk, eggs, or butter) don't mix together particularly well. When you set aside some extra time to let your ingredients come up to room temperature, they'll mix better and you won't have to risk overmixing your batter.
Additionally, you won't have any cold spots in your cake batter, which could cause it to bake unevenly.
📑 Stick To The Recipe
If you want to double or triple your cake recipe to make more cake, I recommend actually mixing up the batter twice rather than doubling all the ingredients.
When doubling ingredients, you're giving yourself room to accidentally make measuring mistakes which will affect the outcome of your cake. Additionally, your leavening agents (baking powder or baking soda) don't necessarily need to be doubled or tripled at the same rate as other ingredients, which could make your cakes overrise or not rise enough (making them dense and dry).
🥣 Measure & Bake Properly
In addition to using the best ingredients, it's important that you use the proper amount as well as ensure you bake your cake at the correct temperature for the right amount of time.
Measure Your Ingredients Correctly
Double and triple-check that you are using the proper amounts of your ingredients. You'll also want to ensure you are using the correct measuring tools!
Use liquid measuring cups for liquids and dry measuring cups for dry ingredients (nope, they are not the same). For even more accuracy, opt for weighing your ingredients using a kitchen scale.
When measuring flour, you'll want to fluff it up with a fork and then use a spoon to scoop it into your measuring cup. Then, use a knife to level off the top.
If you measure your flour by using the measuring cup to scoop it out of the container, you could be packing too much into your cup (and therefore adding too much to the cake), which will make it dry.
Don't Overmix
Believe it or not, mixing your cake batter for too long actually affects the final outcome!
Beating or mixing the batter for too long causes excess trapped air. In the oven, the cake will deflate, causing it to become dense.
Additionally, you can produce too much gluten when mixing for too long, which will also make the cake tough and dry. You should mix your batter just long enough to have all of the ingredients incorporated, but not any more than that.
The Ideal Oven Temperature
Whether you are making cupcakes, sheet cakes, or using individual cake pans will affect the needed oven temperature. However, it typically ranges somewhere between 325°F (160°C/Gas Mark 3) - 350°F (175°C/Gas Mark 4).
If you bake your cake at a temperature that is too high, it will result in a dried-out cake.
Avoid Overbaking
Check your recipe for how long your cake needs to be in the oven, as this time can vary based on the type and size of the cake.
When you start to approach the end of the baking time, use a toothpick or a cake tester to check for doneness. Insert it into the center of the cake and, when removed, if there is no wet batter sticking to it then the cake is done.
🍽️ Use The Ideal Equipment
Not all cake pans are the same! Here are some tips for using the best cake-baking equipment.
Pre-heat Your Oven
There's a reason that most recipes mention preheating the oven as the first step, even before making the batter! It is essential that the oven is hot and ready to go before you pop in the cake.
If you put the cake into the oven before it is done preheating, the outside will cook faster, causing the top to overbrown and making the edges tough.
Choose The Best Pan
Light-weight metal pans are your best bet for making cake as opposed to glass ones. Using a heavier pan, especially one that has complex designs, will create a beautiful cake with thick and chewy edges.
Disposable cake pans can work well as long as you watch the cake closely. The material is thin, so it is easy to overbake and dry out the cake.
As for size, it is best to use a pan that is the proper size according to the recipe you are following. You may be tempted to double or triple a recipe and use a larger pan (as opposed to baking several smaller cakes), but this allows a lot of room for error.
🍰 Cool Your Cake
Many recipes tell you to let the cake cool in the pan for a few minutes (typically about 10 minutes) and then place it onto a wire cooling rack. This allows air to circulate underneath the cake, which keeps the bottom from becoming tough or soggy.
💭 Tips To Make Your Cakes Incredibly Moist
1. Try Buttermilk
You can yield some amazingly moist cakes when using buttermilk instead of regular milk! Buttermilk is acidic, which helps to break down the gluten and thus creates an ultra-tender cake.
You can experiment with swapping buttermilk for milk in recipes but be warned that it may not always work as it could affect the reaction of other ingredients, such as baking soda.
2. Add Oil
Butter will definitely add the best flavor to your cake, but using vegetable oil will make it extra moist! For the best of both worlds, use a combination of both butter and vegetable oil to achieve a moist and delicious cake.
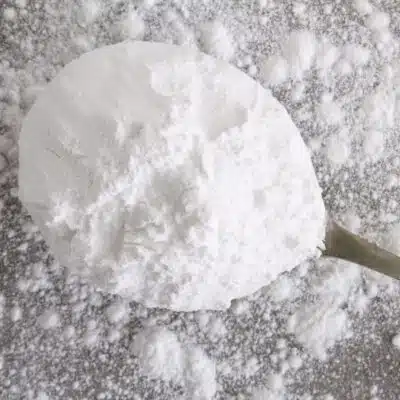
3. Use Instant Clearjel
Instant clearjel (or modified cornstarch) is a type of starch that lets your cake retain more moisture. If you don't have any instant clearjel, instant pudding mix will work just as well since instant clearjel is typically the second ingredient.
4. Pick The Best Recipe
Of course, it can be difficult to tell if a recipe is good before trying it out. You can read reviews or take a look at the ingredients for some hints. Cakes that use oil and/or buttermilk are a great place to start!
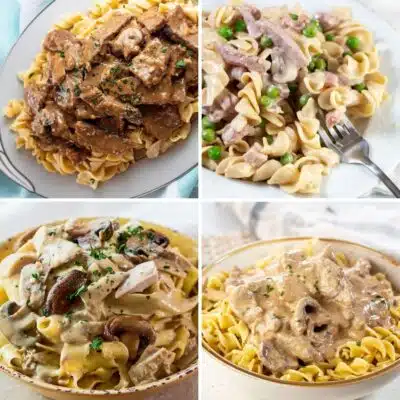
Here are some of my favorite cake recipes!
>>>>See all of my recipes here<<<<
5. Use Simple Syrup
Simple syrup is a combination of equal parts of water and sugar that is heated and stirred until the sugar completely dissolves.
Let the simple syrup and baked cake cool completely and then brush it lightly over the sides and top of each layer. Use enough to make the cake moist without causing it to become soggy.
6. Add Moisture In Between Layers
In addition to brushing your layers with simple syrup, using wet fillings will help to keep your cake moist! Try out fillings such as chocolate ganache, cherry pie filling, or lemon curd.
Take a look at my post on types of cake fillings for more ideas.
7. Frost As Soon As Possible
As always, you need to let your cake cool completely to room temperature before frosting it to ensure it doesn't melt the frosting. However, frosting acts as a barrier against the air and helps to keep it from drying out.
If you don't plan on frosting the cake right away, make sure to wrap it tightly in plastic wrap to keep it from drying out.
Take a look at my guide to frosting cake for some extra tips and tricks!
8. Store Your Cake Properly
Cake can easily dry out if left out at room temperature without any proper covering, even if it is covered in frosting. Keep your cake stored in an airtight container or wrapped with plastic wrap.
If you need to store the cake in the fridge, make sure it is only for a few days at most.
😋 How To Make A Box Cake Moist
If using a boxed cake mix, you can also implement some of these tips and tricks mentioned above to yield some wonderfully moist cake! In addition to making the cake more moist, make sure you check out my guide on how to make boxed cake mix better for more tips!
🥄 Make A Poke Cake
One variety of cake that is easy to make and always moist is a poke cake! Poke cakes are baked in a sheet pan, holes are poked into it, and then it is filled with liquid or syrup to add extra moisture and flavor!
They are completely beginner-friendly and totally foolproof. Try out my pumpkin fudge poke cake and banana pudding poke cake.
These tips and tricks are bound to make your cakes perfectly moist! Which one is your favorite? Leave a comment and let me know!
Do you love a recipe you tried? Please leave a 5-star 🌟rating in the recipe card below and/or a review in the comments section further down the page.
Stay in touch with me through social media @ Pinterest, Facebook, Instagram, or Twitter! Subscribe to the newsletter today (no spam, I promise)! Don't forget to tag me when you try one of my recipes!
📖 Recipe Card
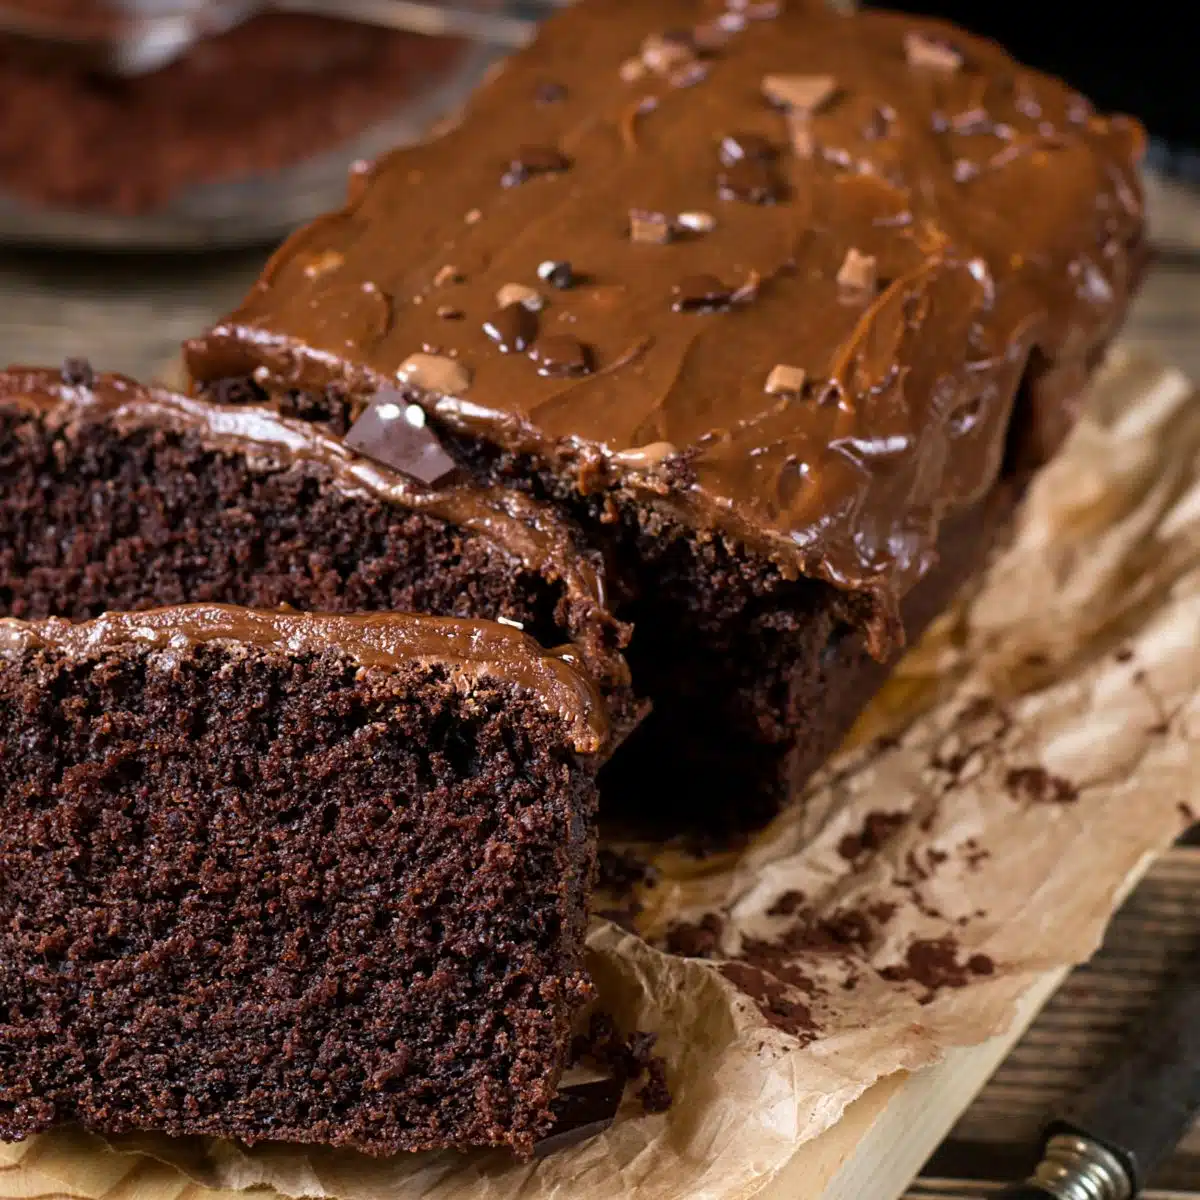
How To Make Moist Cakes: Chocolate Peanut Butter Drip Cake (+Tips & Tricks!)
Ingredients
Chocolate Cake
- 2 cups all-purpose flour (spoon and leveled)
- 2 cups sugar
- ¾ cup unsweetened cocoa powder
- 2 teaspoon baking powder
- 1 ½ teaspoon baking soda
- 1 teaspoon salt
- ½ tablespoon espresso powder (optional)
- 1 cup milk (warmed to room temperature)
- ½ cup coconut oil (or your preferred vegetable oil, or melted butter)
- 2 large eggs (beaten, at room temperature)
- 3 teaspoon vanilla extract
- 1 cup water (boiling)
Peanut Butter Buttercream Frosting
- 3 cups confectioners sugar
- 1 cup butter (softened, at room temperature)
- 1 teaspoon vanilla extract
- 2 tablespoon milk
- 1 cup peanut butter (creamy)
- 1 pinch salt
Chocolate Ganache
- 8 oz semi-sweet chocolate chips
- ½ cup heavy cream
Optional Candy
- 10.5 oz Reese's Miniature Peanut Butter Cups (unwrapped)
Instructions
Make the Cake
- To get ready, preheat your oven to 350°F (175°C) and grease your cake pans.
- In a large bowl, whisk together your flour, sugar, cocoa powder, baking powder, baking soda, salt, and the optional espresso powder. (Using a whisk helps to remove any lumps from the cocoa powder).
- In the middle of the combined dry ingredients, make a well. Then, add your eggs, milk, oil, and vanilla to the center. Mix until well combined.
- Next, pour in your boiling water and mix until the batter is smooth. Pour it into your prepared cake pans.
- Bake the cake in the oven at 350°F (175°C) for 25-30 minutes for 8" rounds. You can check your cake by poking a toothpick into the middle of the layers and seeing if it is clean when removed.
Make the Peanut Butter Buttercream
- Using your stand mixer or an electric hand mixer, cream the butter until it is smooth, light, and creamy.
- Add in your creamy peanut butter and beat until thoroughly combined.
- Turn your mixer onto low speed and gradually add in the confectioners' sugar. Make sure to stop and scrape down the bottom and sides of your mixing bowl.
- Stir in the vanilla and pinch of salt.
- Keeping your mixer on the low speed, drizzle in the milk and allow it to become thoroughly incorporated.
- Increase your mixer to high speed and allow the buttercream to mix for 30 seconds.
Frost & Decorate
- Make sure to let the cake cool completely before adding the frosting.
- Place the semi-sweet chocolate chips in a bowl to make the ganache. Heat the cream to just below boiling (200°F/93°C) then pour over the chocolate. Allow the mixture to set for 3 minutes, then stir until smooth.
- Pour the ganache over the top of the cake and allow it to drip down the sides. Top with candies and serve.
Notes
- You can prepare this cake in a 9x13 baking pan, 3 6" rounds, 2 8" rounds, a 10" springform pan, or a 10" bundt pan. Make sure to adjust bake times accordingly.
- Your cake needs to be completely cool before you begin frosting it (this will take a minimum of 2 hours). I like to pop the layers into the refrigerator before I add on the crumb coat.
- If you want a rich chocolate flavor, make sure to include espresso powder or opt for a Dutch-processed cocoa powder.
- For help with frosting your cake, take a look at my walkthrough for frosting cake!
- To store: Store your chocolate peanut butter drip cake in a sealed container on the counter for a maximum of three days.
- To freeze: Tightly wrap the layers of cake before you add the frosting and then freeze them for up to three months. When ready, let the layers thaw out overnight before frosting them.
Nutrition

Angela is an at home chef that developed a passion for all things cooking and baking at a young age in her Grandma's kitchen. After many years in the food service industry, she now enjoys sharing all of her family favorite recipes and creating tasty dinner and amazing dessert recipes here at Bake It With Love!

Comments
No Comments