
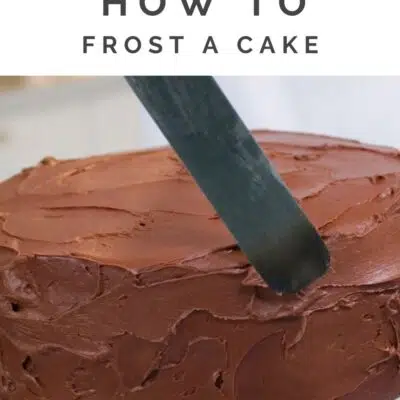
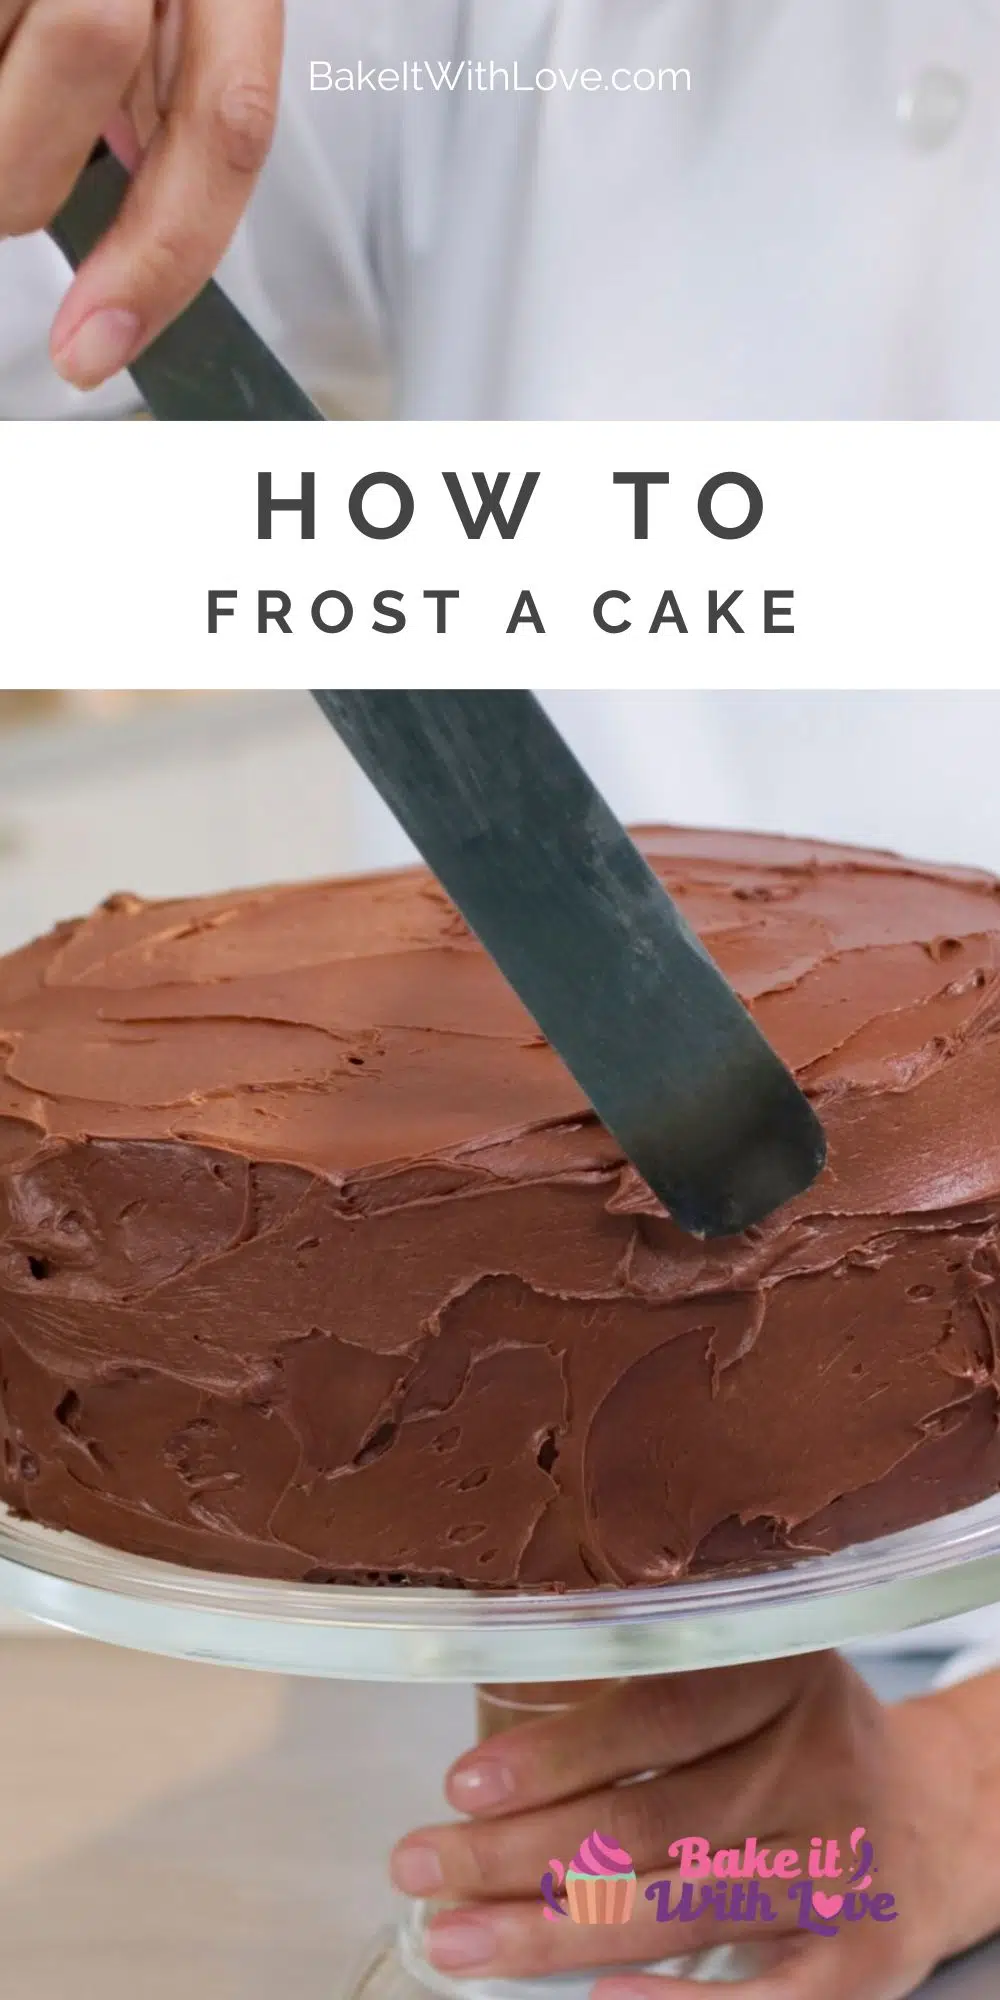
Knowing how to frost a cake can be the real difference between a standard cake and an unforgettable show-stopping dessert! From preparation to decoration, I will be walking you through the cake frosting process step-by-step! Whether you are a beginner baker or have some experience, this guide will help take your cakes to the next level!
Guide To Frosting A Cake For Beginners
Frosting a cake can easily seem like an intimidating task, even for experienced bakers! However, I am here to tell you that it isn't hard at all!
I am going to show you step by step how to achieve a perfectly frosted cake! I'll even guide you through adding some decorations or writing for an extra fancy dessert!
Jump to:
🔪 Prepare Your Cake
After you've baked your cake, there are a few things you need to do before you start covering it with frosting.
First of all, you need to let the layers cool for a few hours (or even overnight in the fridge). If you frost too soon out of the oven, the frosting could melt.
Then, you have to prepare your cake to be frosted by following the steps below.
- Cut 4 pieces of parchment paper into strips. Set aside for now.
- Use a serrated knife to trim off the top of the cake, so that it is completely flat and even.
- Place the parchment paper strips onto your serving plate so that they will border your cake.
- Flip your cake onto the serving plate, cut side down (this reduces crumbs) making sure that the parchment paper strips are partially underneath the cake (this prevents you from getting frosting on your serving plate).
- Gently use a pastry brush to dust off any loose crumbs.
Tips For Preparing Your Cake
- For an extra sweet or flavorful cake, you can brush some simple syrup onto the top of each cake layer.
- If your cake is going to be placed in a cake carrier, make sure your serving plate fits inside of it first. Alternatively, frost your cake on a cardboard round that is a couple of inches larger than your cake.
- If you made thick layers and are wanting to cut them in half to make a four-layer cake, follow these steps.
- Using your longest serrated knife, score a horizontal line around the outside perimeter of your cake to act as your guide.
- Place one hand firmly on top of the cake and evenly cut through the center, following your guide.
- Use a light amount of pressure, relying more on the sawing motion of the knife to cut through the layer.
🥣 Frosting Guide
There are a ton of different varieties of frosting! Each of them has unique qualities about them and has different textures and flavors.
You can choose whichever frostings you like!
Buttercream
Buttercream is known for using a large amount of butter! Other than butter, recipes can vary, and some use sugar, jelly, or syrup to act as the sweetener.
For texture, it is wonderfully smooth and silky. This rich frosting goes great with pretty much any kind of cake!
- Make sure all ingredients are at room temperature! This helps everything to mix smoothly.
- You can make buttercream frosting up to 2 weeks in advance, just store it in the fridge and allow it to come to room temperature before frosting the cake.
- If the bowl seems to be getting too warm, just pop it into the fridge for a couple of minutes before continuing.
Delicious Buttercream Frosting Recipes
- Peanut Butter Buttercream Frosting
- Vanilla Bean Buttercream Frosting
- Chocolate Buttercream Frosting
- Cream Cheese Buttercream Frosting
- Vanilla Buttercream Frosting
- Orange Crush Soda Buttercream Frosting
- Cream Soda Buttercream Frosting
Cream Cheese
Cream cheese frosting is similar to buttercream since they both have a very similar smooth and silky consistency. The difference here is that it has that tangy flavor from the cream cheese.
- Make sure all ingredients are at room temperature for the best results!
- Cream cheese frosting can be made one week in advance and stored in the refrigerator. Allow it to come to room temperature before use.
Fudge
Fudge frosting is rich, dark, and incredibly indulgent! The key to this frosting is spreading it soon after making it before it has time to become too firm to work with.
You can still make this frosting ahead of time, but you'll need to reheat it until it is spreadable again.
Ganache
Ganache is made from chocolate that has been mixed with butter or cream! It is thinner, silkier, and smoother than the previously mentioned fudge frostings.
This frosting can be made a week in advance. Keep it in the fridge and then, when ready to use, bring it to room temperature and mix it again.
Meringue
Meringue is a super simple frosting that requires only a handful of ingredients! It combines egg whites and sugar for an extremely light and fluffy frosting.
This frosting should not be made ahead of time. Instead, it is best when enjoyed on the same day.
Glaze
Glazes are a very thin type of frosting that is made from confectioners' sugar or chocolate. Since they are so thin, they aren't applied in the same fashion as traditional frosting.
Instead, they are usually poured over the top of the cake, making for some eye-catching designs. Once set, the glaze hardens.
- If using a glaze, it is better to put your cake onto a wire rack so that the glaze doesn't pool around it on a plate.
- Once the glaze has set, then you can transfer it to your serving plate.
🍰 Frosting The Cake
Now that your cake is perfectly prepared, chilled, and you've made your frosting you are ready to get started! Take your time to make a neat and evenly frosted cake!
However, don't worry if it isn't completely perfect- decorations can hide any imperfections.
Assemble The Layers
- Don't forget to have your cake sitting on the parchment strips to keep your serving plate neat and clean.
- Using an offset spatula (or a knife if you don't have one) spread your frosting (or filling) onto the top of your cake's bottom layer.
- Carefully and gently place your next cake layer on top of the bottom one, with the cut side facing down again.
- Try your best to gently adjust the layer until it is centered.
- Repeat the layering process with as many layers as you have.
- After assembling your layers, use a pastry brush to gently brush off any stray crumbs again.
Apply The Crumb Coat
- Next, you will apply the crumb coat (a thin spread of frosting that sticks the crumbs to the cake). Take roughly ½ of a cup of frosting and thin it out using a splash of milk.
- Spread a very thin layer of your thinned frosting over the sides and top of your cake.
- Place the cake into the fridge to chill for 15 minutes.
- Repeat this process with an additional layer if you can still see the crumbs through the frosting.
Finish Frosting The Cake
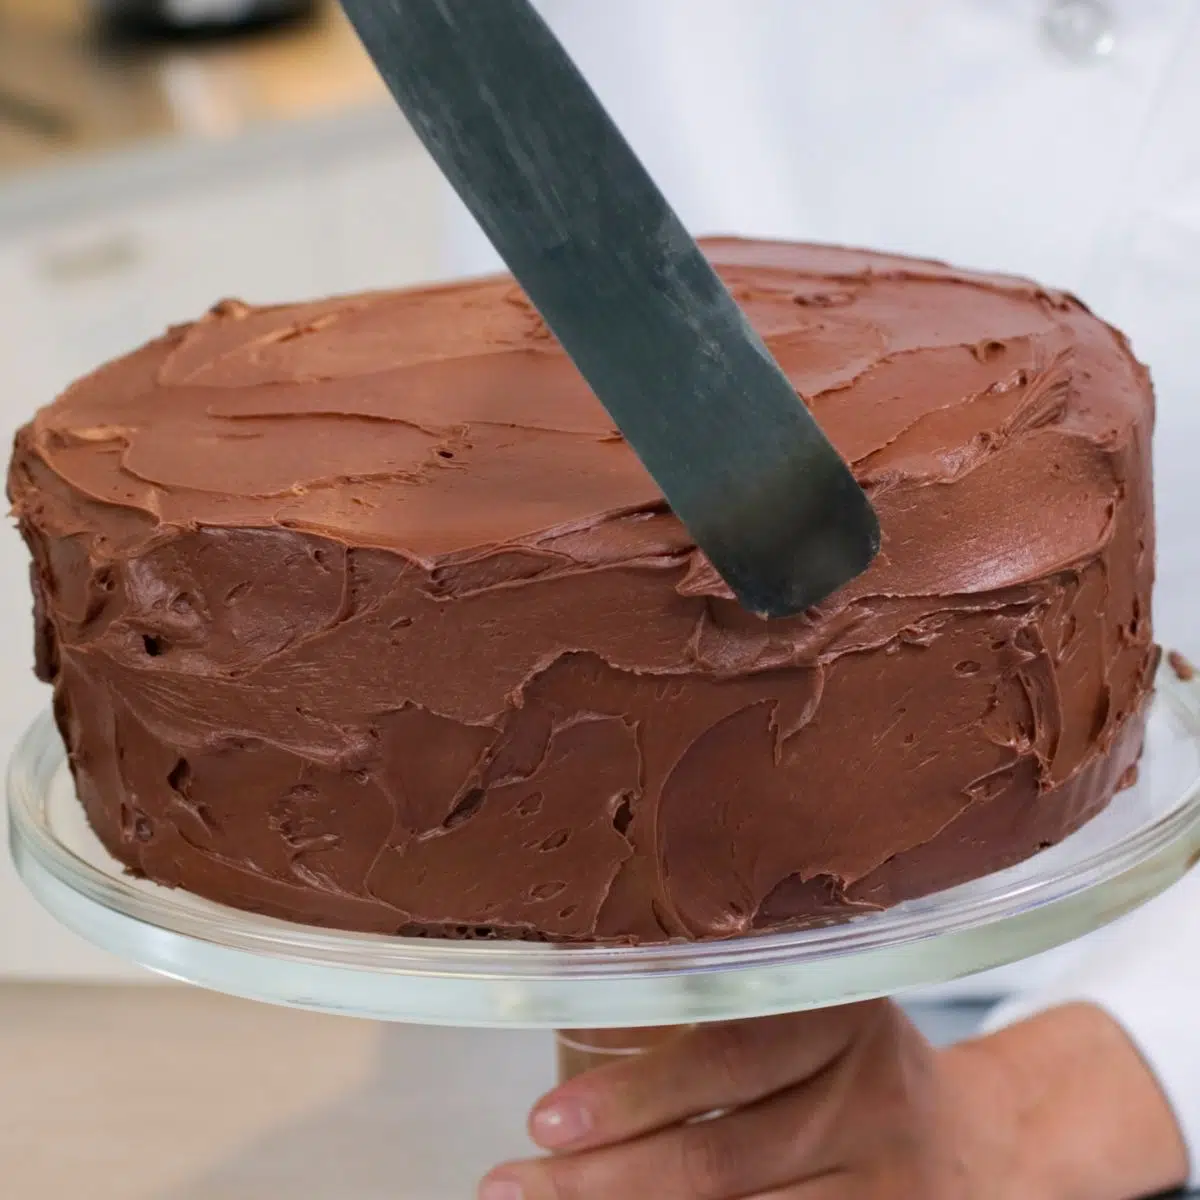
- Now, use your unthinned frosting with an offset spatula to frost the rest of your cake.
- Start with the top of the cake and spread the frosting outwards to the edge of the top layer.
- Next, frost the sides. A turntable makes this extra easy, but you can still frost the cake without one.
- If you are not adding any decorations, remove the strips of parchment paper after you have evenly frosted your cake.
- Dark-colored cakes (like chocolate) will typically need two coats of frosting for the crumb coats. However, lighter-colored white or yellow cakes usually only need one.
🎂 Decorating The Cake
An evenly frosted cake is beautiful just as it is! However, sometimes we want to add some extra special decorations! From borders to roses and even writing, here's how to decorate your cake!
Spatula
For an extremely simple and beginner-friendly design, use a spatula (or knife) to make wavy swirls all over your cake. Not only does this hide any earlier mistakes, but it looks great!
Additionally, you can use a fork to create stripes or cross-hatch-type patterns.
Garnishes
Adding garnishes to your cake is incredibly easy and adds some great texture! You can use chopped nuts, mini chocolate chips, crumbled-up cake (like the excess you trimmed off the top earlier), coconut shavings, sprinkles, or chocolate shavings! Simply press them into the side of your cake.
You can use fruit, too, but don't add it until right before serving.
Pastry Bag
If you want to add on some borders or flowers, you'll need a piping bag or a Ziploc bag with the corner cut off. Insert a coupler into the bag and then screw on your desired tip.
Set your bag into a glass and fold the edges over the side (this makes it much easier to scoop in the frosting). Use a spatula or spoon to transfer the frosting into your bag, pushing it down as far as possible.
Fill your bag about halfway with frosting and then twist the top shut.
- If you don't have a coupler, you can put the tip directly into your bag. However, you won't be able to change tips without taking all of the frosting out of the bag.
- Practice your frosting on a plate before you start on the cake!
- Make sure to choose the correct tip for the job. Stars need a star tip, a smooth tip for writing or stripes, a shell tip for borders or leaves, a flower tip for flowers, or any other tip you like!
Writing On A Cake
What is a birthday cake without a written message? Use a pastry tip with a small hole and add your writing before adding any borders.
Use a toothpick to lightly mark where you want your letters, then trace out your letters to act as a guide while frosting.
🧁 Frosting Cupcakes
Cupcakes are slightly different than standard cakes when it comes to frosting. Typically, only the tops of cupcakes are frosted and you won't need a crumb coat.
Pastry Bag
Prepare your pastry bag the same way you would for a typical cake. When ready, frost your cupcake by starting on the outer edge and moving in towards the center.
Knife
Of course, you can always just use a knife for frosting cupcakes! Use a back-and-forth motion to make swirls or lift the knife up to make spikes!
🚚 Transportation
If you are planning on transporting cakes frequently, you can always buy a cake carrier! As mentioned before, it is important to make sure your cardboard round or serving plate fits inside the carrier before you begin frosting. If you don't have a cake carrier, a large cardboard box would also work.
If your serving plate or cardboard round does not fit snuggly inside your box and has some extra space, use some double-sided tape to stick the board or plate to the bottom of the box. You don't want your cake to be sliding around while being transported.
Once in the vehicle, the lap of a passenger is the best and safest spot for the cake to be. However, if you don't have an extra person, the floor is the second best option.
Make sure to bring some extra frosting to repair any damage!
❓ FAQ
While you can frost your cake after it has cooled completely at room temperature, I do recommend popping it into the fridge for two hours (or overnight) before you get started.
This helps it firm up so you have fewer crumbs and it is easier to work with!
I would recommend frosting your cake no more than 3 days in advance. You can store it in a cake keeper, cake stand with a lid, or a large overturned bowl (that is large enough to avoid messing up the decorations).
It can be kept at room temperature or in the fridge, depending on your frosting choice.
Frosting is much thicker than icing and is what is typically used on a cake. Icing is thinner and can be used on things such as cookies or cinnamon rolls.
For an in-depth look at the differences, check out my post on frosting vs icing vs glaze!
Now that you know all the steps to frosting a cake, go ahead and get started! Let me know in the comments below what your favorite kind of cake is!
📖 More Baking Guides
- How To Make Boxed Cake Mix Better - Sometimes we just need the convenience of boxed cake mix, so here's how to make it even better!
- How To Make Butter From Powdered Milk - If you have some powdered milk on hand, here's how to transform it into some butter!
- How To Make A Crumb Topping - This tasty crumb topping is such a sweet and delicious addition to so many different desserts!
- How To Make Custard Powder - If you have a recipe that is calling for custard, try out my homemade custard powder!
- How To Make Pancakes Fluffier - Check out my tips and tricks for making the best, fluffiest pancakes possible!
- How To Make Bread Flour - If you are in need of some bread flour but don't want to make a trip to the store, this guide is for you!
Do you love a recipe you tried? Please leave a 5-star 🌟rating in the recipe card below and/or a review in the comments section further down the page.
Stay in touch with me through social media @ Pinterest, Facebook, Instagram, or Twitter! Subscribe to the newsletter today (no spam, I promise)! Don't forget to tag me when you try one of my recipes!
📖 Recipe Card

How To Frost A Cake: Red Velvet Cake with Cream Cheese Frosting (+Tips & Tricks)
Ingredients
Red Velvet Cake
- 3 cups cake flour
- 2 tablespoon cocoa powder (unsweetened)
- 1 teaspoon baking soda
- ¼ teaspoon salt
- ½ cup butter (1 stick, room temperature)
- 2 cups sugar
- 1 cup vegetable oil
- 2 tablespoon vanilla extract
- 4 large eggs (room temperature)
- red food coloring (liquid or gel)
- 1 teaspoon distilled white vinegar
- 1 cup buttermilk
Cream Cheese Frosting
- 16 oz cream cheese (room temperature)
- ½ cup butter (1 stick, room temperature)
- 3 teaspoon vanilla extract
- 4 cups confectioners sugar
- 2-4 tablespoon heavy whipping cream
Instructions
Red Velvet Cake
- Preheat your oven to 350°F (175°C) and grease and flour your cake pans. I used 3 8-inch cake pans.
- In a large mixing bowl or the bowl of your stand mixer, sift or whisk together the dry ingredients (cake flour, cocoa powder, baking soda, and salt) to combine so that the cocoa is evenly distributed throughout the flour.
- In a separate large mixing bowl beat the softened butter until creamy, smooth, and light in color. Add the sugar and cream together with your butter until you have a crumbled texture and the butter and sugar are evenly distributed.
- Add vegetable oil to the creamed butter and sugar and combine until fairly smooth (with a few small lumps is OK). Next, add the vanilla extract and eggs, then combine until smooth again.
- Once the wet ingredients are fully combined, add the red food coloring and distilled white vinegar then blend again until smooth. *Use as much food coloring as needed to achieve your desired depth of red color in the cake - I used 2 tablespoons of liquid food coloring in the video demonstration. Gel food coloring works best.
- Mix in the buttermilk until smooth then make a well in the mixing bowl of dry ingredients. Pour the wet ingredients into the well and mix to combine until your red velvet cake batter is smooth.
- Transfer the batter to your prepared cake pans and bake at 350°F (175°C) for 25-30 minutes. Remove the cakes from your oven when an inserted toothpick or cake tester comes out clean from the center of the cakes. *They should spring back to the touch as well.
- Place your baked cakes on a wire cooling rack and allow them to cool slightly, in the pans, for 5 minutes before removing them to cool completely.
Cream Cheese Frosting
- Cream together the 2 bricks of softened cream cheese with the 1 stick of softened butter until smooth. Add the vanilla extract and mix until well distributed.
- Next, mix in the confectioners' sugar then start adding heavy cream a drizzle at a time until you reach your desired frosting consistency. Your frosting can be a bit softer if you plan on simple spreading it on your cake, or make it a bit more firm if you would like to pipe your frosting.
- Level your cake layers out before assembling your layer cake. Reserve the trimmed cake pieces for decorating.
- Layer the cake with cream cheese frosting filling, then frost the sides and top of the cake. Pipe a border and decorate with red velvet crumb reserved from trimming your cakes if desired.
Video
Notes
- Use a hand mixer or some elbow grease if you don't have a stand mixer. The cake will still be amazing!
- Be sure to scrape the sides and bottom of your mixing bowl when you're combining the wet and dry ingredients.
- Cakes should be cooled for about 2 hours or more (chilled in the refrigerator is best) before frosting.
- To store: Place red velvet cake into an airtight container and store in the fridge for up to 3 days.
- To freeze: You can freeze your cake for up to 3 months. Simply allow it to thaw overnight before serving.
Nutrition

Angela is an at home chef that developed a passion for all things cooking and baking at a young age in her Grandma's kitchen. After many years in the food service industry, she now enjoys sharing all of her family favorite recipes and creating tasty dinner and amazing dessert recipes here at Bake It With Love!

Comments
No Comments