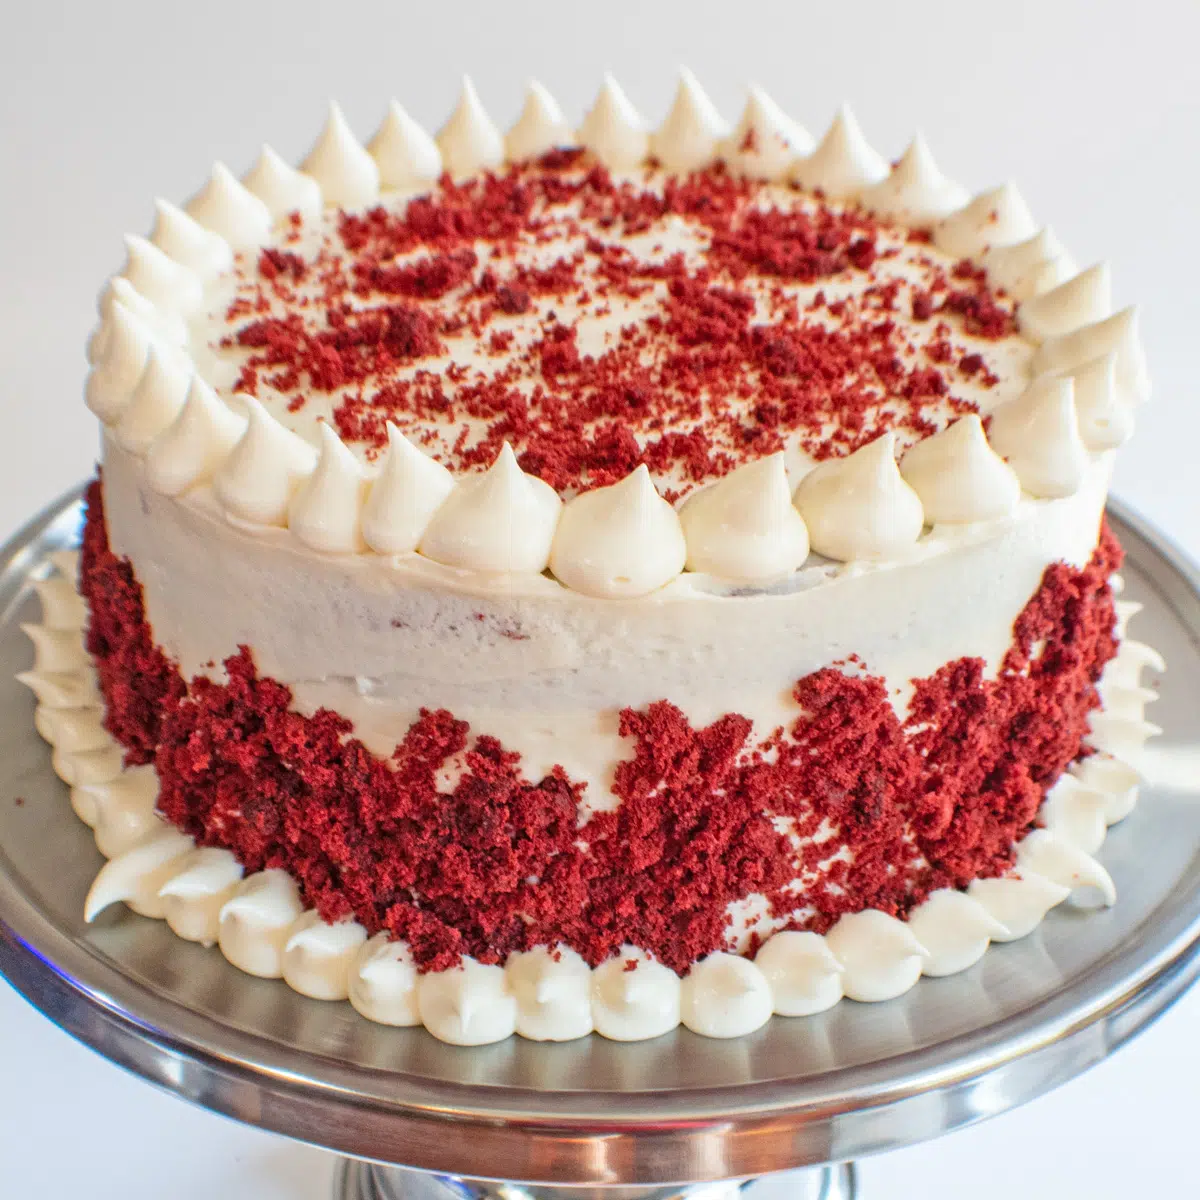
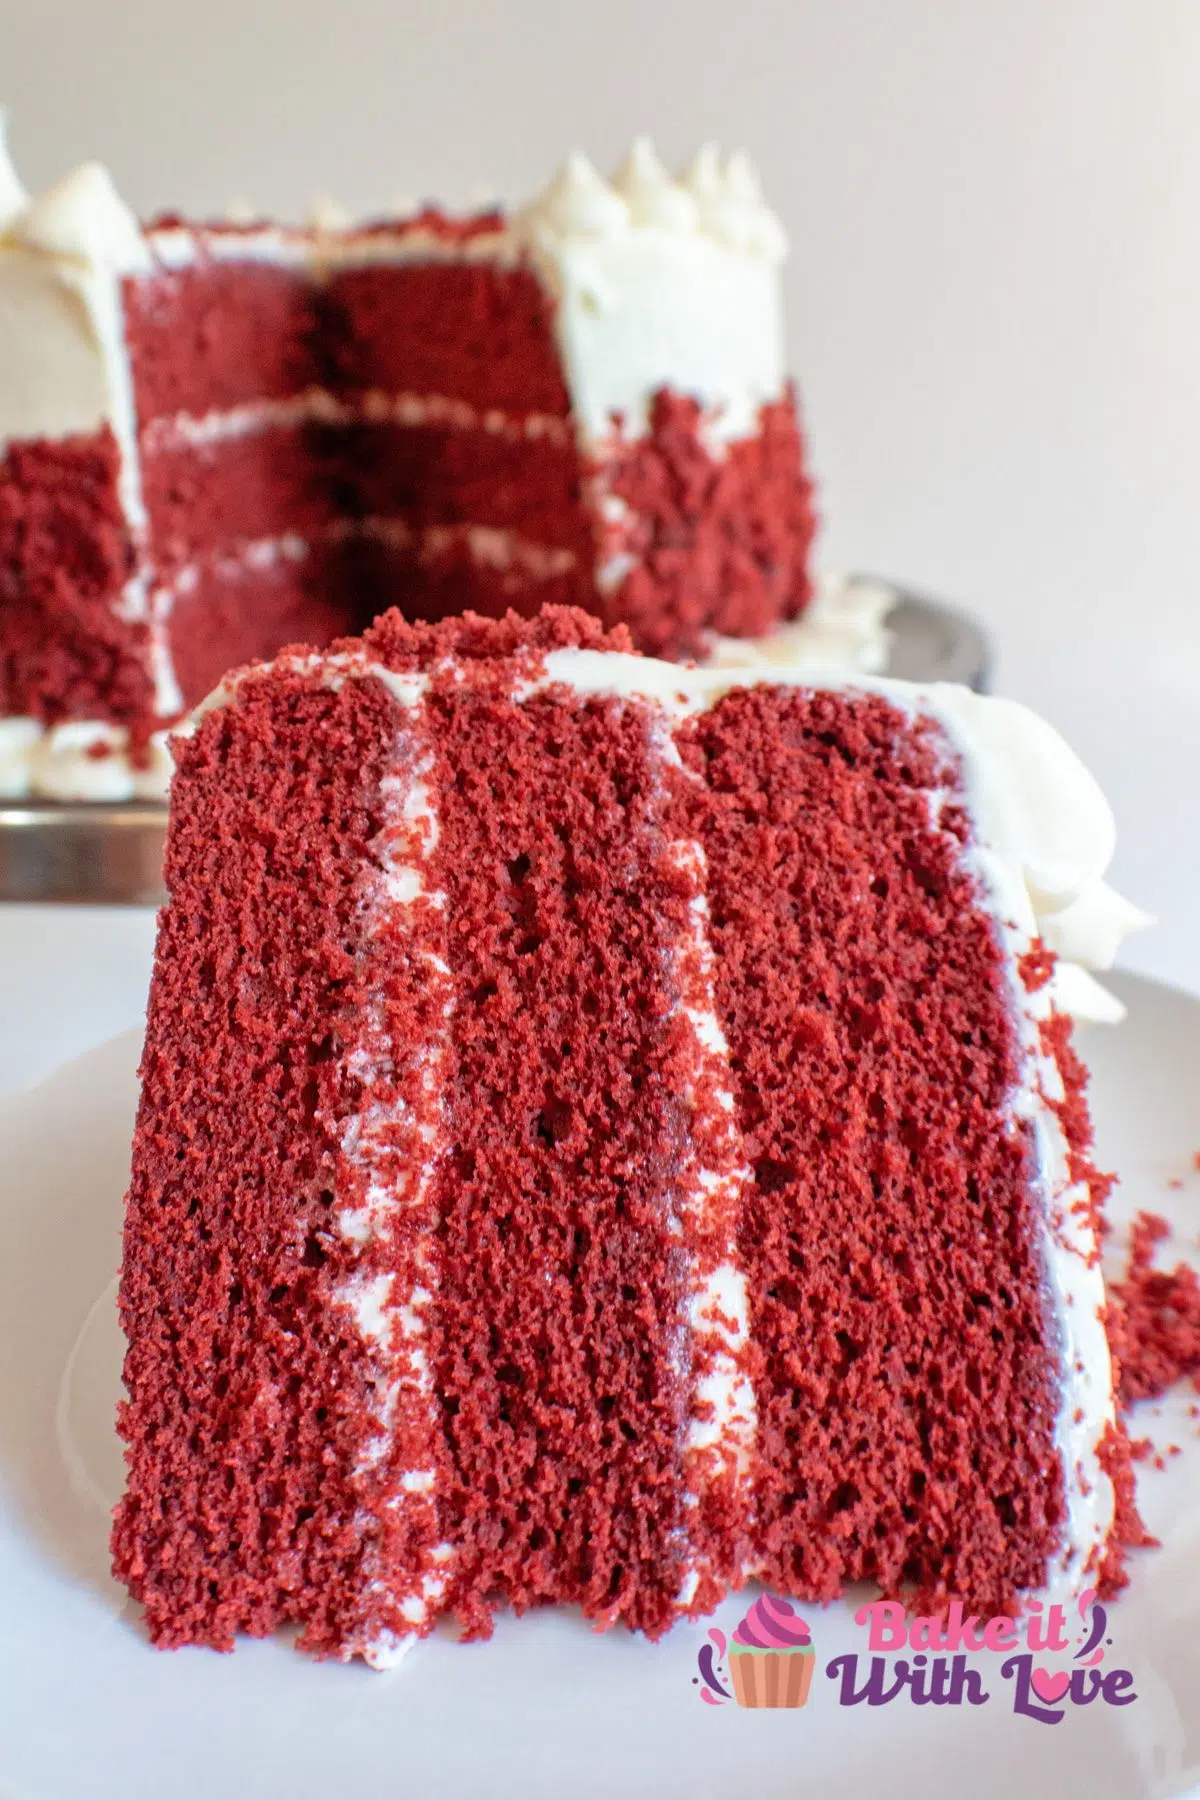
This red velvet cake with cream cheese frosting is so delightfully moist and sweet that it is sure to wow all of your guests! You'll taste hints of vanilla, cocoa, and butter as well as the traditional tangy flavor from the buttermilk! It is a classic cake that everyone knows and loves!
See my Valentine's day desserts, red velvet crinkle cookies, and red velvet blossoms.
Jump to:
Trust me when I say that this is the only red velvet cake recipe you will ever need! It is so simple to prepare and comes out perfect every single time
This red velvet cake is more than just a standard cake that has been tinged with red food coloring. It has its own unique and tangy flavor profile that is completely mouthwatering.
🥘 Ingredients
This ingredient list is loaded with baking staples! I suggest picking up some cake flour, as it helps make the cake extra fluffy and tender as opposed to all-purpose flour.
Red Velvet Cake
- Cake Flour - 3 cups of cake flour for the perfect cake texture.
- Cocoa Powder - 2 tablespoons of unsweetened cocoa powder.
- Baking Soda - 1 teaspoon of baking soda.
- Salt - ¼ teaspoon of salt.
- Butter - ½ cup of room temperature butter. This is the equivalent of one stick.
- Sugar - 2 cups of sugar.
- Oil - 1 cup of vegetable oil.
- Vanilla - 2 tablespoons of vanilla extract.
- Eggs - 4 room-temperature large eggs.
- Food Coloring - Liquid or gel red food coloring for that authentic red velvet appearance.
- White Wine Vinegar - 1 teaspoon of distilled white wine vinegar.
- Buttermilk - 1 cup of buttermilk.
Cream Cheese Frosting
- Cream Cheese - 16 ounces of room temperature cream cheese.
- Butter - ½ cup (or 1 stick) of room temperature butter.
- Vanilla - 3 teaspoons of vanilla extract.
- Powdered Sugar - 4 cups of confectioners' sugar.
- Heavy Whipping Cream - 2-4 tablespoons of heavy whipping cream.
*Be sure to see the free printable recipe card below for ingredients, exact amounts & instructions with tips!*
🔪 How To Make Red Velvet Cake With Cream Cheese Frosting
Even a beginner baker can put this cake together! I suggest you go ahead and grab your mixer, bowls, and cake pans!
This cake makes 20 servings, but it truly depends on how you cut it! Check out my cake serving guide for tips and information!
Red Velvet Cake
- Preheat. Preheat your oven to 350°F (175 °C), grease, and flour your cake pans. I used 3 8-inch cake pans.
- Mix dry ingredients. In a large bowl or the bowl of your stand mixer, sift and mix together the dry ingredients (3 cups of cake flour, 2 tablespoons of cocoa powder, 1 teaspoon of baking soda, and ¼ teaspoon of salt) to combine so that the cocoa is evenly distributed throughout the flour.
- Cream butter and sugar. In a separate large bowl, beat the softened ½ cup of room temperature butter until creamy, smooth, and light in color. Add the 2 cups of sugar and cream together with your butter until you have a crumbled texture and the butter and sugar are evenly distributed.
- Combine wet ingredients. Add 1 cup of vegetable oil to the creamed butter and sugar and combine until fairly smooth (with a few small lumps is OK). Next, add the 2 tablespoons of vanilla extract and 4 eggs, then combine until smooth again.
- Make the cake red. Once the wet ingredients are fully combined, add the red food coloring and 1 teaspoon of distilled white vinegar, then blend again until smooth. *Use as much food coloring as needed to achieve your desired depth of red color in the cake - I used 2 tablespoons of liquid food coloring in the video demonstration. Gel food coloring works best.
- Combine wet and dry ingredients. Mix in the 1 cup of buttermilk until smooth, then make a well in the mixing bowl of dry ingredients. Pour the wet ingredients into the well and mix to combine until your red velvet cake batter is smooth.
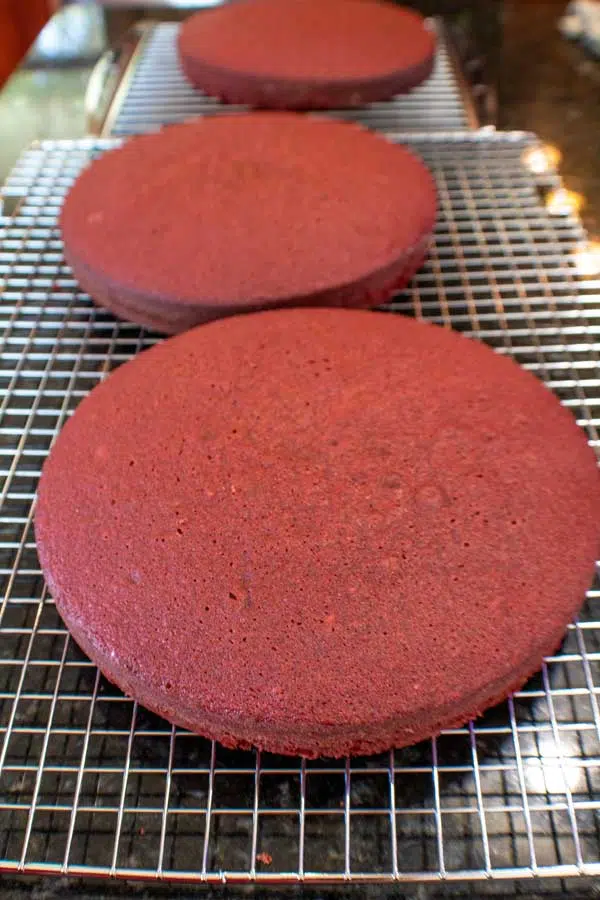
- Bake. Transfer the batter to your prepared cake pans and bake them in the oven at 350°F (175 °C) for 25-30 minutes. Remove the cakes from your oven when an inserted toothpick or cake tester comes out clean from the center of the baked cakes. *They should spring back to the touch as well.
- Cool. Place your baked cakes on a wire cooling rack and allow them to cool slightly in the pans for 5 minutes before removing them to finish cooling completely.
Cream Cheese Frosting
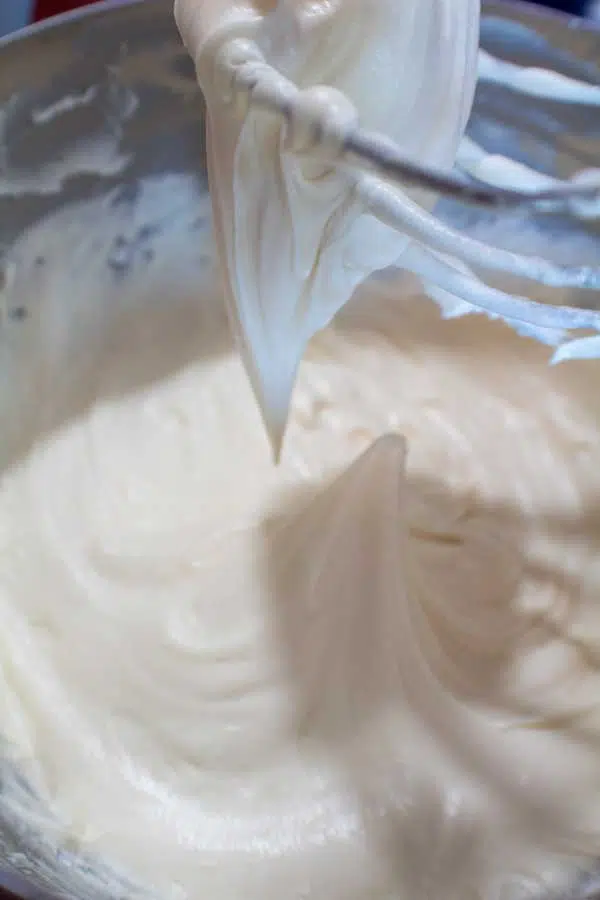
- Mix the cream cheese and butter. Cream together the 2 bricks of softened cream cheese with the 1 stick of softened butter until nice and smooth. Add in the 3 teaspoons of vanilla extract and mix until well distributed.
- Adjust consistency. Next, mix in the 4 cups of confectioners' sugar then start adding 2-4 tablespoons of heavy cream a drizzle at a time until you reach your desired frosting consistency. Your frosting can be a bit softer if you plan on simply spreading it on your cake, or make it a bit more firm if you would like to pipe your frosting.
- Level the cake. Level your cake layers out before assembling your layer cake. Reserve the trimmed cake pieces for decorating.
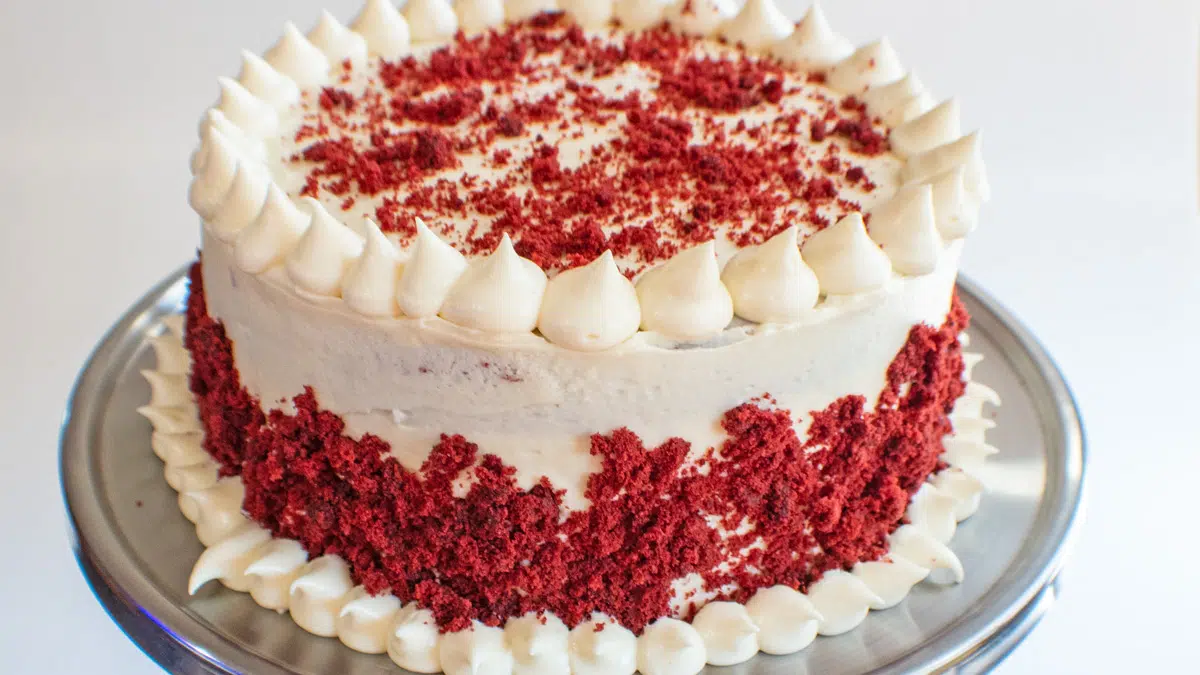
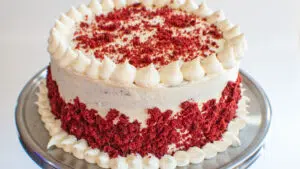
- Assemble the cake. Layer the cake with cream cheese frosting filling, then frost the sides and top of the cake. Pipe a border and decorate with red velvet crumbs reserved from trimming your cakes if desired.
This delicious and beautiful cake is perfect for serving at parties, celebrations, and special events! For more cake ideas, check out my article all about the different varieties of cake! Enjoy!
💭 Angela's Pro Tips & Recipe Notes
- Mixing Without a Stand Mixer: Don't worry if you don't have a stand mixer. A hand mixer or good old-fashioned manual mixing will work just fine. Your cake will turn out just as delicious.
- Mixing Technique: When combining your wet and dry ingredients, make sure to thoroughly scrape the sides and bottom of your mixing bowl. This ensures an even and consistent batter.
- Cooling the Cake: Allow the cakes to cool for at least 2 hours. For best results, chill them in the refrigerator. This makes the cake easier to frost and enhances its texture.
- Storing the Cake: Store your red velvet cake in a sealed container in the refrigerator. It's best consumed within 3 days for optimal freshness and flavor.
- Freezing the Cake: If you want to keep the cake for longer, it can be frozen for up to 3 months. Thaw it overnight before serving to enjoy it at its best.
❓ Recipe FAQs
It's time to put this misconception to rest. Red velvet cake is not a standard chocolate cake that has been dyed red!
Red velvet does contain cocoa powder, but in a smaller quantity than chocolate cake, making the flavor milder. It also has additional ingredients that aren't found in chocolate cake, such as buttermilk and vinegar!
Red velvet cake has a slight chocolate taste with a tart and tangy edge from the buttermilk. It's delicious as-is, but the combination with the cream cheese frosting is really what makes it shine!
Here are a few of my favorite tips and tricks to ensure a perfectly moist and fluffy cake.
First, make sure your refrigerated ingredients have had time to come to room temperature! This helps to ensure that everything creams together and combines evenly.
Additionally, make sure not to over-mix your cake batter. Sure, there are a lot of ingredients that are getting mixed together here. However, as soon as everything is combined, turn off the mixer!
Overmixing adds too much air to the batter, which will cause it to essentially deflate and sink while baking.
🍰 More Sweet Cakes
- Tres Leches Cake - This extra moist Mexican cake uses three different kinds of milk- sweetened, condensed, evaporated, and whole milk!
- Plum Cake - Fresh plums and generous spices come together to make this fruity and irresistible cake!
- Vanilla Bean Cupcakes - These classic cupcakes are perfect for any occasion- weddings, birthdays, baby showers, and more!
- Rainbow Cake - Is there anything more fun and exciting than a beautifully layered rainbow cake?
- Bisquick Coffee Cake - Using Bisquick in the mix makes this coffee cake extra easy!
- Pineapple Upside Down Cake - This beautifully fresh and fruity dessert is a classic treat that everyone will line up to try!
Do you love a recipe you tried? Please leave a 5-star 🌟rating in the recipe card below and/or a review in the comments section further down the page.
Stay in touch with me through social media @ Pinterest, Facebook, Instagram, or Twitter! Subscribe to the newsletter today (no spam, I promise)! Don't forget to tag me when you try one of my recipes!
📖 Recipe Card
Red Velvet Cake with Cream Cheese Frosting
Ingredients
Red Velvet Cake
- 3 cups cake flour
- 2 tablespoon cocoa powder (unsweetened)
- 1 teaspoon baking soda
- ¼ teaspoon salt
- ½ cup butter (1 stick, room temperature)
- 2 cups sugar
- 1 cup vegetable oil
- 2 tablespoon vanilla extract
- 4 large eggs (room temperature)
- red food coloring (liquid or gel)
- 1 teaspoon distilled white vinegar
- 1 cup buttermilk
Cream Cheese Frosting
- 16 oz cream cheese (room temperature)
- ½ cup butter (1 stick, room temperature)
- 3 teaspoon vanilla extract
- 4 cups confectioners sugar
- 2-4 tablespoon heavy whipping cream
(Note: 2x or 3x only changes the ingredient list)
Instructions
Red Velvet Cake
- Preheat your oven to 350°F (175 °C) and grease and flour your cake pans. I used 3 8-inch cake pans.
- In a large mixing bowl or the bowl of your stand mixer, sift or whisk together the dry ingredients (cake flour, cocoa powder, baking soda, and salt) to combine so that the cocoa is evenly distributed throughout the flour.
- In a separate large mixing bowl beat the softened butter until creamy, smooth, and light in color. Add the sugar and cream together with your butter until you have a crumbled texture and the butter and sugar are evenly distributed.
- Add vegetable oil to the creamed butter and sugar and combine until fairly smooth (with a few small lumps is OK). Next, add the vanilla extract and eggs, then combine until smooth again.
- Once the wet ingredients are fully combined, add the red food coloring and distilled white vinegar, then blend again until smooth. *Use as much food coloring as needed to achieve your desired depth of red color in the cake - I used 2 tablespoons of liquid food coloring in the video demonstration. Gel food coloring works best.
- Mix in the buttermilk until smooth then make a well in the mixing bowl of dry ingredients. Pour the wet ingredients into the well and mix to combine until your red velvet cake batter is smooth.
- Transfer the batter to your prepared cake pans and bake at 350°F (175 °C) for 25-30 minutes. Remove the cakes from your oven when an inserted toothpick or cake tester comes out clean from the center of the cakes. *They should spring back to the touch as well.
- Place your baked cakes on a wire cooling rack and allow them to cool slightly in the pans for 5 minutes before removing them to cool completely.
Cream Cheese Frosting
- Cream together the 2 bricks of softened cream cheese with the 1 stick of softened butter until smooth. Add the vanilla extract and mix until well distributed.
- Next, mix in the confectioners' sugar, then start adding heavy cream, a drizzle at a time, until you reach your desired frosting consistency. Your frosting can be a bit softer if you plan on simply spreading it on your cake, or make it a bit more firm if you would like to pipe your frosting.
- Level your cake layers out before assembling your layer cake. Reserve the trimmed cake pieces for decorating.
- Layer the cake with cream cheese frosting filling, then frost the sides and top of the cake. Pipe a border and decorate with red velvet crumbs reserved from trimming your cakes if desired.
Notes
- Use a hand mixer or some elbow grease if you don't have a stand mixer. The cake will still be amazing!
- Be sure to scrape the sides and bottom of your mixing bowl when you're combining the wet and dry ingredients.
- Cakes should be cooled for about 2 hours or more (chilled in the refrigerator is best) before frosting.
- To store: Place red velvet cake into an airtight container and store in the fridge for up to 3 days.
- To freeze: You can freeze your cake for up to 3 months. Simply allow it to thaw overnight before serving.

Comments
No Comments