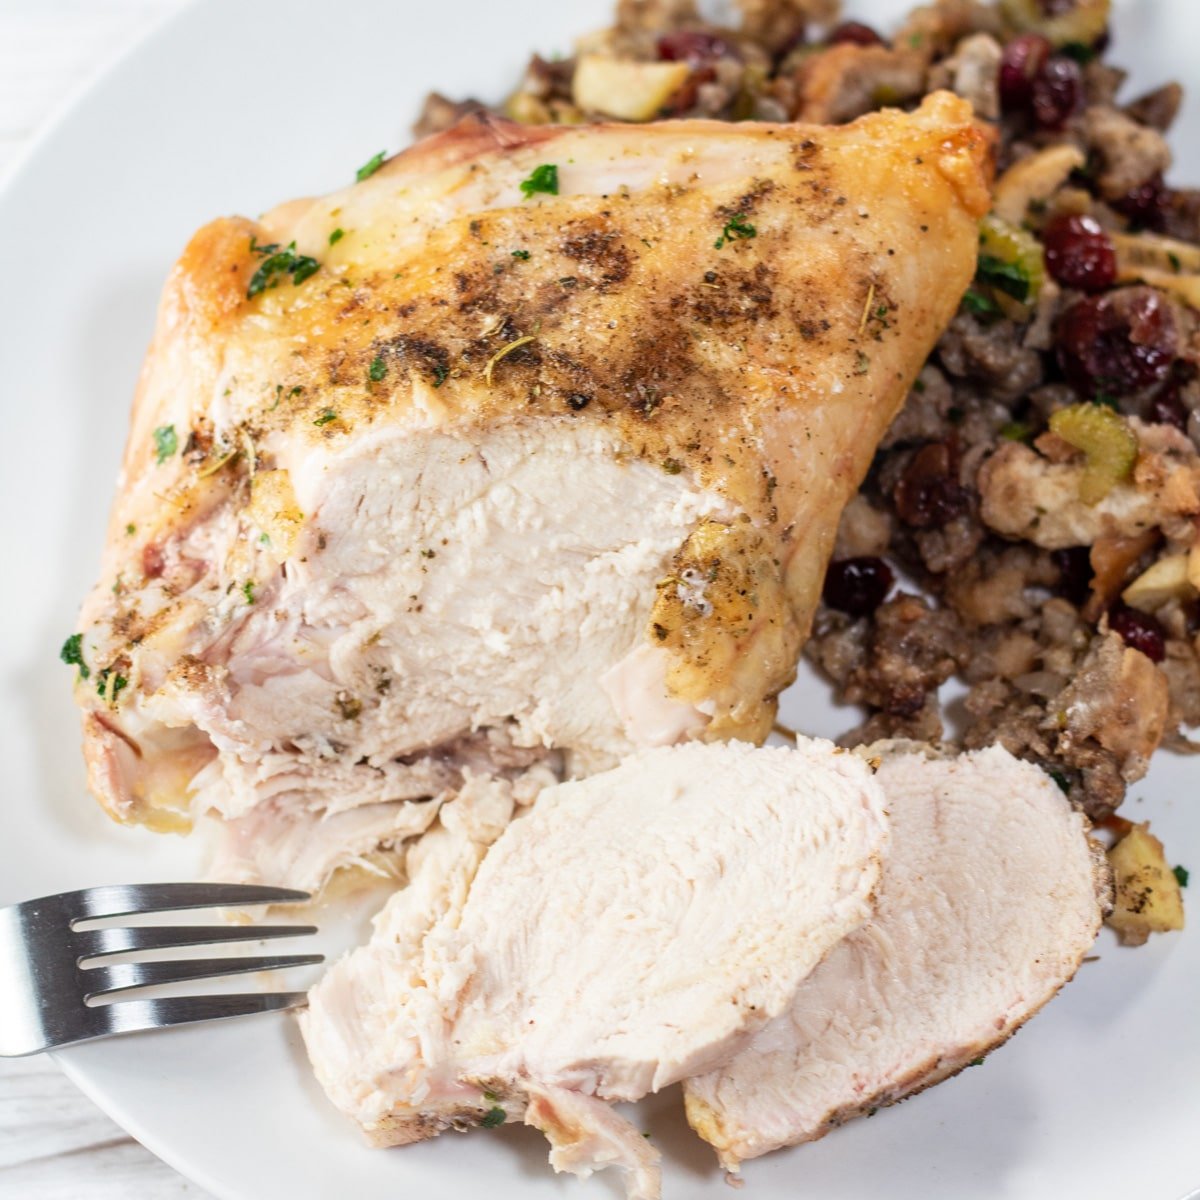
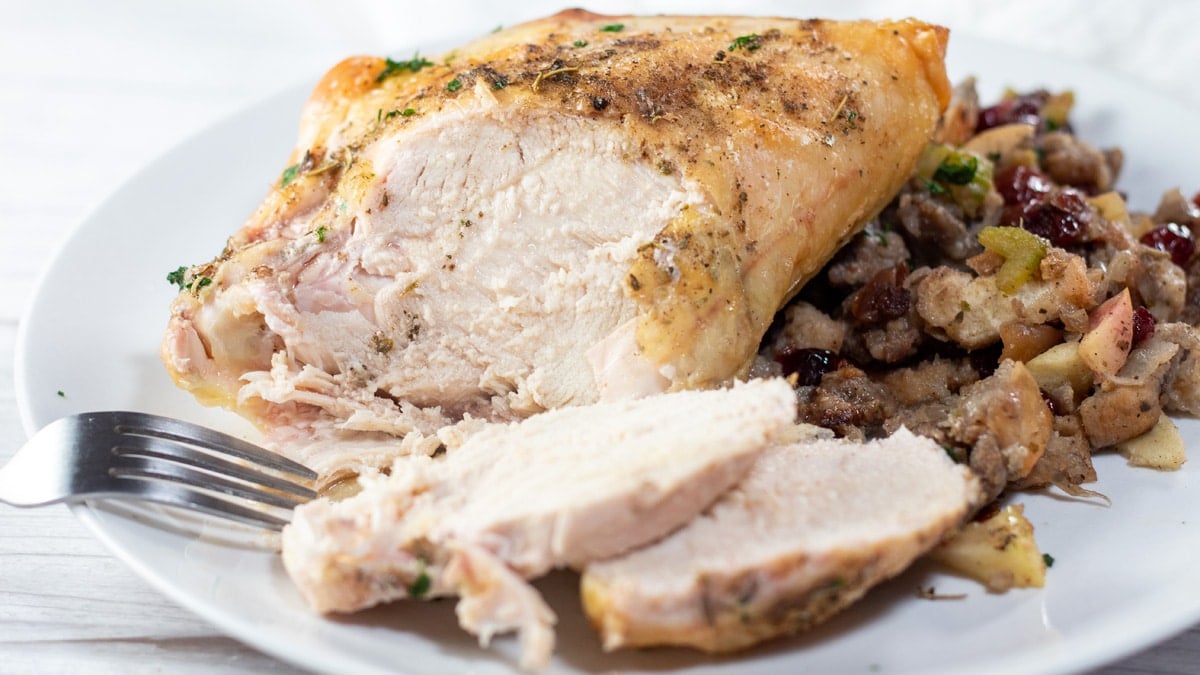
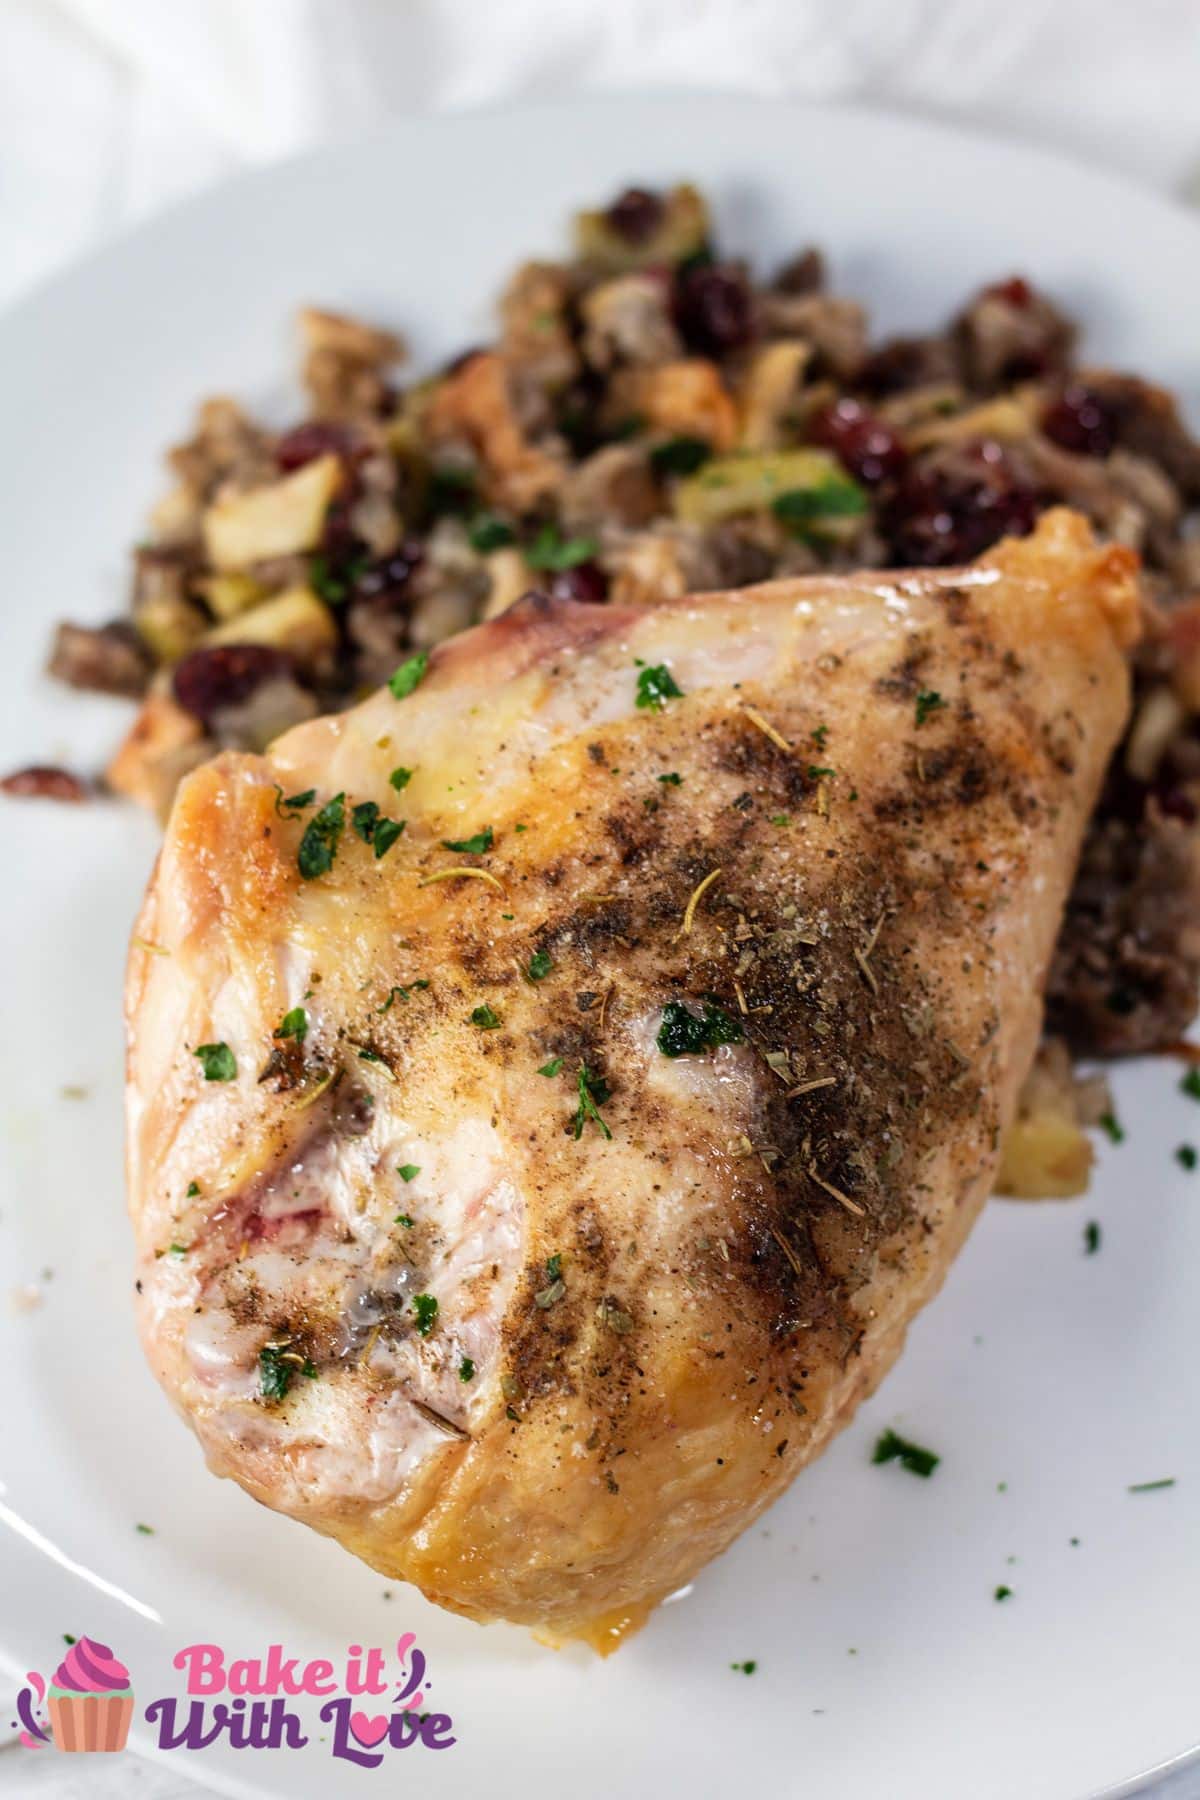
These oven-baked split chicken breasts are an easy, healthy, and delicious choice for dinner any night of the week. My bone-in-baked chicken breasts turn out beautifully with a crispy seasoned skin while retaining their juices for perfect, tender, moist chicken meat. Pair this dish with any of your favorite sides for a well-rounded and complete meal that the whole family will enjoy.
Use leftover chicken meat in my tasty soup recipes like the classic Chicken Noodle Soup, the perfectly spiced Chicken Tortilla Soup, and the heavenly Creamy Chicken Minnesota Wild Rice Soup!
Jump to:
Well-seasoned and perfectly cooked oven-baked split chicken breasts are a staple dinner that is both affordable and healthy.
Baking the chicken with the bone in and skin on helps keep all the wonderful juices and flavors of your baked chicken breast inside the meat.
This is an everyday kind of bone-in, skin-on chicken breast recipe. In its many variations of seasoning, I use this recipe as the base for so many things.
Leftover seasoned chicken meat like this is fantastic in soups, casseroles, chicken salad, and much more!
🥘 Ingredients
This recipe only requires chicken breasts and a handful of spices and herbs. You can swap out the seasoning combination for some store-bought chicken seasoning if desired.
- Chicken Breasts - (also called Split Breasts): You'll need roughly 2-3 pounds of chicken meat. The brands will vary, but this will typically be around 2-4 chicken breasts.
- Olive Oil - 1 tablespoon of extra virgin olive oil (EVOO) to pan-sear your chicken breasts and for baking.
- Chicken Seasoning - ½ teaspoon of salt and ¼ teaspoon each of pepper, onion powder, garlic powder, and paprika. These are my base spices for seasoning chicken. Cayenne pepper can be added for some heat, and fresh herbs, including thyme, rosemary, and parsley, are also exceptionally good with chicken. ***For an amazing seasoning for chicken, try my poultry seasoning!
*Be sure to see the free printable recipe card below for ingredients, exact amounts & instructions with tips!*
🔪 How To Bake Split Chicken Breasts
I highly recommend searing your chicken for crisp and flavorful skin.
When you are ready to start, you'll need a baking sheet, a skillet (for searing), and some measuring spoons for your seasonings.
The exact amount of servings will depend on the weight of your chicken. In general, you can expect about 6 portions.
Prepare the Chicken
- Preheat. Preheat your oven to 400°F (205°C) and line a rimmed baking sheet with parchment paper or aluminum foil (or coat a baking dish with olive oil or non-stick cooking spray).
- Prepare chicken. Rinse and pat dry your split chicken breasts. Coat with 1 tablespoon of olive oil, rubbing the olive oil into the skin and breast surface side that will be facing upward during cooking. *Be sure to carefully clean all surfaces after preparing raw chicken, cook the chicken to the minimum safe temperature, and store unused leftover chicken once cooled.
- Season. Season each piece of chicken, sprinkling with combined spices: ½ teaspoon of salt and ¼ teaspoon each of pepper, onion powder, garlic powder, and paprika.
- Transfer. Place the chicken breasts, skin side up, on your prepared baking sheet.
Cook the Chicken
- Sear the skin. *For extra crispy chicken skin, heat a skillet or frying pan to medium-high heat. There is no need to add oil (it's already on your split chicken breasts); place the skin side down on the seasoned chicken breasts and sear for 3-4 minutes or until nicely golden brown. Then place it onto your baking sheet and continue with steps 5 & 6.
- Bake. Bake for 40-45 minutes, or until the internal temperature reaches a minimum of 165°F (74°C) when checked with a meat thermometer. *Check next to the bone at the breast meat's deepest (thickest) point.
- Rest. Remove the baked chicken from the oven and allow it to sit (rest) for 3-5 minutes before being served; this allows the juices to sink back into the meat rather than running out when the chicken is cut.
This versatile main dish can easily be paired with any of your favorite side dishes. I like to serve it with some creamed corn, bacon cream cheese mashed potatoes, and green beans almondine. Enjoy!
🌡️ How Long To Bake Bone-In Chicken Breasts
I recommend baking your chicken at 400°F (205°C) for best results. However, some people have specific temperature preferences for baking chicken, so follow this handy temperature chart below!
- Bake at 350°F (175°C) for 50-55 minutes
- Bake at 375°F (190°C) for 45-50 minutes
- Bake at 400°F (205°C) for 40-45 minutes
- Bake at 425°F (220°C) for 35-40 minutes
- Bake at 450°F (230°C) for 30-35 minutes
💭 Tips & Notes
- Adjusting Baking Times: The cooking time for your split chicken breasts will depend on their size and thickness. For example, a 2½ pound package containing two large, bone-in chicken breasts, as shown here, can provide several 4-6 ounce servings per breast due to their substantial size.
- Seasoning Flexibility: While my seasoning blend is highly recommended, customize the chicken with any preferred spices and herbs to suit your taste before baking.
- Benefits of Bone-In Chicken: Cooking with bone-in chicken not only helps retain moisture but also infuses additional flavor into the meat, enhancing the overall taste of your dish.
🥡 Storing & Reheating
If you happen to have any leftovers, keep them in an airtight container in the refrigerator for 3-4 days.
Alternatively, you can freeze your cooked bone-in chicken breasts for extra easy meal prep. Wrap the meat in freezer paper, followed by a layer of plastic wrap and aluminum foil, before placing it into a storage bag.
The chicken can be frozen for up to 3 months. Allow it to thaw in the refrigerator overnight before reheating.
Reheating
Gently reheat any leftovers in the oven at 350°F (175°C) until heated through.
🤔 When Is Baked Chicken Done
Your chicken (any cut or any poultry) is done when the internal temperature, measured with a meat thermometer, reaches 165ºF (74ºC) according to USDA food safety guidelines.
With bone-in chicken specifically, I prefer to make sure that my chicken temps out at 180ºF (82ºC). The temperature should be taken at the thickest portion of the chicken and close to the bone.
Other indicators include the color of the chicken juices. If there are still blood-tinged juices in the baking tray, there is a good chance that one or more pieces are not fully cooked.
Also, when using your meat thermometer to take the internal temperature of your chicken, the juices that run back out after the temperature has been checked should be clear. Not pink or discolored.
The meat closest to the bone and at the deepest portion of meat is the most likely undercooked area of the chicken breast. As the last check before serving your baked chicken breasts, carve the meat away from the bone. The chicken meat should be white when fully cooked, with no remaining 'pink' color.
If you want to learn more, look at my in-depth guide to chicken internal temperatures!
>>>>See all of my recipes here<<<<
❓ FAQ
You can use leftover chicken breasts in any of your favorite chicken recipes (especially ones that you would typically use rotisserie chicken for!) You can use leftovers to make enchiladas, Doritos chicken casserole, chicken spaghetti, or more!
Choosing a lower temperature and cooking your poultry for a longer time is preferred over using a higher temperature and a shorter cooking time. Additionally, allow your chicken to rest under a tent of aluminum foil. If you slice your chicken out of the oven, the juices will run and dry the meat.
This recipe is truly very simple! There is no need to cover your chicken breasts while baking in the oven. Leaving them uncovered helps to create crisp skin!
🍗 More Chicken Recipes
- Chicken Hearts - Go ahead and switch up your standard chicken recipes by trying out some nutritious and tasty chicken hearts!
- Biscuit Chicken Pot Pie - Using premade biscuits makes this chicken pot pie recipe incredibly easy to make!
- Panda Express Teriyaki Chicken - This copycat recipe tastes even better than the one from the restaurant!
- Chicken Schnitzel - A traditional German dish, this chicken schnitzel features thin chicken cutlets that have been coated and fried!
- Bag Roasted Chicken - If you have some roasting bags on hand, you need to try out this flavorful chicken recipe!
- Smoked Spatchcock Chicken - Fire up the smoker and get ready to enjoy this tender and flavorful protein!
Do you love a recipe you tried? Please leave a 5-star 🌟rating in the recipe card below and/or a review in the comments section further down the page.
Stay in touch with me through social media @ Pinterest, Facebook, Instagram, or Twitter! Subscribe to the newsletter today (no spam, I promise)! Don't forget to tag me when you try one of my recipes!
📖 Recipe Card
Oven Baked Split Chicken Breasts (Bone-In)
Ingredients
- 2.5-3 lbs bone-in skin on split chicken breasts (brands will vary, but this will typically be 2-4 chicken breasts)
- 1 tablespoon olive oil (extra virgin)
- ½ teaspoon salt
- ¼ teaspoon ground pepper
- ¼ teaspoon onion powder
- ¼ teaspoon garlic powder
- ¼ teaspoon paprika
Instructions
- Preheat your oven to 400 degrees F (205 degrees C) and line a rimmed baking sheet with parchment paper or aluminum foil (or coat a baking dish with olive oil or non-stick cooking spray).
- Rinse and pat dry your split chicken breasts. Coat with olive oil, rubbing the olive oil into the skin and breast surface side that will be facing upward during cooking.
- Place the chicken breasts, skin side up, on your prepared baking sheet. Season each piece of chicken, sprinkling with combined spices: salt, pepper, onion powder, garlic powder, and paprika.
- *For extra crispy chicken skin, heat a skillet or frying pan to medium high heat. No need to add oil (it's already on your split chicken breasts), place the seasoned chicken breasts skin side down and sear for 3-4 minutes or until nicely golden brown. Then place onto your baking sheet and continue with steps 5 & 6.
- Bake for 40-45 minutes, or until the internal temperature reaches a minimum of 165 degrees F (74 degrees C) when checked with a meat thermometer. *Check next to the bone at the deepest (thickest) point in the breast meat.
- Remove the baked chicken from the oven and allow it to sit for 3-5 minutes before being served.
Nutrition

Angela is an at home chef that developed a passion for all things cooking and baking at a young age in her Grandma's kitchen. After many years in the food service industry, she now enjoys sharing all of her family favorite recipes and creating tasty dinner and amazing dessert recipes here at Bake It With Love!



Cat says
I bake chicken breasts, then the last 15 minutes, take out of the oven, remove skin and bones. Discard bones, place skin on the same pan with breasts to crisp. Brush the breasts with oil or melted butter, sprinkle lightly with seasonings and return to oven for additional 15 minutes. This results in juicy chicken with a slight crust.
Cindy G. says
I've made this recipe a few times now. It's FREAKING AMAZING! Total Yum!
Amy Thurston says
Perfect chicken anytime dinner, thank you. It was a total hit! Will be making this recipe again!!
Karen Montecalvo says
Craving chicken like mother fixed when we were kids...this was wonderful!
Seasons01 says
This is very good technique. I used a frying pan that can handle the heat. I then used Avocado Oil/Mrs. Dash/Garlic Salt and rubbed it all in. I first put it on the skin side and then turned after the directions said. You know it is the only time I get crispy skin. Set oven for 40 minutes. Pulled out the small one at 40 min and then waited about 7 minutes and let it sit on the counter for at least 5 minutes under tin foil. Cut and poured juices over pieces of chicken.
The only issue I have is that I don't have a thermometer to stick in the meat while cooking so mine got a little overdone. But that is my fault.. which is funny because usually this technique doesn't get done for me on other recipe sites. So I'm assuming that the time and temp is different on this one. I can't wait to try it again with a smaller piece of chicken. Something a little younger. Just waiting for my thermometer!! :0)
***PS... don't touch the handle of the pan after you get it out of the oven. Ouch!
Colleen says
Made this tonight, super easy.So good my husband loved it. Super juicy. Will be with my recipe collection for sure. Thank you
Meagan says
Hello. I’m going to be cooking 16 bone in chicken breasts. How long would you suggest I cook them for? Also, would it be better at a lower temp like 350 or higher? Thank you so much!
Rose says
I don’t understand the reason for the temperature chart? Your instructions say to bake at 400 degrees. I’ve never baked chicken so I’m a little confused.
Angela @ BakeItWithLove.com says
Some people have preferences for baking temperatures and would need to know the approximate baking time at a different temperature. My preferred temp is 400F for a juicier baked chicken breast.
Meg says
Came out perfect and very moist! Thank u!
Angela @ BakeItWithLove.com says
Super! So glad you enjoyed the chicken!
carol says
Great recipe! Made it tonight for dinner, added a pinch of red chili powder to the spices and it turned out perfect. I tented it for 10 min after taking it out of the oven and it was so juicy, very tasty! The recipe is a keeper.
Lyn says
Would I be able to make this in my crockpot? It’s so hot here, and I would rather not turn on my oven:)
Angela @ BakeItWithLove.com says
Hi there! Yes, you can cook the chicken in a crockpot. Add a 1/2 cup of broth or water to help keep the chicken moist, then season and place into your slow cooker. Cook on high for 2 hours, or low for 3-4 hours and until the internal temperature is at least 165F (I prefer 180F for bone-in chicken). Enjoy!
Lyn says
Thank you!
Angela @ BakeItWithLove.com says
You're very welcome 🙂
Ann says
This is such a comprehensive recipe, especially the cooking chart. Turns out delicious and I agree that bone in skin on tastes better. Plus, crispy skin!
Patricia Bryan says
Thanks for a perfect recipe. I separated the meat from the bone after I finished baking it and I had delicious chicken in my salads all week. I have made this recipe about five times and it always turns out great. Thanks.
Jane says
This was incredible. So easy. Made it verbatim. Didn't even need the extra step of searing the chicken. I got two large Aldi bone-in with skin split chicken breasts for less than four bucks and a total of 5 lb. I put one in the fridge and one in the oven. Good old-fashioned smells in the house and good old fashioned chicken flavors. Of course I could only eat 1/3 of the chicken breast. It will make great leftovers. Thank you so much for the easy recipe. Single gal here. Always looking for easy recipes.
Randye D says
This is an easy recipe for baked chicken breasts. They came out very favorable and moist. My husband loved them. I plan to make soup with the leftovers, but I am sure they would be great in pasta or a pot pie as well. Only change I made was adding a little cayenne because we like spicy. I will be making this regularly. Thank you for sharing.
Mary says
Trying this recipe tonight
Wendy O says
Perfect even without the brine. Thank you for including variations on oven temperatures / baking times. This will be my go to recipe for baked bone-in chicken breasts!
Angela @ BakeItWithLove.com says
Thank you Wendy! So glad you enjoyed the chicken 🙂
Cheryl Foster says
Thank you. Most people don't want to bother with bone-in any more it seems, but they turn out so much better than boneless without a lot of pampering. Love the chart. Mine turned out great.
Angela @ BakeItWithLove.com says
I think bone-in has more flavor, so I'm glad to hear that you enjoyed it too! Thanks Cheryl!
Ruth Gutstein says
This recipe does not provide an oven temperature to bake the chicken breasts.
Angela @ BakeItWithLove.com says
Hi Ruth, the temperature is given in step 1 of the recipe card and covered in the main body text in the oven temp/cook time section.
"How Long To Bake Bone-In Chicken Breasts
Bake at 350 degrees F (175 degrees C) for 50-55 minutes
Bake at 375 degrees F (190 degrees C) for 45-50 minutes
Bake at 400 degrees F (205 degrees C) for 40-45 minutes
Bake at 425 degrees F (220 degrees C) for 35-40 minutes
Bake at 450 degrees F (230 degrees C) for 30-35 minutes"
I baked mine at 400 degrees F for 45 minutes, which will vary depending on the chicken breast size and thickness. Hope that helps!!
Kelly Hirsch says
Love the time/temp chart combined with a classic.recipe
Angela @ BakeItWithLove.com says
Thank you Kelly! It's wonderful to know that it's appreciated!