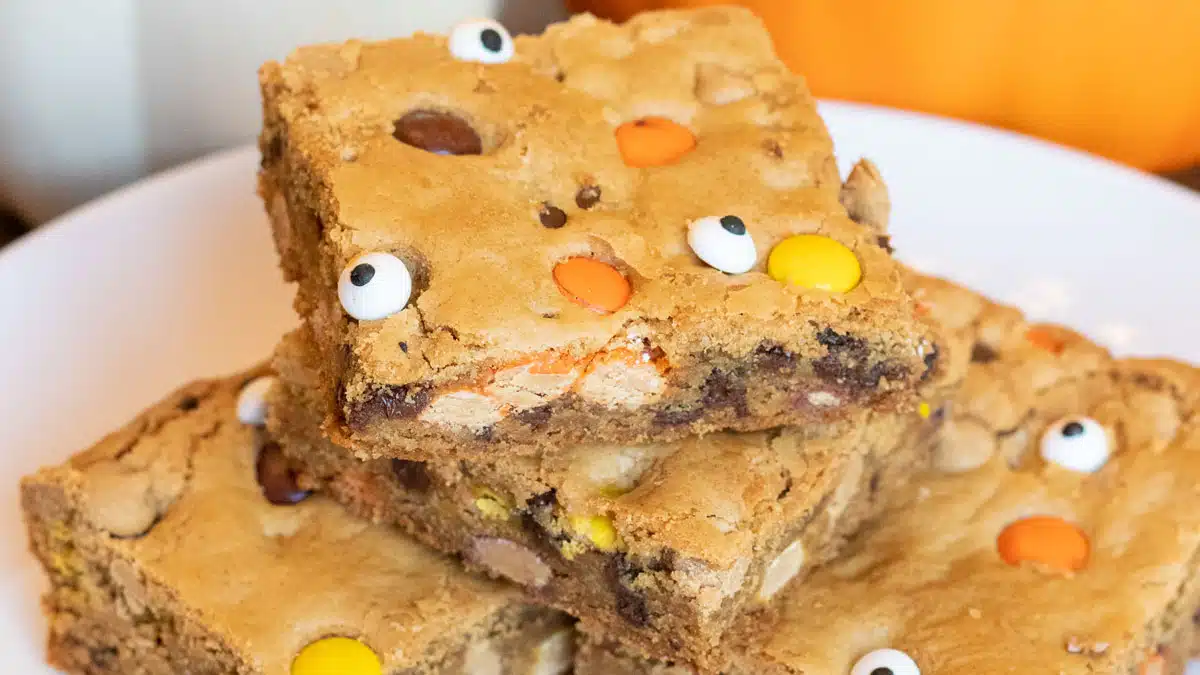
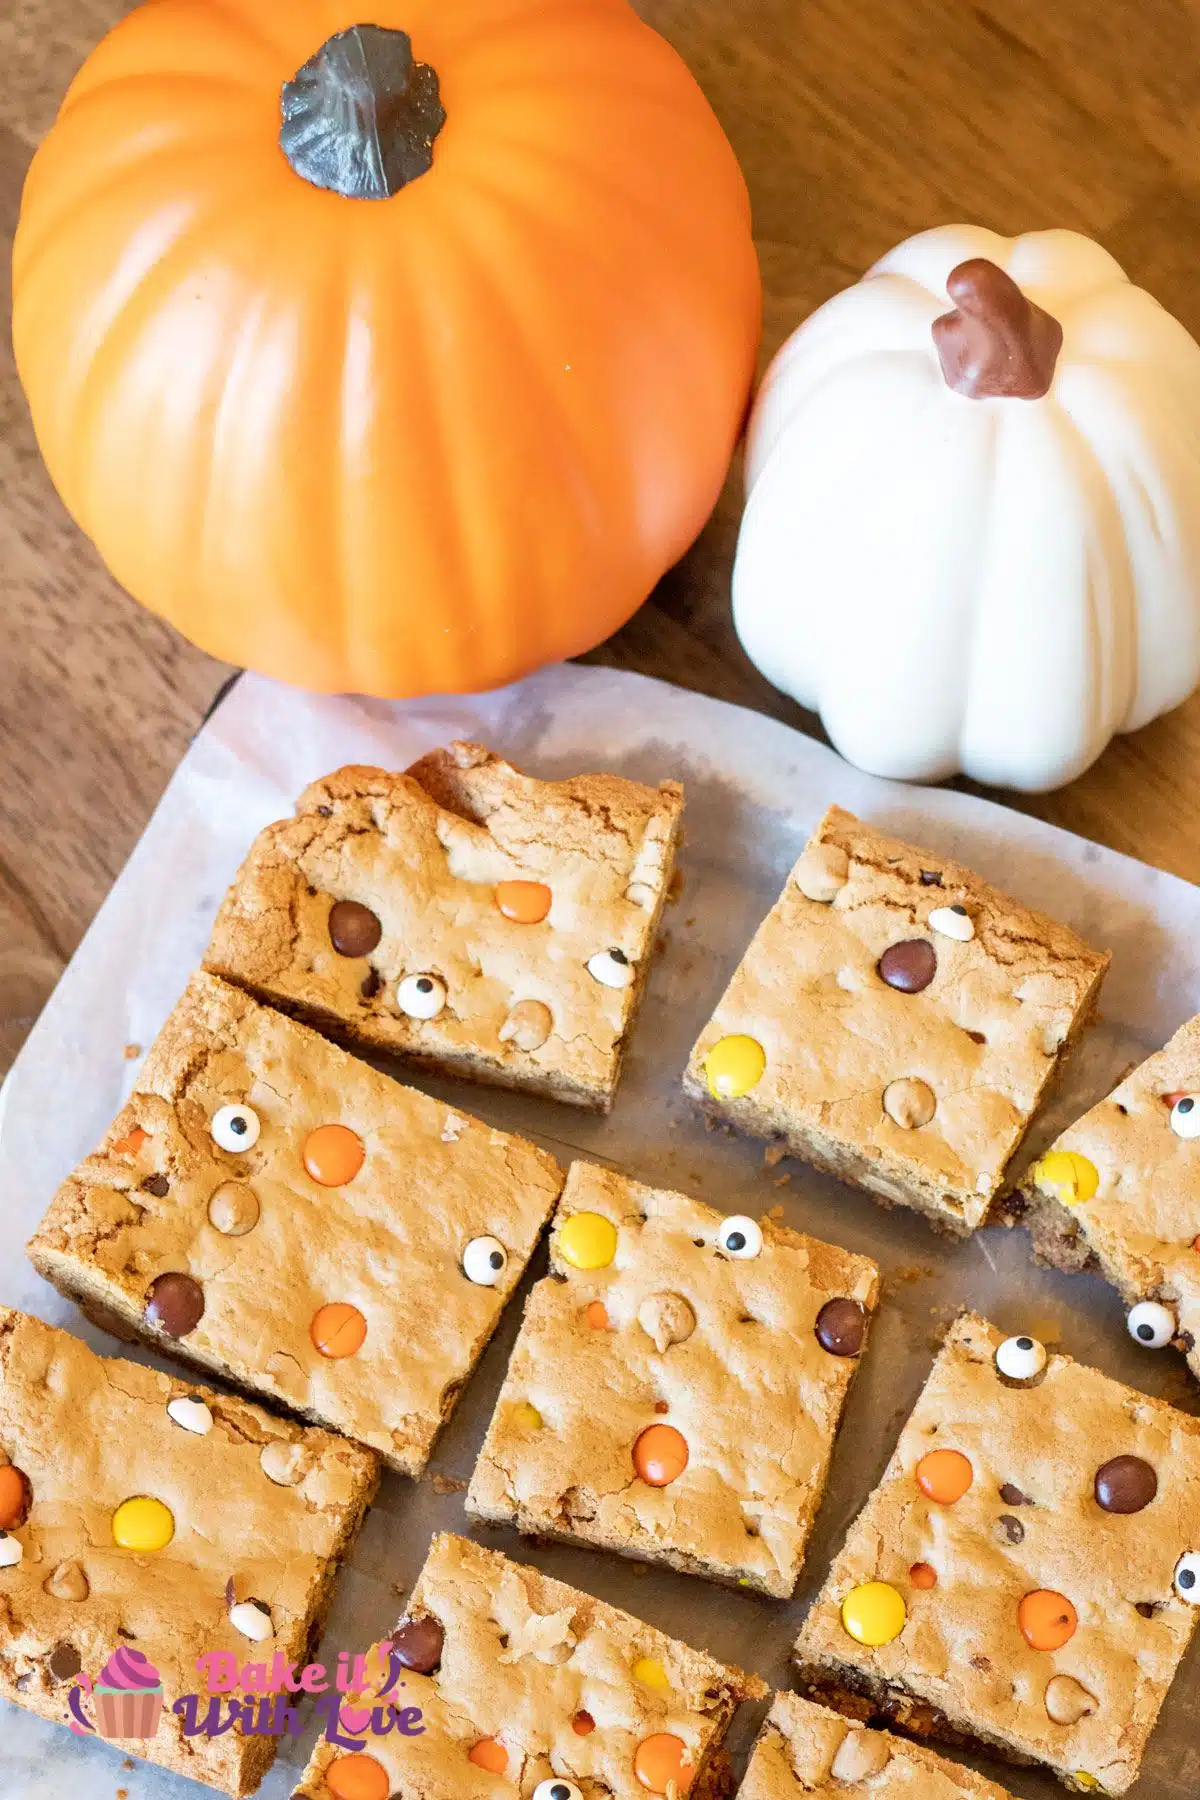
My Halloween Reese's Pieces bars are an easy-to-make, festive treat with a delightful combination of peanut butter and chocolate. They're loaded with Reese's pieces and mini chocolate chips, then topped with candy eyeballs for a fun and eerie twist. Perfect for Halloween parties or simply sharing with friends or coworkers, these dessert bars are guaranteed to be a crowd-pleaser.
For more Halloween treats, try my Halloween cookies, Halloween cakes, and Halloween cupcakes.
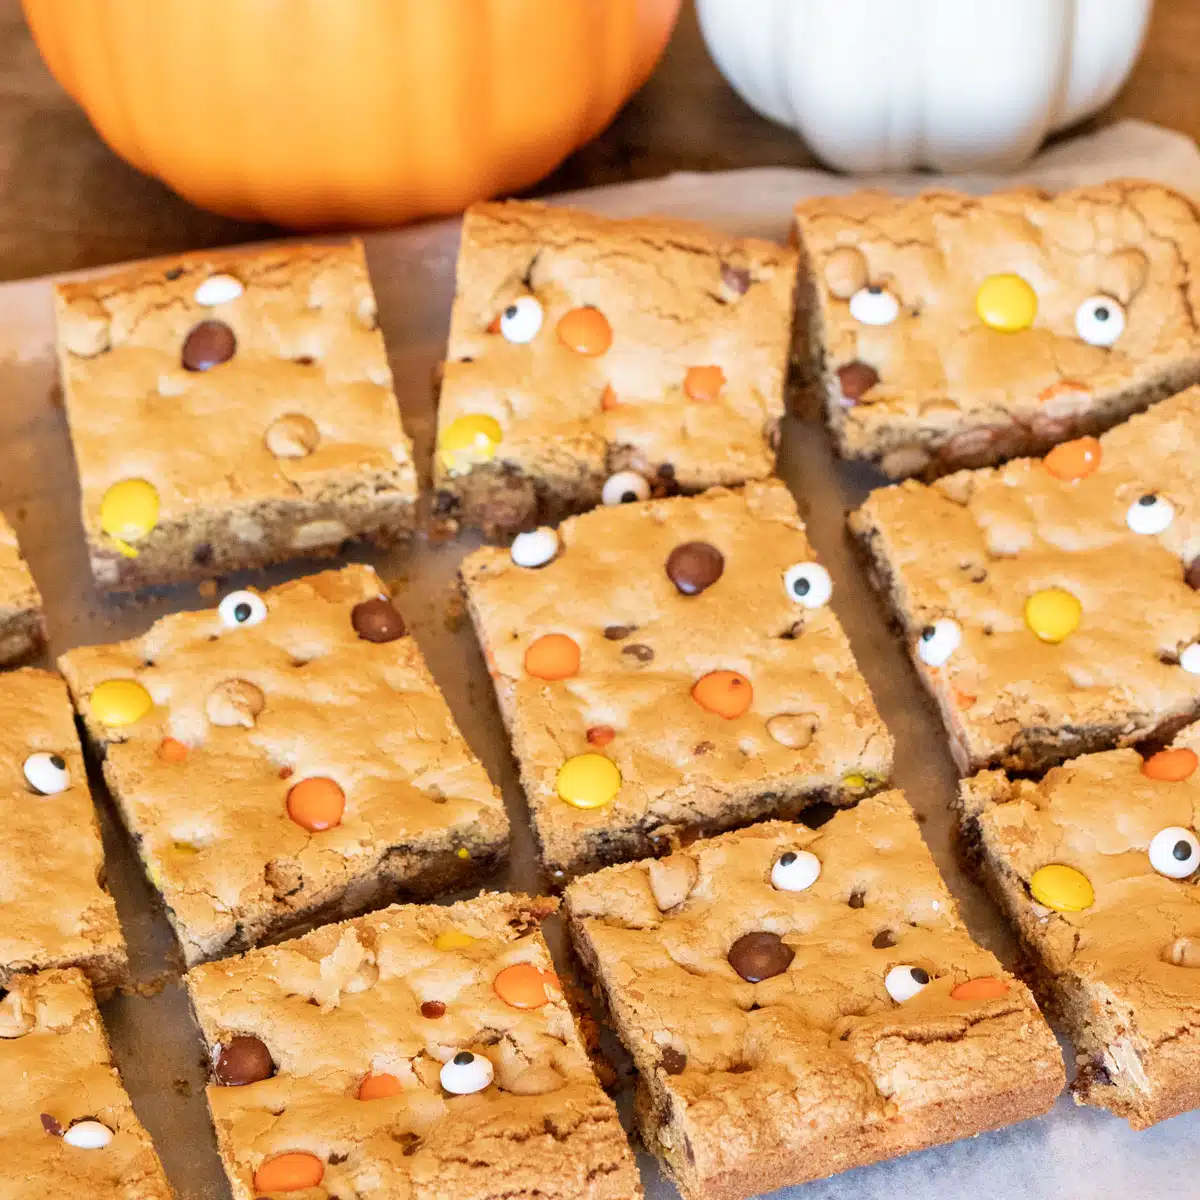
When it comes to Halloween, there's nothing that I like more than shareable treats that are easy to prepare. Whether they're no-bake cookies, brownies, blondies, or other fabulous dessert bars, I love creating new traditions with my family.
If your family loves the classic combination of peanut butter and chocolate, then these Halloween Reese's Pieces bars are just what you are looking for. With spooky candy eyeballs as the final touch, these bars are perfect for parties or 'Halloween Boo-ing' your neighbors.
🥘 Halloween Reese's Pieces Bars Ingredients

- Butter - Butter softened at room temperature or a butter substitute.
- Light Brown Sugar - Packed light brown sugar or use a light brown sugar substitute.
- Creamy Peanut Butter - I prefer creamy peanut butter for these dessert bars, but chunky would work well too. I would avoid natural peanut butter with extra oil that separates.
- Eggs - Set your eggs on the counter to come to room temperature for even baking.
- Vanilla Extract - I recommend using pure vanilla extract for the best flavor.
- Baking Soda - Baking soda is the leavening agent that helps the bars rise. Make sure to use baking soda, not baking powder.
- Salt - A little salt helps to balance out all the sweetness.
- All-Purpose Flour - All-purpose flour or an all-purpose flour substitute.
- Reese's Pieces - I used full-sized Reese’s Pieces candies, but the mini ones will work great, too.
- Mini Chocolate Chips - Mini chocolate chips or classic milk chocolate chips.
- Candy Eyeballs - I like to use an assortment of sizes for the candy eyeballs to make them look extra silly.
Be sure to see the free printable recipe card below for ingredients, exact amounts & instructions with tips!
🔪 How To Make Halloween Reese's Pieces Bars
These Halloween Reese's Pieces dessert bars are beginner-friendly and super easy to prepare. Take out your stand mixer, measuring cups, a 9x13 baking pan, parchment paper (or aluminum foil), and measuring spoons to begin.
One batch of these tasty dessert bars will make about 20 servings, depending on how large you cut them.
Prep & Make Cookie Dough
Step 1: Preheat and prep. Begin by preheating your oven to 350°F (175°C/Gas Mark 4). Next, prepare a 9x13-inch pan by lining it with parchment paper or aluminum foil, ensuring a slight overhang for easy removal.
Step 2: Cream ingredients. Cream ½ cup (114 grams) of butter and 2 cups (440 grams) of light brown sugar in a large mixing bowl or the bowl of a stand mixer (photo 1).


Next, add ½ cup (129 grams) of creamy peanut butter and mix until the ingredients are well incorporated (photo 2).
Step 3: Mix and fold. Add in 2 large eggs and 1 tablespoon of vanilla extract (photo 3), blending thoroughly. Next, add ¾ teaspoon of salt and 1 teaspoon of baking soda (photo 4), then gently fold in 2 ¼ cups (281 grams) of all-purpose flour (photo 5), mixing just until incorporated.


Add Candy & Assemble
Step 4: Add candy. Gently combine 1¼ cup (260 grams) of Reeses’s Pieces candy and ½ cup (90 grams) of mini chocolate chips into the mixture. Use your hands to carefully blend, ensuring even distribution of the candies within the cookie dough (photo 6).


Step 5: Assemble bars. Place the mixed cookie dough into your prepared 9x13 pan. Utilize a spatula to spread and firmly press the dough into a uniform layer. Optionally, place extra candies on top, gently pressing them slightly into the dough (photo 7).


Bake, Cool & Serve
Step 6: Bake bars. Position your 9x13 pan on the middle rack of your oven and bake at 350°F (175°C/Gas Mark 4) for 35-40 minutes, or until the top achieves a golden hue and loses its raw appearance (photo 8). To determine doneness, insert a toothpick into the center – it should come out clean. *If required, cover the bars with aluminum foil to prevent excessive browning during the final minutes of baking.
🍽️ Best Served With

These peanut butter-filled dessert bars are tasty alone or alongside a tall glass of milk. You could pair them with my dirt cake cookies, Nutter Butter mummies, and meringue ghosts as a delicious dessert spread for your Halloween gatherings. Enjoy!
💭 Angela's Tips & Recipe Notes
- Mix in some peanut butter chips. Feel free to use ½ cup of Reese’s Pieces peanut butter chips as a substitute for the entire amount of Reese's Pieces.
- Add more candy for more color. For an added visual appeal, sprinkle some extra Reese's Pieces on top of the bars before placing them in the oven.
- No one will mind extra Reese's. You could also include some chopped mini Reese's Peanut Butter Cups for more chocolatey peanut butter flavor.
- Monitor the baking time closely. These bars should be slightly undercooked, as they will continue to bake in the pan as they cool.
>>>See All Of My Tasty Recipes Here!<<<
🥡 Storing
Keep your Halloween Reese's Pieces bars in an airtight storage container on the counter (at room temperature) for up to 7 days. You can refrigerate these bars if preferred; note that the texture may change.
Freezing
Wrap each bar individually with plastic wrap and put them into a freezer-friendly storage bag. If you prefer, you can first flash-freeze these dessert bars on a baking sheet.
Store any leftover Halloween monster Reese's pieces bars in your freezer for up to 3 months. When ready to enjoy, take them out of the freezer and thaw the bars at room temperature.
❓ Halloween Reese's Pieces Bar Recipe FAQ's
Absolutely! If you don't have Reese's Pieces readily available, you can utilize a different type of candy like M&M's in the cookie dough. You could also use mini milk chocolate chips and add peanut butter baking chips if desired.
Another idea would be to use mini Reese's Cups or mini Reese's Pieces. Even pretzel pieces would be a great addition.
Yes, Reese's Pieces bars will last in the freezer for up to 3 months when properly stored. I like to individually wrap each bar or square with plastic before transferring them to a resealable, heavy-duty plastic bag.
While I like to use regular creamy peanut butter, you could use other types of peanut butter, like crunchy peanut butter, natural peanut butter, almond butter, or any other nut or seed butter you like. However, remember that it could affect the overall texture and taste of the bars.
Do you love a recipe you tried? Please leave a 5-star 🌟rating in the recipe card below and/or a review in the comments section further down the page.
Stay in touch with me through social media @ Pinterest, Facebook, Instagram, or Twitter! Subscribe to the newsletter today (no spam, I promise)! Don't forget to tag me when you try one of my recipes!
📖 Recipe Card
Halloween Reese's Pieces Bars
Ingredients
- ½ cup butter (softened, at room temperature)
- 2 cups light brown sugar (packed)
- ½ cup creamy peanut butter
- 2 large eggs (at room temperature)
- 1 tablespoon vanilla extract
- 1 teaspoon baking soda
- ¾ teaspoon salt
- 2¼ cups all-purpose flour
- 1¼ cup Reeses’s Pieces candy
- ½ cup mini chocolate chips (or milk chocolate chips)
- 1 tablespoon candy eyeballs (I like to use an assortment of sizes)
(Note: 2x or 3x only changes the ingredient list)
Instructions
- Begin by preheating your oven to 350°F (175°C/Gas Mark 4). Next, prepare a 9x13 inch pan by lining it with parchment paper or aluminum foil, ensuring a slight overhang for easy removal.
- Cream ½ cup butter and 2 cups light brown sugar in a large mixing bowl or the bowl of a stand mixer. Next, add ½ cup creamy peanut butter and mix until the ingredients are well incorporated.
- Mix in 2 large eggs and 1 tablespoon vanilla extract, blending thoroughly. Add ¾ teaspoon salt and 1 teaspoon baking soda, then gently fold in 2¼ cups all-purpose flour, mixing just until incorporated.
- Gently combine 1¼ cup Reeses’s Pieces candy and ½ cup mini chocolate chips into the mixture. Use your hands to carefully blend, ensuring even distribution of the candies within the cookie dough.
- Place the thoroughly mixed cookie dough into the previously prepared 9x13 pan. Utilize a spatula to spread and firmly press the dough into a uniform layer. Optionally, place extra candies on top (gently pressing them slightly into the dough).
- Position your 9x13 pan on the middle rack of your oven and bake at 350°F (175°C/Gas Mark 4) for 35-40 minutes, or until the top achieves a golden hue and loses its raw appearance. To determine doneness, insert a toothpick into the center – it should come out clean. *If required, shield the bars with aluminum foil to prevent excessive browning during the final minutes of baking.
- Remove from oven and press the 1 tablespoon candy eyeballs into the top of the Reese’s bars.
- Allow the cookie bars to cool completely before removing from the pan, then cut into squares to serve.
Notes
- Feel free to use ½ cup of Reese’s Pieces peanut butter chips as a substitute for the entire amount of Reese's Pieces.
- For an added visual appeal, sprinkle some extra Reese's Pieces on top of the bars before placing them in the oven!
- You also can include some chopped mini Reese's Peanut Butter Cups, if desired!
- Monitor the baking time closely! It's best for these bars to be slightly undercooked, as they will continue to bake in the pan as they cool.
- To store: Keep your Halloween Reese's Pieces bars in an airtight container at room temperature for around one week.
- To freeze: Wrap each bar individually with plastic wrap and then put them into a freezer-friendly storage bag. If you prefer, you can first flash-freeze the bars on a baking sheet. Store the bars in the freezer for a duration of up to 3 months. When ready to enjoy, allow them to thaw at room temperature.



Angela Latimer says
These peanut butter monster bars are one of my super easy go-to treats for school and work parties. Everyone loves them and I know you will too. Enjoy! ~ Angela
Victoria says
I’m not a great baker but these were so easy! And really really yummy. Will definitely make again.