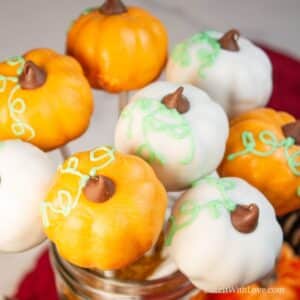
My festive pumpkin cake pops have pumpkin cake mixed with cream cheese frosting before being shaped into a pumpkin and dipped in chocolate. Not only are they super cute, but they are delicious and easy to make. This beginner-friendly guide will walk you through how to make these crowd-pleasing fall or Halloween treats.
Try my pumpkin snickerdoodles, pumpkin streusel bread, or pumpkin fudge poke cake for more pumpkin recipes.
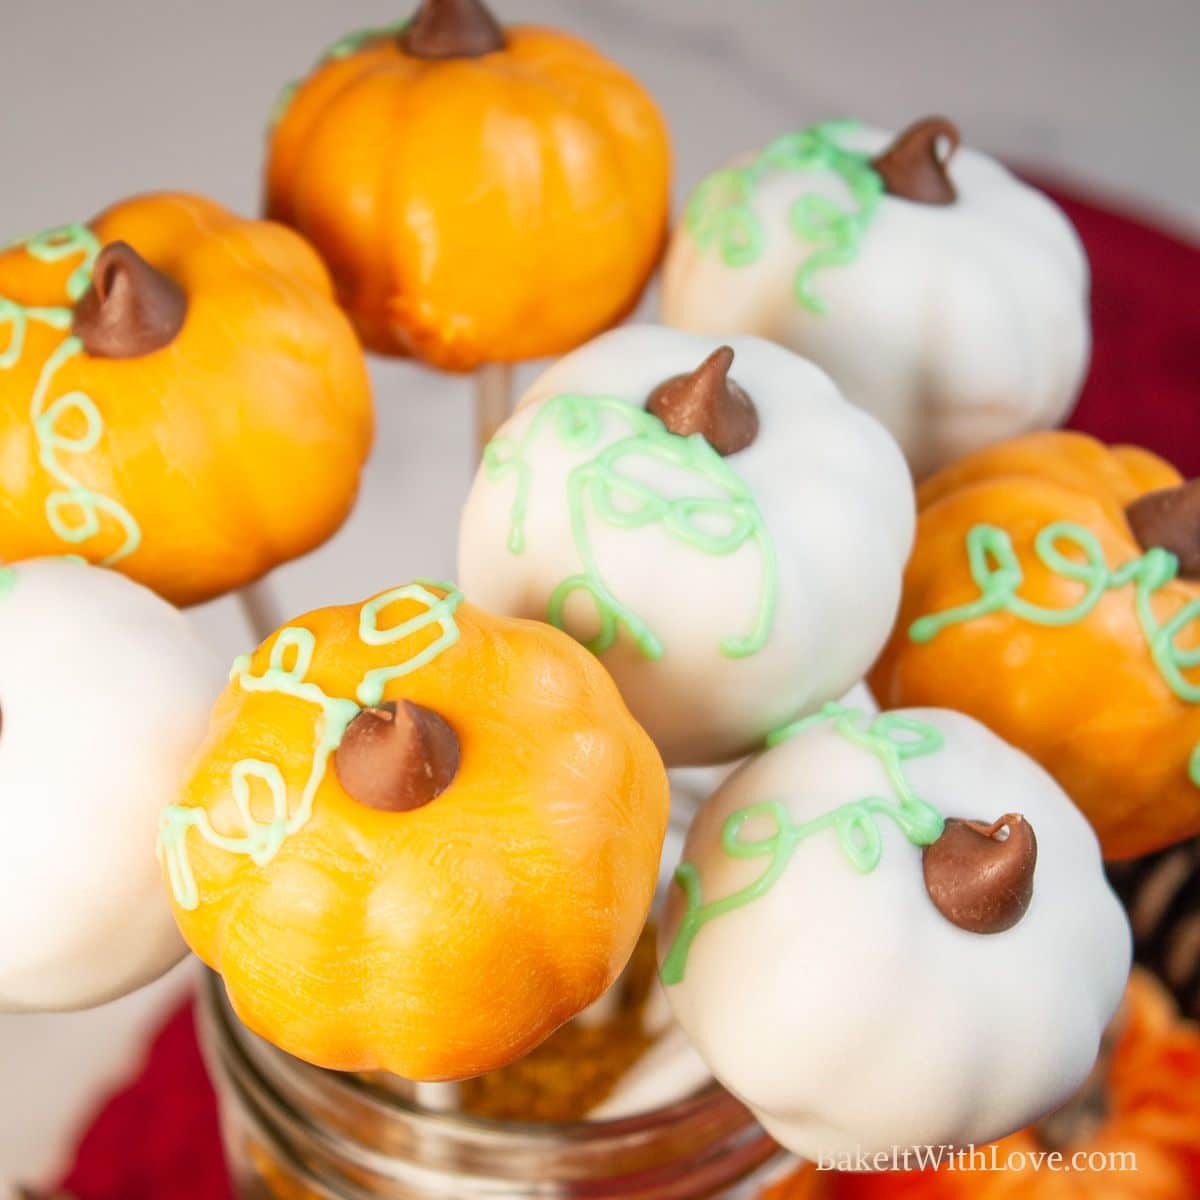
I've always been a fan of pumpkin-flavored things, and I love the look of falltime and all the decor that comes with it. These pumpkin cake pops are both delicious and adorable.
If you aren't a fan of pumpkins, don't worry. You can make and shape these cute pops using any flavor of cake you like.
🥘 Ingredients
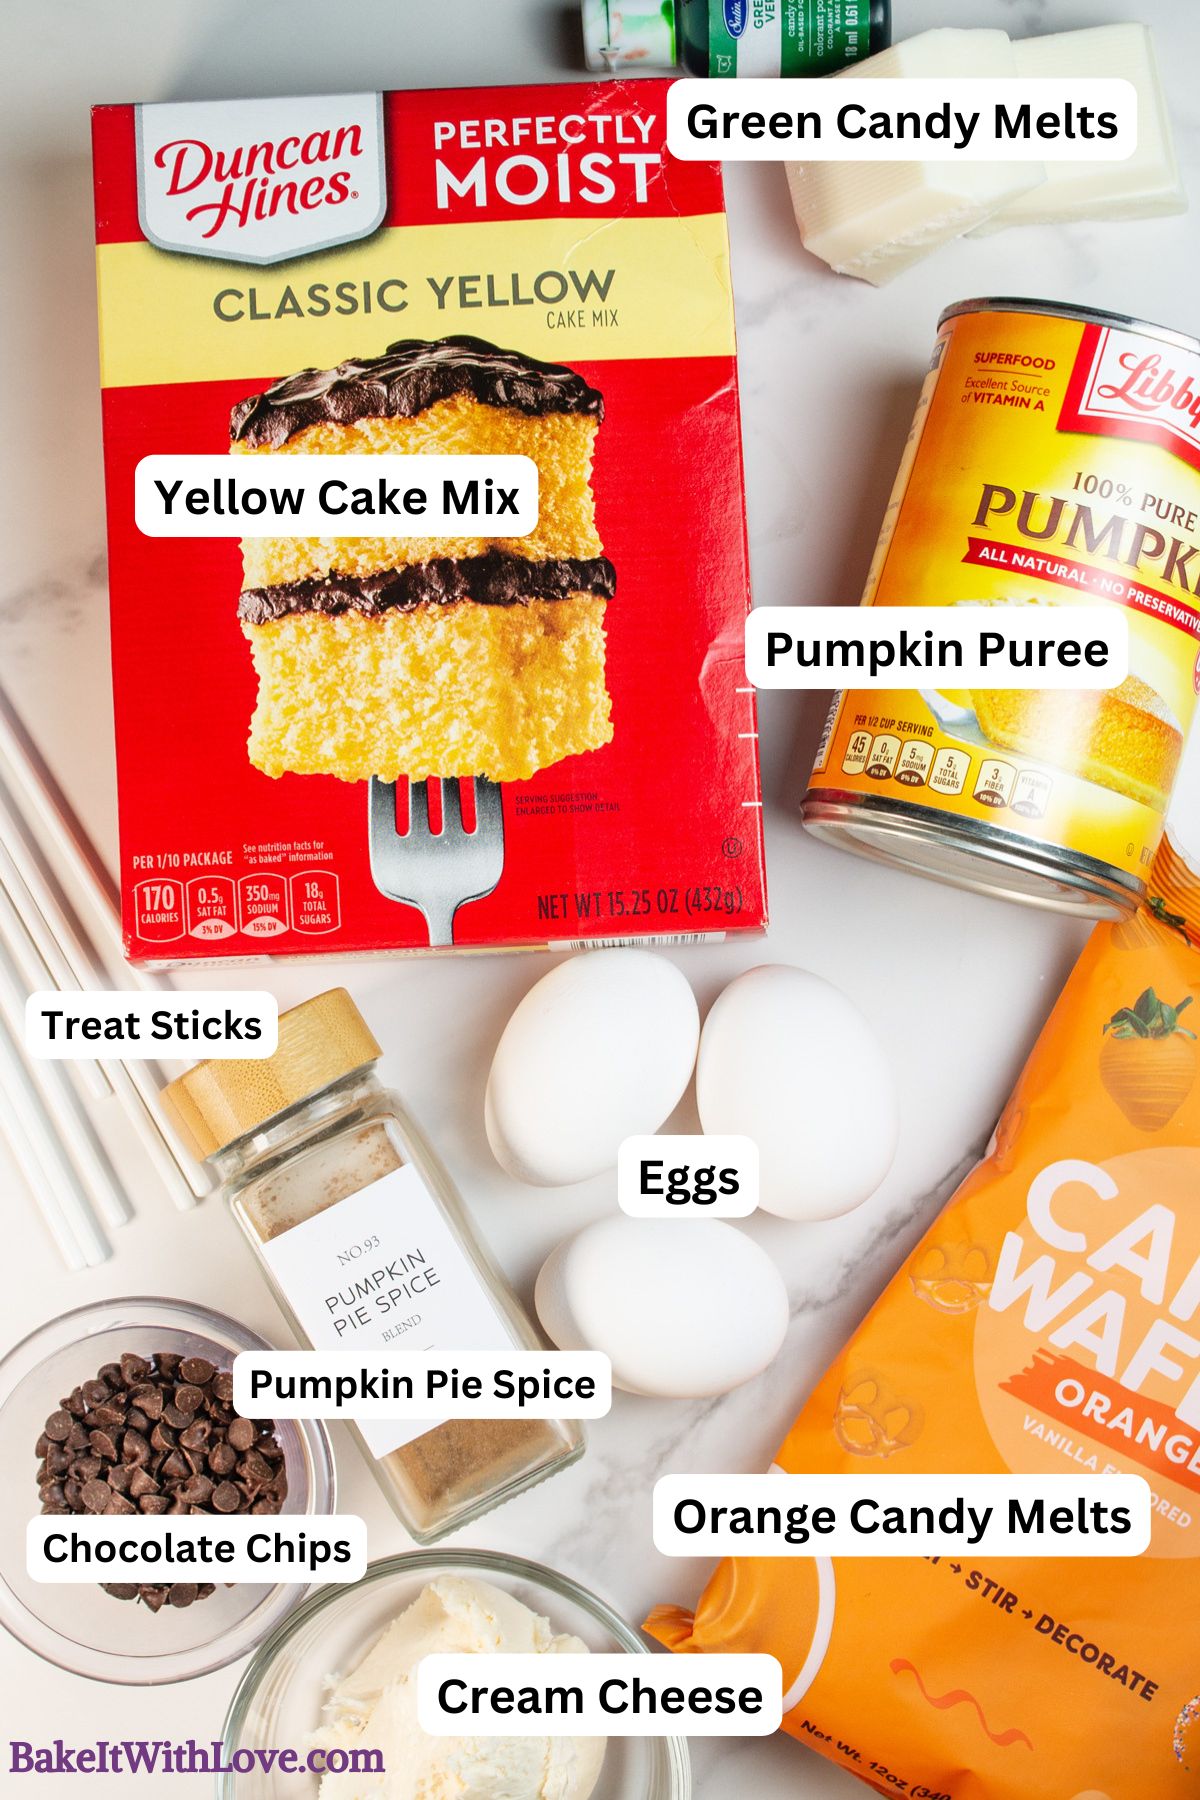
- Yellow Cake Mix - My preferred brand of boxed mix for cake pops is Betty Crocker Delights. Of course, you could always make a yellow cake from scratch or try my homemade yellow cake mix.
- Pumpkin Puree - I always recommend using Libby's canned pumpkin as it has a lower moisture content.
- Eggs - Let your eggs come to room temperature before using them for consistent baking results. Set them in a bowl of room temperature water for 5 minutes before baking to warm them quickly.
- Pumpkin Pie Spice - Try my homemade pumpkin pie spice or use your preferred store-bought brand or a pumpkin pie spice substitute.
- Cream Cheese Frosting - You can use store-bought or homemade cream cheese frosting.
- Chocolate Chips - These will act as the stem of the pumpkin. You can use milk, dark, or semi-sweet chocolate chips.
- Orange Candy Melts - I recommend Merckens, Ghirardelli, or Callebaut candy melts for the best taste and that melt easily. Chocomaker brand also melts well but is not as good for flavor, although they are better than the Wilton brand melts in my opinion. Alternatively, you can use white almond bark or white melting wafers and color them orange using oil-based food coloring.
- Green Candy Melts - You only need a small amount of green to use as the vines.
- Treat Sticks - You can't have a cake pop without some sort of treat stick, lollipop stick, or paper straw.
Be sure to see the free printable recipe card below for ingredients, exact amounts & instructions with tips!
🔪 How To Make Pumpkin Cake Pops
Don't let the shape of these cake pops fool you; even a beginner can master them quickly. You will need a 9x13 baking dish, a stand mixer, measuring utensils, and some mixing bowls.
This recipe will make 28 pumpkin-shaped cake pops.
Preheat. Preheat your oven to 350°F (175°C/Gas Mark 4) and spray a 9x13 baking dish with cooking spray.
Make the Pumpkin Cake
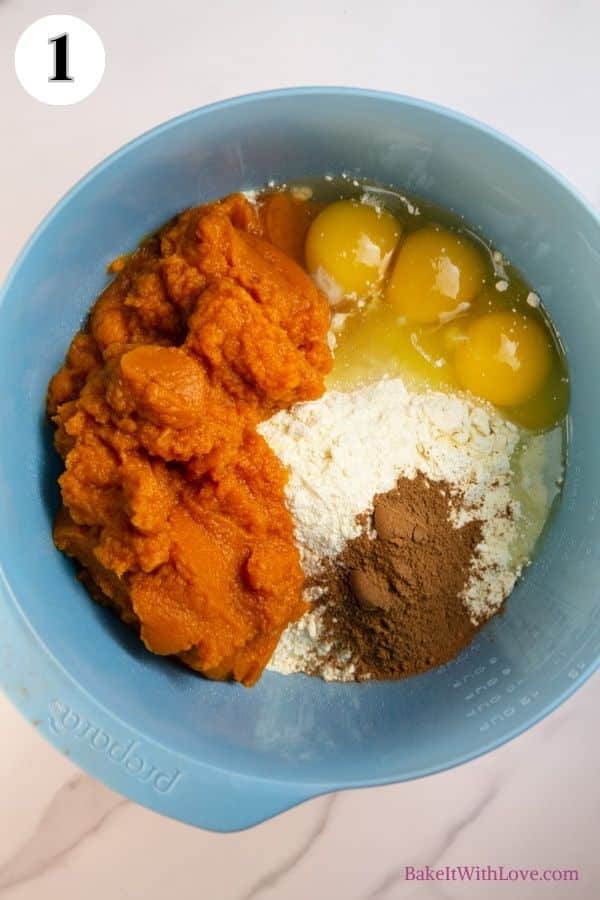
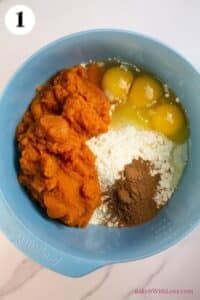
Step 1: Add. In a large mixing bowl, add your 1 box of yellow cake mix, 15 ounces of pumpkin puree, 3 large room temp eggs, and 1½ teaspoons of homemade pumpkin pie spice (photo 1).
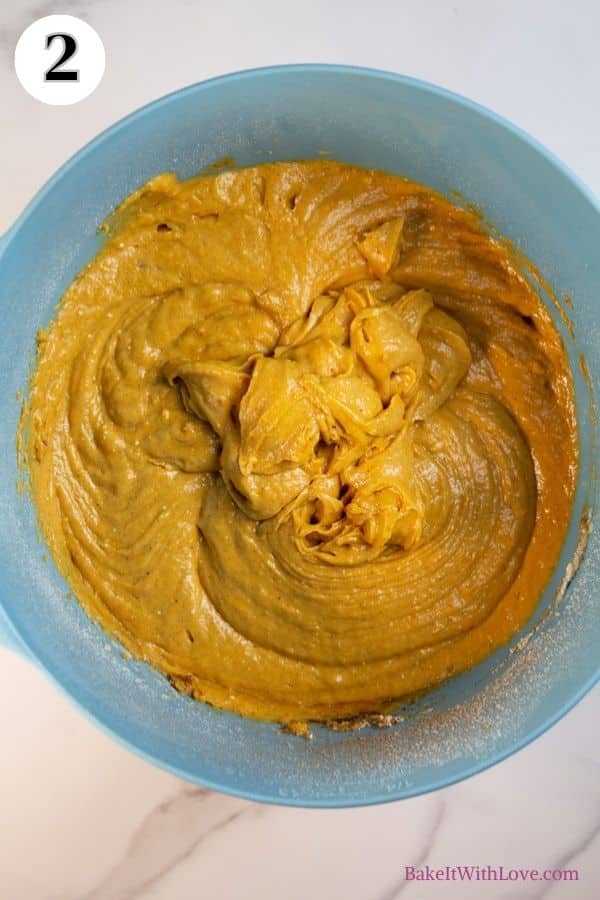
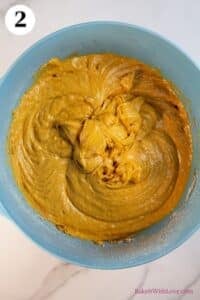
Step 2: Combine. Use a hand mixer to mix the ingredients until completely combined, scraping down the bowl as needed (photo 2).
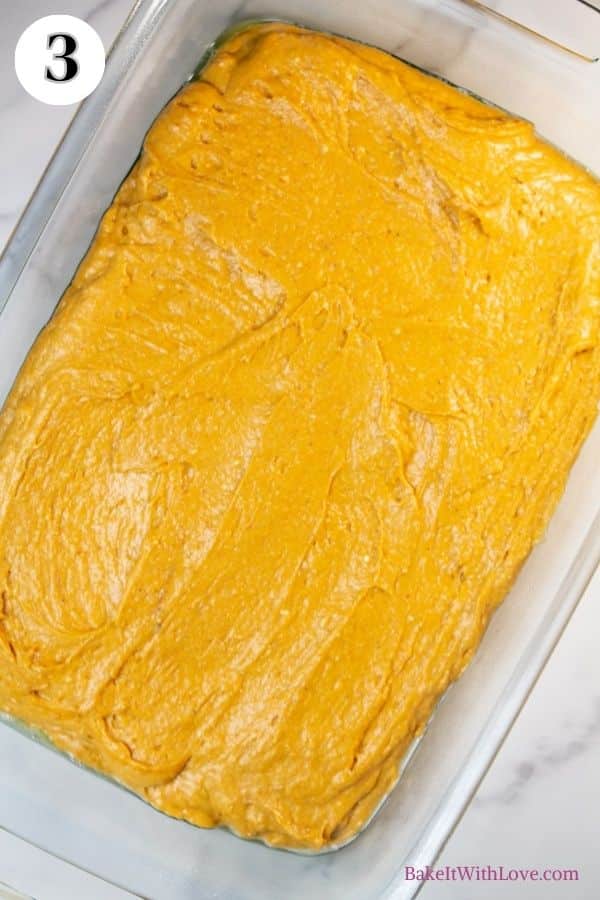
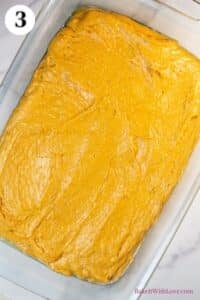
Step 3: Transfer. Pour the batter into the prepared baking dish (photo 3).
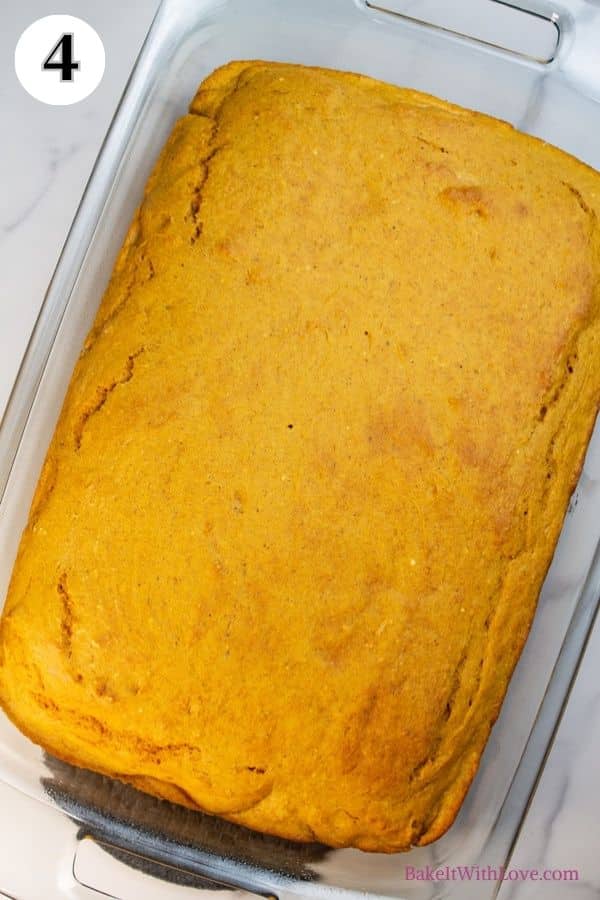
Step 4: Bake. Bake at 350°F (175°C/Gas Mark 4) for 22-25 minutes, or until a toothpick inserted into the center of the cake comes out clean.
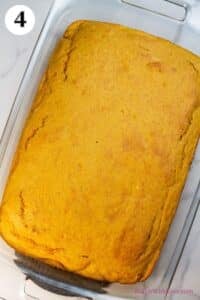
Step 5: Cool. Remove the cake from the oven and let it cool completely before continuing (photo 4).
Prepare the Cake Pop Dough
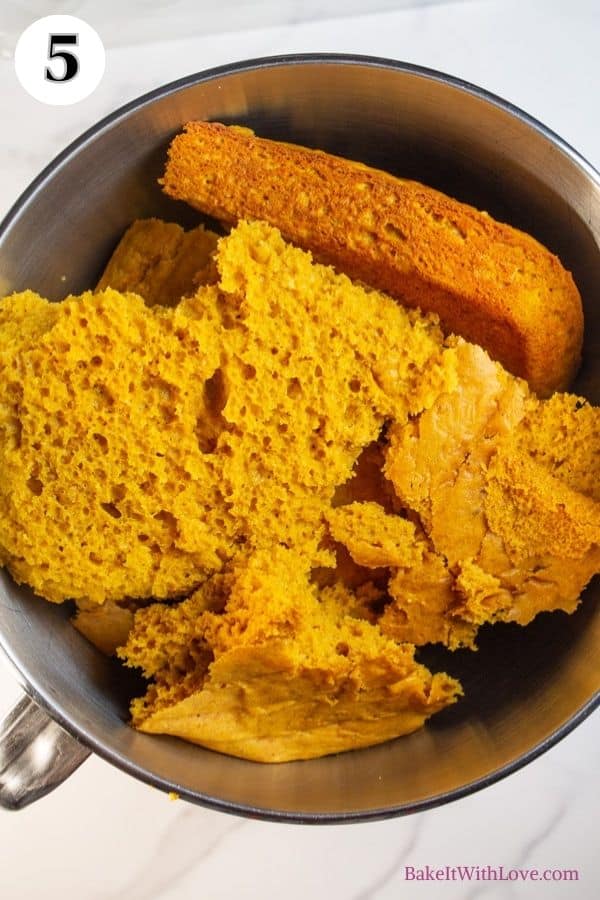
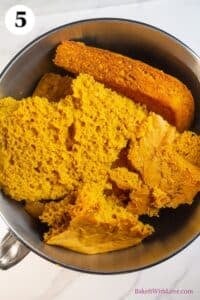
Step 6: Break up the cake. Once cooled, break your cake into large chunks so that it fits into the bowl of your stand mixer (photo 5).
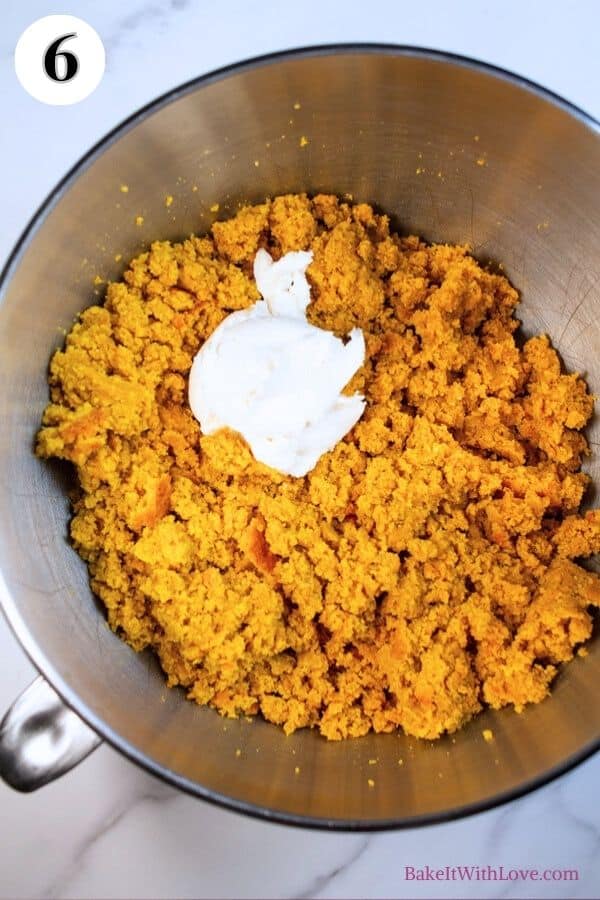
Step 7: Crumble. Mix the cake at low speed with the paddle attachment until it is completely crumbled.
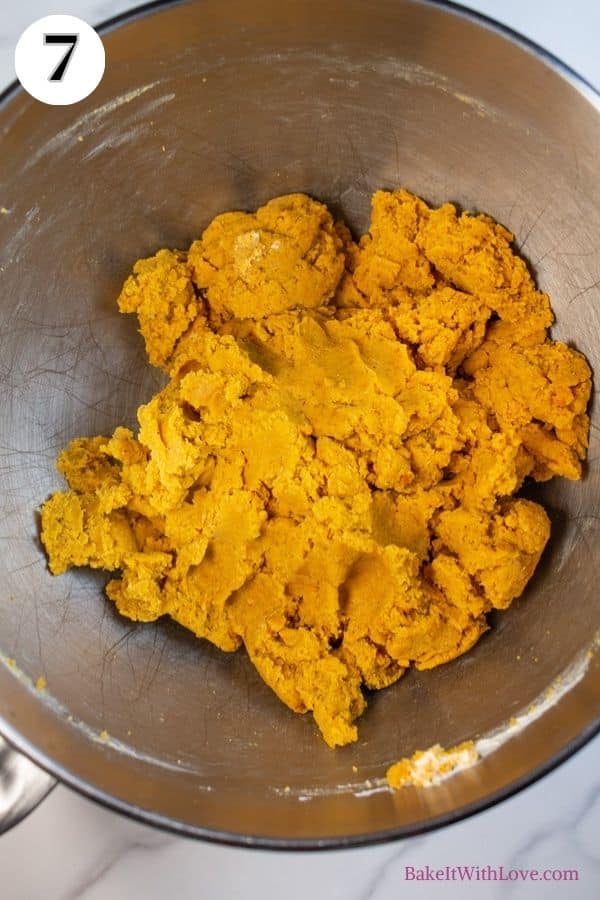
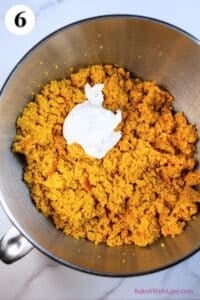
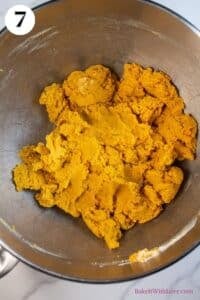
Step 8: Add frosting. Add 3 tablespoons of cream cheese frosting (photo 6) and keep mixing until a dough has formed with a consistency similar to modeling clay (photo 7).
Make the Pumpkin Shape
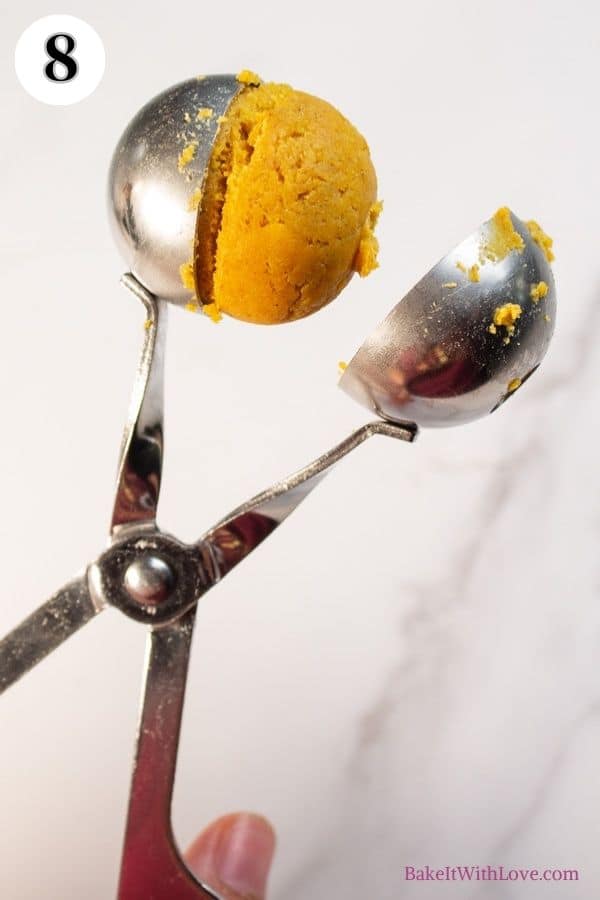
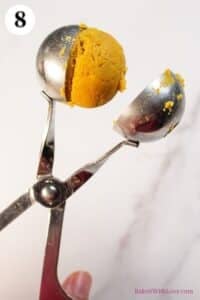
Step 9: Portion. Portion the dough with a kitchen scale, cookie scoop, meatball maker, or cakeballer (a standard cake pop is 1 ounce, photo 8).
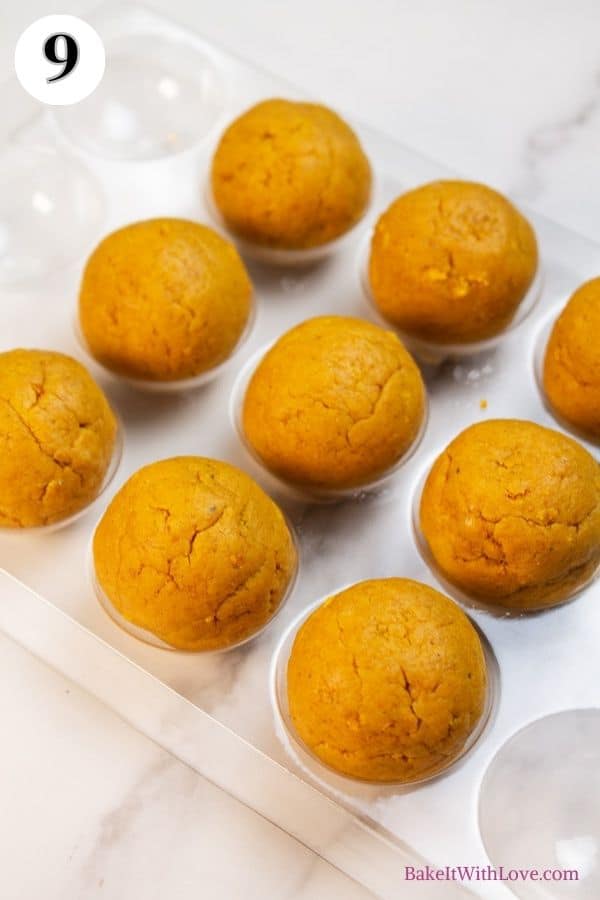
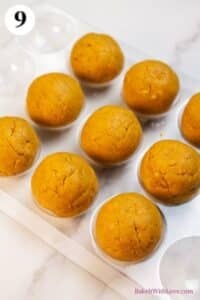
Step 10: Roll into balls. Roll the portioned dough into balls (photo 9). Chill the dough balls for an hour before continuing.
❗ Top Tip: Rolling Perfect Cake Pops
The balls are easier to round out into smooth, better-shaped cake pops if you chill them after combining and portioning. So roll the cake mixture out and pop them all in the fridge after they're shaped.
Chill for at least an hour before rolling them again to smooth out any misshapen edges.
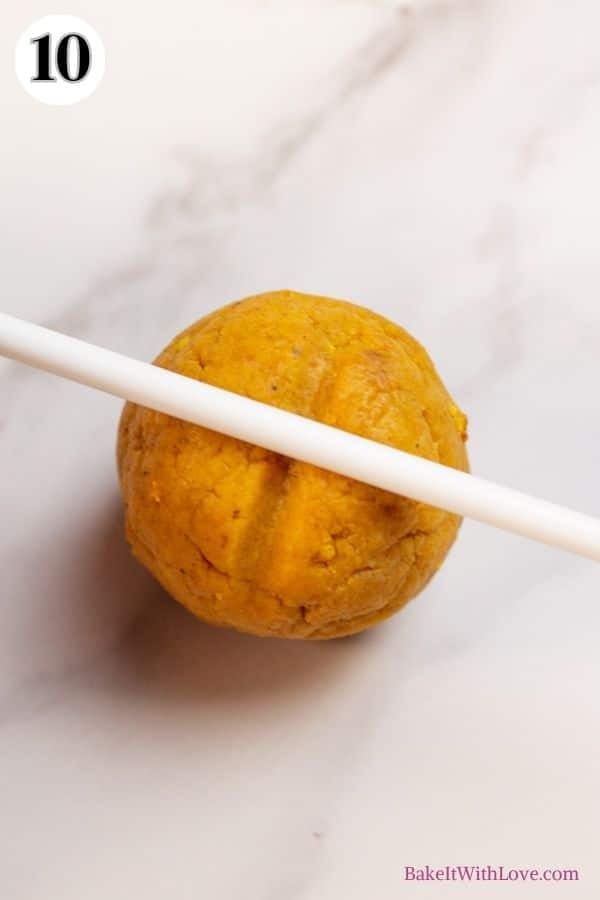
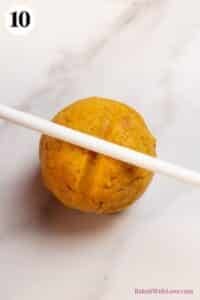
Step 11: Make the pumpkin sections. Use a treat stick to press a cross into the top of one of the cake balls, then divide each of those sections in half so that you have 8 divided sections on your cake ball (photo 10).
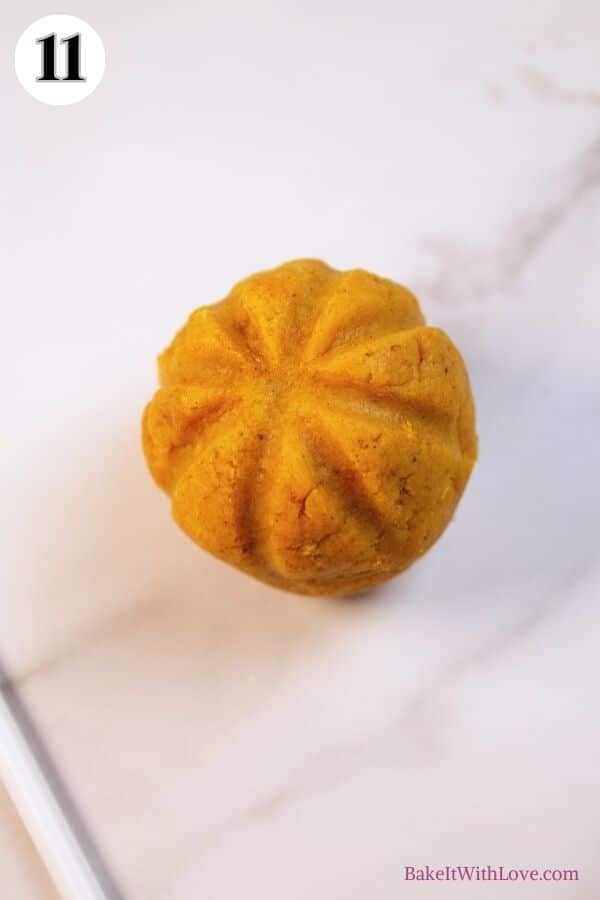
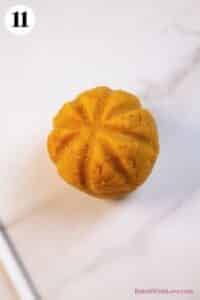
Step 12: Deepen the ridges. Still using the treat stick, turn the ball and continue each indention all the way down the sides of the cake (photo 11).
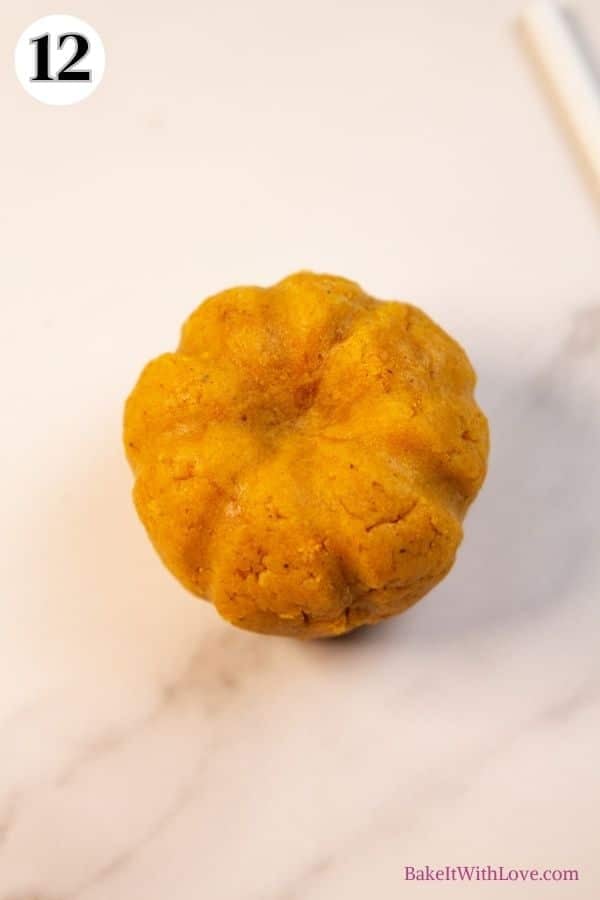
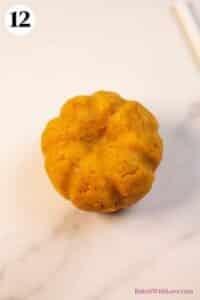
Step 13: Add a spot for the stem. Use your hand to flatten the ball slightly and then use your finger or knuckle to create a slight dip in the top center where all the indentions intersect (photo 12).
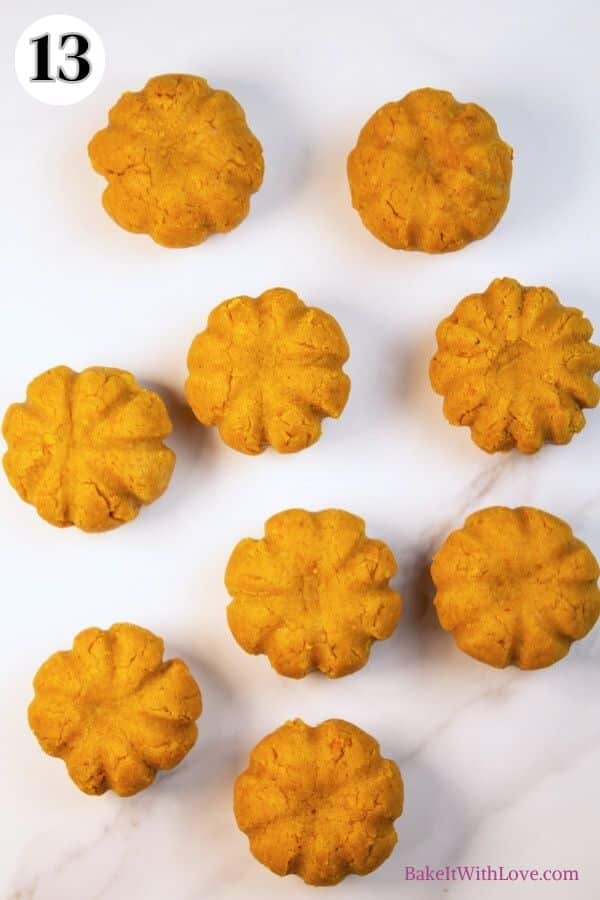
Step 14: Repeat. Repeat with all of the cake balls (photo 13).
Coat & Decorate
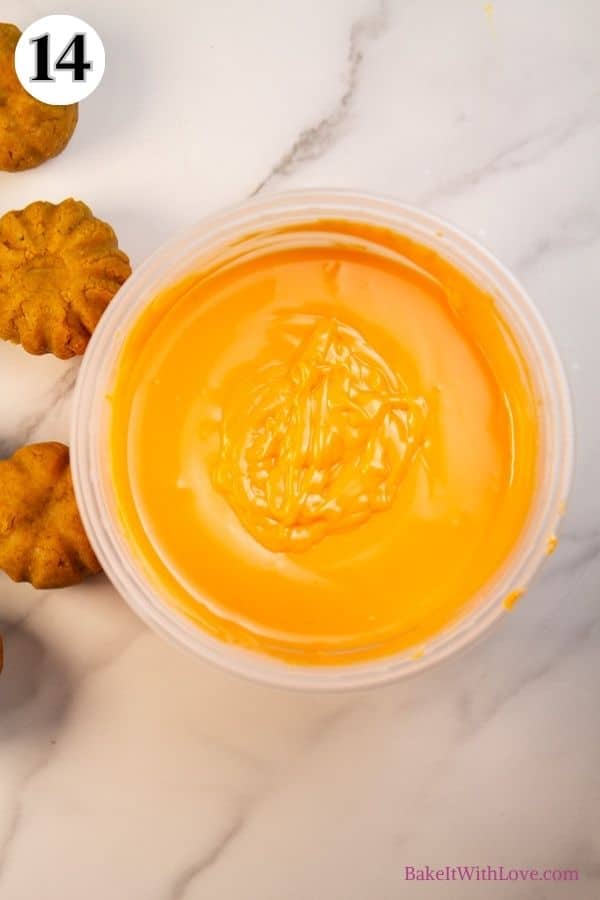
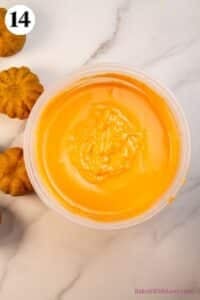
Step 15: Melt the chocolate. Melt 12 ounces (340 grams) of orange candy melts in the microwave using 30-second increments and stirring well between each heating (photo 14).
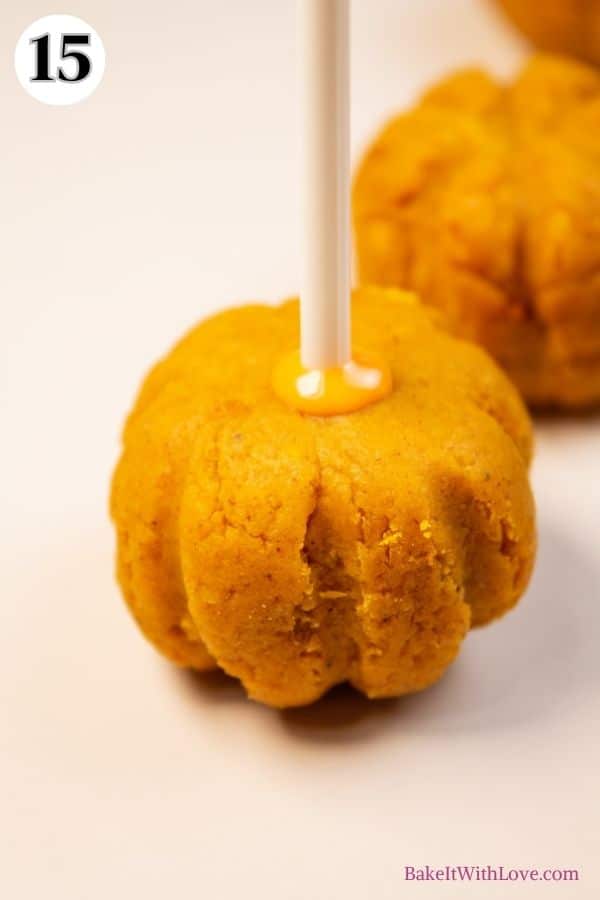
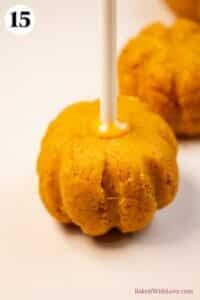
Step 16: Add the sticks. Dip the end of one of your 28 treat sticks into the chocolate and gently push it into the bottom (flat part) of the pumpkin shape. Set aside to harden for 2-3 minutes (photo 15).
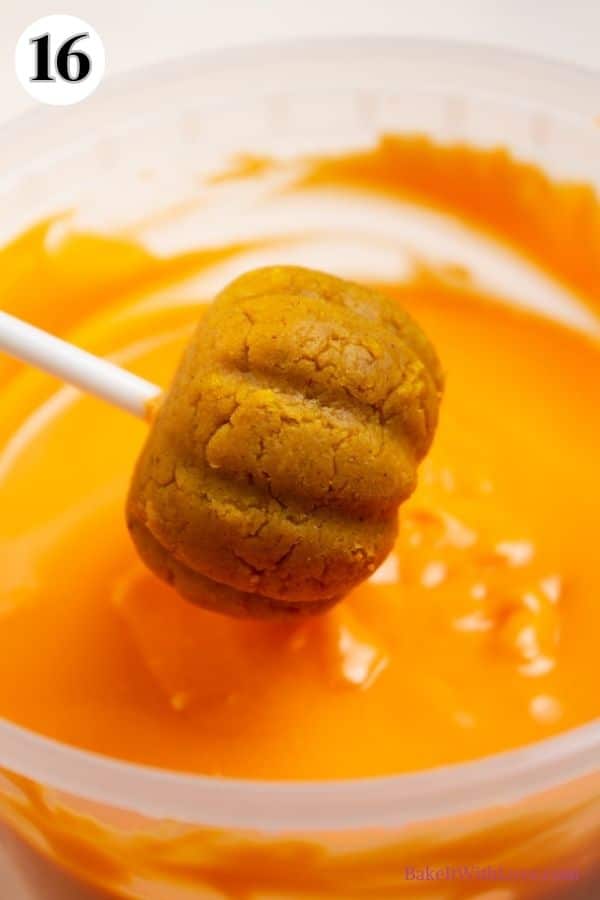
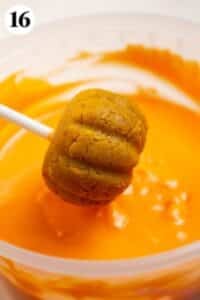
Step 17: Dip the cake pop. Dip your pumpkin into the orange chocolate, turning so that it is completely coated. Remove from the chocolate and tap off any excess (photo 16).
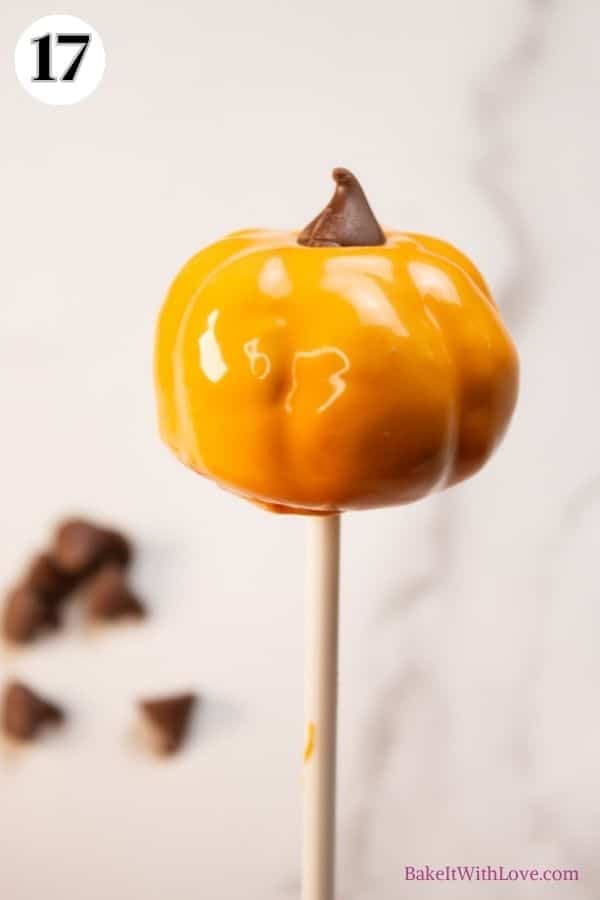
Step 18: Add the stems. Immediately, while the chocolate is still wet, place one of your 28 chocolate chips onto the top of the pumpkin to make the stem. Set them aside to harden (photo 17).
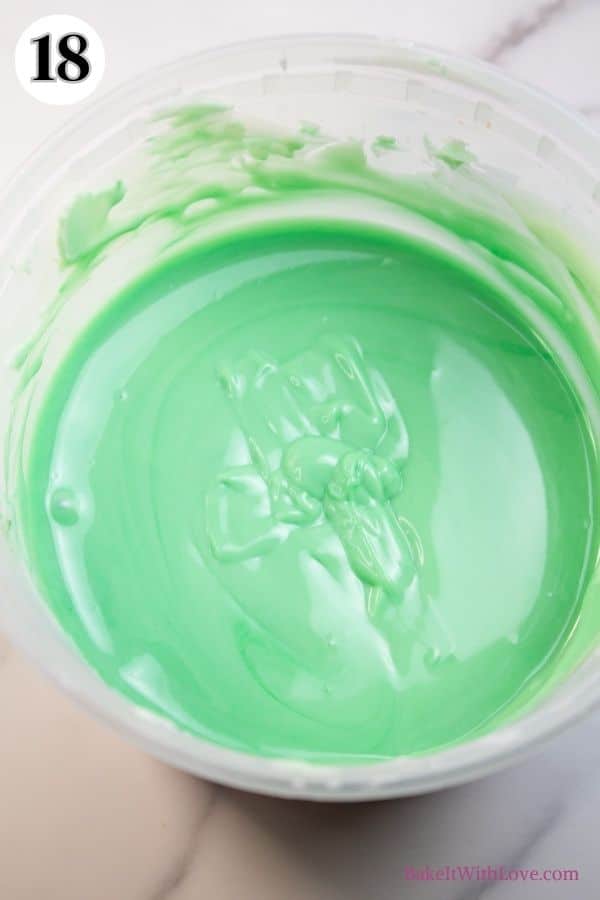
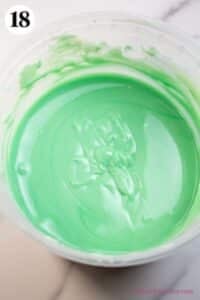
Step 19: Melt the green chocolate. Melt ¼ cup (56 grams) of green candy melts in the microwave, stirring well, and then pour it into a piping bag or storage bag with a tiny portion of the tip cut off (photo 18).
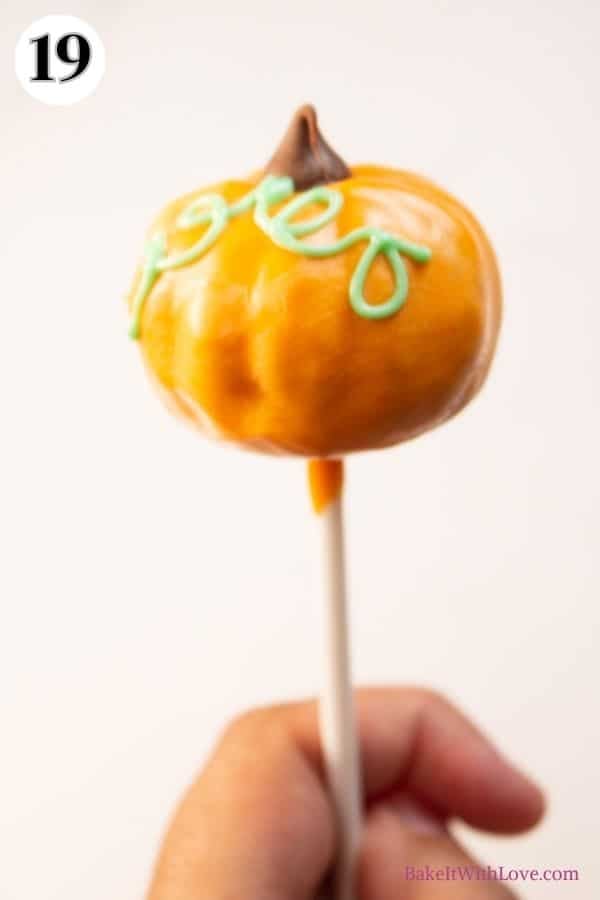
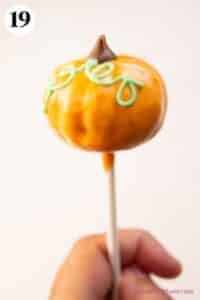
Step 20: Add the vines. Use the green chocolate to draw some squiggly vines on the top of the pumpkins (photo 19).
Step 21: Repeat and serve. Repeat with all of the cake pops and let them sit for 2-3 minutes to fully harden before serving them or storing them for later.
>>>See All Of My Tasty Recipes Here!<<<
💭 Angela's Pro Tips & Recipe Notes
- Quickly cool the cake. To speed up the cooling process of your cake, flip the cake out of the baking dish onto a wire cooling rack.
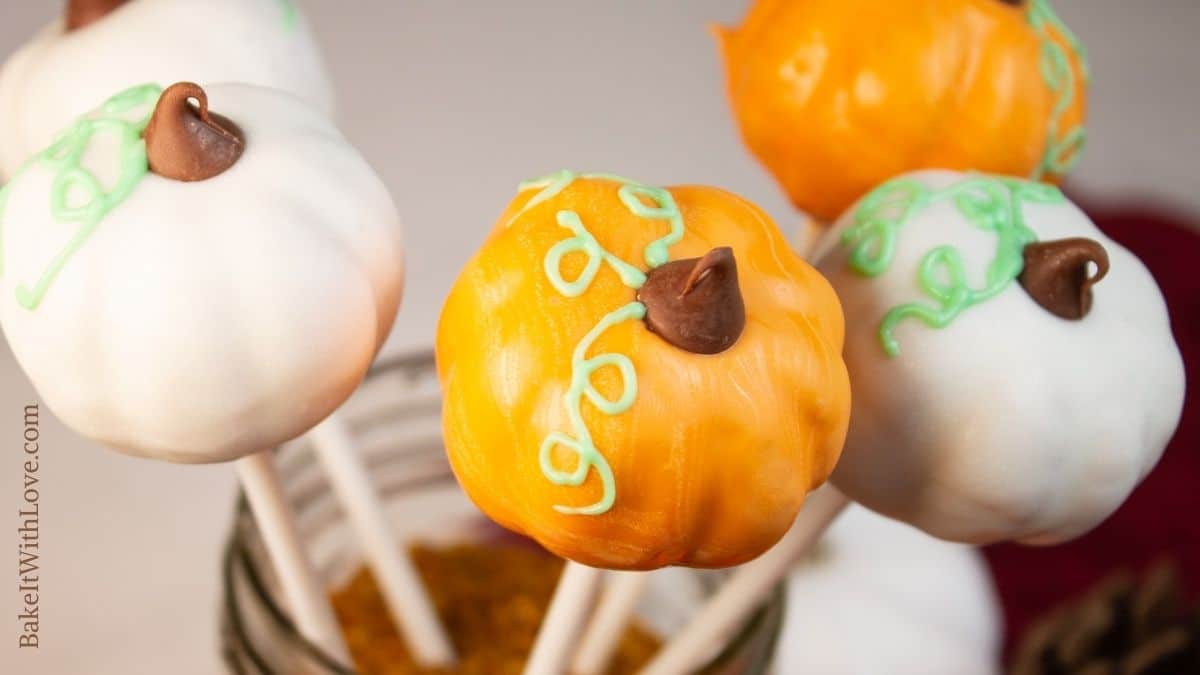
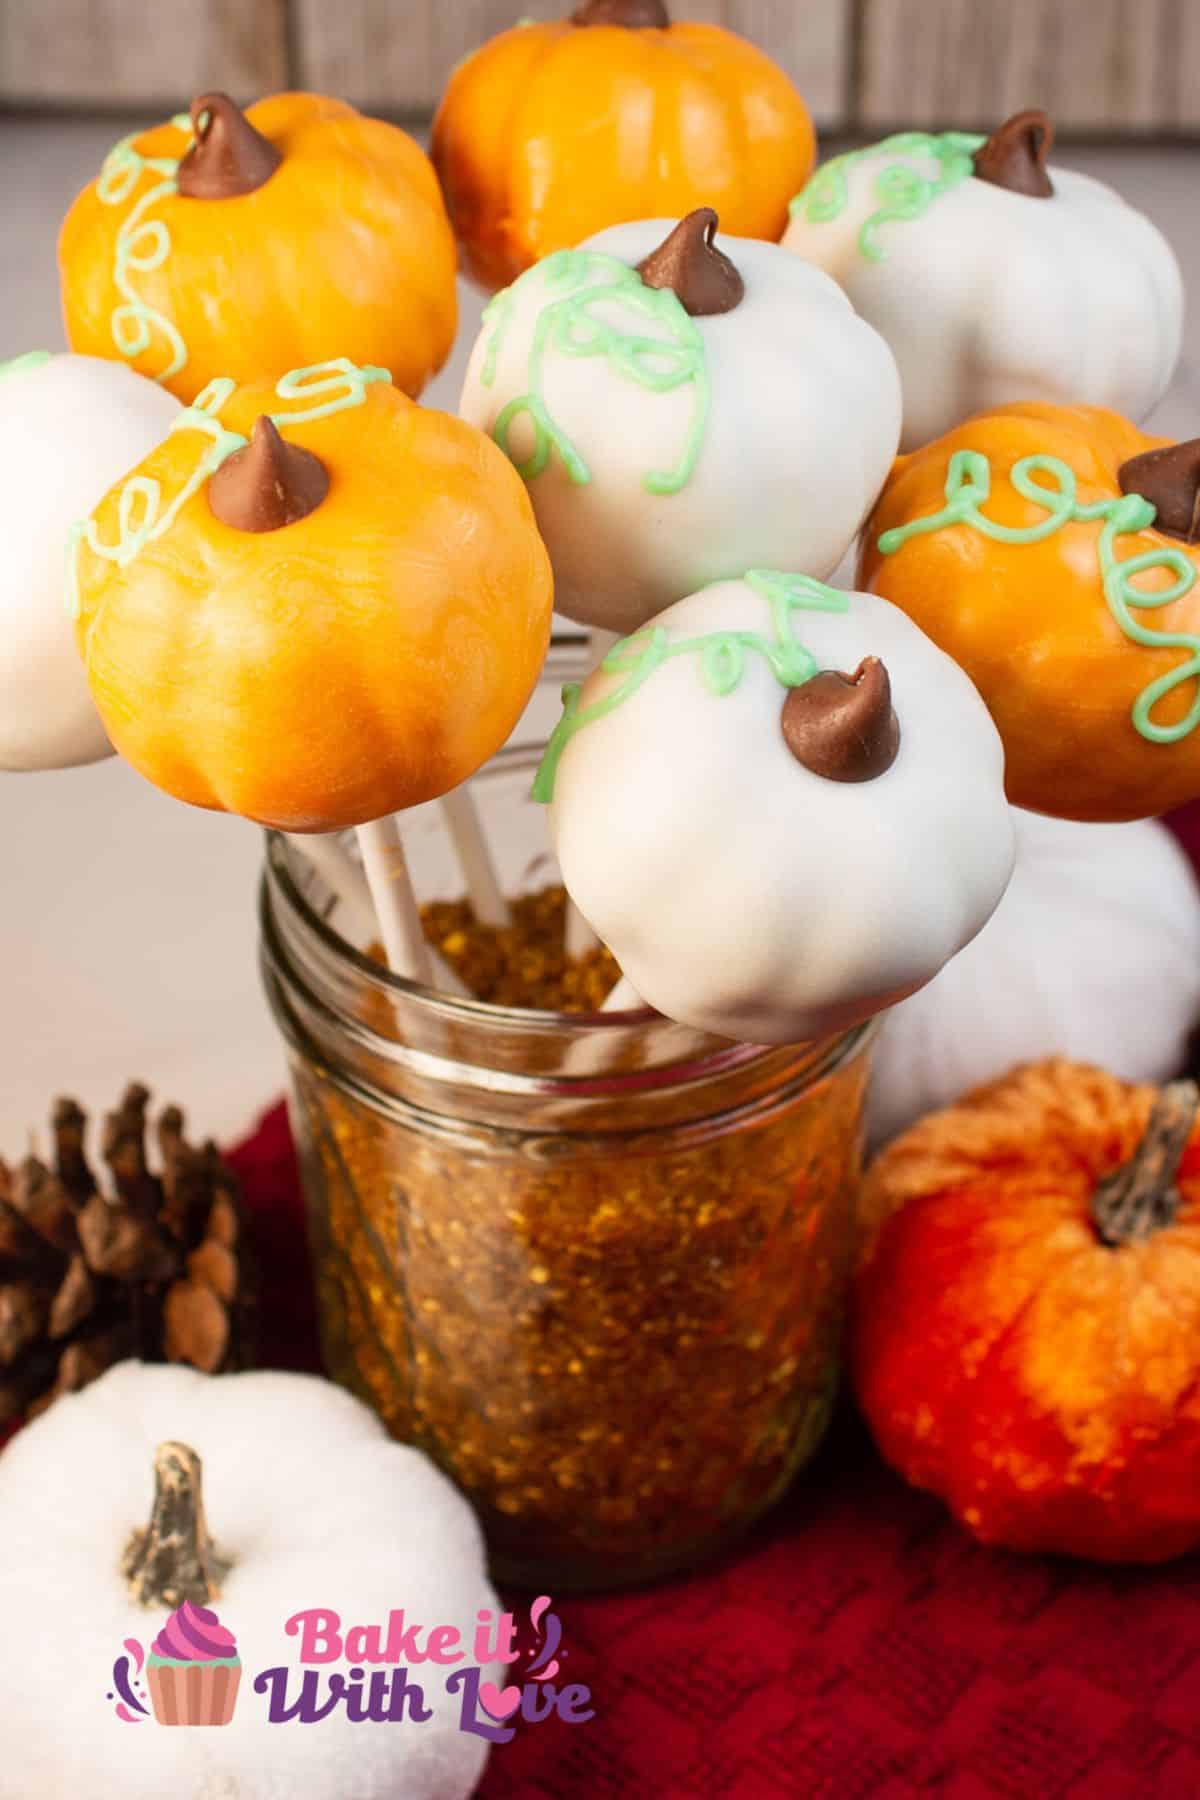
- Experiment with different colors. While orange is the traditional color for pumpkins, you could also make them white! I think they would look wonderful in pastel shades of blue or pink, too.
- Thin your chocolate if needed. You can buy pre-colored candy melts. These may be slightly thicker than typical chocolate. If you find it too thick for dipping, stir in some paramount crystals, coconut oil, or Wilton's EZ Thin.
- Try coloring white chocolate. If you want to skip using pre-colored candy melts, you can use chopped white chocolate, white chocolate chips, or almond bark. Melt them using the same method in the microwave, and add an oil-based food coloring to make your chosen colors (or just keep them white to avoid dye altogether).
- Make your own stand. If you don't have a cake pop stand, use a styrofoam block or a box with holes poked into it.
- Use your favorite cake flavor. You can skip the pumpkin cake if you like the look of the pumpkins but aren't a fan of pumpkin-flavored things. Instead, use any baked cake crumbled together with three tablespoons of your preferred frosting. Shape and design as instructed.
📍🍡🎂 Top Tips to Master Cake Pops
See my top tips for the best cake pops to master cake pops in no time. There are 13+ great tips and tricks to help you skip my early mistakes 🤪.
With these tips, your first attempt at cake pops will look better-than-store-bought!
🥡 Storing
The cake pop dough can be kept in the fridge for 4-5 days or in the freezer for up to 3-6 months.
Once you have dipped and assembled your cake pops, they can be kept at room temperature for 4 days or in the fridge for up to 7-10 days.
Freezing
Fully decorated cake pops can be frozen to serve later. It works best to fully freeze cake pops on a tray individually first. This only takes 1-2 hours.
Once frozen, package them into a freezer container with parchment paper layers between the cake pops. Store for up to 6 weeks in the freezer, then thaw overnight in your fridge before serving.
Do you love a recipe you tried? Please leave a 5-star 🌟rating in the recipe card below and/or a review in the comments section further down the page.
Stay in touch with me through social media @ Pinterest, Facebook, Instagram, or Twitter! Subscribe to the newsletter today (no spam, I promise)! Don't forget to tag me when you try one of my recipes!
📖 Recipe Card
Pumpkin Cake Pops
Ingredients
- 1 box yellow cake mix
- 15 oz pumpkin puree
- 3 large eggs (at room temperature)
- 1½ teaspoon pumpkin pie spice
- 3 tablespoon cream cheese frosting (or more, if needed)
- 28 chocolate chips (semi-sweet, milk, or dark)
- 12 oz orange candy melts (or white chocolate or almond bark with food coloring)
- ¼ cup green candy melts (or white chocolate or almond bark with food coloring)
- 28 treat sticks
(Note: 2x or 3x only changes the ingredient list)
Instructions
- Preheat your oven to 350°F (175°C/Gas Mark 4) and spray a 9x13 baking dish with cooking spray.
Make the Pumpkin Cake
- In a large mixing bowl, add your 1 box yellow cake mix, 15 oz pumpkin puree, 3 large eggs, and 1½ teaspoon pumpkin pie spice.
- Use a hand mixer to mix the ingredients until completely combined, scraping down the bowl as needed.
- Pour the batter into the prepared baking dish.
- Bake for 22-25 minutes, or until a toothpick inserted into the center of the cake comes out clean.
- Remove the cake from the oven and let it cool completely before continuing.
Prepare the Cake Pop Dough
- Once cooled, break your cake into large chunks so that it fits into the bowl of your stand mixer.
- Mix the cake on low speed with the paddle attachment until completely crumbled.
- Add 3 tablespoon cream cheese frosting and keep mixing until a dough has formed with a consistency similar to play-doh.
Make the Pumpkin Shape
- Portion the dough with a kitchen scale, cookie scoop, or meatballer (a standard cake pop is 1 ounce).
- Roll the portioned dough into balls.
- Use a treat stick to press a cross into the top of one of the cake balls, then divide each of those sections in half so that you have 8 divided sections on your cake ball.
- Still using the treat stick, turn the ball and continue each indention all the way down the sides of the cake.
- Use your hand to slightly flatten the ball and then use your finger or knuckle to create a slight dip in the top center where all of the indentions intersect.
- Repeat with all of the cake balls.
Decorate
- Melt 12 oz orange candy melts in the microwave using 30-second increments and stirring well between each session.
- Dip the end of one of your 28 treat sticks into the chocolate and gently push it into the bottom (flat part) of the pumpkin. Set aside to harden for 2-3 minutes.
- Dip your pumpkin into the orange chocolate, turning so that it is completely coated. Remove from the chocolate and tap off any excess.
- Immediately, while the chocolate is still wet, place one of your 28 chocolate chips onto the top of the pumpkin to make the stem. Set them aside to harden.
- Melt ¼ cup green candy melts in the microwave, stirring well, and then pour it into a piping bag or storage bag with a tiny portion of the tip cut off.
- Use the green chocolate to draw some squiggly vines on the top of the pumpkins.
- Repeat with all of the cake pops and let them sit for 2-3 minutes to fully harden before serving them or storing them for later.
Notes
- To speed up the cooling process of your cake, flip the cake out of the baking dish onto a wire cooling rack.
- While orange is the traditional color for pumpkins, you could also make them white! I think they would look wonderful in pastel shades of blue or pink, too.
- You can buy pre-colored candy melts. These may be slightly thicker than typical chocolate. If you find it too thick for dipping, stir in some paramount crystals, coconut oil, or Wilton's EZ Thin.
- If you want to skip using pre-colored candy melts, you can use chopped white chocolate, white chocolate chips, or almond bark. Melt them using the same method in the microwave, and add an oil-based food coloring to make your chosen colors (or just keep them white to avoid dye altogether).
- If you don't have a cake pop stand, you can use a styrofoam block or a box with holes poked into it.
- You can skip the pumpkin cake if you like the look of the pumpkins but aren't a fan of pumpkin-flavored things. Instead, use any baked cake crumbled together with three tablespoons of your preferred frosting. Shape and design as instructed.
- The cake pop dough can be kept in the fridge for 4-5 days or in the freezer for 3-6 months.
- Once you have dipped and assembled your cake pops, they can be kept at room temperature for 4 days or in the fridge for 7-10 days.
- Fully decorated cake pops can be frozen, you just need to freeze fully set cake pops on a tray individually first. Once frozen, package them into a freezer container with parchment paper layers between the cake pops. Store for up to 6 weeks in the freezer, then thaw overnight in your fridge before serving.




Angela Latimer says
These delicious pumpkin cake pops can be any flavor you want them to be and they're perfect for Halloween and fall. My daughter and I have already made these twice for different gatherings and they were such a hit! ~ Angela