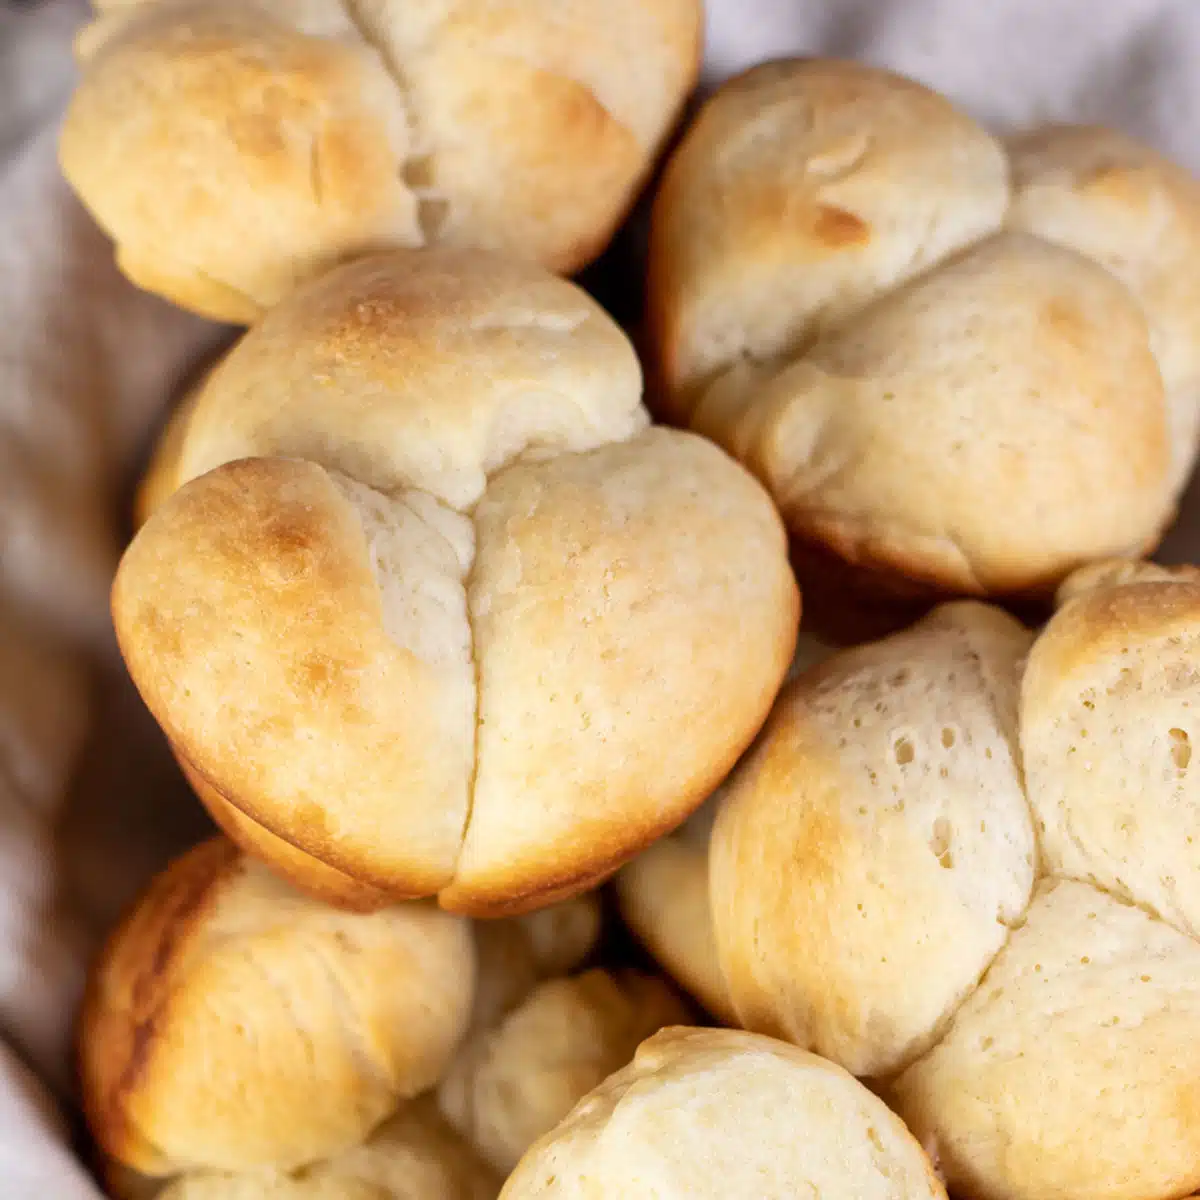
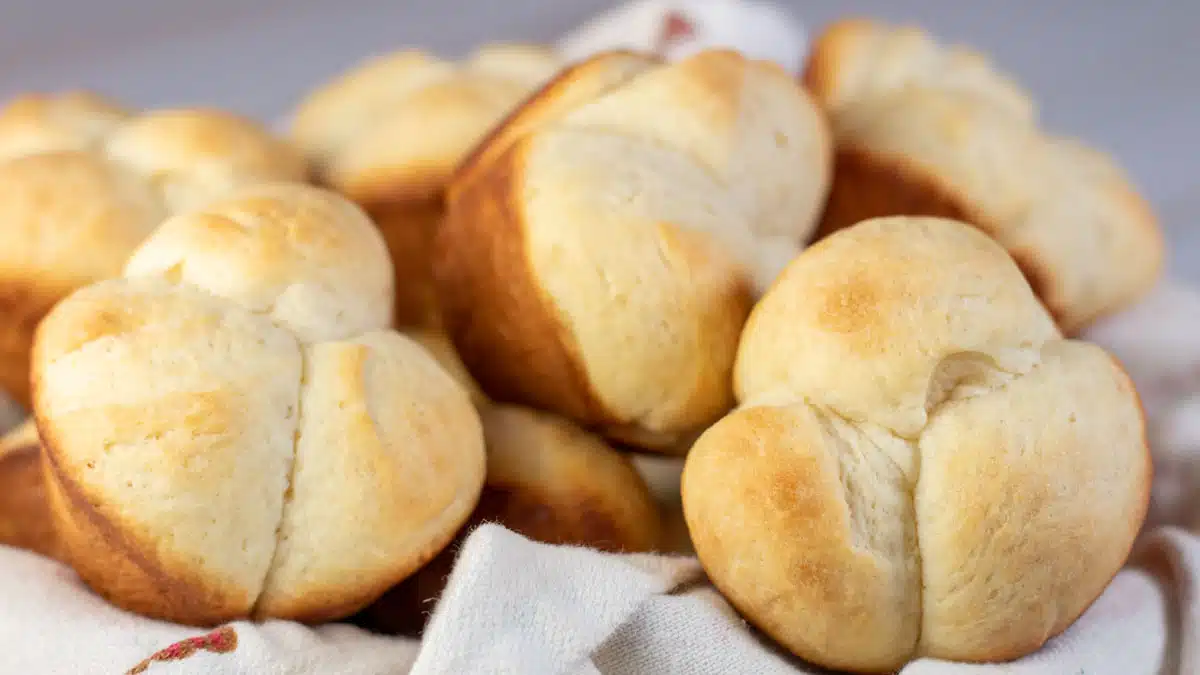
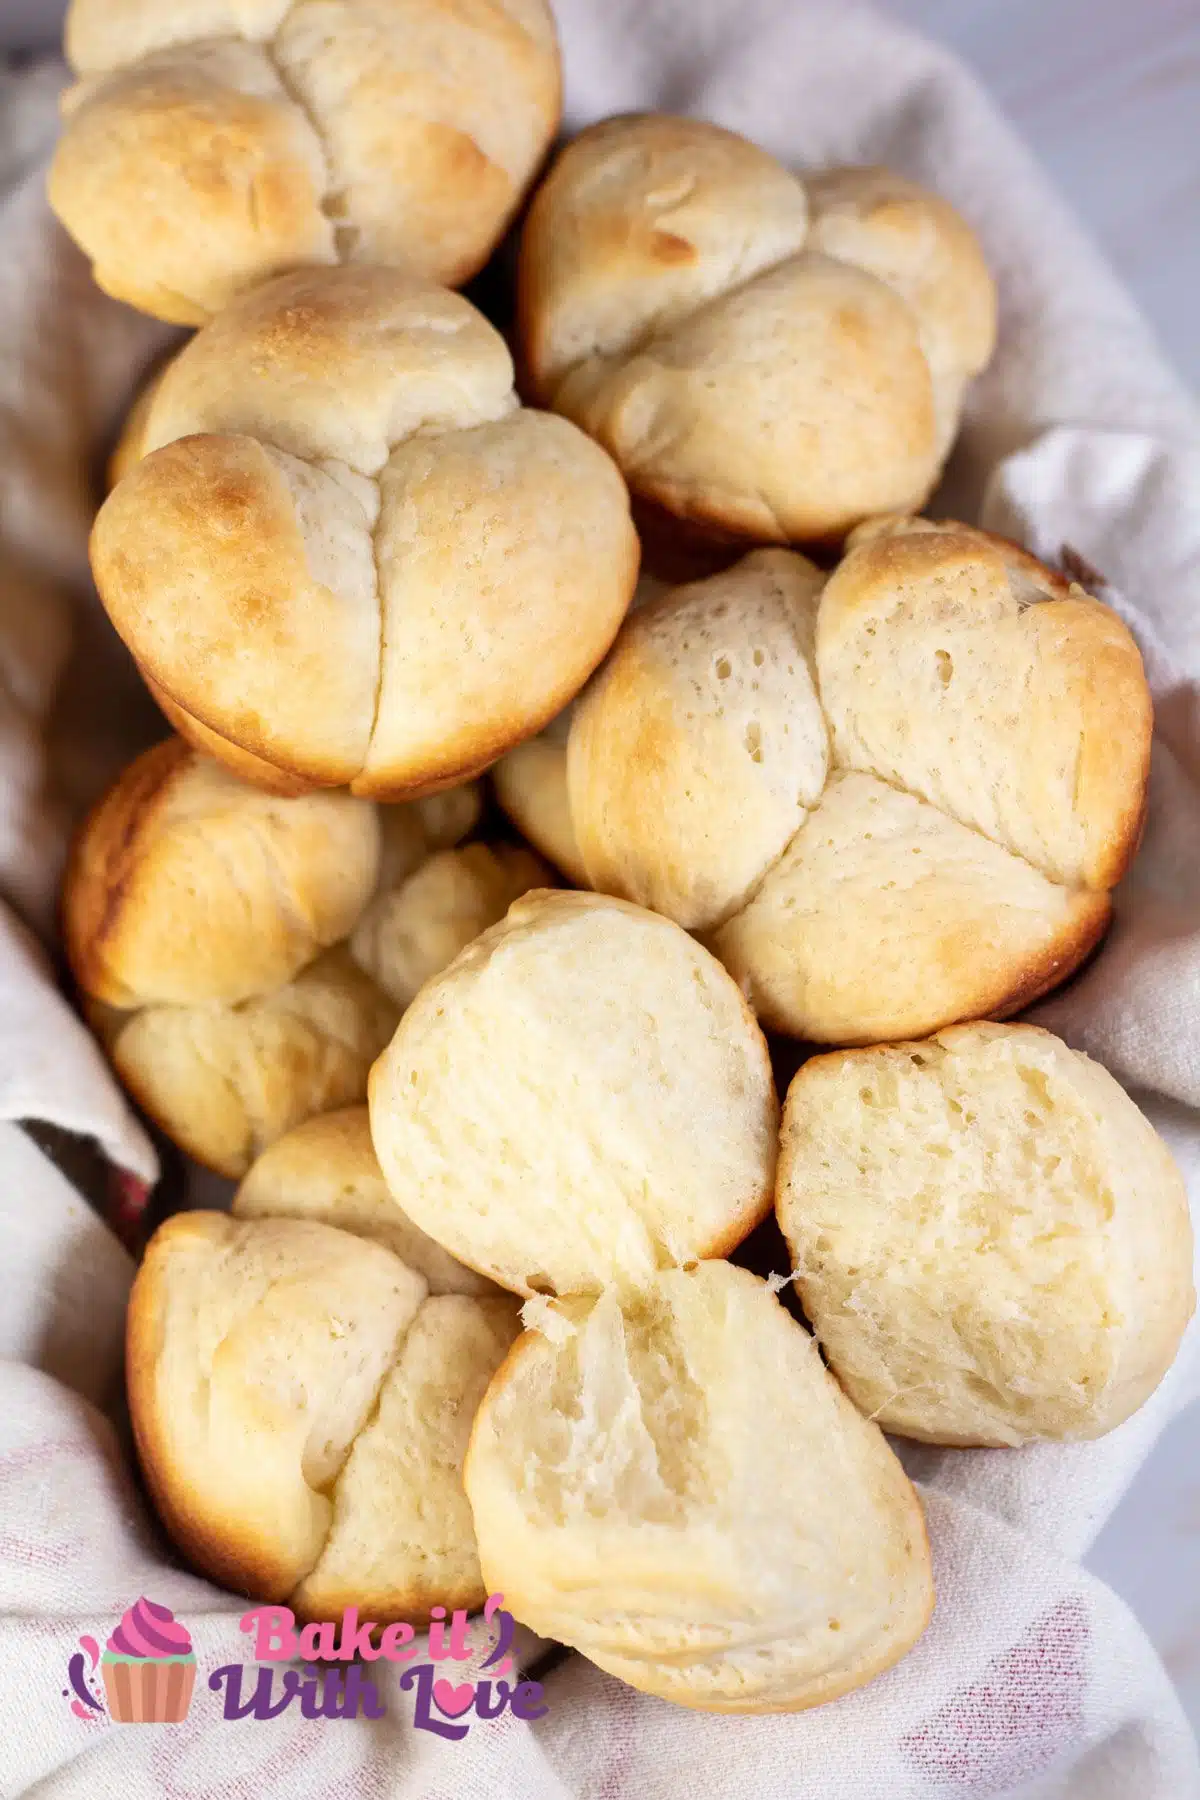
Cloverleaf dinner rolls are golden, soft, buttery bread rolls with a unique appearance similar to the three leaves of a clover! These elegant homemade yeast rolls are perfect for special occasions and often make an appearance on my Christmas dinner table! You can even make the dough the night before and bake it the next day!
Jump to:
Soft & Fluffy Homemade Yeast Rolls
These cloverleaf dinner rolls are a trifecta of fluffy goodness baked to warm, buttery perfection. It's a fairly easy recipe for yeast rolls that would make a great addition to your Christmas dinner menu or a typical Wednesday night dinner!
Forming the dough into three balls and letting them rise together gives them their signature three-section shape. They are the perfect option if you're searching for super soft dinner rolls with a little something special!
You might also like my tasty cheese rolls or onion rolls; both are made with a fuss-free, no-knead bread dough! My herb butter Rhodes rolls take EASY to new meaning, too!
🥘 Ingredients

- Milk - ½ cup of whole milk or a milk substitute warmed to 105-110℉ (41-43℃).
- Sugar - 2 tablespoons of granulated white sugar.
- Active Dry Yeast - 2¼ teaspoons of active dry yeast, or 1 packet. See more on how much yeast is in a packet here, or see my guide how to activate yeast!
- Butter - 6 tablespoons of butter or a butter substitute (divided into 2 portions of 4 tablespoons and 2 tablespoons, plus more to butter the pan).
- All-Purpose Flour - 2 cups of all-purpose flour (spoon & leveled).
- Salt - ¼ teaspoon of salt.
- Egg - 1 large room-temperature egg or an egg substitute.
🔪 How To Make Cloverleaf Dinner Rolls
This is a pretty simple dinner roll recipe! Grab your measuring utensils, stand mixer, silicone spatula, muffin pan, and plastic wrap to get started.
This recipe makes 12 rolls, and you can double it to 24 using the same mixing bowl (be sure you have 2 muffin tins)! Any more than that, you'll need to work in batches.
Make The Dough
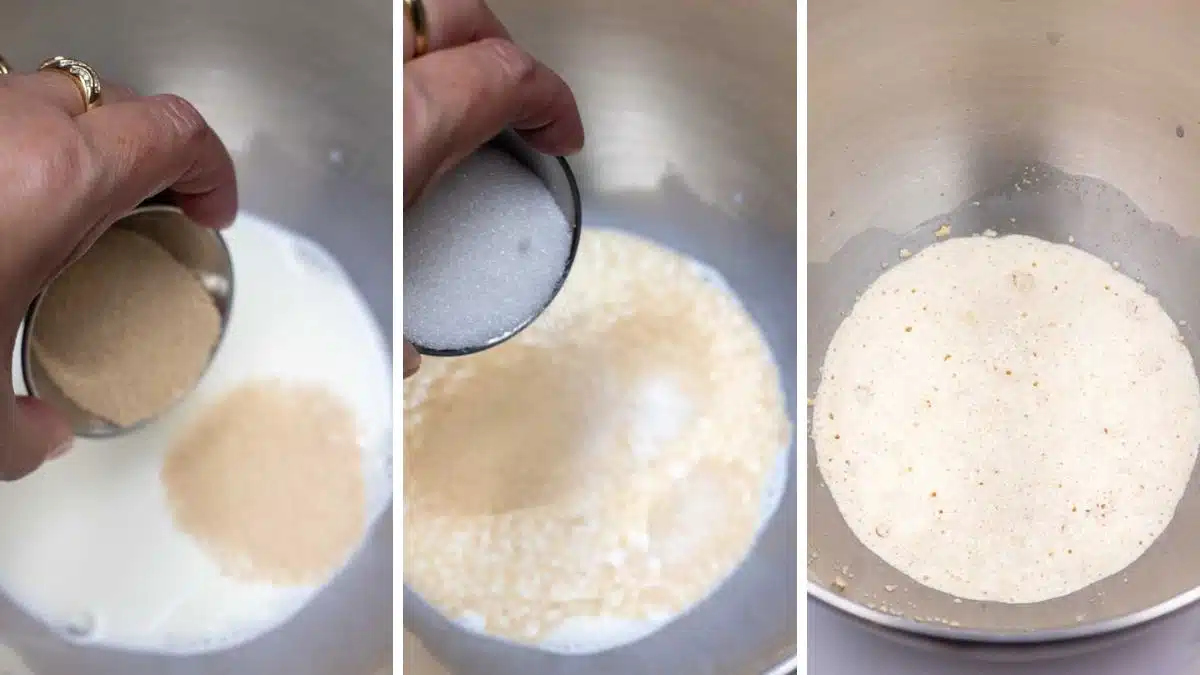
Step 1: Let the yeast bloom. If you haven't already, warm ½ cup whole milk to 105-110℉ (41-43℃). Pour the warm milk, 2 ¼ teaspoons (7 grams) of active dry yeast, and 1 tablespoon (12.5 grams) of sugar into the bowl of your stand mixer.
Let sit for about 5 minutes or until frothy. Meanwhile, melt 4 tablespoons (56 grams) of butter.
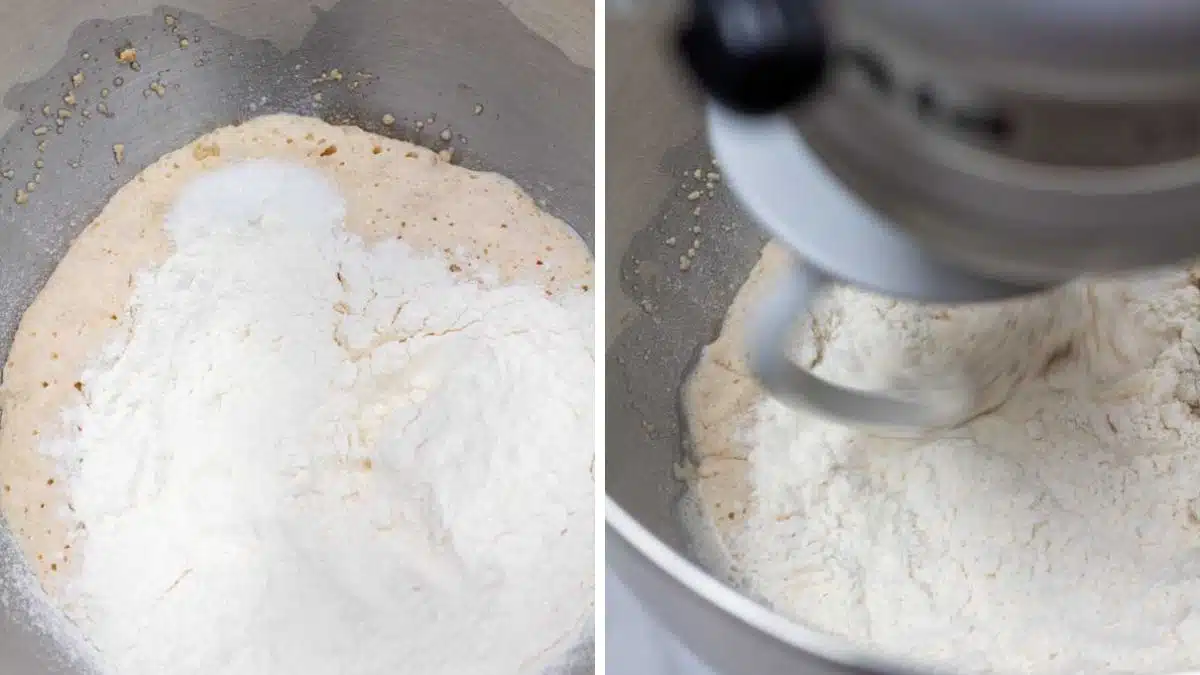
Step 2: Make the dough. Add 2 cups (250 grams) of all-purpose flour, ¼ teaspoon (1.5 grams) of salt, and the remaining 1 tablespoon (12.5 grams).
Using the dough hook attachment, turn the mixer on low to combine. Add 1 large egg (50 grams) and continue to knead until the dough is smooth, about 5-10 minutes.
Use a silicone spatula as needed to scrape down the sides of the bowl.
Step 3: Knead. Slowly add the 4 tablespoons (56 grams) of melted butter and let it mix on low speed to prevent splashing, then increase the speed to medium. *Cool hack: you can also wrap cling film around the mixer to the bowl rim to prevent splashing and spilling!
Continue kneading for another 5 to 10 minutes or until the dough becomes elastic and somewhat shiny.

First Rise
Step 4: Cover and set aside. Scrape down the sides of the bowl to form a neat ball in the center and cover it with plastic wrap. Set aside somewhere warm for 1-2 hours to rise until it has doubled in size.
Portion & Shape
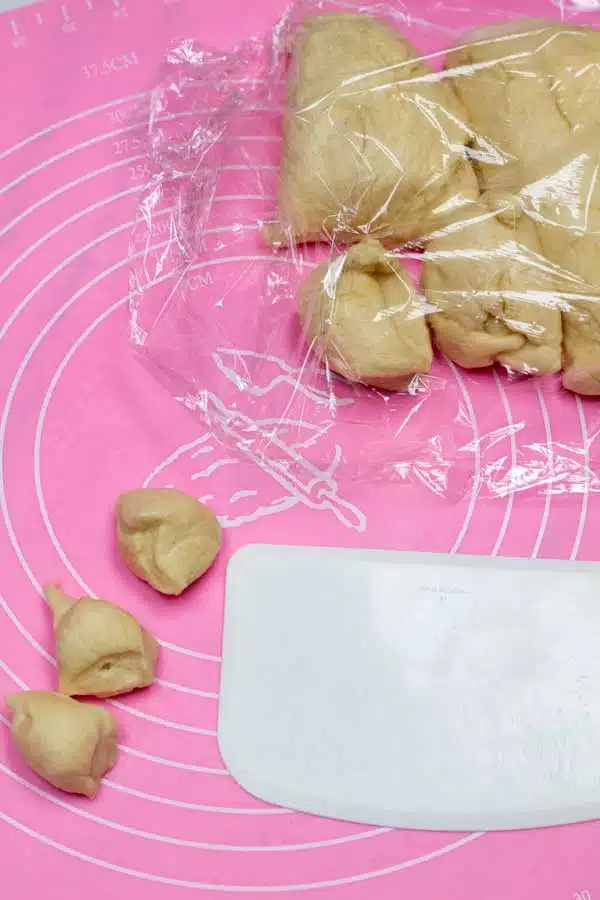
Step 5: Portion and roll. Butter a standard-sized muffin pan and set aside. Gently place your ball of dough on a clean, flat work surface and divide it into 12 equal pieces (always keep the dough covered with plastic wrap when not being worked with).
Step 6: Assemble into your muffin pan. Divide each of the 12 pieces of dough into 3 even pieces, then roll each into a ball. Add 3 small dough balls per cup to your prepared muffin pan and repeat with the remaining dough.
Second Rise
Step 7: Rise. Cover the muffin pan with plastic wrap (grease the underside to prevent sticking). Set it aside for 45 minutes to 1 hour to double in size again.
Brush, Bake, and Serve
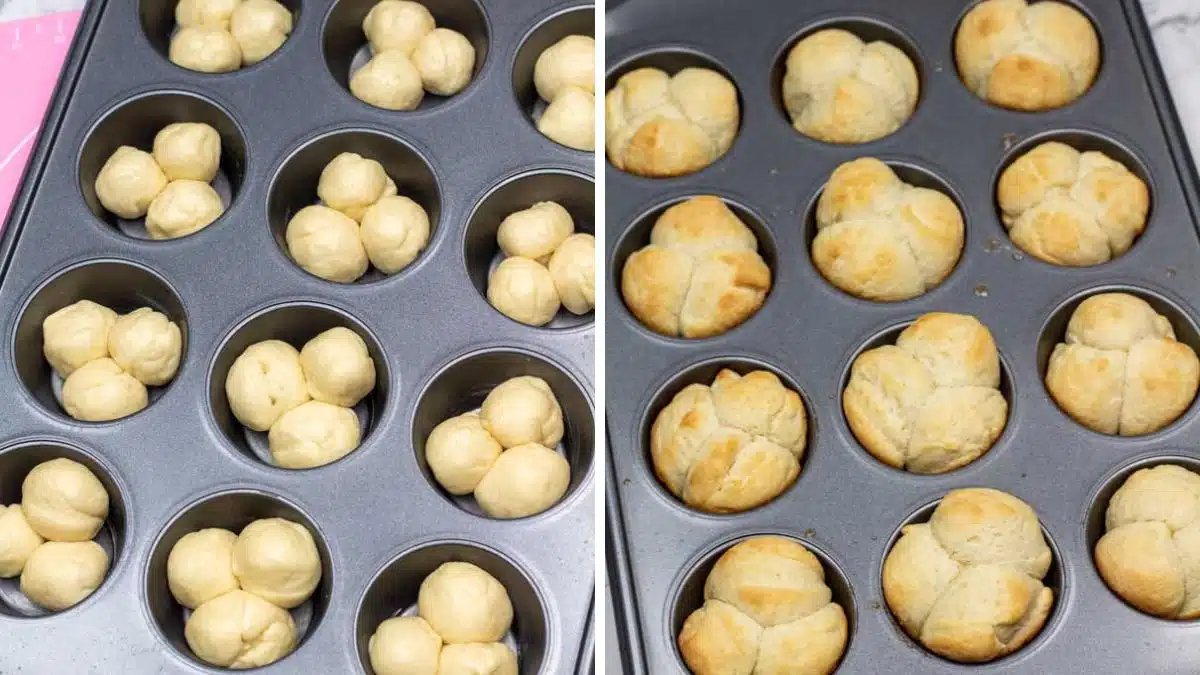
Step 8: Brush with butter. Preheat your oven to 375℉ (190℃/Gas Mark 5). Meanwhile, melt the 2 tablespoons of butter you have remaining. Gently remove the plastic wrap from your dough and brush them lightly with the melted butter.
Step 9: Bake. Bake at 375℉ (190℃/Gas Mark 5) for 10-13 minutes or until golden. Remove from the oven, brush with more butter and an additional sprinkle of salt if desired, and serve!
💭 Angela's Pro Tips & Recipe Notes
- 2 ¼ teaspoons of active dry yeast equals one 7-gram or ¼-ounce packet.
- If your dough seems overly sticky, you can add up to 1 tablespoon of additional flour without compromising your roll's fluffiness.
- While you are portioning and rolling the balls of dough, always keep the rest of the dough covered with a sheet of plastic wrap to keep it from drying out.
- I usually lightly butter, grease, or spray the cling film to prevent sticking to the dough. Removing it if stuck deflates the bread or rolls.
- You can fit up to two batches of dough for these rolls in the mixing bowl of a KitchenAid stand mixer!
- Prepare these rolls in advance by wrapping the dough before its last rise and refrigerating the muffin tin overnight. When it's time to bake, take the rolls out of the fridge and allow them to rise on the counter for 90 minutes or until they've doubled in size.
>>>>See all of my recipes here<<<<
🥡 Storing & Reheating
Let baked rolls cool fully, then transfer them to a sealed Ziploc bag or airtight container. They will last at room temperature for up to 2 days or 3-5 days in the fridge.
Freezing
Once cooled, you can freeze the sealed Ziploc bag of baked rolls for up to 3 months.
Reheating
Let frozen rolls thaw in the fridge or on the counter before reheating. Individual rolls may be reheated in short, 10-second increments in the microwave, or you can reheat them in the oven at 300°F (150°C/Gas Mark 2) for 5-10 minutes.
🍽️ What To Serve Dinner Rolls With
Honestly, what NOT to serve these dinner rolls with would be the more difficult question! They're just as incredible with a spaghetti dinner as they are with a succulent Christmas prime rib roast.
One of my favorite fall lunch ideas is a few cloverleaf rolls with a warm bowl of soup. These hit the spot with any meal that would benefit from a side of bread because bread and butter go with everything!
1. Turkey Noodle Soup
This classic dinner recipe is ideal for serving with tender rolls to soak up all the brothy goodness!
2. Baked Italian Meatballs
Paired with my rich and spicy arrabbiata sauce and some angel hair pasta for a meal made in heaven!
3. Ground Beef Stew
This easy and economical spin on the classic beef stew is a hearty comfort meal everyone loves. It's ideal for serving with a side of bread!
Do you love a recipe you tried? Please leave a 5-star 🌟rating in the recipe card below and/or a review in the comments section further down the page.
Stay in touch with me through social media @ Pinterest, Facebook, Instagram, or Twitter! Subscribe to the newsletter today (no spam, I promise)! Don't forget to tag me when you try one of my recipes!
📖 Recipe Card
Cloverleaf Dinner Rolls
Ingredients
- ½ cup whole milk (warmed to 105-110℉/41-43℃)
- 2 tablespoon granulated sugar (divided into two 1-tablespoon portions)
- 2¼ teaspoon active dry yeast
- 6 tablespoon butter (divided into two portions of 4 tablespoons and 2 tablespoons, plus more to butter the pan)
- 2 cups all-purpose flour (spoon & leveled)
- ¼ teaspoon salt
- 1 large egg (at room temperature)
(Note: 2x or 3x only changes the ingredient list)
Instructions
Make The Dough
- If you haven't already, warm ½ cup whole milk to 105-110℉ (41-43℃). Pour the warm milk, 2¼ teaspoon active dry yeast, and 1 of the 2 tablespoon granulated sugar into the bowl of your stand mixer. Let sit for about 5 minutes or until frothy. Meanwhile, melt just 4 tablespoons of the 6 tablespoon butter.
- Add 2 cups all-purpose flour, ¼ teaspoon salt, and the remaining 1 tablespoon of sugar to the bowl. Using the dough hook attachment, turn the mixer on low to combine. Add 1 large egg and continue to knead until the dough is smooth, about 5-10 minutes. Use a silicone spatula as needed to scrape down the sides of the bowl.
- Slowly add 4 tablespoons of melted butter and let it mix in to prevent splashing, then increase the speed to medium. Continue kneading for another 5 to 10 or until the dough becomes elastic and somewhat shiny.
First Rise
- Scrape down the sides of the bowl to form a neat ball in the center and cover it with plastic wrap. Set aside somewhere warm for 1-2 hours to rise until it has doubled in size.
Portion & Shape
- Butter a standard-sized muffin pan and set aside. Gently place your ball of dough on a clean, flat work surface and divide it into 12 equal pieces (always keep the dough covered with plastic wrap when not being worked with).
- Divide each of the 12 pieces of dough into 3 even pieces, then roll each of those into a ball. Add 3 small dough balls per cup to your prepared muffin pan and repeat with the remaining dough.
Second Rise
- Cover the muffin pan lightly with plastic wrap and set it aside for 45 minutes to 1 hour to double in size again.
Brush, Bake, and Serve
- Preheat your oven to 375℉ (190℃/Gas Mark 5). Meanwhile, melt the 2 tablespoons of butter you have remaining. Gently remove the plastic wrap from your dough and brush them lightly with the melted butter.
- Bake at 375℉ (190℃/Gas Mark 5) for 10-13 minutes or until golden. Remove from the oven, brush with more butter and an additional sprinkle of salt if desired, and serve!
Notes
- 2 ¼ teaspoons of active dry yeast equals one 7-gram or ¼-ounce packet.
- If your dough seems overly sticky, you can add up to 1 tablespoon of additional flour without compromising your roll's fluffiness.
- While you are portioning and rolling the balls of dough, always keep the rest of the dough covered with a sheet of plastic wrap to keep it from drying out.
- I usually lightly butter, grease, or spray the cling film to prevent sticking to the dough. Removing it if stuck deflates the bread or rolls.
- You can fit up to two batches of dough for these rolls in the mixing bowl of a KitchenAid stand mixer!
- Prepare these rolls in advance by wrapping the dough before its last rise and refrigerating the muffin tin overnight. When it's time to bake, take the rolls out of the fridge and allow them to rise on the counter for 90 minutes or until they've doubled in size.
- Let baked rolls cool fully, then transfer them to a sealed Ziploc bag or airtight container. They will last at room temperature for up to 2 days or 3-5 days in the fridge.
- Once cooled, you can freeze the sealed Ziploc bag of baked rolls for up to 3 months.
- Let frozen rolls thaw in the fridge or on the counter before reheating. Individual rolls may be reheated in short, 10-second increments in the microwave, or you can reheat them in the oven at 300°F (150°C/Gas Mark 2) for 5-10 minutes.


Comments
No Comments