

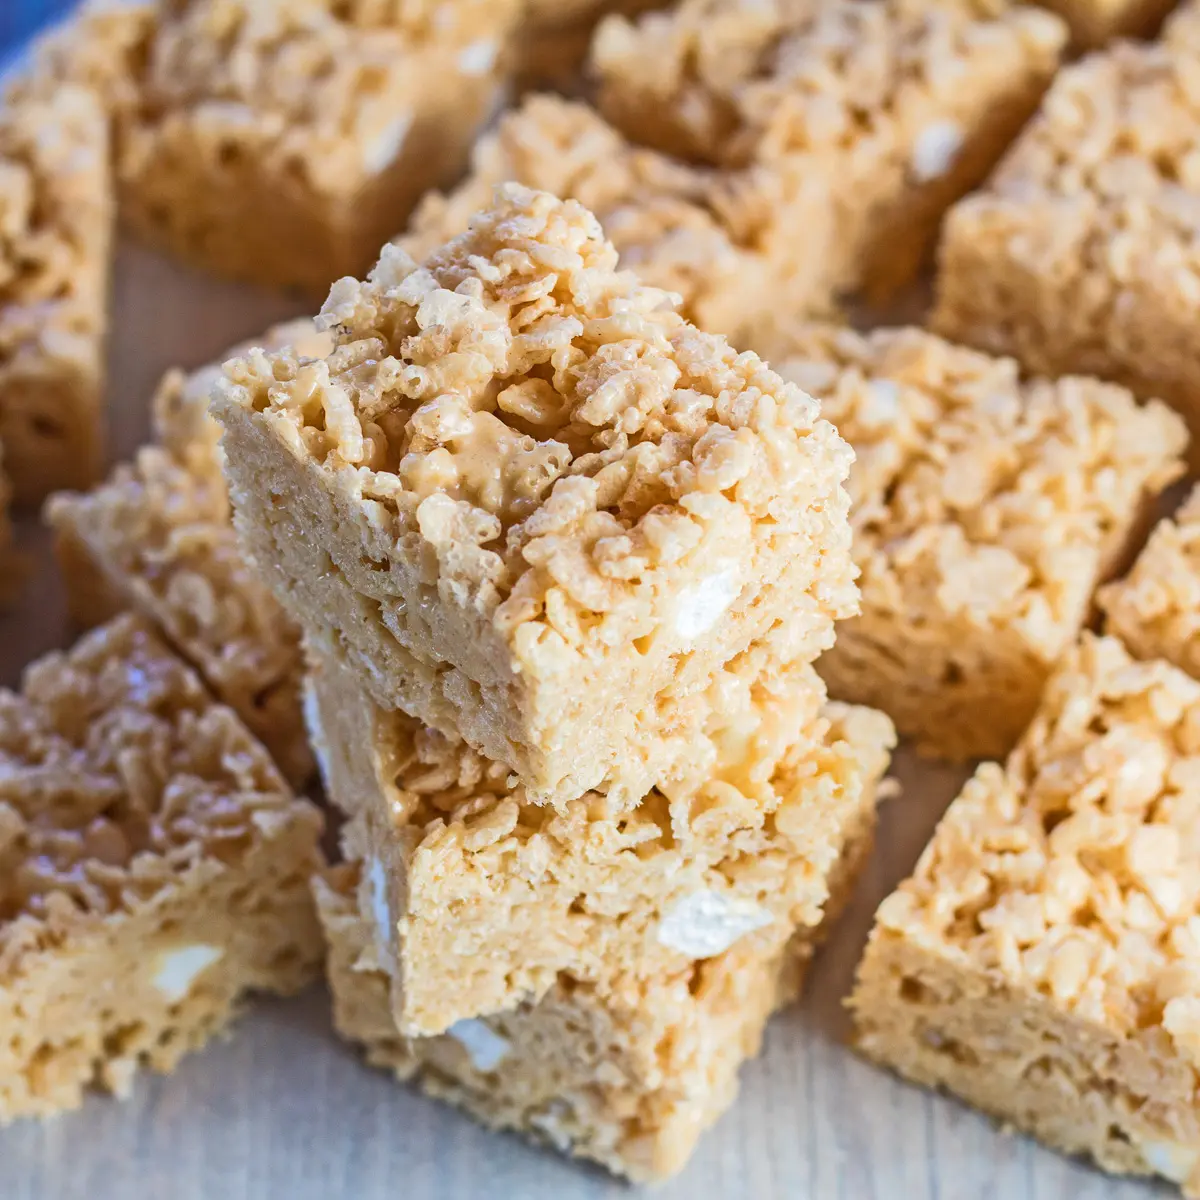
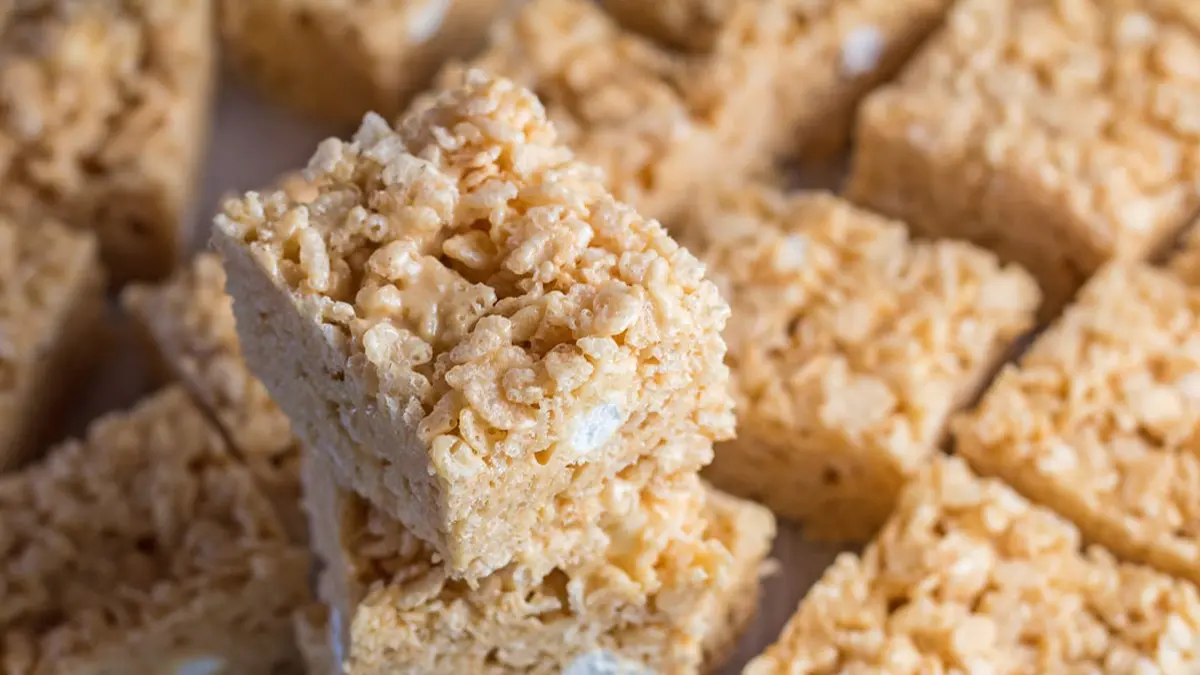
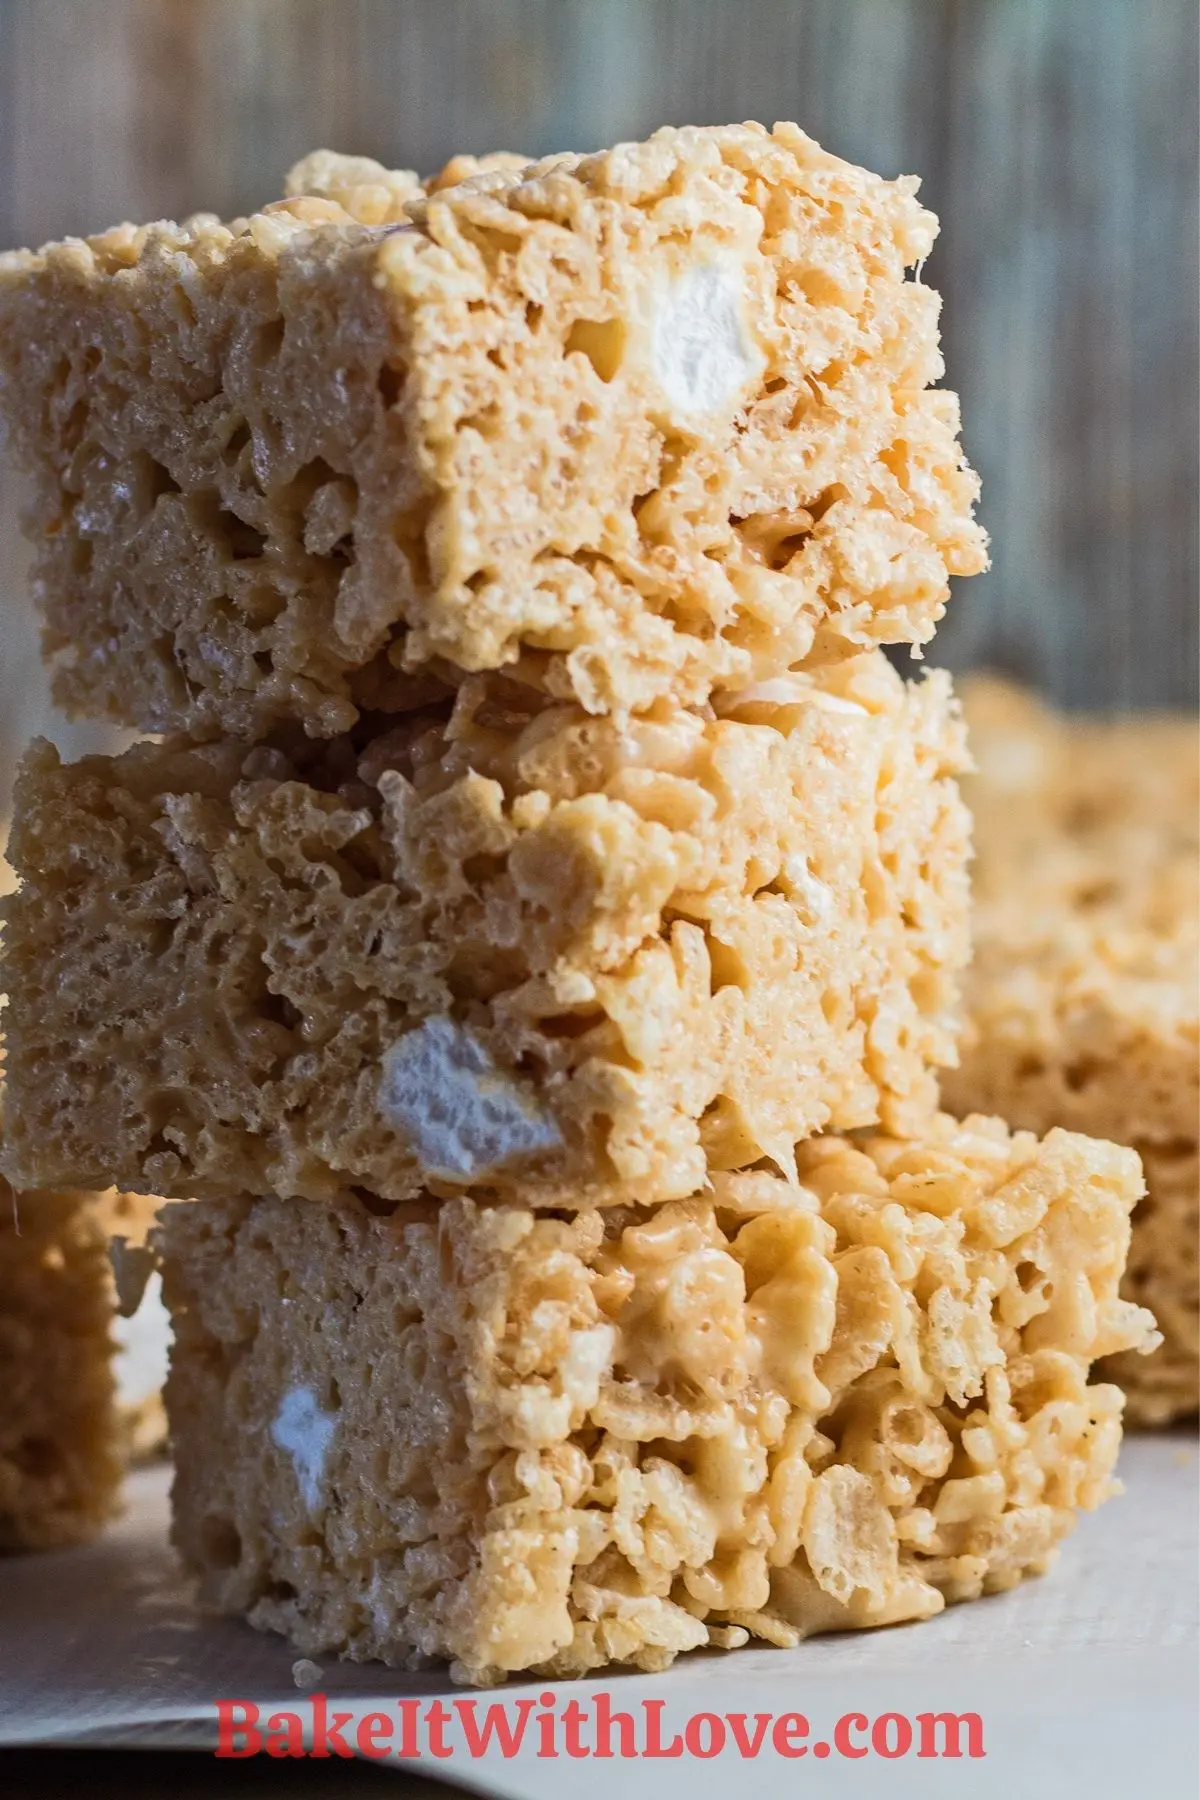
Flavorful peanut butter Rice Krispie treats are packed with creamy peanut butter, sweet marshmallows, and just the right amount of saltiness. This tasty twist on the classic Rice Krispies treat is a well-loved family favorite for kids of all ages. If you are a fan of peanut butter and have a sweet tooth, these no-bake cereal treats will be right up your alley.
Jump to:
Best Rice Krispie Treats With Peanut Butter
No-bake desserts are some of my favorites, especially when the weather is hot and I don’t want to turn on the oven. Not only are they simple to prepare, but they come out delicious every time!
Who doesn’t love Rice Krispies Treats? They're ooey, gooey, and chewy! Absolute perfection! I have been making (and enjoying!) these easy cereal treats for as long as I can remember, and kids today enjoy them just as much.
While the classic version never goes out of style, my Peanut Butter Rice Krispie treats are extra-special, made with creamy peanut butter to add more richness and flavor to every bite.
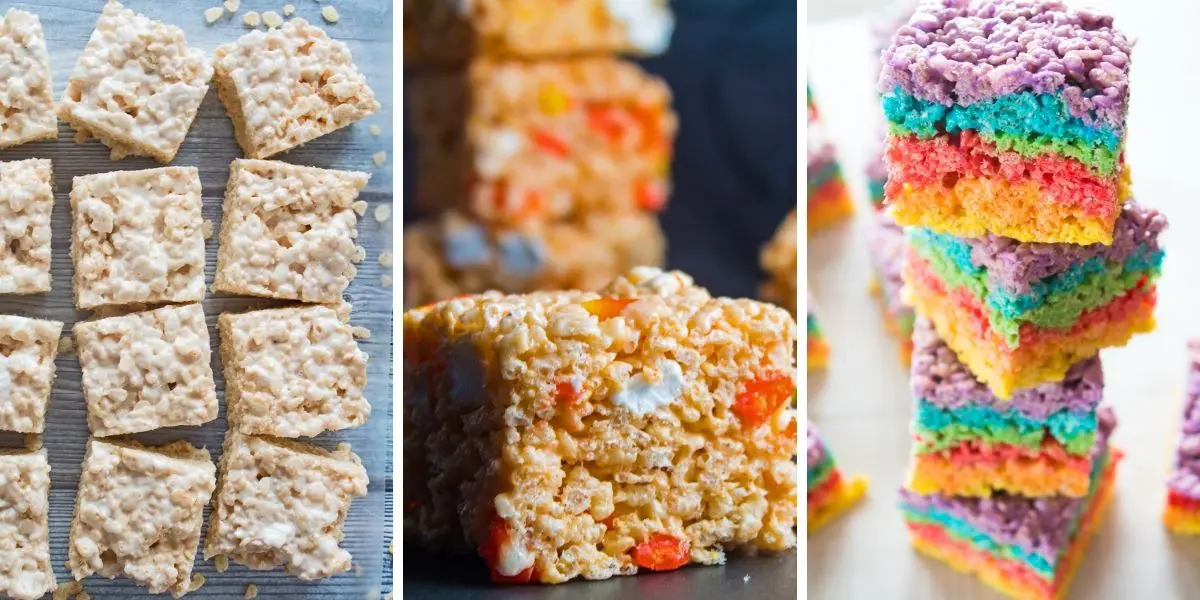
I also have recipes for chocolate-dipped Rice Krispies treats, chocolate peanut butter Rice Krispies treats, rainbow Rice Krispies treats, and candy corn Rice Krispies treats! Check them out for some more fun variations!
🥘 Ingredients
The ingredients list isn’t long, and if you have made Rice Krispies Treats before, you know it does not take much to make this delicious dessert. Just make sure you have enough puffed rice cereal.
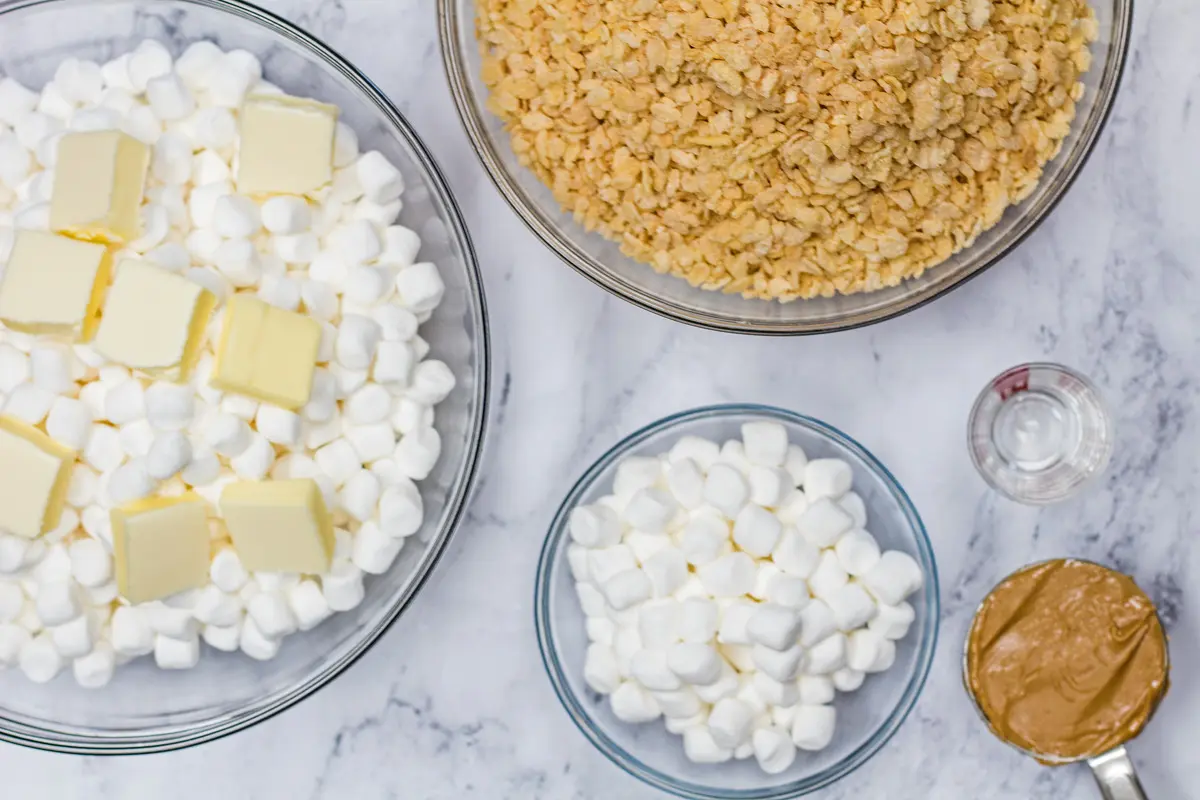
- Butter – ½ cup (1 stick, or 8 tablespoons) of salted butter. The hint of saltiness makes these treats well-balanced and buttery.
- Marshmallows – 15 ounces of mini marshmallows. The mini marshmallows melt better than the larger size and mix into the cereal with ease. If desired, set aside 1 cup of the marshmallows to mix into the cereal unmelted.
- Vanilla Extract – ½ tablespoon of pure vanilla extract adds flavor and a nice aroma.
- Peanut Butter – ½ cup of peanut butter. Creamy works well, but if you are a fan of chunky peanut butter, then give it a go. Experiment with flavored peanut butter too.
- Rice Krispies Cereal – 9 cups of Rice Krispies cereal (or any generic puffed rice cereal). The “Snap, Crackle, Pop” that never fails to please!
You'll need a bit more butter for your 9x13 baking pan, non-stick cooking spray works too. Or you can line the pan with a sheet of parchment paper for easy removal of the entire slab of cereal treats.
Be sure to see the free printable recipe card below for ingredients, exact amounts & instructions with tips!
🔪 How To Make Peanut Butter Rice Krispie Treats
Making Peanut Butter Rice Krispie Treats isn’t anything complicated – even young kids can help out in the kitchen! If you are new to making sweets, this recipe is a great start.
All you need is a 9x13 baking dish, a large bowl or saucepan, and a silicone spatula.
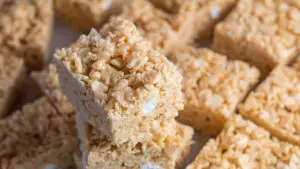
My recipe makes 12 servings, but it all depends upon how large or small you cut the treats. Sometimes, I make minis, and other times, I go for the “jumbo” size.

Prepare the Mixture
Step 1: Prepare. Butter a 9x13 baking pan or line it with parchment paper for easy removal of your Peanut Butter Rice Krispie Treats once they’re finished.
Step 2: Melt.
Microwave Instructions: Combine 15 ounces (425 grams) of marshmallows and ½ cup (113.5 grams) of butter in a large microwave-safe mixing bowl. Heat for 1 minute on high power, stir, then continue heating in 30-second increments until the marshmallows are completely melted. Keep an eye on your bowl so you don’t have an overflow.
Stovetop Instructions: Heat a large saucepan to medium heat and melt ½ cup (113.5 grams) of salted butter. Add 15 ounces (425 grams) of mini marshmallows once the butter is melted and stir to coat them in the melted butter. Continue stirring until the marshmallows have melted completely, then remove from heat.
Step 3: Stir. Stir in ½ tablespoon (7 milliliters) of vanilla extract and ½ cup (129 grams) of creamy peanut butter until combined and creamy. Add 9 cups (252 grams) of Rice Krispies cereal and 1 cup of mini marshmallows and fold them into the marshmallow mixture until well coated.
Press & Set
Step 4: Press. Transfer the mixture into your prepared pan using a buttered spatula, a square of waxed paper, or your clean fingers (buttered or dampened with water). Gently press the Rice Krispies mixture into an even layer in the pan. *Do not pack the cereal in firmly, as this will create hard/dense Rice Krispies cereal treats, make sure it’s evenly distributed.
Step 5: Set. Set the Peanut Butter Rice Krispie Treats aside and allow them to cool and set up for 1-2 hours before slicing and serving.
📖 Variations
You can add some flair to the treats by sprinkling some extra treats over the top before it cools and sets.
Here are some great ideas below!
- Peanuts
- Peanut butter
- Chocolate chips
- Chocolate candies Try Reese’s Pieces or Goobers candy (chocolate-coated peanuts) for the extra peanut goodness.
🍴 What To Serve With
Of course, these delicious bars can be eaten on their own. However, I like to serve them at parties because they are so easy to make.
Serve them with some other easy party desserts like these Reese's Pieces bars or cranberry crumble bars.
💭 Angela's Pro Tips & Recipe Notes
- Avoid packing down your Rice Krispie treats too firmly into the baking dish. This will create hard and dense bars. Instead, press them only enough to make an even layer.
- Instead of just buttering your 9x13 dish, I recommend adding a layer of parchment paper with some overhanging on each end. This way, when your bars have set, you can simply lift the entire batch out of the dish to cut them.
- Make sure you are using fresh puffed rice cereal and marshmallows! Hard, stale marshmallows won't melt as well as fresh ones.
>>>See All Of My Tasty Recipes Here!<<<
🥄 Make Ahead Options
If desired, you can easily make your peanut butter Rice Krispie treats and then freeze them for later! Once set, lift the entire batch out of the 9x13 dish and then slice them into squares.
Wrap each square in its own plastic wrap and then place all the bars into a sealed bag or container. They can be frozen for up to 3 months.
Make sure you let them thoroughly thaw out at room temperature before serving so that they aren't too hard.
🥡 Storing
If you have any leftovers, they can be kept at room temperature in an airtight container. I recommend eating them within 2-3 days for the best texture and flavor. However, they will definitely still taste good for about a week (but won't be as crunchy).
Avoid refrigerating these bars, as they will be too hard to eat cold.
❓ Recipe FAQs
I enjoy using my favorite brand of creamy peanut butter. Of course, you could also try this recipe with chunky peanut butter! You can even use natural peanut butter, but make sure you stir it really well first!
Sure! You can get creative and swap out your peanut butter for your favorite variety of nut butter. Try them with cashew butter, almond butter, or any other of your preferred peanut butter substitutes. You can even use a nut butter alternative, such as cookie butter or sunflower butter.
If your cereal bars turned out hard, it could be for a few different reasons. First of all, you might have packed the mixture too densely into the baking dish. Secondly, you could have had the heat too high on the stovetop or kept the saucepan on the burner for too long after the mixture was fully melted.
Do you love a recipe you tried? Please leave a 5-star 🌟rating in the recipe card below and/or a review in the comments section further down the page.
Stay in touch with me through social media @ Pinterest, Facebook, Instagram, or Twitter! Subscribe to the newsletter today (no spam, I promise)! Don't forget to tag me when you try one of my recipes!
📖 Recipe Card
Peanut Butter Rice Krispie Treats
Ingredients
- ½ cup butter (salted, 1 stick or 8 tablespoons)
- 15 oz mini marshmallows (1 ½ 10 ounce bags, reserve 1 cup of marshmallows to mix in later if desired)
- ½ tablespoon vanilla extract
- ½ cup peanut butter
- 9 cups Rice Krispies cereal
(Note: 2x or 3x only changes the ingredient list)
Instructions
- Butter a 9x13 baking pan or line it with parchment paper for easy removal of your cereal treats.
- Stovetop Instructions: Heat a large sauce pan to medium and melt the ½ cup of butter. Add the 15 ounces of marshmallows once the butter is melted and stir to coat them in the melted butter. Continue stirring until the marshmallows have melted then remove from heat.Microwave Instructions: Combine the marshmallows and butter in a large microwave-safe mixing bowl. Heat for 1 minute on high power, stir, then continue heating in 30-second increments until the marshmallows are completely melted.
- Stir in the ½ tablespoon of vanilla extract and ½ cup of creamy peanut butter until creamy. Add the 9 cups of Rice Krispies and the remaining 1 cup of marshmallows and fold them into the marshmallow mixture until well coated.
- Transfer the mixture into your prepared pan, then use a buttered spatula, a square of waxed paper, or your fingers (buttered or dampened with water) to gently press the Rice Krispies mixture into an even layer in the pan. *Do not pack the cereal in firmly, as this will create hard Rice Krispies cereal treats.
- Set the treats aside and allow them to cool and set up for 1-2 hours before slicing and serving.
Notes
- Avoid packing down your Rice Krispie treats too firmly into the baking dish. This will create hard and dense bars. Instead, press them only enough to make an even layer.
- Instead of just buttering your 9x13 dish, I recommend adding a layer of parchment paper with some overhanging on each end. This way, when your bars have set, you can simply lift the entire batch out of the dish to cut them.
- Make sure you are using fresh puffed rice cereal and marshmallows! Hard, stale marshmallows won't melt as well as fresh ones.
Comments
No Comments