

These chocolate dipped Rice Krispies treats are such an incredibly tasty combination of crispy cereal bar covered in rich chocolate! This classic no-bake cereal bar is a timeless favorite that's loved by kids of all ages!
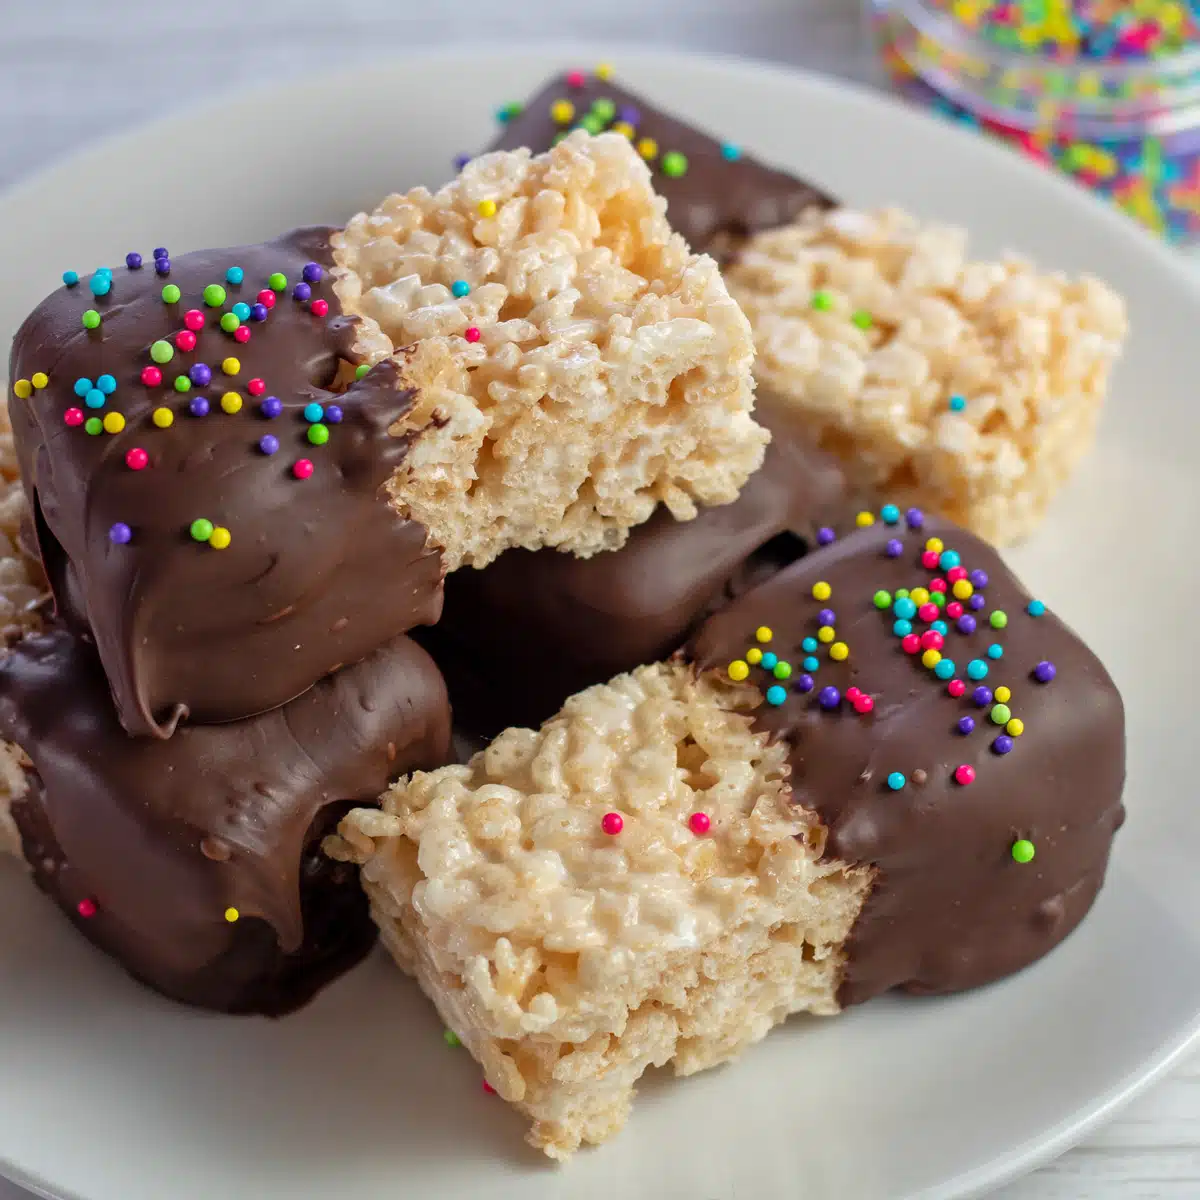
There’s nothing like these chocolate-dipped Rice Krispie treats to remind you of childhood!
When I was a kid, Rice Krispies™ treats were in high demand. Sleepovers, class birthday parties, holidays. Everyone under the age of 10, and many over, were obsessed.
There’s good reason for people to love these chewy, chocolatey, marshmallowy desserts. Butter and vanilla amp up the richness of the chocolate for an indulgent, yet light treat.
Jump to:
With the pre-made packaged treats missing from grocery store shelves due to supply chain issues, there’s no time like the present to make these yourself. Who knows? You might never look back!
❤️ Why I Love This Recipe
Good for Sharing! When cooled, these can easily be cut into squares for parties or large families.
Packable Treats! Whether you’re packing for a picnic, a camp out, or another day at school or the office, these tasty treats travel well!
They’re Versatile! There are tons of different ways to personalize these to your specific taste.
🥘 Ingredients
You might already have most of this lying around. Marshmallows create that amazing texture we all know and love!

- ½ cup Butter - If you use salted butter, don’t add the optional pinch of salt!
- 15 ounces Mini Marshmallows - Use 1 ½ 10-ounce bags, and reserve 1 cup.
- 1 teaspoon Vanilla Extract - If you’re out of vanilla, try something on my list of vanilla substitutions.
- 1 pinch Salt (optional) - Salt is a flavor enhancer, so even sweet recipes call for a small amount!
- 9 cups Rice Krispies cereal- This is roughly just under 1 12-ounce box.
- 2 cups Semi-Sweet Chocolate Chips - Semi-sweet is my favorite, but in a pinch, anything not white will work: dark, milk, bittersweet, etc.
*Be sure to see the free printable recipe card below for ingredients, exact amounts & instructions with tips!*
📖 Variations
If you’re run out of cereal or just want to try something new, you can replace it with one of the following for a tasty and crunchy alternative:
Other cereals - Kids especially love versions made with Cap’n Crunch, Fruity Pebbles, or Lucky Charms. For something a little less sweet, try Chex or Kix.
Grains - For something a little more nutritious, puffed or popped amaranth, quinoa, or barley works wonderfully.
Popcorn - Caramel corn fans will go crazy over this unexpected treat. The texture is also great!
Pretzel Sticks - These are incredibly crunchy and add a salty twist!
Peanut Butter - To really add a peanut butter taste, skip the nuts and add the real thing! Just melt it and mix it with the marshmallows and cereal. Add peanut butter chips if you want to go all out! Or top it all off with chocolate for these flavor-packed chocolate peanut butter treats!
Pumpkin Pie Spice - Spice mixes are also a great way to add different flavors. Get creative with it!
Mix-Ins - There are loads of things you can toss in to personalize your Krispies treats! Try peanuts or other roasted nuts, peanut butter M&Ms, crushed kettle-cooked potato chips, graham crackers, butterscotch chips, etc.
Cocoa Krispies - Want to make these even more chocolatey? Swap regular Rice Krispies cereal for its chocolate counterpart. Your resident choco-holics will thank you!
🔪 Instructions
There are two methods for melting ingredients - both work exceptionally well. You’ll need a 9x13-inch baking pan, microwave-safe glass bowls or a saucepan, and a silicone spatula or two.

- Butter your pan. Butter a 9x13x2-inch baking pan, or line it with parchment paper.
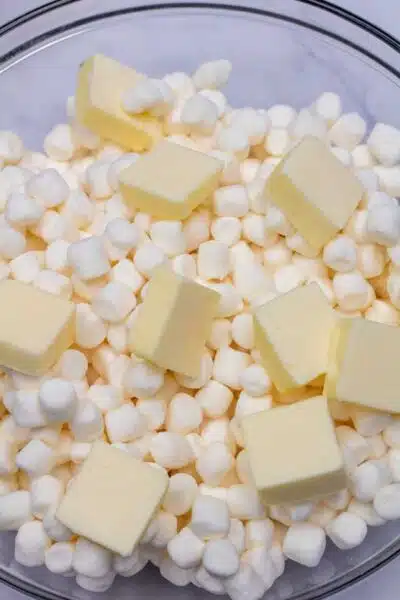
- Melt the ingredients. For the stovetop method: Put ½ cup butter in a large saucepan and melt over low heat. Add 15 ounces of marshmallows (minus 1 cup to add later). Stir continuously until everything is melted. Remove from heat. Using the microwave method: Add 15 ounces of marshmallows and ½ cup butter in 1 tablespoon pats to a large, microwave-safe bowl. Heat for 1 minute, then stir. Continue heating in 30-second increments, stirring well between each period. It is finished when it is smooth, or there are very few small lumps.
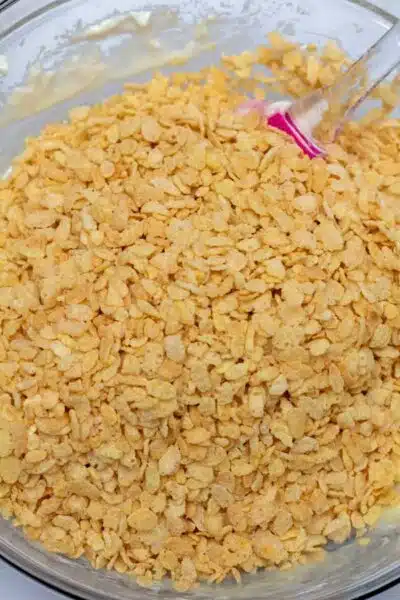
- Add the cereal. Stir in 1 teaspoon of vanilla extract and a pinch of salt (optional). Now, pour in 9 cups of Rice Krispies and reserved a 1-cup portion of marshmallows. Fold it all together until the cereal is fully coated.
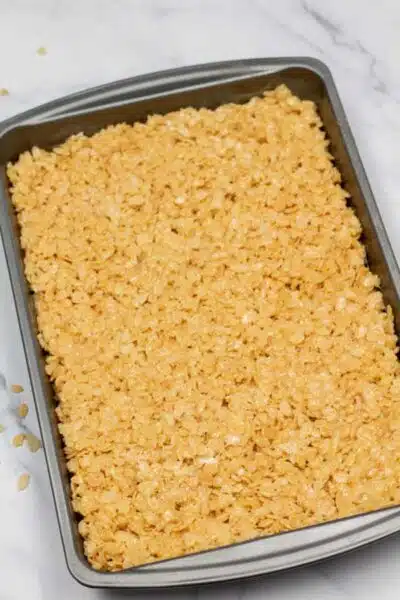
- Transfer. Transfer the cereal mixture to your prepared pan using a buttered spatula, waxed paper, or your fingers dipped in water or smeared with butter. They will be extremely sticky. Press it down around the pan so that it creates an even layer, but don’t press too hard, or the results will be hard. Leave some air.
- Cool and slice. Let the pan of treats cool for 1 to 2 hours at room temperature. Then, slice them into rectangles for dipping.
Dip, Sprinkle & Set
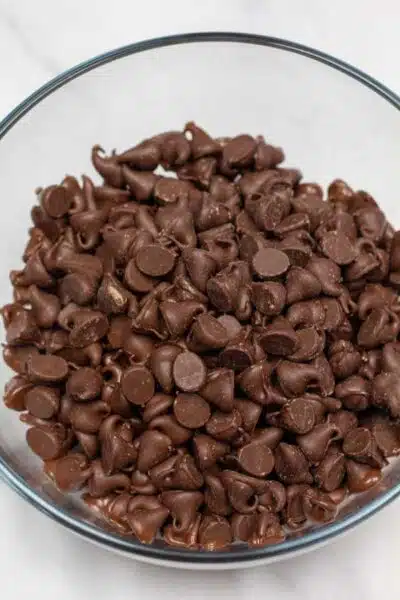
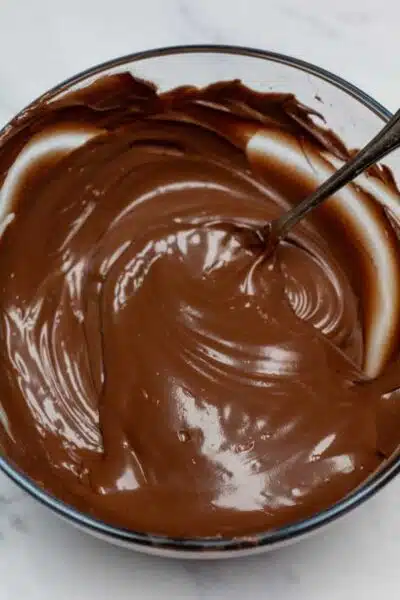

- Melt the chocolate chips. Heat 2 cups of semi-sweet chocolate chips in a small microwave-safe bowl in 30-second intervals. Stir well between each, and stop when all the chips are melted and smooth.
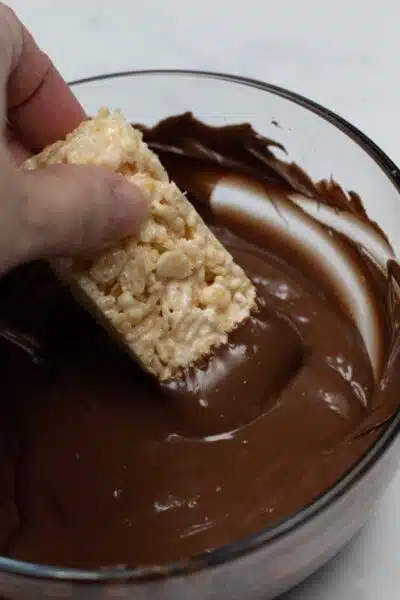
- Dip your crispy treats. Dip each Rice Krispie bar in the chocolate, and transfer it to a parchment paper-lined baking sheet to dry.
- Harden. Let the chocolate harden at room temperature (don’t refrigerate!) for up to 2 hours before serving.
Chocolate-dipped Rice Krispies treats are super fun to make with kids! Get their help dipping and adding holiday-themed sprinkles or nonpareils on the wet chocolate for some extra decoration. Enjoy!
💭 Angela's Pro Tips & Recipe Notes
- The original Rice Krispies Treats recipe called for the following: 3 tablespoons butter, 10 ounces of marshmallows or 7 ounces marshmallow fluff, and 6 cups Rice Krispies cereal.
- Use low heat. High heat leads to hard Rice Krispies. Use a low flame when melting the butter and marshmallows.
- Don’t use old marshmallows. When they’ve been sitting around for a while, marshmallows stop melting well. You’ll end up with one big, sticky blob.
- Store for up to 3 days in an airtight container at room temperature. No need to refrigerate.
- Cut small squares to fully coat your treats. Get maximum chocolate coverage for your Rice Krispies treats by cutting them into bite-sized squares and coating all sides with chocolate!
🍫 More Cereal Treats!
- Candy Corn Rice Krispies Treats
- Rainbow Rice Kirspies Treats
- Fruity Pebbles Treats
- Lucky Charms Marshmallow Treats
- Chocolate Peanut Butter Rice Krispies Treats
❓ Recipe FAQs
Sometimes, they can get hard after being out for a day or two. Zip them into a bag with a slice of bread, and leave them overnight. They should magically be fine by the next morning.
If the end result is soggy, try reducing the amount of butter used next time. While this recipe should work perfectly, everyone will have slight differences that affect the product. If yours are soggier than you would like them to be, use this tip in the future.
Do you love a recipe you tried? Please leave a 5-star 🌟rating in the recipe card below and/or a review in the comments section further down the page.
Stay in touch with me through social media @ Pinterest, Facebook, Instagram, or Twitter! Subscribe to the newsletter today (no spam, I promise)! Don't forget to tag me when you try one of my recipes!
📖 Recipe Card

Chocolate Dipped Rice Krispies Treats
Ingredients
- ½ cup butter
- 15 oz mini marshmallows (1 ½ 10 oz bags, reserve 1 cup of marshmallows)
- 1 teaspoon vanilla extract
- 1 pinch salt (optional)
- 9 cups Rice Krispies
- 2 cups semi-sweet chocolate chips
(Note: 2x or 3x only changes the ingredient list)
Instructions
- Butter your 9 x 13 x 2 inch baking pan, or line with parchment paper.
- Stovetop Method: Melt butter in a large saucepan over low heat. Once the butter is melted, add the marshmallows (minus 1 cup to mix in later if desired) and stir to coat well. Stir frequently until all of the marshmallows are melted, then remove from heat.Microwave Method: Place the marshmallows and 1 tablespoon portion pats of your butter into a large microwave-safe bowl and heat for 1 minute, stir, then continue heating in 30-second increments. Stir between each heating. Once there are only a few small lumps, stir the marshmallow mixture vigorously until smooth.
- Stir in the vanilla and a pinch of salt, then add all of the Rice Krispies cereal™ and the (optional) 1 cup portion of marshmallows. Gently fold the cereal and marshmallows in until all of the cereal is fully coated.
- Transfer the coated cereal to your prepared pan, then gently press the Rice Krispies cereal down until you have an even layer. *Do not pack the cereal in firmly, as it will make your Rice Krispies treats turn out hard.
- Set the treats out and let them cool and set for about 1-2 hours before slicing into small rectangles for dipping.
- Place your chocolate chips into a small microwave-safe bowl and heat in 30-second increments. Stir between each heating until the chips are melted and smooth.
- Dip each sliced Rice Krispies treat into the melted chocolate then set aside on a parchment paper-lined baking sheet to dry. Sprinkle with holiday-themed sprinkles and nonpariels if desired.
- Let the chocolate dry at room temperature (do not refrigerate) for up to 2 hours.
Notes
- 3 tablespoon butter
- 10 oz bag of marshmallows (about 40 marshmallows, or 4 cups mini-marshmallows, or 7 oz jar of marshmallow fluff)
- 6 cups Rice Krispies cereal
- Use low heat. High heat leads to hard Rice Krispies. Use a low flame when melting the butter and marshmallows.
- Don’t use old marshmallows. When they’ve been sitting around for a while, marshmallows stop melting well.
- Cut small squares to fully coat your treats. Get maximum chocolate coverage for your Rice Krispies treats by cutting them into bite-sized squares and coating all sides with chocolate!
- Store in an air tight container at room temperature for up to three days.
Comments
No Comments