
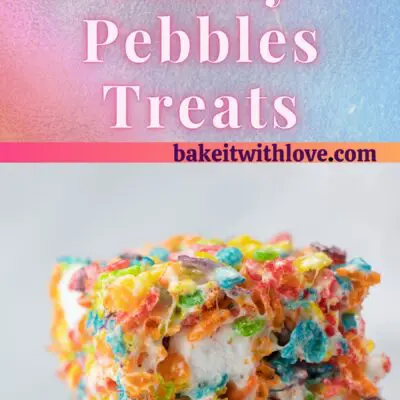
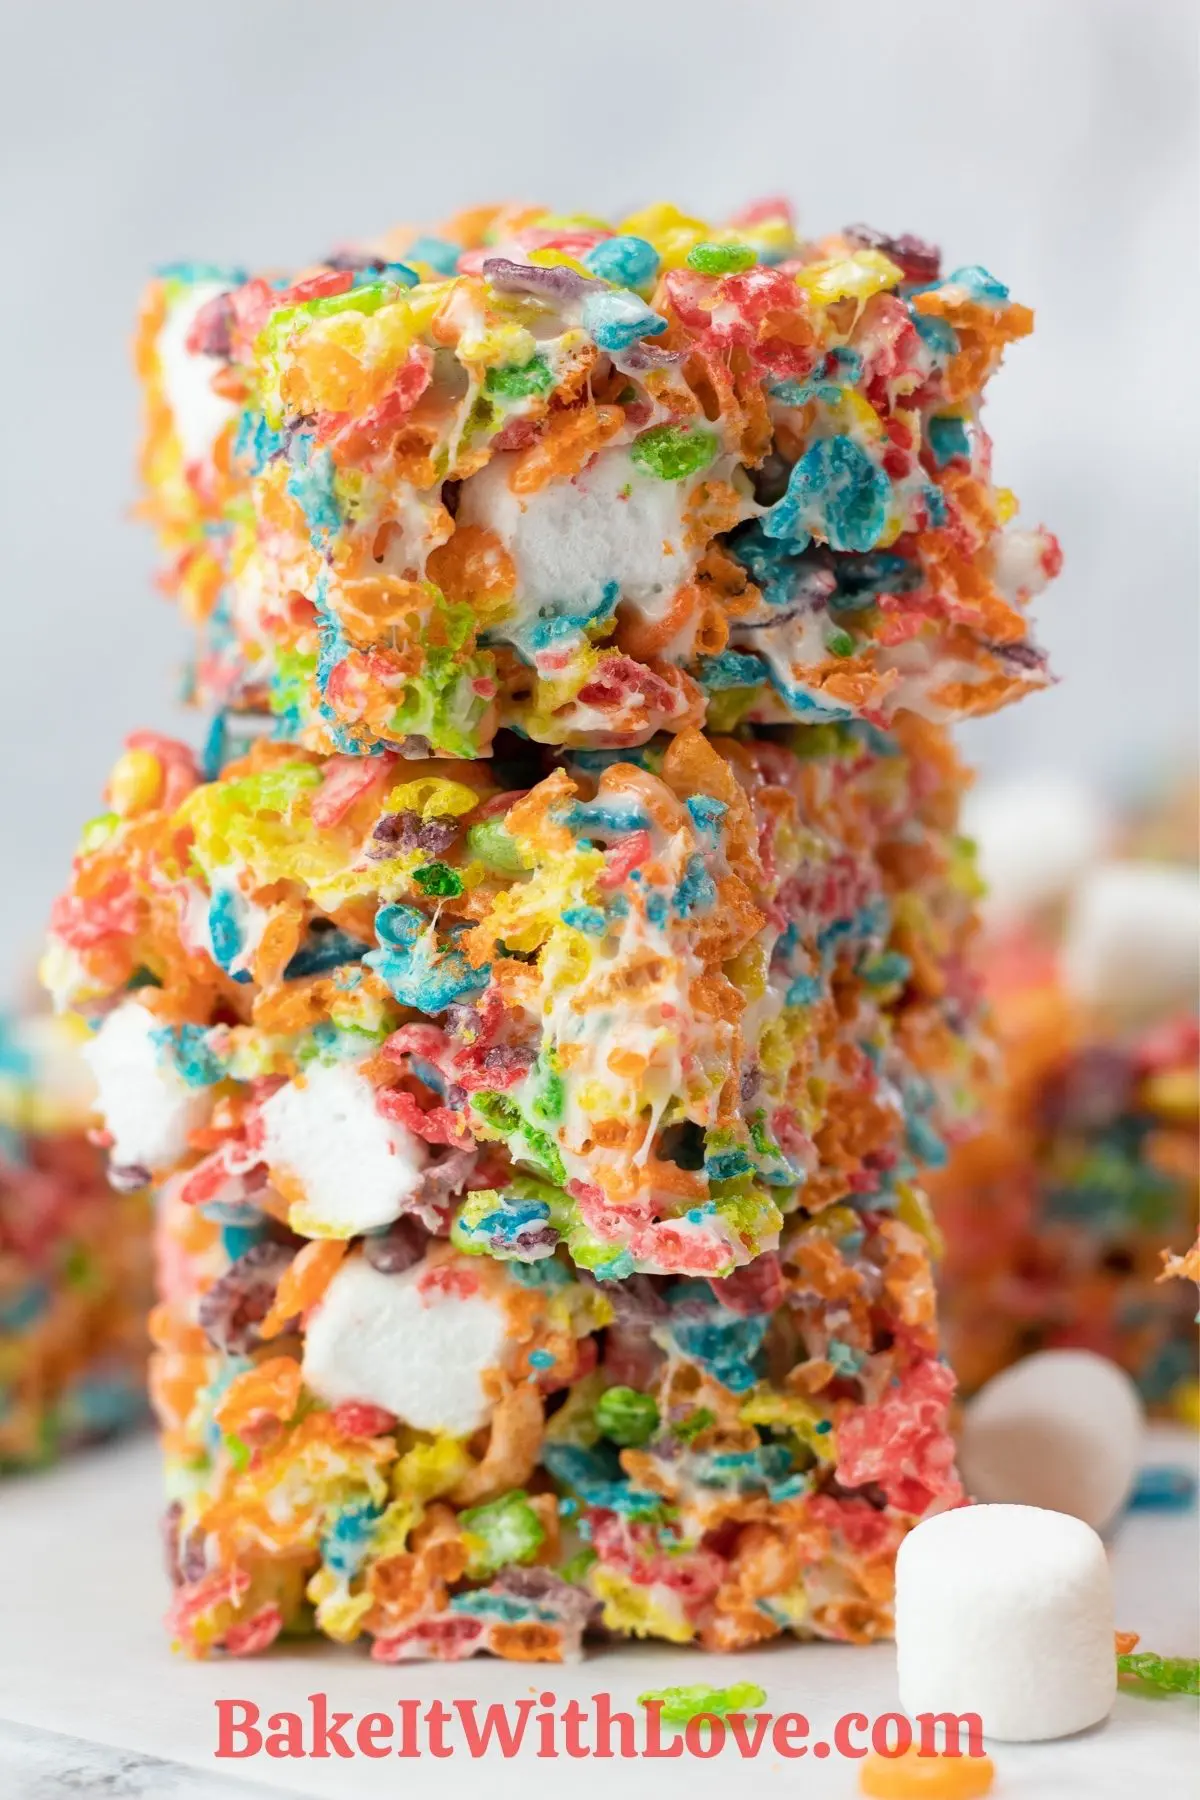
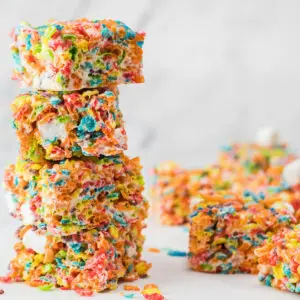
These easy-to-make Fruity Pebbles Treats are a deliciously fruity twist on the classic that some family members have rated 'better than' the original! The super gooey cereal treats are studded with extra marshmallows and loaded with tasty Fruity Pebbles flavor!
Everyone Loves This No-Bake Dessert
We are all familiar with Rice Krispies treats; in fact, my “best ever” recipe for the childhood favorite is one of my most popular. The chewy and crispy texture and super sweet flavor are so delightful, and when prepared well, these simple goodies are as good as gourmet!
As much as I love the classic treat, switching things up occasionally is fun. That is why my Fruity Pebbles treats are next up. They feature the same appeal as Rice Krispies treats but with a colorful, fruity twist.
The colorful snack or dessert bars are perfect for parties and celebrations! Plus, the fruity flavor is always a hit with family and friends.
🥘 Ingredients
The ingredients for this recipe are simple to collect and prep. If you have made Rice Krispies treats before, you know the drill, but follow my instructions below if your go-to recipe is slightly different.
- Butter – I use salted butter, as it adds a bit more flavor to the treats. If using unsalted butter, I suggest adding a pinch of salt to really make the flavors stand out!
- Mini Marshmallows – The ooey-gooey enjoyment is marshmallow-made. Be sure to use fresh marshmallows.
- Vanilla Extract – My little secret for that extra something that makes these treats stand out.
- Fruity Pebbles Cereal – The star of the show. They’re not just for breakfast! Be sure your cereal is fresh for perfectly 'krispie' treats!
*Be sure to see the free printable recipe card below for ingredients, exact amounts & instructions with tips!*
If you love cereal treats, be sure to try my tasty Lucky Charms marshmallow treats, too!
🔪 How To Make Fruity Pebbles Treats
These treats are fun to make, and the process is quick and easy. The time-consuming part is the cool-down period, which is about an hour.
If you have kids, they will love making Fruity Pebbles Treats with you. They are great for bake sales, after-school snacks with friends, and lunchbox surprises.
- Butter or lightly grease a 9 x 13-inch baking pan or line the pan from end to end with parchment paper.
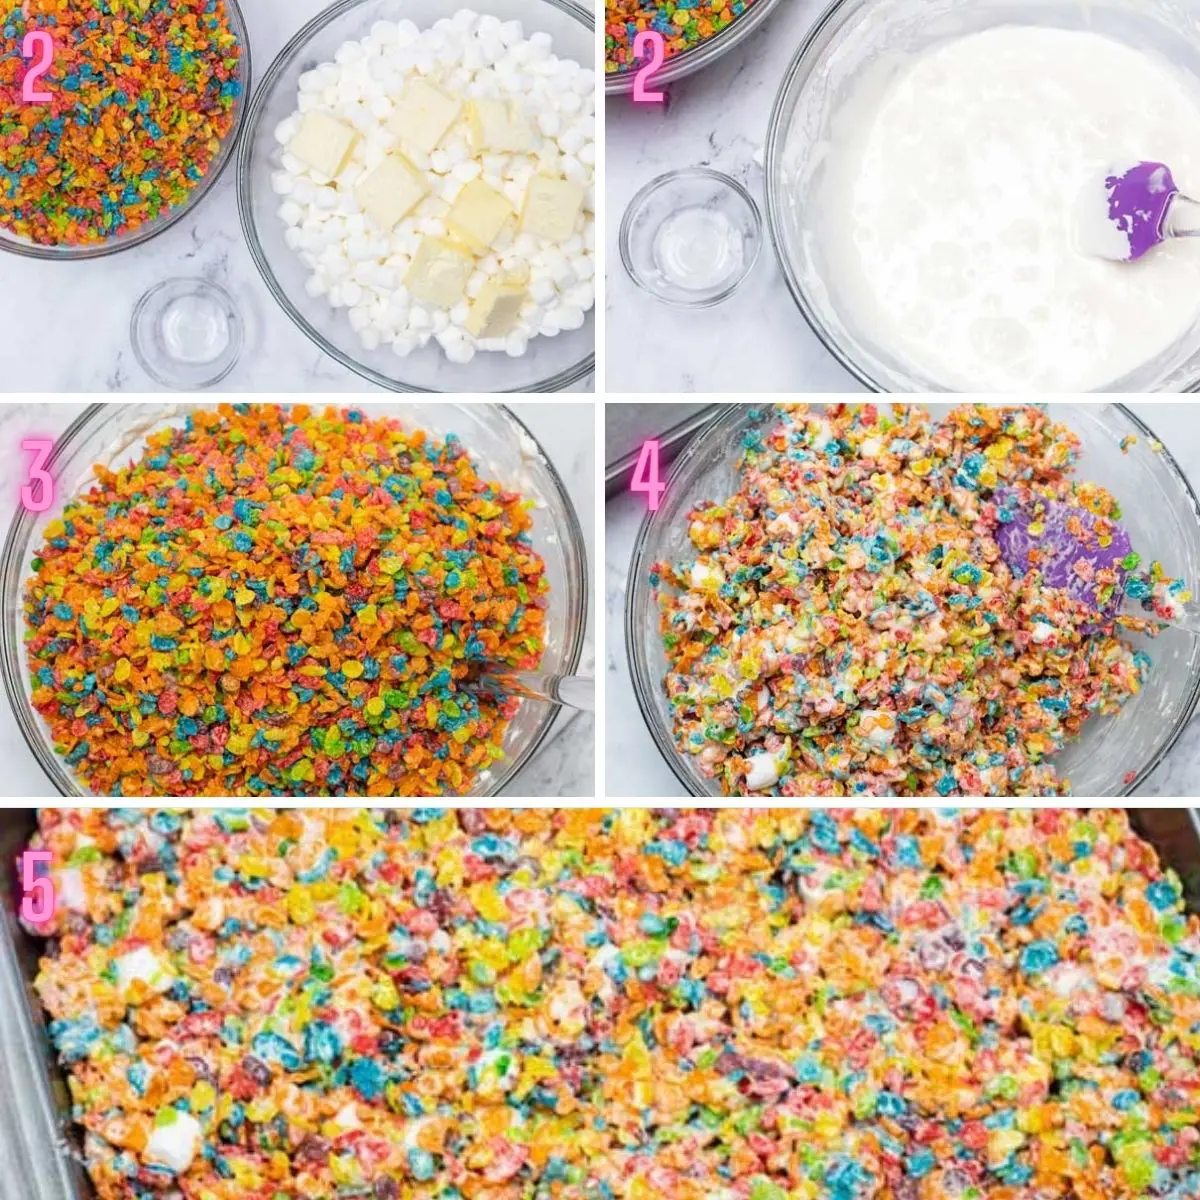
- On the stovetop: Melt ½ cup salted butter in a large saucepan over low heat. Once the butter is melted, add in the marshmallows (reserve 1 cup of marshmallows for later if desired, total 15 ounces altogether for recipe) and stir to coat completely. Continue stirring until all of the marshmallows are melted, then remove from the heat source.
- In the microwave: In a large mixing bowl, melt the marshmallows with ½ cup salted butter starting with 1 minute on high heat. Continue heating in 30-second increments, stirring between heating, until the marshmallows are fully melted. Keep an eye on the marshmallow-butter mixture throughout this process, as all microwaves differ.
- Stir in 1 teaspoon vanilla extract, then add 9 cups of Fruity Pebbles cereal and the remaining 1 cup portion of marshmallows you’ve set aside. Carefully fold in the cereal and stir until all of the cereal is coated with the melted marshmallows.
- Transfer the coated Fruity Pebbles cereal to your prepared pan, then use a buttered spatula, waxed paper, or fingers dipped in water or butter and gently press the Fruity Pebbles mixture down into an even layer.
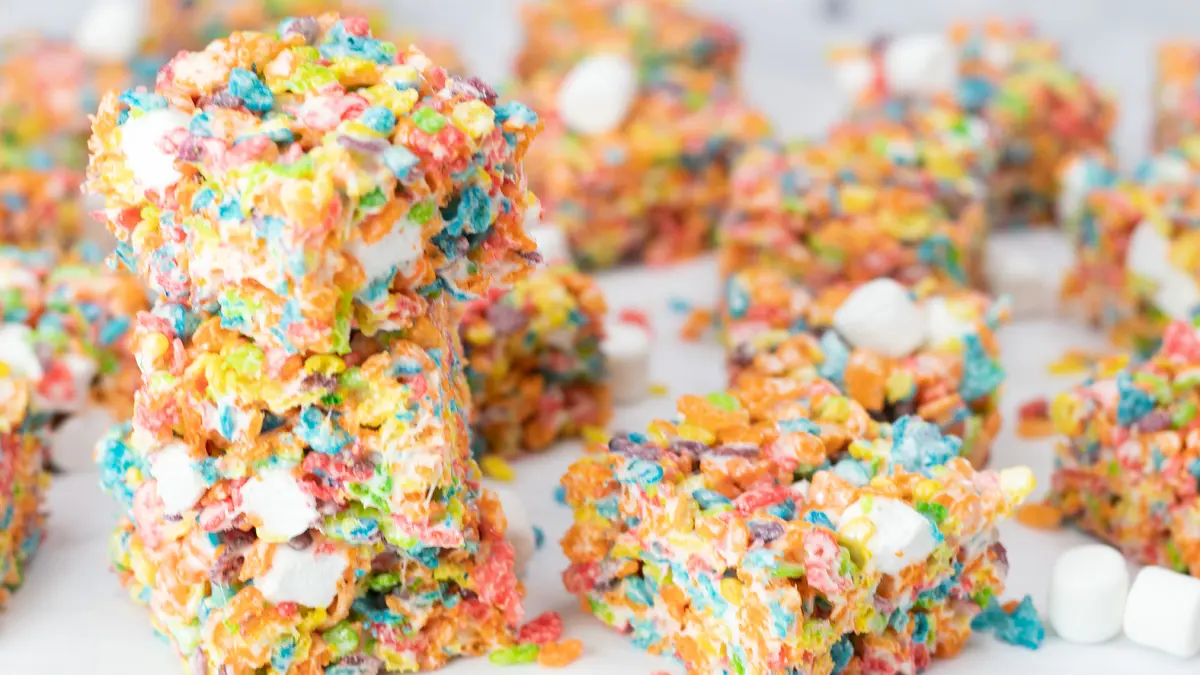
- Set the treats out and let them cool for at least an hour before slicing and serving.
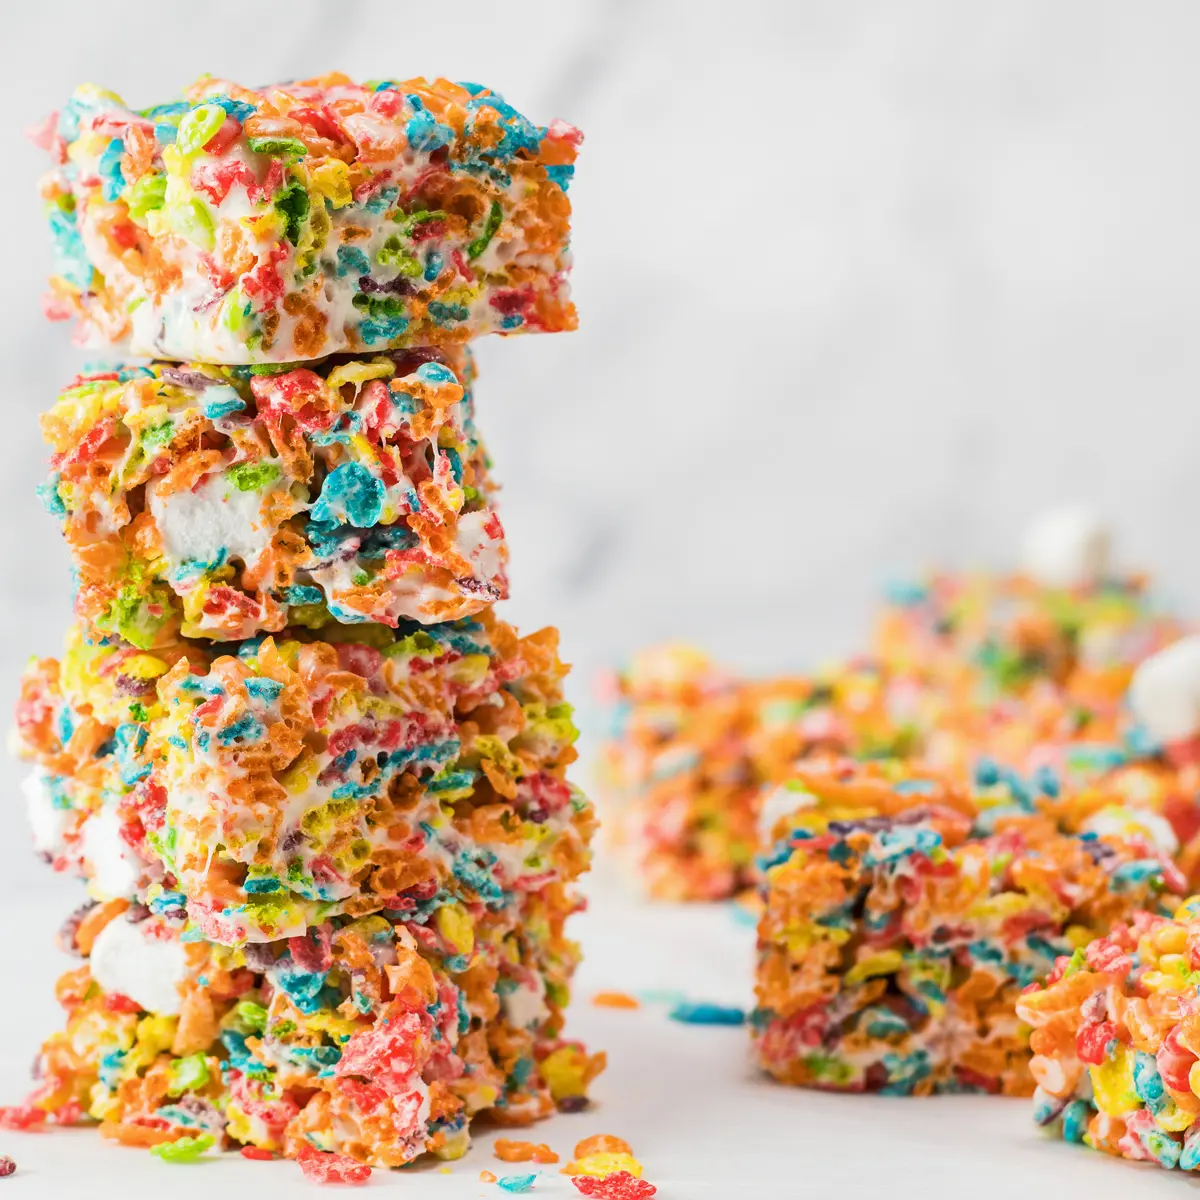
This recipe makes about 16 servings, but it all depends upon how you cut the portions. Serve with a glass of cold milk and enjoy your fruity pebbles treats!
💭 Angela's Pro Tips & Recipe Notes
- Cereal Choice: While Fruity Pebbles are recommended for their unique color and flavor, you can substitute with other cereals like Cocoa Pebbles for a chocolatey treat.
- Mix-Ins and Flavorings: Feel free to add mix-ins like chocolate chips, nuts, or dried fruit for extra flavor and texture. Experimenting with different extracts like almond or shredded coconut can provide a unique twist to the classic recipe.
- Pressing the Mixture: When transferring the cereal mixture to the pan, press it down gently. Overpacking can lead to hard treats, whereas a lighter touch will maintain that airy and crisp texture that melts in your mouth.
- Melting Marshmallows: Whether using the stovetop or microwave, ensure the marshmallows are completely melted and well combined with the butter for a smooth mixture. Keep an eye on the marshmallow-butter mixture, especially in the microwave, as all microwaves differ.
- Cooling Time: Allow the treats to cool for at least an hour before slicing and serving. Cutting them while still warm can cause them to collapse and become messy.
>>>>See all of my recipes here<<<<
🥡 Storing
You can store these Fruity Pebbles treats in an airtight container at room temperature for three days. To keep your treats nice and moist, you can individually wrap each treat in plastic cling film.
Technically, when using salted butter, your cereal treats can be stored at room temp for up to a week. However, they're still best in the first few days.
Will they disappear before then? Probably!
Do you love a recipe you tried? Please leave a 5-star 🌟rating in the recipe card below and/or a review in the comments section further down the page.
Stay in touch with me through social media @ Pinterest, Facebook, Instagram, or Twitter! Subscribe to the newsletter today (no spam, I promise)! Don't forget to tag me when you try one of my recipes!
📖 Recipe Card
Fruity Pebbles Treats
Ingredients
- ½ cup butter (salted)
- 15 oz mini marshmallows (1 ½ 10 oz bags, reserve 1 cup of marshmallows)
- 1 teaspoon vanilla extract
- 9 cups Fruity Pebbles Cereal
(Note: 2x or 3x only changes the ingredient list)
Instructions
- Butter or lightly grease your 9 x 13-inch baking pan, or you can line the pan with parchment paper.
- On the stovetop: Melt butter in a large saucepan over low heat. Once the butter is melted, add the marshmallows (reserve 1 cup of marshmallows for later if desired) and stir to coat well. Continue stirring until all of the marshmallows are melted, then remove from heat.In the microwave: In a large mixing bowl melt the marshmallows with the butter starting with 1 minute on high heat. Continue heating in 30-second increments, stirring between heating, until the marshmallows are fully melted.
- Stir in the vanilla, then add the Fruity Pebbles cereal and the remaining 1 cup portion of marshmallows. Carefully fold in and stir until all of the cereal is coated with the melted marshmallow.
- Transfer the coated cereal to your prepared pan, then use a buttered spatula, waxed paper, or dip your fingers in water or butter and gently press the Fruity Pebbles cereal down into an even layer.
- Set the treats out and let them cool for at least an hour before slicing and serving.
Notes
*Store in an air tight container at room temperature for up to three days.
S. Boyd says
I upped the game and made these again (this is like the 4th time using this recipe) and tried the fruity fun jet puffed marshmallows! I've also done a version with coco puffs and peppermint instead of vanilla. This recipe is perfect and amazing. Thank you!! 😊
DBus71 says
Your recipe was amazing and the tips too!!! Took forever to get it correct and then found your recipe!! Thanks and have a great Holiday season. Off to eat more of them! 😂