

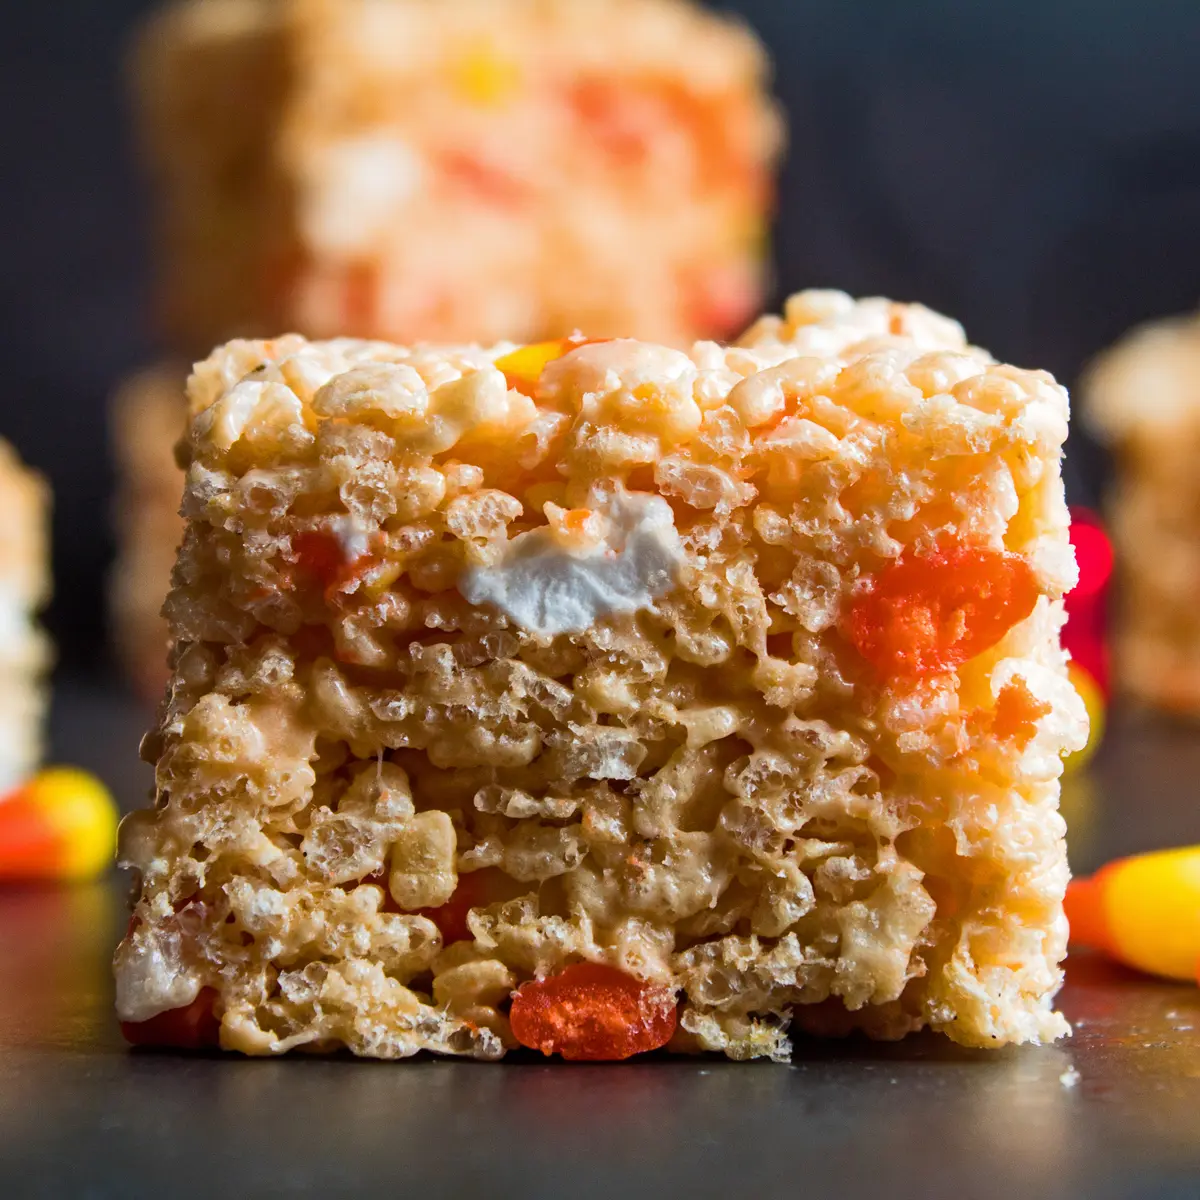
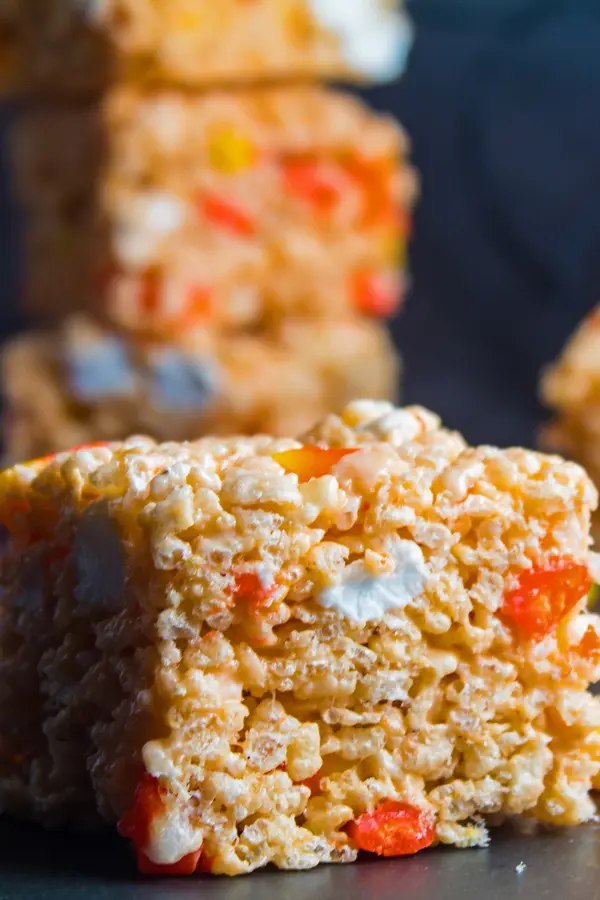
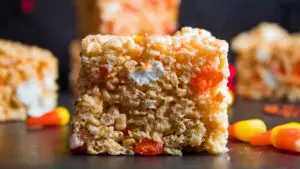
These candy corn Rice Krispie Treats are an easy, fun, and festive addition to your Halloween and Fall parties! The perfectly gooey dessert bars are studded with chopped candy corn candies and even more marshmallows for an addictive flavor that is sure to be a favorite! These no-bake treats couldn't be any simpler!
Halloween Rice Krispie Treats
Oh, how I look forward to the Fall and Halloween season! Not for the fantastic pumpkin spice flavors but for one of my all-time favorites. You guessed it, candy corn!
I think candy corns are one of those things that people either absolutely love or totally could live without. Whichever category you fall under, these candy corn krispies treats are still sure to please!
Jump to:
They're a wonderful combination of that gooey marshmallow deliciousness that rice krispies treats are known and loved for, with the addition of candy corn chunks! Plus, I like to stir in extra marshmallows and use some orange gel food coloring to make these extra festive!
The classic rice krispies treats get a fabulous stir-in with the addition of candy corn. This is still your super easy no-bake dessert that will turn out wonderfully and be ready to serve in under an hour!
I have so many fun, festive, and delicious Halloween treats to check out! Try my Halloween popcorn balls, Reeses' Pieces cookies, or Halloween muddy buddies!
❤️ Why This Recipe Works!
- It's Festive! Capturing the feeling of Fall with the upcoming holidays.
- Easy To Make. These Rice Krispie treats are fun and easy to make.
- Kids Of All Ages Love It! Everyone in your household will love them, careful they will disappear fast.
🥘 Candy Corn Rice Krispie Treats Ingredients
These candy corn bars only use a handful of ingredients! They are just like typical Rice Krispie treats, but with the added fun of candy corn!
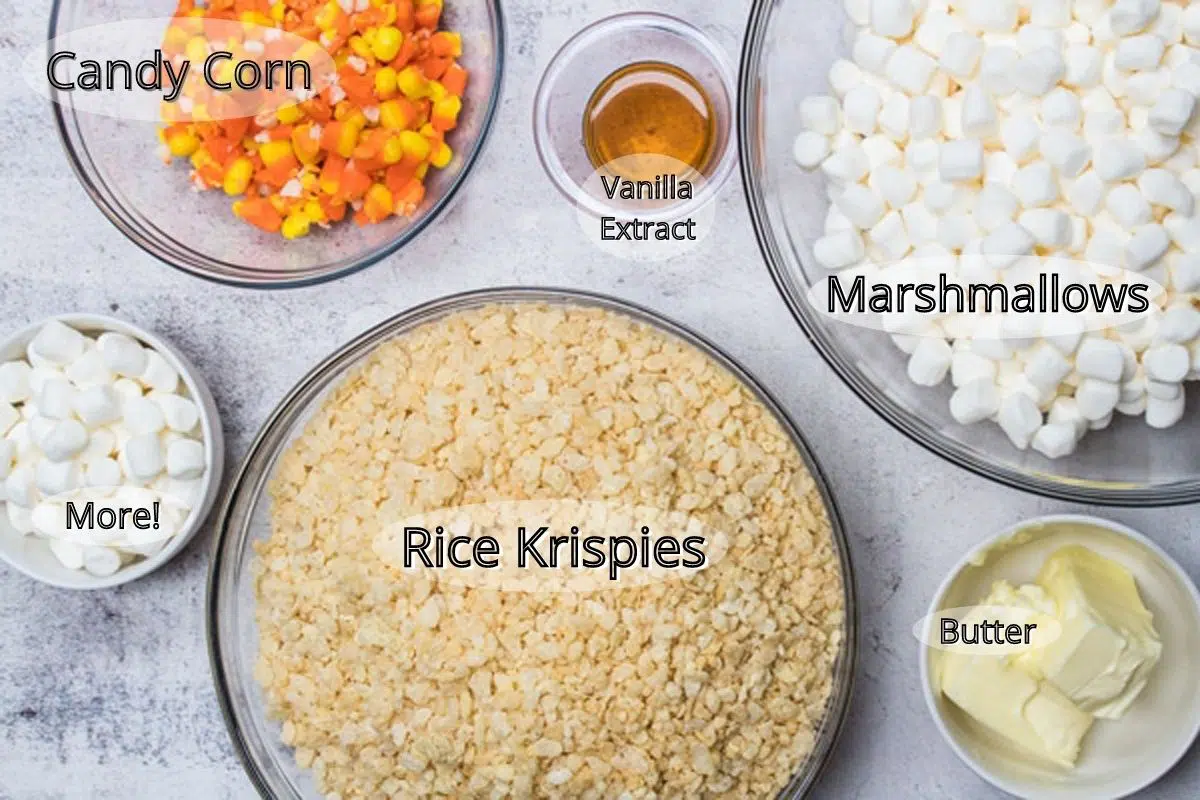
- Butter - ½ cup of butter. Salted or unsalted butter both work as the base of your gooey marshmallow sauce. If using unsalted butter, add a pinch of salt to your ingredient list and add the salt when you have melted the marshmallows (at the same time as adding the vanilla extract).
- Marshmallows - 15 ounces of mini marshmallows. If using larger marshmallows, you will need about 60 counted out for melting.
- Vanilla Extract - 1 teaspoon of vanilla extract. Don't skip the vanilla, and you don't need to be shy with it either. Vanilla will bring out the wonderful marshmallow and candy corn flavors!
- Rice Krispies Cereal - 9 cups of Rice Krispies cereal. Any brand of crisped rice cereal or puffed rice will work, but make sure that you are using fresh, crispy rice cereal. Stale cereal results in a not-so-good cereal bar that is chewy...but in a bad way!
- Candy Corn - 1½ cups of candy corn, roughly chopped. The best rice krispies treats stir-in ever! Seriously, I love these treats that combine my obsession with the perfect rice krispie treat with my favorite bite-sized candy!
- Orange Food Coloring (optional) - If you like, you can add some orange gel coloring for some extra fun!
*Be sure to see the free printable recipe card below for ingredients, exact amounts & instructions with tips!*
🔪 How To Make Candy Corn Rice Krispie Treats
It is always easiest to make rice krispies treats when you have all your ingredients gathered and measured. Your best results will come from cooking the marshmallows just enough to melt them (leaving a few small bits is totally OK) and then not stirring the treat mixture too much.
All you need is a mixing bowl, a 9x13 baking dish, and a silicone spatula. One 9x13 tray of Rice Krispie Treats can be cut into 12 servings.
- Prepare. Prepare your 9x13 inch baking pan with a light coating of butter, or line it with parchment paper for easy removal of your rice krispie treats.
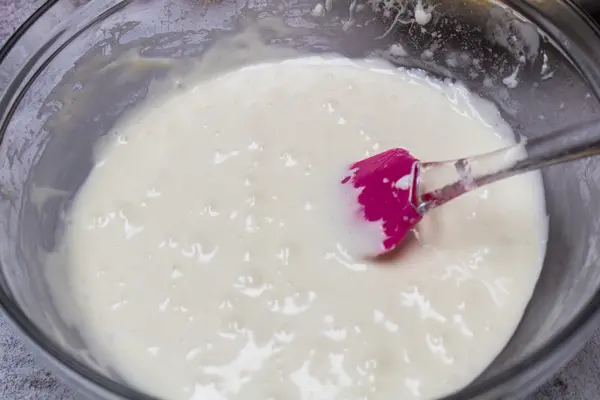
- Microwave method: Melt ½ cup (114 grams) of butter and 15 ounces (425 grams) of marshmallows (reserving one cup of marshmallows for later) in a large mixing bowl. Heat for one minute, stir and then continue heating in 30-second increments until fully melted. Stir between each heating.
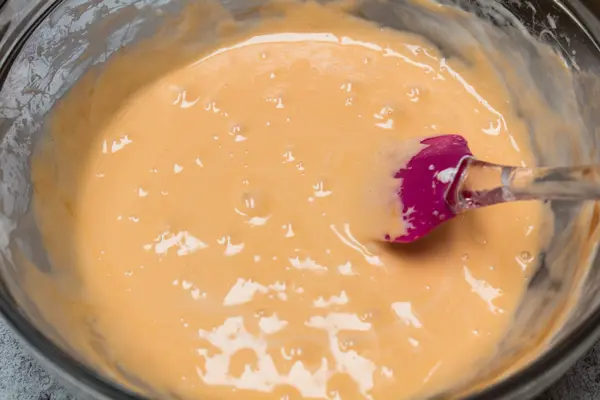
Stove Top Method: In a large saucepan, melt ½ cup (114 grams) of butter over low heat. Add 15 ounces (425 grams) of marshmallows (reserving one cup of marshmallows for later) to the melted butter and stir until the marshmallows are melted. - Mix. Add 1 teaspoon of vanilla extract and the optional orange gel food coloring. Stir until your desired shade of orange has been reached.
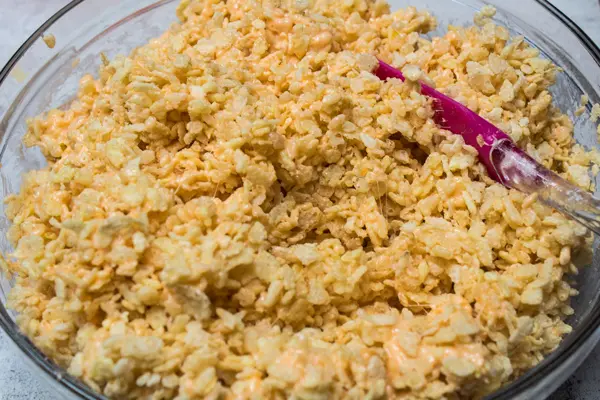
- Stir. Stir in 9 cups (252 grams) of Rice Krispies cereal until it is thoroughly coated with the melted marshmallow mixture.
- Fold. Fold in the remaining 1 cup of mini marshmallows and the roughly chopped 1½ cups (263 grams) of candy corn chunks until they are distributed evenly throughout the rice krispie mixture.
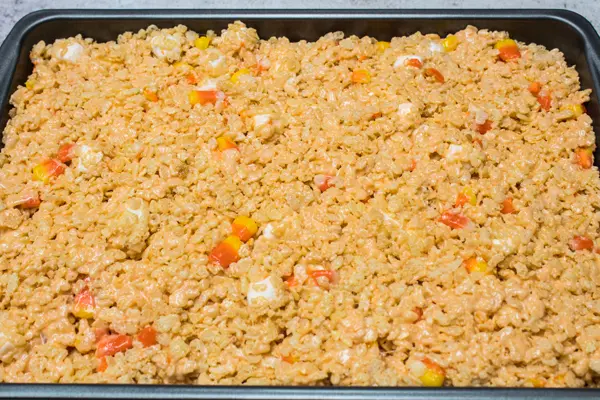
- Spread. Transfer the mixture to your prepared baking pan and spread evenly. Use a buttered spatula, wax paper, or your fingers (coated with butter or watered down slightly) to spread the cereal bars without sticking.
- Set. Set aside the candy corn rice krispie treats and allow them to cool and set up for about 30 minutes before slicing and serving.
🍴 What To Serve With Rice Krispie Treats
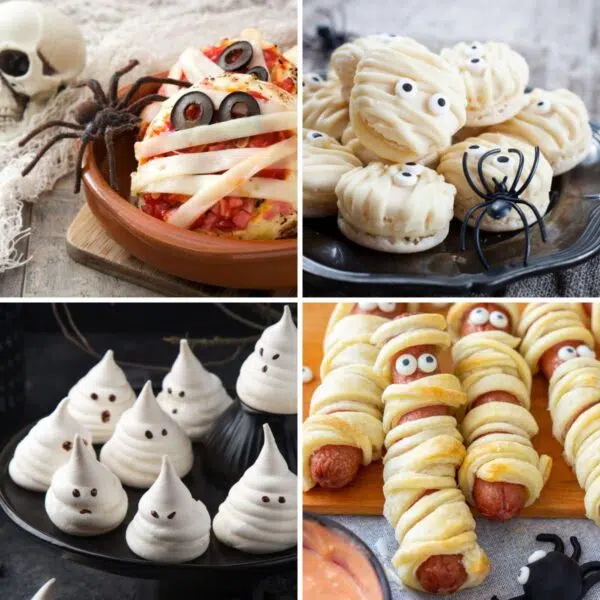


If hosting a party, make sure to set out some Halloween appetizers, too! For your dessert table, serve some Halloween cookies or cupcakes alongside these tasty treats! Enjoy!
💭 Tips & Notes
- Use wet fingers to press down the krispies in the pan so they don't stick!
- Line your baking pan with parchment paper for super easy cleanup and removal.
- Use a fresh bag of marshmallows, soft, fresh marshmallows vs. stale old ones.
- Feel free to add in more marshmallows if you like!
- You can easily make multiple batches for parties.
- The orange gel food coloring is completely optional, but the added color makes these no-bake dessert squares just a little bit more fun! Any food-safe coloring will work, but I like gel food coloring as it is easier to get my desired shade of orange.
>>>>See all of my recipes here<<<<
🥡 Storing
Store the candy corn Rice Krispies treats in an airtight container at room temperature. I usually leave mine in the 9x13 baking pan with a fitted lid, which works wonderfully for short-term storage.
Rice Krispies treats will last up to 3-4 days at room temp. If stored in the refrigerator, your rice krispie treats can last for up to 6 weeks. *Be sure to use an airtight container for longer-term refrigerated storage.
🌾 More Cereal Treats
- Chocolate Dipped Rice Krispies Treats
- Chocolate Peanut Butter Rice Krispies Treats
- Fruity Pebbles Treats
- Peanut Butter Rice Krispie Treats
- Lucky Charms Marshmallow Treats
- Rainbow Rice Krispies Treats
Do you love a recipe you tried? Please leave a 5-star 🌟rating in the recipe card below and/or a review in the comments section further down the page.
Stay in touch with me through social media @ Pinterest, Facebook, Instagram, or Twitter! Subscribe to the newsletter today (no spam, I promise)! Don't forget to tag me when you try one of my recipes!
📖 Recipe Card
Candy Corn Rice Krispie Treats
Ingredients
- ½ cup butter (salted)
- 15 oz mini marshmallows (1 ½ 10 oz bags, reserve 1 cup of marshmallows)
- 1 teaspoon vanilla extract
- orange gel food coloring (optional)
- 9 cups Rice Krispies cereal
- 1 ½ cups candy corn (rough chopped - about ½ of a 16 oz package)
Instructions
- Lightly coat a 9 x 13 baking pan with butter, or line with parchment paper.
- Stovetop Method: In a large saucepan, melt the ½ cup butter over low heat. Add the 15 oz mini marshmallows (reserving 1 cup for stirring in later) and stir to coat well with the melted butter. Continue stirring until all of the marshmallows are melted, then remove from heat.Microwave Method: In a large mixing bowl, heat the butter and mini marshmallows (reserving 1 cup for stirring in later) for 1 minute in the microwave. Stir and continue heating in 30-second intervals until the marshmallows are completely melted.
- Add 1 teaspoon vanilla extract and orange gel food coloring, stir until you have reached your desired color.
- Stir in the 9 cups Rice Krispies cereal until well coated with the marshmallow mixture. Add the reserved mini marshmallows and rough chopped 1 ½ cups candy corn and mix gently until evenly distributed throughout the mixture.
- Spread the mixed rice krispies and marshmallow mixture in your prepared pan in an even layer. Use a buttered spatula, waxed paper, or wet fingers to gently press the coated cereal into place.
- Set the treats aside and allow them to cool and set up for about 30 minutes before slicing and serving.
Notes
- Use wet fingers to press down the krispies in the pan so they don't stick!
- Line your baking pan with parchment paper for super easy clean up and removal.
- Use a fresh bag of marshmallows, soft fresh marshmallows vs stale old ones.
- Use more marshmallows!
- Make multiple batches for parties.
Storing Your Rice Krispies Treats
Store the candy corn rice krispies treats at room temperature in an airtight container. I usually leave mine in the 9 x 13 baking pan, with the accompanying fitted lid which is not-quite-air-tight and my quality has never been noticeably different or inferior when talking about short-term storage only. Rice krispies treats will last for up to 3 days and do not need to be stored in the refrigerator. If stored in the refrigerator, your rice krispie treats can last for up to 6 weeks. *Be sure to use an airtight container for longer-term refrigerated storage.Nutrition

Angela is an at home chef that developed a passion for all things cooking and baking at a young age in her Grandma's kitchen. After many years in the food service industry, she now enjoys sharing all of her family favorite recipes and creating tasty dinner and amazing dessert recipes here at Bake It With Love!


Margo says
I made these today for my Bible study class. They are Wonderful! I usually alter recipes; but this one is perfect. Only comment: Chop candy corn with knife; it bound up my chopper. GREAT RECIPE!