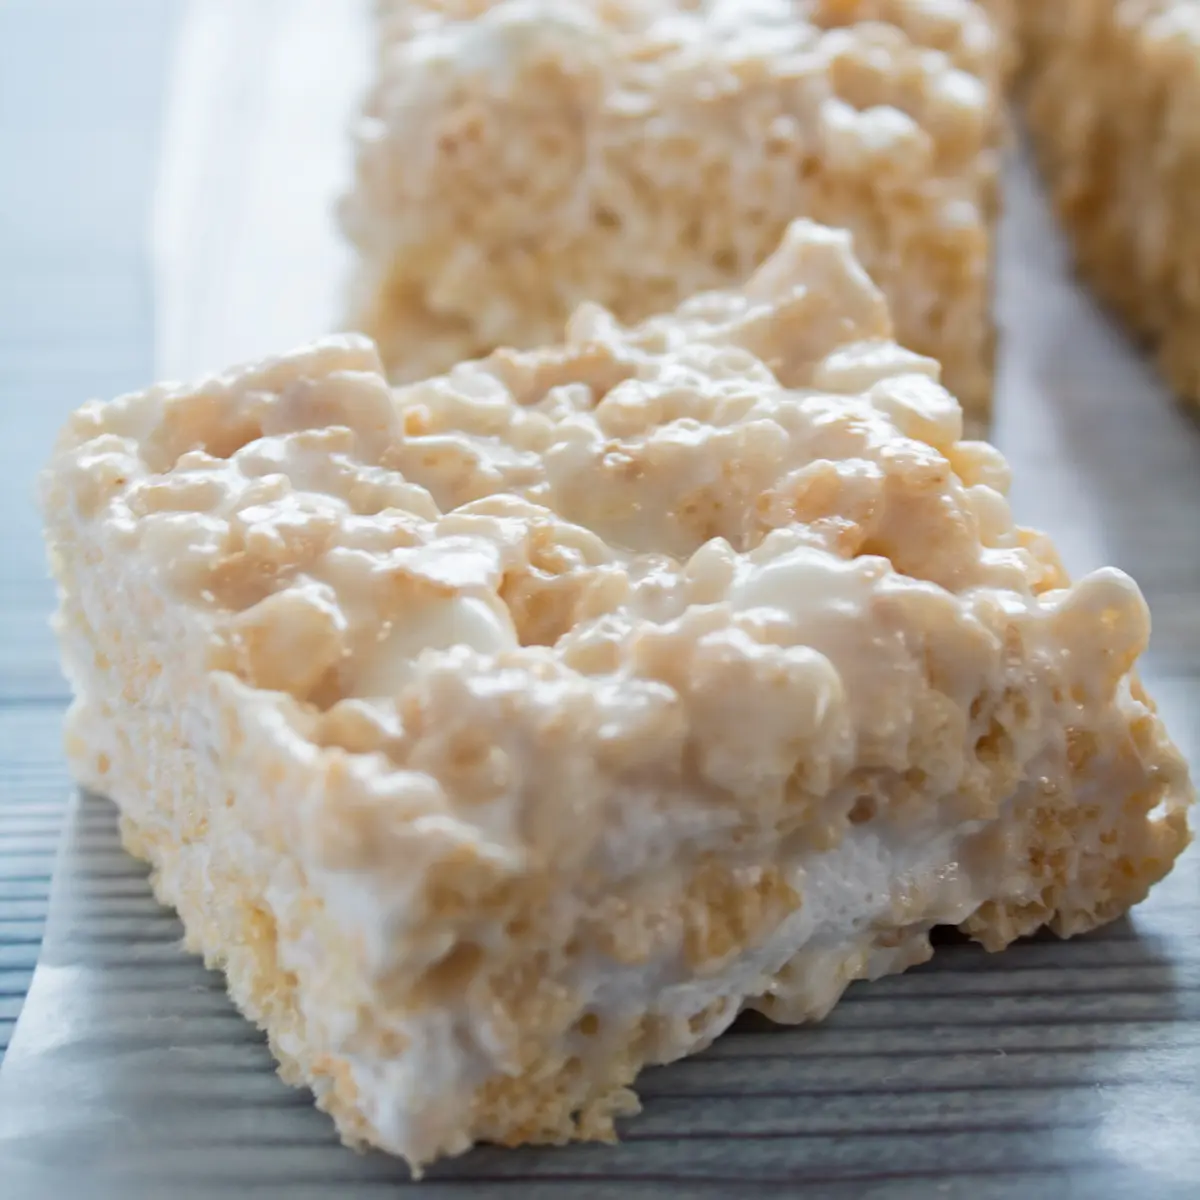
These Rice Krispies treats are a delicious childhood recipe much better than the packaged version. They are chewy marshmallow perfection in this no-bake dessert that anyone can make. Everyone will love them, no matter their age!

Jump to:
No Bake Classic Rice Krispies Treats Recipe
I think it's safe to say that almost everyone has enjoyed a Rice Krispies treat at some point in their life. I think it's a staple of back-to-school time and an easy beginner recipe for kids to try on their own.
People of all ages love these rice krispies squares and it is so easy to see why. Nothing beats the homemade version either (sorry, Kellogg's, pre-made treats taste super processed)!
This is my recipe for the best Rice Krispies treats, including my tips and tricks for a wonderfully chewy treat. It is the way I have been making my rice crispy treats for ages now, and my family's undisputed favorite version.
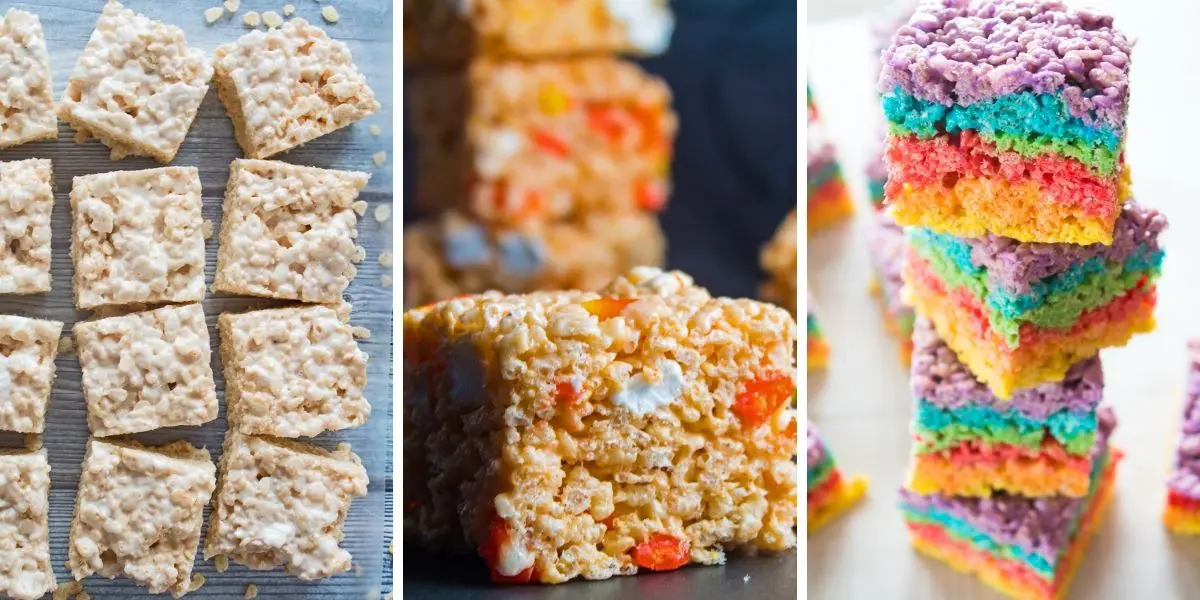
Try my rainbow Rice Krispies Treats for a colorful variation of this family favorite dessert! I also have recipes for chocolate-dipped Rice Krispies Treats, peanut butter Rice Krispies Treats, chocolate peanut butter Rice Krispies Treats, and candy corn Rice Krispies Treats!
🥘 Ingredients
Every version of the classic rice krispie treat includes the three core ingredients: butter, marshmallows, and crispy rice cereal. However, I have slightly tweaked the original recipe to make this extra delicious version.
- Butter - ½ cup of salted butter. A higher ratio of butter makes these rice krispie bars extra rich and delicious.
- Marshmallows - 15 ounces of marshmallows to hold your wonderful cereal bars together and give that super gooey, chewy texture. Using fresh marshmallows will yield the best results. Older marshmallows that are stale and hardened on the outside will be a gummy mess.
- Vanilla - 1 teaspoon of pure vanilla extract. The extra hint of vanilla makes your favorite cereal dessert even better.
- Rice Krispies cereal - 9 cups of Rice Krispies. Any brand of crisped or puffed rice cereal will work. The crispier, the better. Use fresh cereal for the best results!
- Salt - I always use salted butter, so I don't add extra. However, if using unsalted butter, I would recommend a pinch of salt for the best flavor.
Be sure to see the free printable recipe card below for ingredients, exact amounts & instructions with tips!
🔪 How To Make Rice Krispies Treats
These no-bake cereal bars are ridiculously easy to whip up, and you can do it either using your stovetop or microwave. All you need to get started is a bowl or saucepan, a 9x13 baking dish, and a silicone spatula.
One batch of these bars can be cut into 12 squares. Of course, you can make them as large or small as you like.
- Pan Preparation: Begin by readying a 9x13 baking pan. You can grease it with butter, use non-stick cooking spray, or line it with parchment paper for easy treat removal later.
- Marshmallow Melting: Melt ½ cup of butter in a large saucepan or Dutch oven over low heat. Add 15 ounces of mini marshmallows, keeping 1 cup aside for later. Stir the marshmallows into the butter until they're completely melted.
- Vanilla and Salt Addition: Once the marshmallows are smooth and fully melted, take the pan off the heat. Stir in 1 teaspoon of vanilla extract and a pinch of salt (if using unsalted butter) to enhance the flavor.
- Fold In The Cereal: Gently fold in 9 cups of Rice Krispies cereal and the remaining 1 cup of mini marshmallows. Ensure each piece of cereal is well-coated with the marshmallow mixture for even flavor and texture.
- Transfer and Spread: Pour the mixture into the prepared baking pan. Use a piece of waxed paper, a buttered spatula, or your lightly buttered hands to press the mixture evenly across the pan. Remember, a gentle touch is key to keeping the treats light and airy.
- Setting the Treats: Allow the Rice Krispies treats to cool and set at room temperature for about an hour. Once they've firmed up, cut them into squares, and they're ready to enjoy!
Microwave Instructions to Melt Marshmallows
If you don't want to melt your marshmallows on the stovetop, you can use your microwave instead! To melt your marshmallows in the microwave, use a large microwave-safe mixing bowl.
- Add. Place marshmallows and tablespoon-size butter pats in the bowl together.
- Heat. Microwave for 2 minutes on high, then stir. Return to the microwave and heat in 30-second increments until the marshmallows are fully melted. Stir until smooth.
- Continue. Fold in the cereal and mini marshmallows and continue as directed above.

💭 Angela's Pro Tips & Recipe Notes
- Parchment Paper for Easy Removal: Line your baking dish with parchment paper, leaving some overhang on the sides. This trick prevents sticking and lets you easily lift the entire batch out for effortless slicing, especially handy for party servings!
- Freshness Counts: Always use fresh cereal and marshmallows for the best-tasting bars. Stale ingredients can lead to hard or less flavorful treats.
- Gentle Pressing: When transferring the mixture to the baking dish, press it down gently. Overpacking can lead to dense and hard Rice Krispie treats, so a light touch is key.
- Marshmallow Mix-In: For an added chewiness and flavor, stir in some whole marshmallows with the mixture. This simple addition elevates the texture and taste of your treats.
🥄 Make Ahead Options
Rice Krispies treats can easily be frozen for later. Make your entire batch, and then let them set completely. Slice them into individual servings and then wrap each bar separately using plastic wrap.
Then, you can place all of the wrapped bars into a large food storage bag or container and freeze them for up to 3 months. When ready to serve, you will need to let the bars sit at room temperature for a couple of hours so that they thaw completely and soften up.
>>>See All Of My Tasty Recipes Here!<<<
🥡 Storing
These are best when enjoyed fresh or at least within 2-3 days (if they even last that long!) To store them, keep them in a sealed, airtight container at room temperature.
Do not refrigerate them, as they will become much too hard. Instead, make a fresh batch (up to a day in advance, if needed) when you want them.
❓ Recipe FAQs
Nope! Actually, I highly recommend you don't store them in the fridge! The cold temperatures will cause the marshmallows to become very hard. Instead, only store them at room temperature.
There are 2 reasons why your cereal bars came out overly hard. The first is that you packed them down too tightly into your pan. You should press them firmly enough that everything sticks together and there are no gaps, but not so hard that they become too dense. The second reason would be if you used old marshmallows or stale cereal.
If needed, you can easily make these bars the day before you plan on serving them. However, I wouldn't prepare them any earlier than that. Just make sure to keep them stored in an airtight container at room temperature so that they stay soft!
🍴 What To Serve With

These cereal bars are a delicious treat all on their own for a quiet night with the kids, or you can serve them at a party or other event. They would go great with any of my easy party desserts, such as my sprinkle cookies or sopapilla cheesecake bars. Enjoy!
Do you love a recipe you tried? Please leave a 5-star 🌟rating in the recipe card below and/or a review in the comments section further down the page.
Stay in touch with me through social media @ Pinterest, Facebook, Instagram, or Twitter! Subscribe to the newsletter today (no spam, I promise)! Don't forget to tag me when you try one of my recipes!
📖 Recipe Card
Rice Krispies Treats
Ingredients
- ½ cup butter (salted)
- 15 oz mini marshmallows (1 ½ 10 oz bags, reserve 1 cup of marshmallows)
- 1 teaspoon vanilla extract
- 9 cups Rice Krispies
(Note: 2x or 3x only changes the ingredient list)
Instructions
- Butter your 9 x 13 x 2 inch baking pan, or line with parchment paper.
- Melt butter in a large saucepan over low heat. Once the butter is melted, add the marshmallows (minus 1 cup for later) and stir to coat well. Continue stirring until all of the marshmallows are melted, then remove from heat.
- Stir in the vanilla, then add the rice krispies cereal and the remaining 1 cup portion of marshmallows. Gently fold in and stir until all of the cereal is coated with the melted marshmallow.
- Transfer the coated cereal to your prepared pan, then use a buttered spatula, waxed paper, or dip your fingers in water or butter to gently press the rice krispies cereal down into an even layer. *Do not pack the cereal in firmly, as it will make for hard rice krispies treats.
- Set the treats out and let them cool for at least an hour before slicing and serving.
Notes
- 3 tablespoon butter
- 10 oz bag of marshmallows (about 40 marshmallows, or 4 cups mini-marshmallows, or 7 oz jar of marshmallow fluff)
- 6 cups Rice Krispies cereal
*Store in an airtight container at room temperature for up to three days.


Jax says
The ONLY Rice Krispie recipe I use and the most requested by my kids! So good and always loved by all! Thank you
Angela Latimer says
Thank you for coming back to share your experience with the recipe, it is very appreciated!
Spring says
THEE best crispy treat recipe I've ever used. Raving reviews from everyone who eats them. I get asked to make them ask regularly.
Karen L says
My family loved this! It was so easy, and really good.
Angela Latimer says
Awesome! Thank you for coming back and sharing the love ❤️🔥
G R Fox says
This is how I make it but I add 1/2 c melted white chocolate to the melted marshmallows. Doing this makes them have the same texture for 2 weeks.
And I add as much cereal as the marshmallow mixture can take. Spreads the sugar out a little. For parties I drizzle melted chocolate dipping chocolate on top. Thanks for sharing your recipe. I made some today for a Super Bowl party tomorrow. Hope everyone enjoys your recipe as much as my friends and family enjoy mine.
J. Hill says
My family loved this! Best Rice Krispie treats I have ever made.
Regina says
This worked exactly as written, thanks!
Jordan says
We tried this but ended up not putting the full 9 cups of cereal in the mix. It was getting too dry. We are going to make again but with 3 10oz bags of mini marshmallows. We also used a whole stick of butter. Oops! It was delicious though.
Jennie says
A half a cup is a whole stick of butter. ☺️
Tracy says
I use a bag and 1/2 mini marshmallows plus 1 cup later. Also only 8 cups of cereal, so not so dry. My favorite recipe for this. 9 cups too dry. Thanks
Suzy says
Hi, can I use regular sized marshmallows?
Angela @ BakeItWithLove.com says
Yes, you can definitely use whatever size marshmallows you have on hand. Use 15 ounces, or about 50 standard-sized marshmallows.
Kris says
Easy to make. I added mini M&M’s and Valentine’s sprinkles. Very good and I have made these before from the other recipes. I make these every once in a while and they’re always good. They only last a day or two before getting stale though.
Jennifer says
Hey Kris, do you add m&m and sprinkles after putting in the 9x13 or mix in prior to 9x13? Thanks for your help
Angela Latimer says
I can't speak for Kris, but you can de either in the mix or as a topping - or both! Hope that helps.
Kelly says
This is a great recipe. I love the little unmelted pieces of marshmallows. The proportions of marshmallows to rice crispiest make them soft and chewy. No hard or dry. Thanks for a recipe that I can use over and over
Mary Jane Harris says
Wow. Been making these for over 40 yrs. What a difference a few little adjustments can make. These are next level. I will always use this one from now on. Thank you. 😊
luisa says
Se puede sustituir los malvaviscos por otro ingrediente?
"Can the marshmallows be substituted for another ingredient?"
Angela @ BakeItWithLove.com says
Vea mi artículo sobre sustitutos de malvaviscos aquí, el número 6 es una de mis mejores recomendaciones que está completamente libre de malvaviscos.
"See my article on marshmallow substitutes here, number 6 is one of my best recommendations that is completely marshmallow-free."
sia says
omg, this is the best rice krispy treat recipe. definitely a keeper