
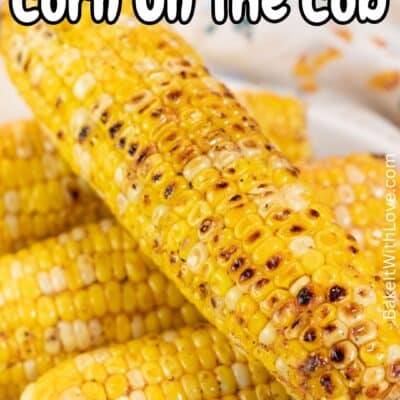
This grilled corn on the cob is a sweet and smokey, easy-to-make side dish that is perfect for any cookout. It is smothered in delicious melted garlic butter immediately before serving so that it is extra flavorful. It pairs great with any BBQ foods, so it will become one of your new favorite recipes!

Jump to:
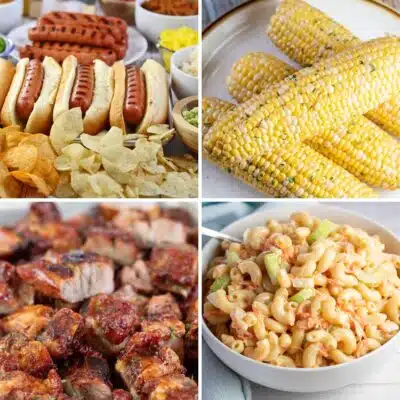
Grilled corn on the cob is a staple dish in my house that makes an appearance at every cookout. It is easy to make and pairs great with everything else on the grill.
You can choose whether or not you want to keep the husks on or peel them off before grilling. If keeping the husks on, make sure to soak your corn so they don't burn.

🥘 Ingredients
Try to pick out the freshest corn you can. Look for ears that are bright green with the husks wrapped tightly against the corn.
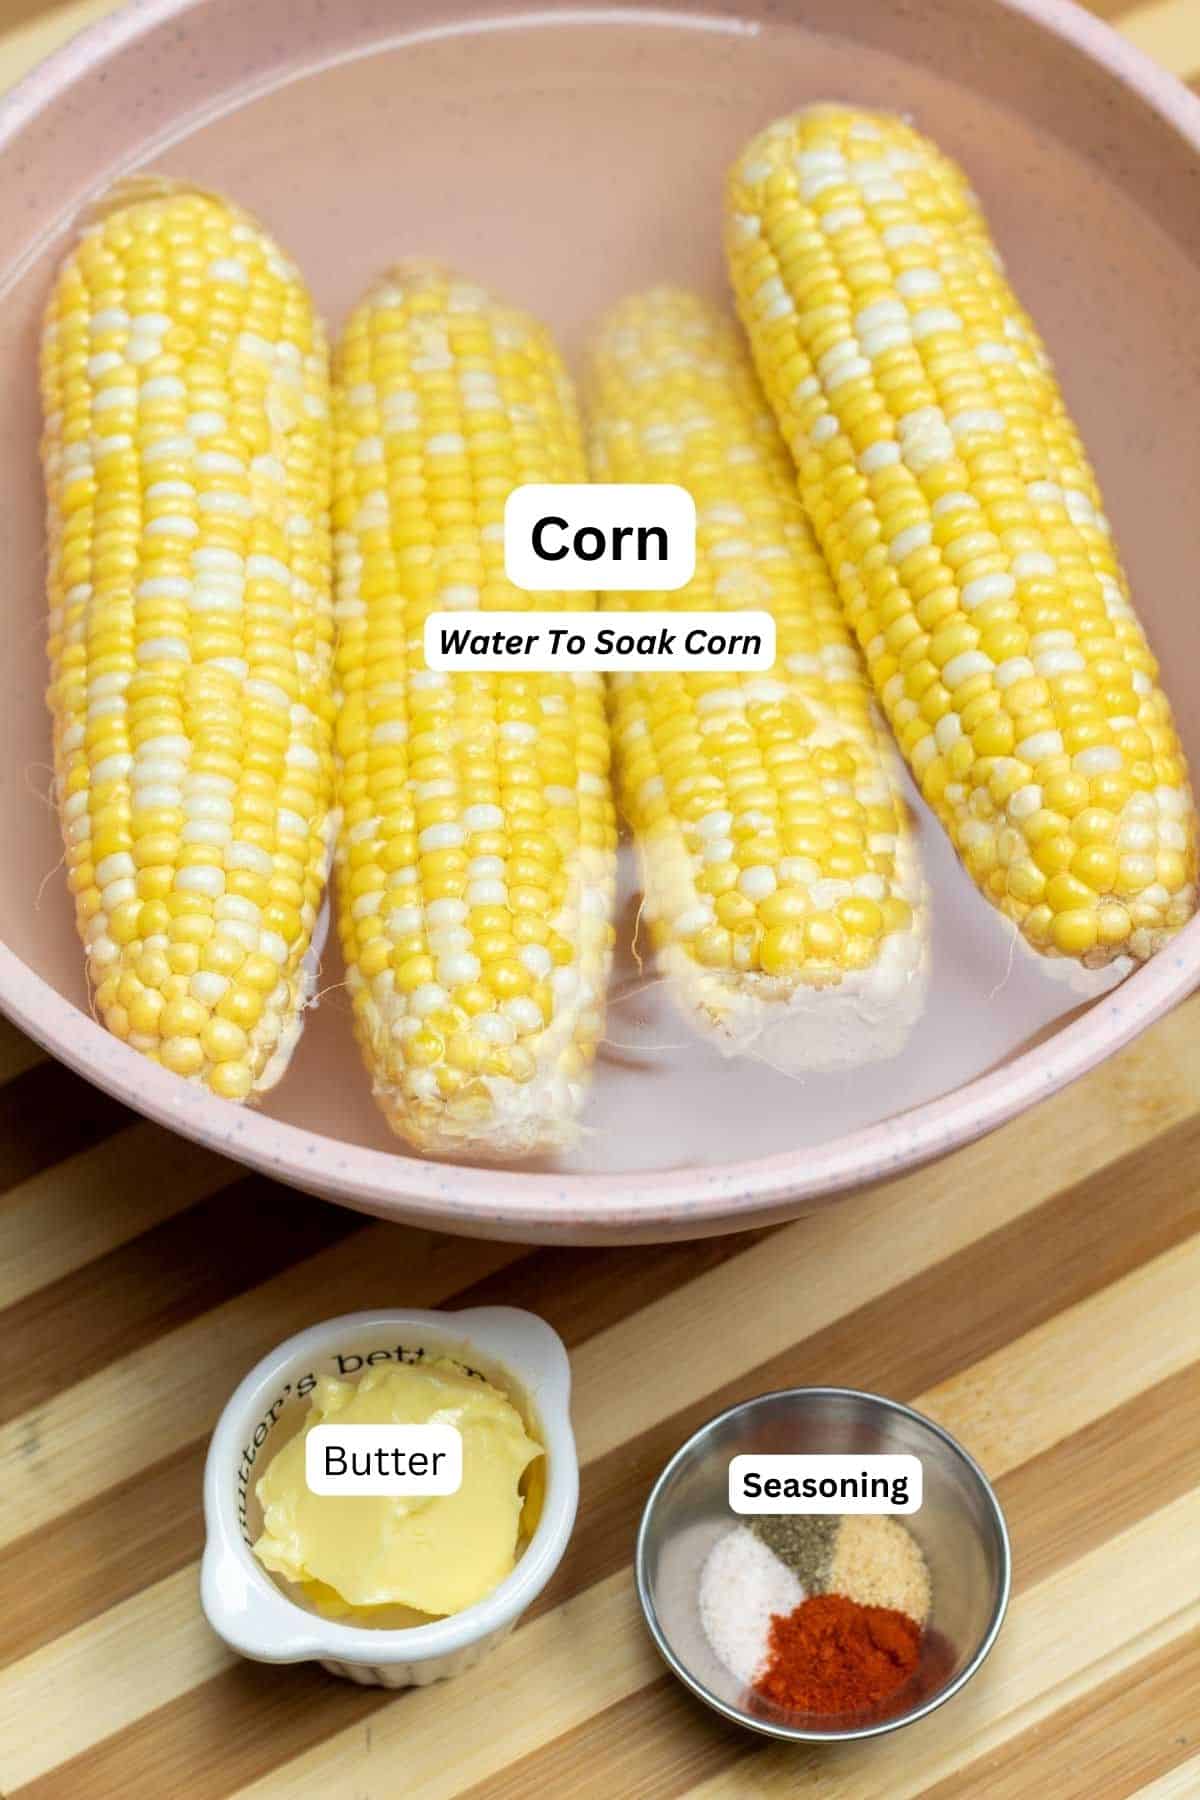
- Corn - 4 ears of corn.
- Water - Enough water to submerge your corn.
- Butter - 2 tablespoons of melted butter.
- Salt - 1 teaspoon of salt.
- Pepper - ½ teaspoon of pepper.
- Garlic Powder - ½ teaspoon of garlic powder.
- Paprika (optional) - ¼ teaspoon of paprika or smoked paprika.
Be sure to see the free printable recipe card below for ingredients, exact amounts & instructions with tips!
🔪How To Grill Corn On The Cob
Whether you want to keep your husks on or remove them before cooking, this is an easy dish to prepare. To get started, you're going to need a large bowl, your grill, and some grilling utensils.
If you want to feed a larger crowd, buy more than 4 ears of corn.
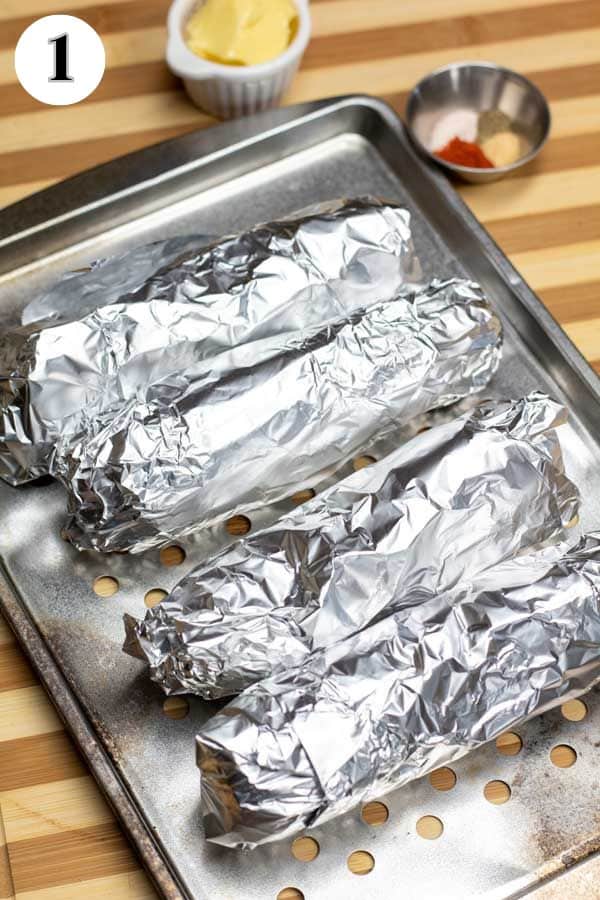
- Remove silk. To begin, peel back the husks of the 4 ears of corn without detaching them. Remove all of the silk from the cob and then fold the husks back up over the corn.
- Soak the corn. Place the corn in a large bowl of water for at least 15 minutes, or up to overnight (*see note).
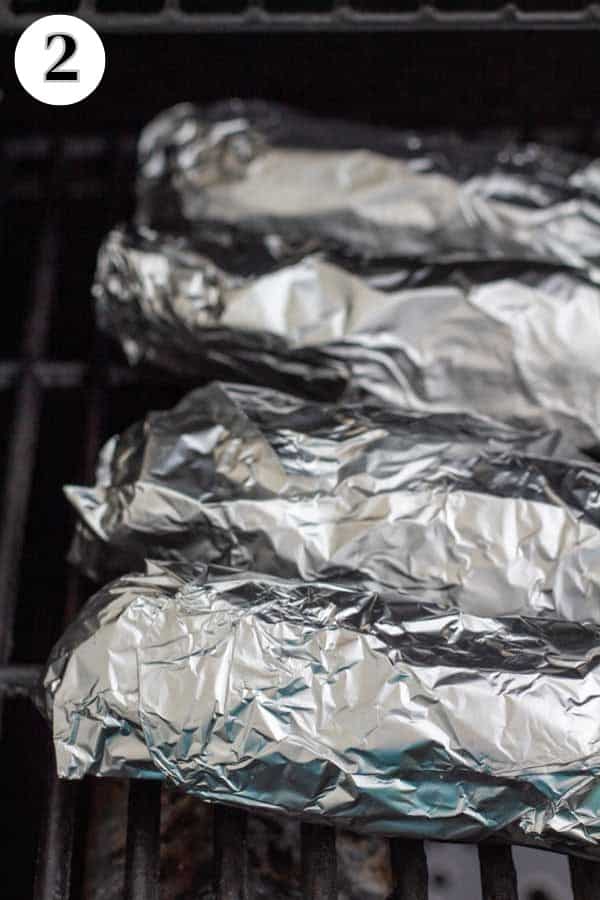
- Preheat. When ready to start cooking, clean, oil, and preheat your grill to medium-high heat (375°-450°F / 190°-°230C).
- Grill. Remove your corn from the bowl and shake off any extra water. Place them directly on the grill (and close the lid) and grill them for 15-20 minutes, turning occasionally.
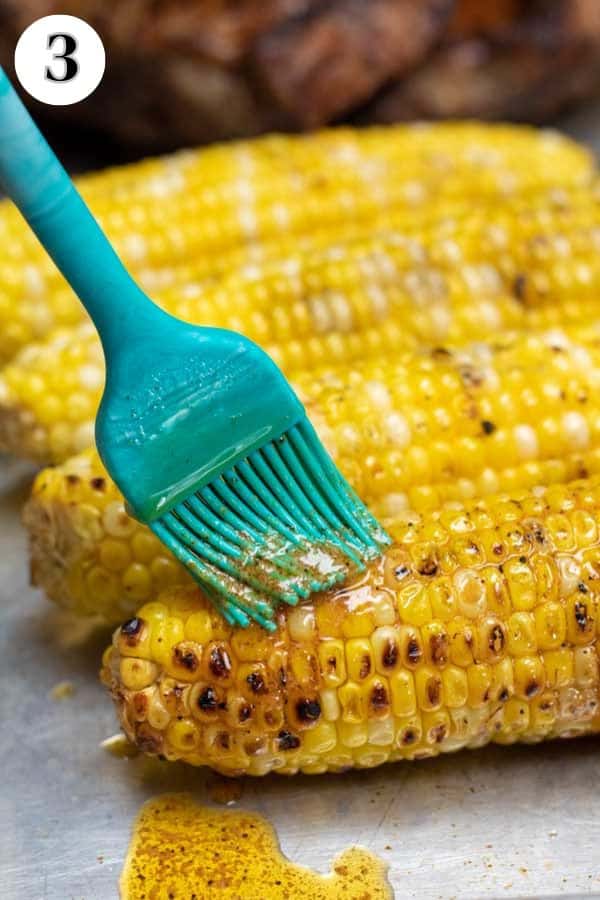
- Mix butter. Meanwhile, in a small bowl, mix together 2 tablespoons of melted butter, 1 teaspoon of salt, ½ teaspoon of pepper, ½ teaspoon of garlic powder, and the optional ¼ teaspoon of paprika (or smoked paprika), if using. Set aside.
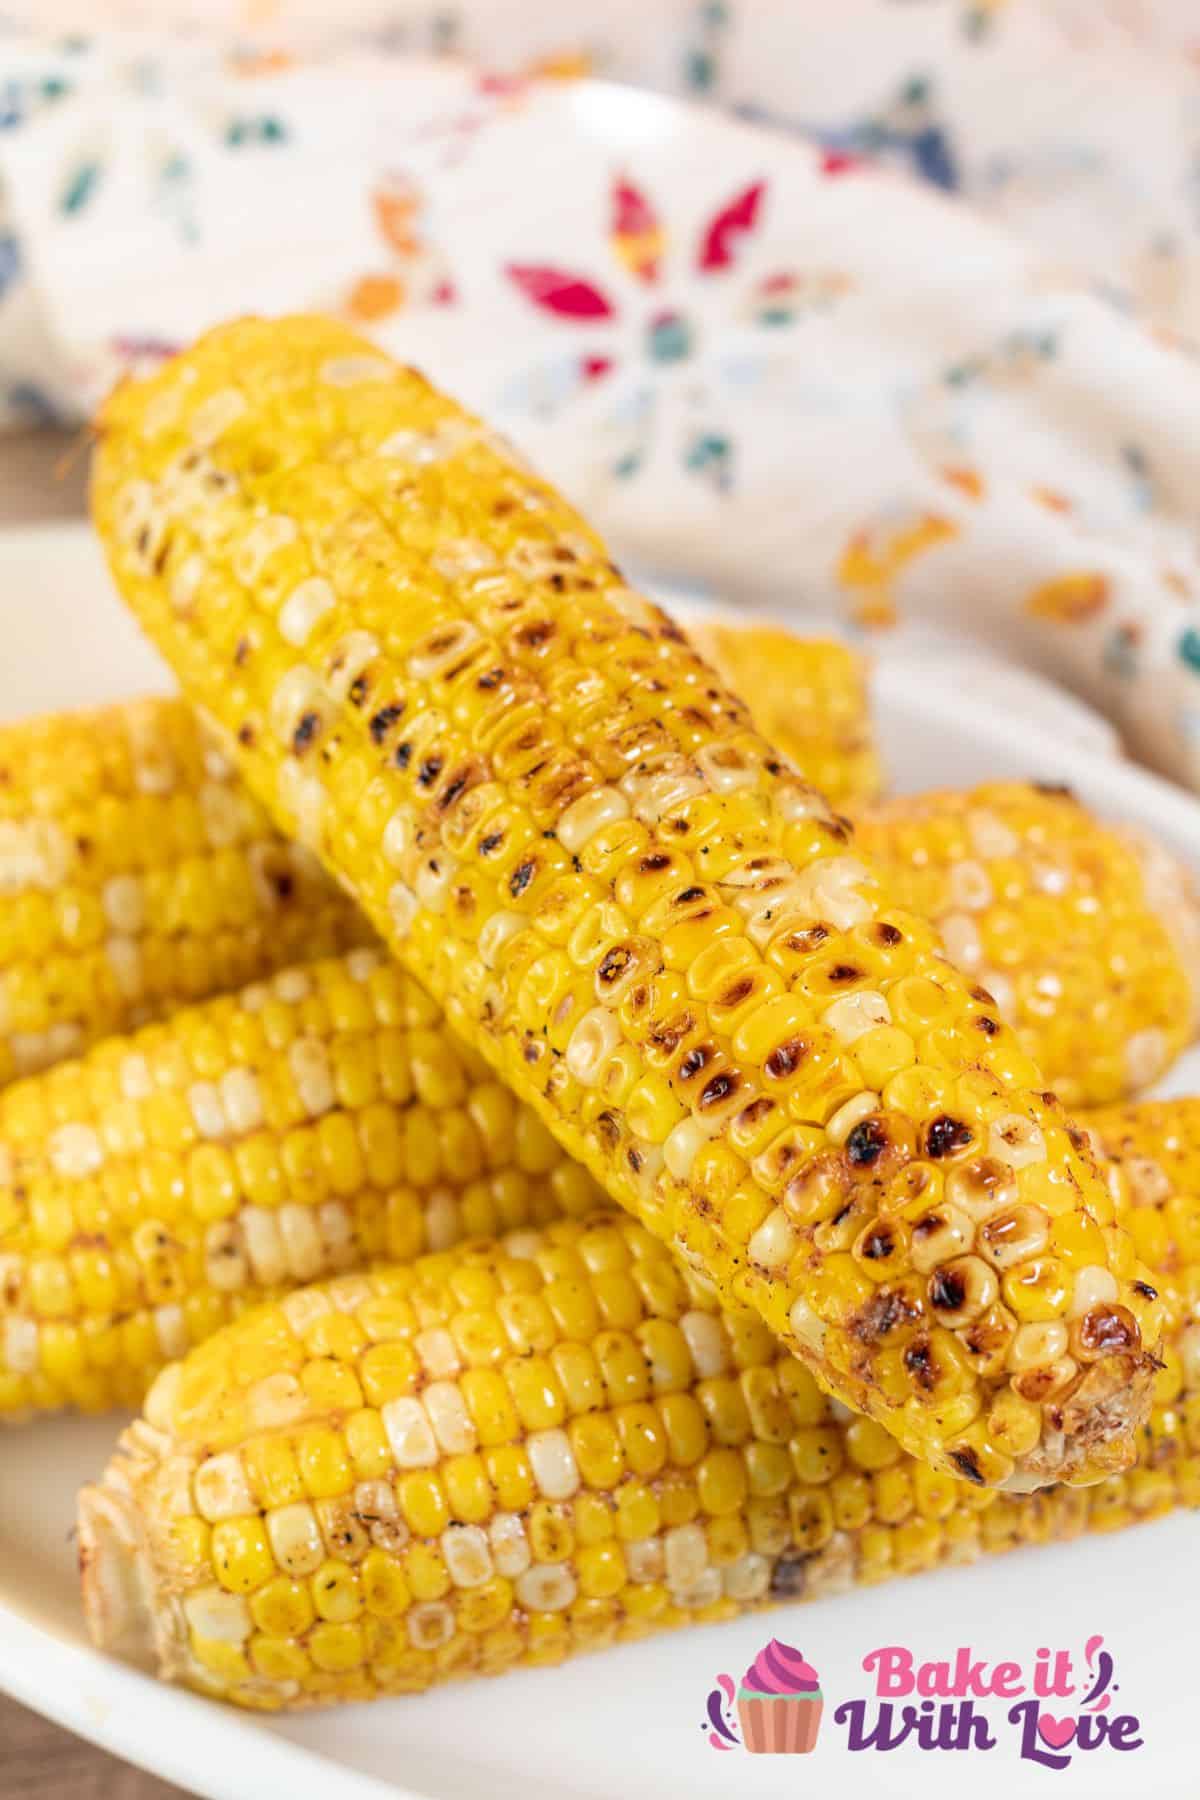
- Brush on the butter. Once cooked, remove the corn from the grill and peel off the husks. Brush the butter mixture over the corn and serve immediately.
This method for making corn on the cob is perfect for any cookout or BBQ! Try it alongside some bison burgers, grilled brats, or a grilled T-bone steak. Enjoy!

💭 Tips & Notes
- If you choose to remove the husks from your corn before grilling, you don't have to soak them in water beforehand.
- To store: Wrap your corn in foil and place it into an airtight container. Store it in the fridge for up to 4 days.
- To reheat: Reheat your corn in an oven at 350°F (175°C) until heated thoroughly.
>>>See All Of My Recipes Here!<<<
❓ FAQ
No, the corn does not have to be soaked beforehand. However, if you are wanting to grill your corn with the husks still on, then it is a good idea to soak it. Soaking the corn will help to keep your husks from burning or catching on fire while on the grill.
You can grill corn either way! The husk helps to add flavor and steam the corn, making it extra tender.
However, it still is super yummy even if it was shucked beforehand. If the corn is grilled without the husk, it won't be as tender and will be more charred. It is all based on personal preference (but both ways are delicious!)
The total cooking time can vary based on the heat of your grill and the size of the corn. However, in general, corn on the cob should take about 15-20 minutes to cook.
🍴 Best Veggie Side Dishes
- Grilled Yellow Squash
- BBQ Bacon Wrapped Brussel Sprouts
- Roasted Yellow Squash
- Southern Fried Corn
- Steakhouse Creamed Spinach
- Bacon Cheddar Green Bean Casserole
Do you love a recipe you tried? Please leave a 5-star 🌟rating in the recipe card below and/or a review in the comments section further down the page.
Stay in touch with me through social media @ Pinterest, Facebook, Instagram, or Twitter! Subscribe to the newsletter today (no spam, I promise)! Don't forget to tag me when you try one of my recipes!
📖 Recipe Card

Grilled Corn On The Cob
Ingredients
Instructions
- To begin, peel back the husks of the corn without detaching them. Remove all of the silk from the cob and then fold the husks back up over the corn.
- Place the corn in a large bowl of water for at least 15 minutes, or up to overnight (*see note).
- When ready to start cooking, clean, oil, and preheat your grill to medium-high heat (375°-450°F / 190°-°230C).
- Remove your corn from the bowl and shake off any extra water. Place them directly on the grill (and close the lid) and grill them for 15-20 minutes, turning occasionally.
- Meanwhile, in a small bowl, mix together the melted butter, salt, pepper, garlic powder, and the optional paprika (or smoked paprika), if using. Set aside.
- Once cooked, remove the corn from the grill and peel off the husks. Brush the butter mixture over the corn and serve immediately.
Notes
- If you choose to remove the husks from your corn before grilling, you don't have to soak them in water beforehand.
- To store: Wrap your corn in foil and place it into an airtight container. Store it in the fridge for up to 4 days.
- To reheat: Reheat your corn in an oven at 350°F (175°C) until heated thoroughly.

Comments
No Comments