
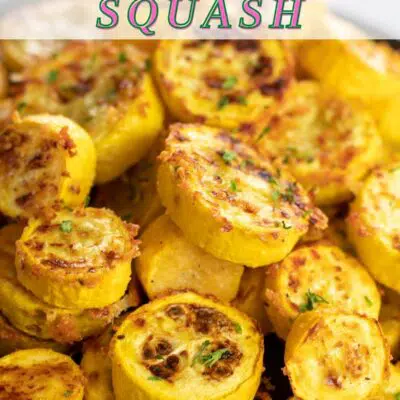
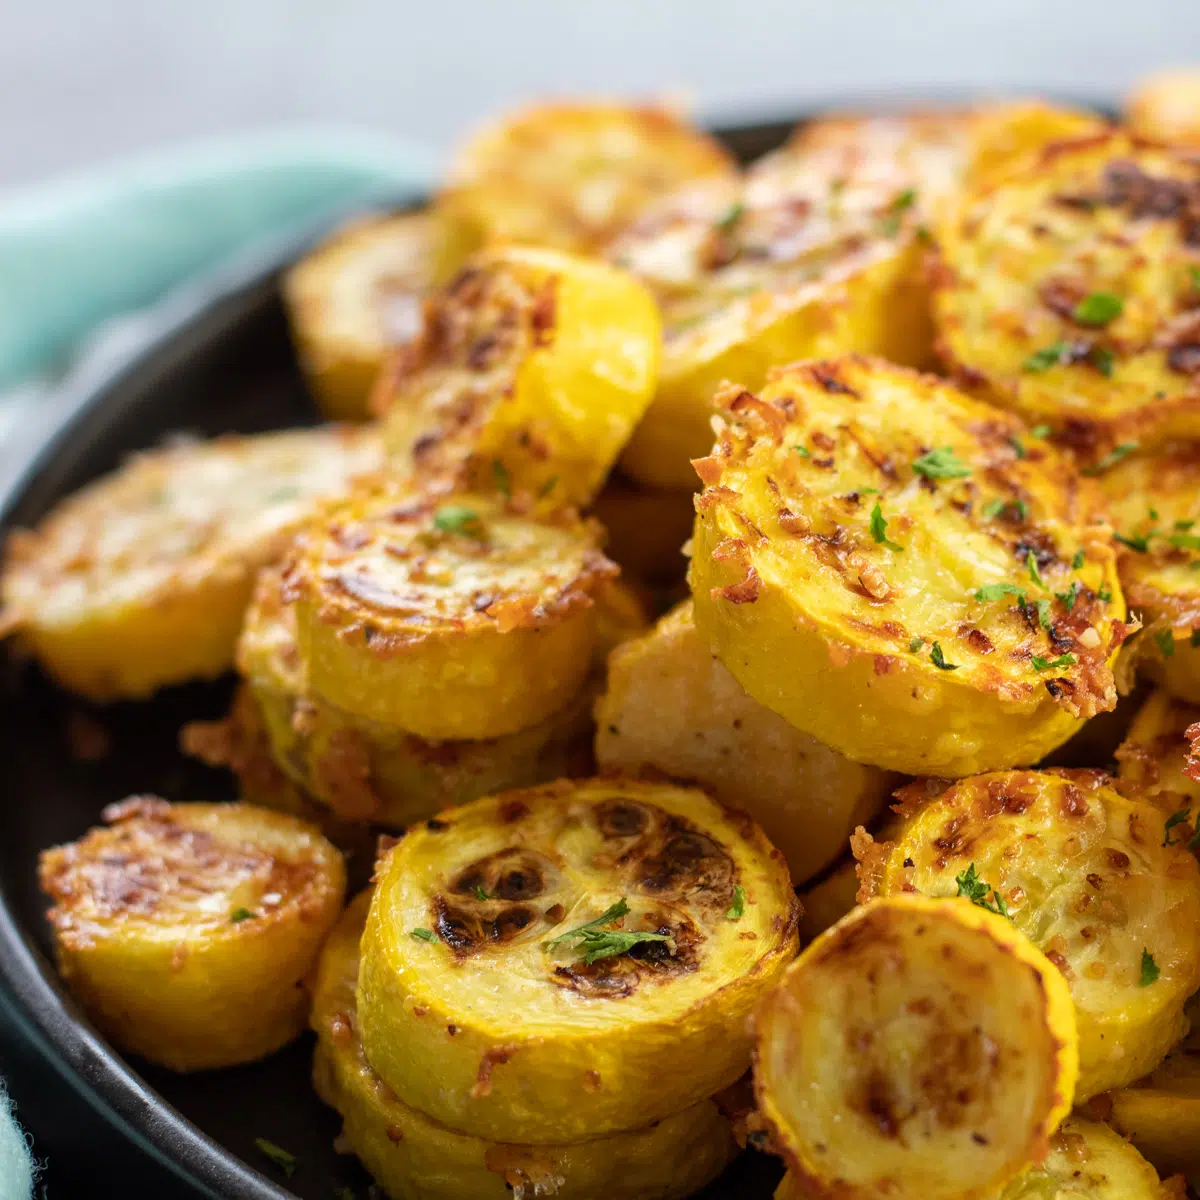
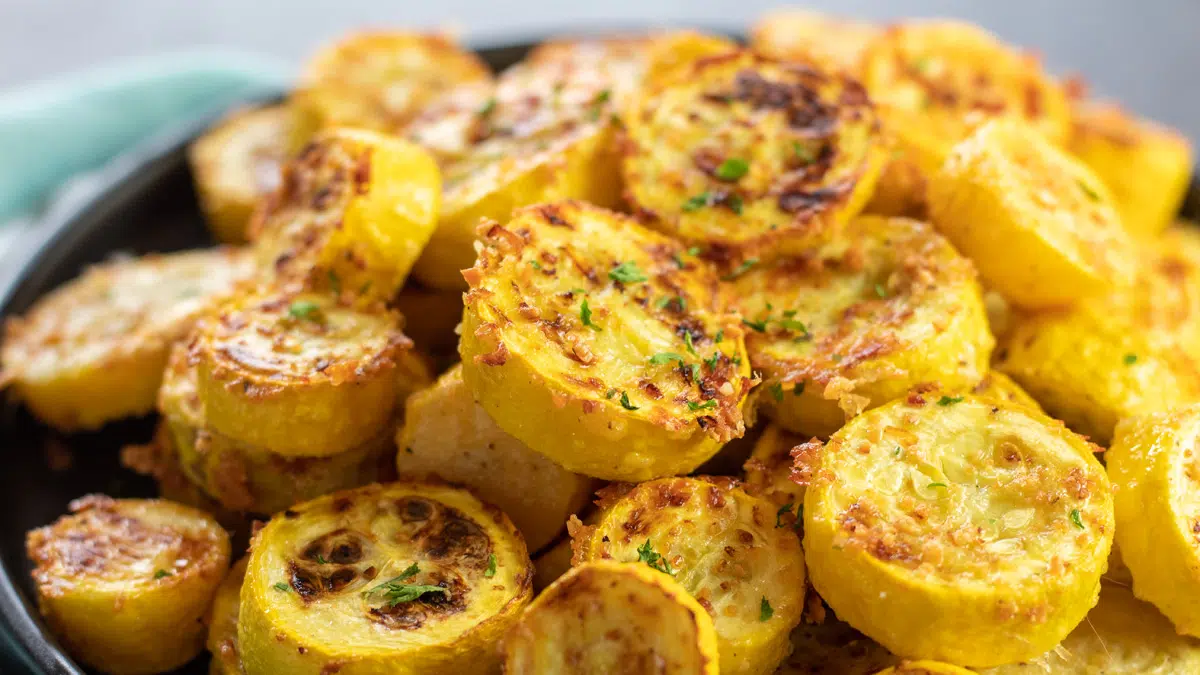
This roasted yellow squash is an amazing side dish of fresh yellow summer squash with garlic powder and Parmesan cheese. Crookneck or straight-neck yellow squash is sliced and then roasted until tender and delicious! You’ll wonder why you ever made squash any other way.
This easy roasted yellow squash is a perfect quick side dish to make any day of the week. Serve with your favorite mains, such as my grilled lamb chops or oven-roasted bone-in chicken breast.
Jump to:
As the weather warms up, I love easy vegetable side dishes that can be served alongside your favorite grilled meats. This roasted yellow squash is the perfect accompaniment to steaks, chicken, or even grilled fish!
I love how the fresh, sweet squash is coasted with savory garlic powder and rich Parmesan cheese in this recipe. It’s an amazing flavor combination that works so well with the squash.
If you're a fan of squash like I am, make sure you take a look at my recipes for roasted butternut squash, honey roasted acorn squash, and baked Parmesan zucchini!
❤️ Why I Love This Recipe
- Quick and Easy. This meal is prepped in 5 minutes and done in 20.
- Cheesy. Even those picky eaters won’t be able to resist this veggie side when it’s coated in lots of Parmesan cheese.
- Great for Meal Prep. Make this roasted squash ahead of time for your lunch or dinner meal prep.
🥘 Ingredients
This easy roasted squash recipe uses rich, savory Parmesan cheese. I recommend using a good-quality aged Parmesan for the best flavor.
- Yellow Squash – 1 pound of yellow squash. Use 2 to 3 large or 5 to 6 small yellow summer squash, washed and then sliced into ½-inch rounds.
- Olive Oil – 1 tablespoon of extra virgin olive oil. I like to use classic extra virgin olive oil (EVOO) to roast up the squash, or coconut oil.
- Parmesan Cheese – 2 tablespoons of Parmesan cheese. I recommend using freshly grated aged Parmesan for the perfect texture and flavor. If you’re short on time, however, you can pick up pre-grated!
- Seasoning – I use a combination of ½ teaspoon of salt & pepper and ¼ teaspoon of garlic powder to season the yellow squash. You can adjust the seasoning if necessary!
Be sure to see the free printable recipe card below for ingredients, exact amounts & instructions with tips!
🔪 How To Make Roasted Yellow Squash
There isn’t any special equipment needed for this delicious roasted squash recipe. All you need to make this dish is a cutting board, knife, and rimmed baking sheet.
This recipe will make about 4 servings of squash.
- Prepare. Start the squash by preheating your oven to 425°F (220°C/Gas Mark 7). Then, slice 1 pound (454 grams) of yellow squash by slicing it into ½-inch rounds or half-moon crescents.
- Season the squash. Next, place your cleaned, sliced squash pieces onto a rimmed baking sheet and drizzle with 1 tablespoon (15 milliliters) of extra virgin olive oil. Sprinkle the squash with 2 tablespoons (10 grams) of grated Parmesan cheese and the seasoning: ½ teaspoon (3 grams) each of salt & pepper, and ¼ teaspoon (0.75 grams) of garlic powder. Toss the squash to coat well, adding extra Parmesan cheese once the squash is well-coated if desired.
- Roast the squash. Once the squash is seasoned, transfer the baking sheet to the center of your oven’s middle rack and roast at 425°F (220°C/Gas Mark 7) for about 12 to 15 minutes, or until the yellow squash has reached your desired level of tenderness.
- Finish and serve. Then, if desired, turn the oven to broil on high and broil for 2 to 3 minutes to toast the cheese. When the squash is done to your liking, remove it from the oven and serve immediately.
💭 Angela's Pro Tips & Recipe Notes
- Use your favorite yellow squash! You can use crookneck or straight-neck squash varieties for this recipe. You can also easily substitute zucchini if preferred!
- Cut the squash into even pieces! Be sure to slice your cleaned yellow squash into slices or half-moon crescents that are about the same size and thickness so that they can cook up evenly.
- Serve these as an appetizer! For a fun and healthy appetizer, toss the squash with extra grated Parmesan, roast, and serve the roasted squash slices with marinara sauce for dipping!
🥡 Storing & Reheating
Roasted squash will last in your fridge for about 3 to 5 days when stored in an airtight container.
You can freeze leftover roasted squash for up to 3 months if desired. Transfer the cooled squash to a freezer-safe container or a freezer storage bag. If using a storage bag, be sure to press out as much air as possible.
Reheating
To reheat the squash, I recommend using your oven to get the cheese all toasty again. Place the leftover squash on a baking sheet and bake at 425°F (220°C/Gas Mark 7) for 5 to 10 minutes until the squash is heated through and sizzling.
>>>See All Of My Tasty Recipes Here!<<<
🥒 Other Amazing Vegetable Recipes
- Cucumber Vinegar Salad - Cucumbers, dill, onion, and tomatoes make a simple, light, and refreshing salad.
- Sauteed Onions - Simple, sauteed onions can easily elevate some of your favorite dishes.
- Air Fryer Zucchini - A super easy veggie side dish that comes together in just a couple of minutes.
- Southern Fried Corn - This simple and tasty corn dish features bacon, onion, and garlic.
- Creamed Kale - This creamy and cheesy side dish will be everyone's new favorite way to enjoy kale.
- Fried Cabbage - In less than 15 minutes, you'll be ready to enjoy this Southern classic.
Do you love a recipe you tried? Please leave a 5-star 🌟rating in the recipe card below and/or a review in the comments section further down the page.
Stay in touch with me through social media @ Pinterest, Facebook, Instagram, or Twitter! Subscribe to the newsletter today (no spam, I promise)! Don't forget to tag me when you try one of my recipes!
📖 Recipe Card

Roasted Yellow Squash
Ingredients
- 1 lb yellow squash (2 to 3 large, or 5-6 small yellow squash of the crookneck or straightneck varieties - washed and sliced into ½-inch rounds or crescents)
- 1 tablespoon olive oil (extra virgin)
- 2 tablespoon Parmesan cheese (grated)
- ½ teaspoon each, salt & pepper (to taste)
- ¼ teaspoon garlic powder
(Note: 2x or 3x only changes the ingredient list)
Instructions
- Preheat your oven to 425°F (218°C/Gas Mark 7) and prep the 1 lb yellow squash.
- Place the prepared squash onto a rimmed baking sheet then drizzle with the 1 tablespoon olive oil. Sprinkle the 2 tablespoon Parmesan cheese and seasoning (½ teaspoon each, salt & pepper, and ¼ teaspoon garlic powder) over the squash, then toss to coat well. *Add extra Parmesan if desired once the squash is well coated.
- Transfer the baking sheet with the squash onto your oven's middle rack and roast at 425°F (218°C/Gas Mark 7) for 12-15 minutes, or until the yellow squash has reached your desired level of tenderness.
- Broil on high setting for 2-3 minutes to toast the cheese if desired, then remove from the oven and serve immediately.
Notes
- Use your favorite yellow squash! You can use crookneck or straight-neck squash varieties for this recipe. You can also easily substitute zucchini if preferred!
- Cut the squash into even pieces! Be sure to slice your cleaned yellow squash into slices or half-moon crescents that are about the same size and thickness so that they can cook up evenly.
- Serve these as an appetizer! For a fun and healthy appetizer, toss the squash with extra grated Parmesan, roast, and serve the roasted squash slices with marinara sauce for dipping!
Anonymous says
This was delicious!
Elaine says
Wow! This was so good and so yummy. I’ve already copied it into my recipe keeper. Thank you!
Tee says
Super easy, super fast and delicious! The kids even like it!
Nicki says
Do you peel the squash or leave it on?
Angela @ BakeItWithLove.com says
The skin on yellow squash is thin, edible, and very tasty. I always leave the skin on my summer squash (plus it makes prep a snap)!
Grandi Sandi says
My husband told me not to lose this recipe! He said it was the best way I've ever made yellow squash (I have a garden so I've tried dozens of yellow squash recipes) and I agree. Delicious!!!
Lois says
This squash was GREAT. Will use it against
Angela @ BakeItWithLove.com says
That's wonderful to hear! Thanks so much for stopping back in to share your results!
Vanessa says
Absolutely delicious! I doubled the recipe for meal prep so I could enjoy extra squash! I will be making this recipe often!