
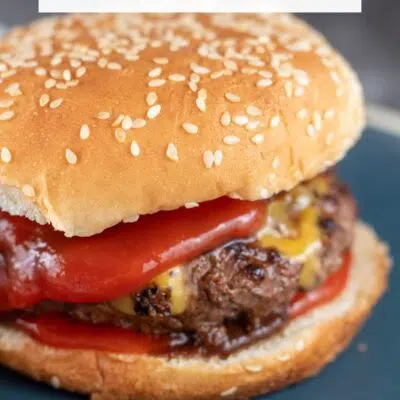
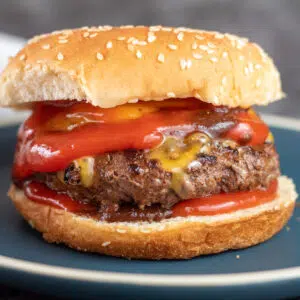
These bison burgers are extremely tender, juicy, and packed with flavor- plus, they are ready to eat in less than 15 minutes! You can load these burgers up with your favorite toppings for the ultimate better-than-beef burger! In fact, bison is healthier, more tender, and juicier than beef!
Easy Bison Burgers
Bison is a healthier alternative to beef that is loaded with natural flavor! Additionally, it is no harder to make than any traditional burger! So it’s an all-around winner!
These burgers are quick to cook and super delicious, with no need for any fancy ingredients.

Jump to:
🥘 Ingredients
If you’ve never bought ground bison before, it can be found at any local grocery store! All the rest of the items are fairly common as well!
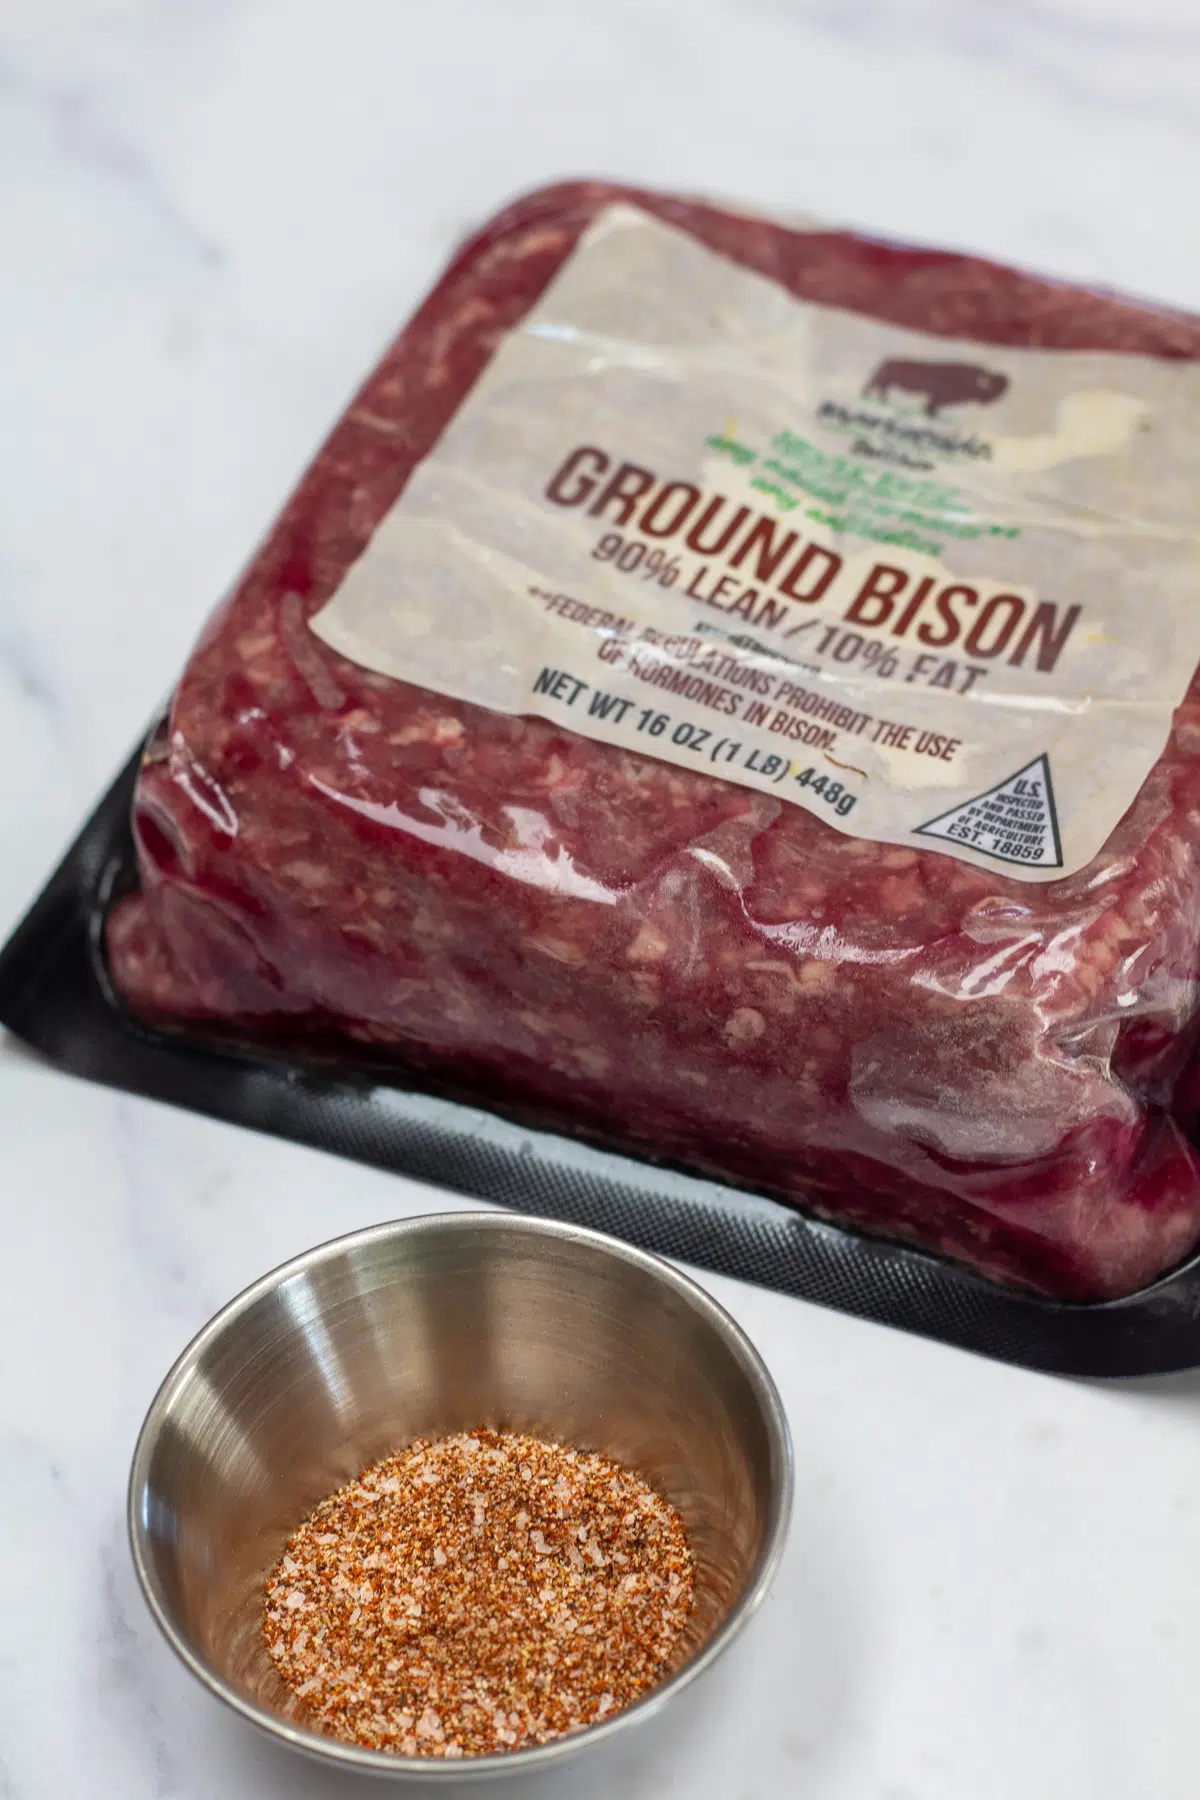
- Ground Bison – 1 pound of ground bison.
- Steak Seasoning – 1 tablespoon of steak seasoning (try my recipe, or use your favorite brand - *see note).
- Cheddar Cheese – 3 slices of cheddar cheese (optional).
- Hamburger Buns – 3 toasted hamburger buns.
- Ketchup – Ketchup is adjusted to taste (optional).
*Be sure to see the recipe card below for ingredients, amounts, & instructions!*
🔪 How To Make Bison Burgers
These bison burgers are simple and quick to make! You will need a cast-iron skillet (or another heavy-bottomed pan), a spatula, and a meat thermometer.
This recipe makes 3 servings (though you can make more or less by forming larger or smaller patties). If you’re wanting to serve more people, just double or triple the recipe!
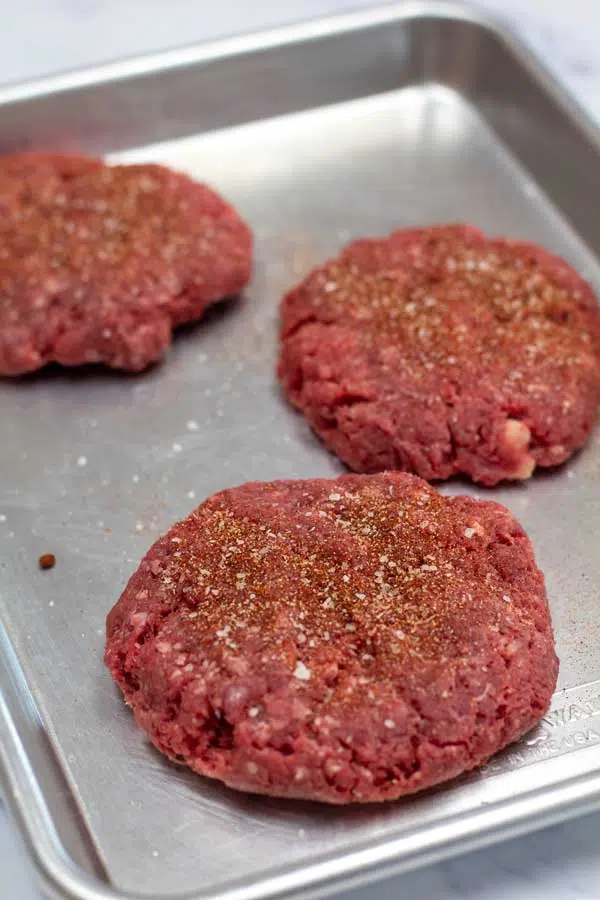
- Portion. To begin, divide the 1 pound of ground bison into 3 even-sized portions that are just over 5 ounces each (5.33 ounces if you want to be precise). Next, form each portion into a ball and then press gently on the top to form a patty that is roughly 1” thick.
- Prepare. Heat a large cast-iron skillet or heavy-bottomed frying pan over medium heat. Use 1 tablespoon of steak seasoning to season the patties generously on both sides (*see note).
- Cook. Once your skillet is hot, add your patties and sear for about 5 minutes on the first side (until golden brown). Then flip your burgers and sear the opposite side until the internal temperature reaches 135°F (57°C) for medium-rare, about 3-4 minutes. If adding the 3 slices of cheddar cheese, place it onto your patties during the final minute of cooking. Cover the skillet to melt the cheese quickly.
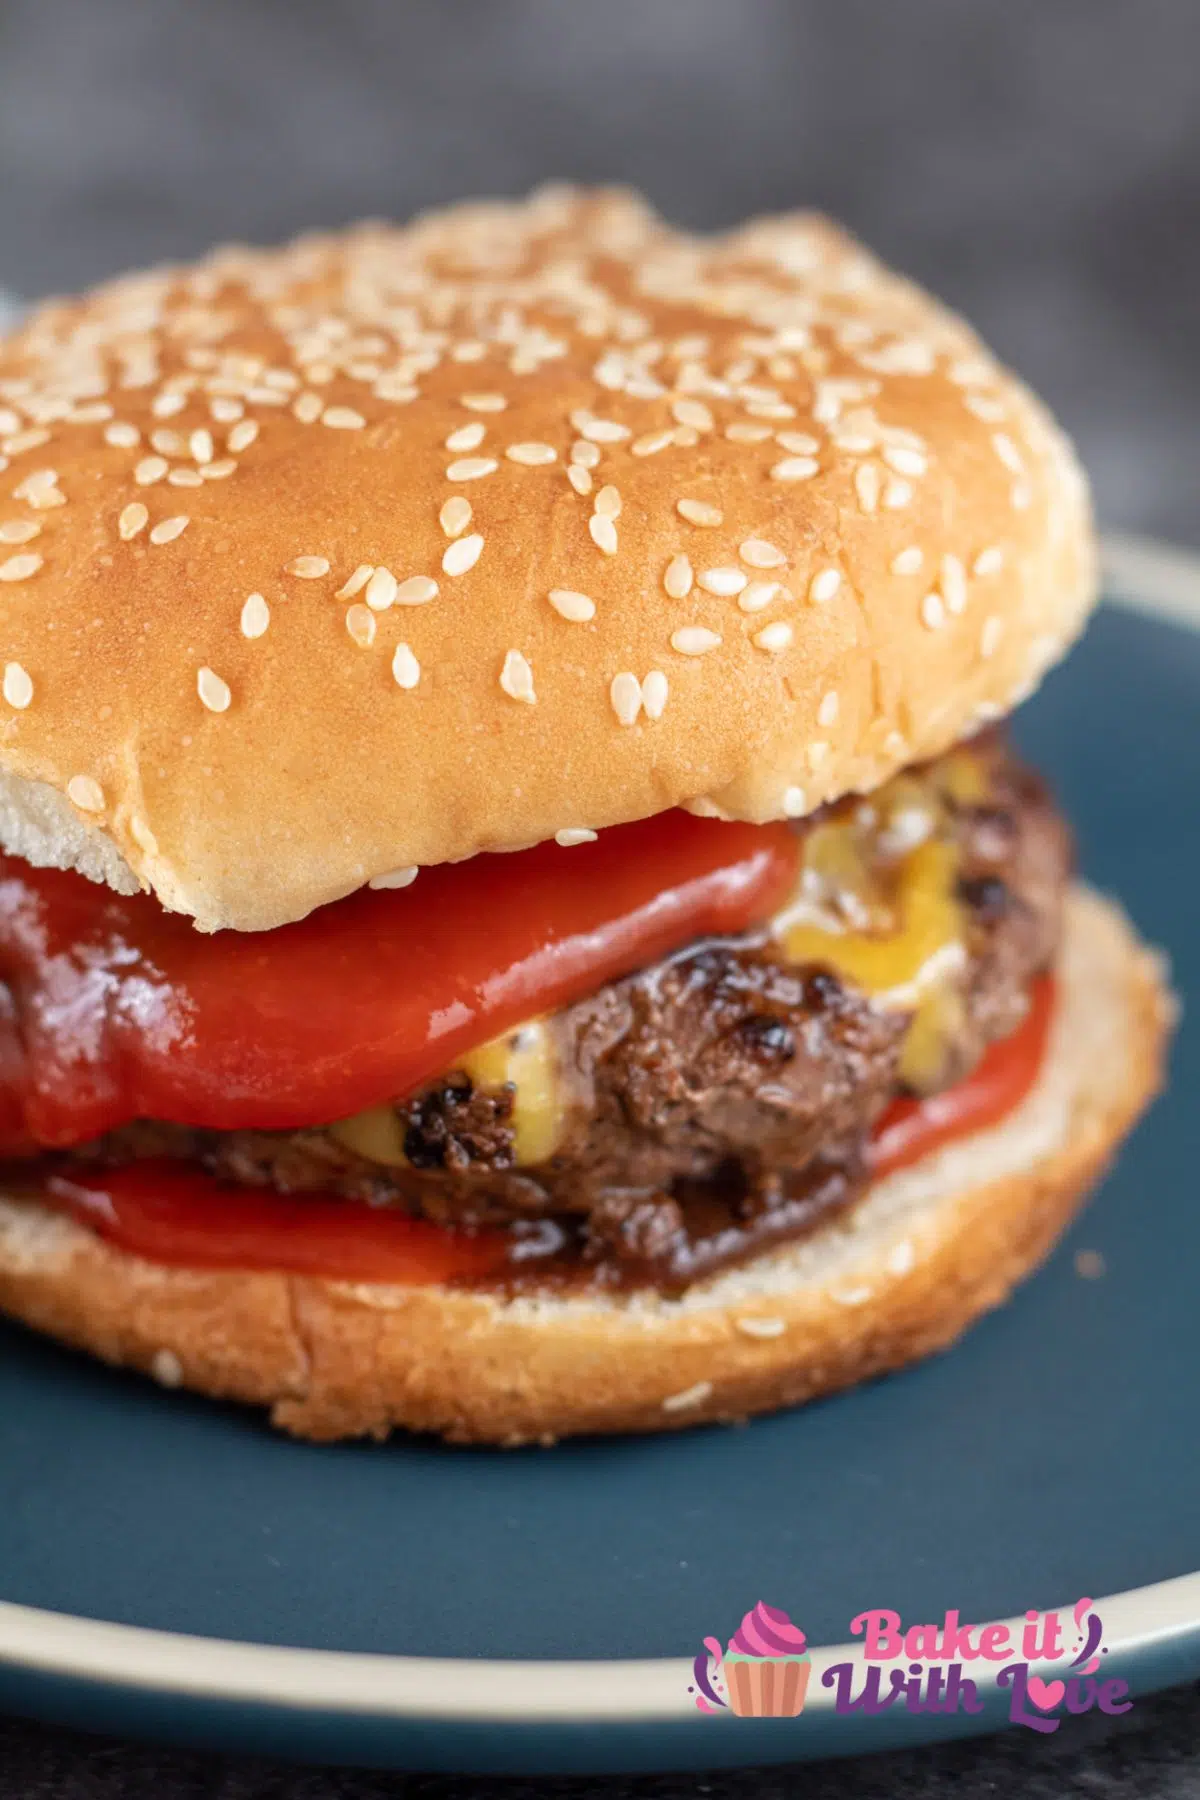
- Rest and assemble. Finally, move your burgers to a plate or cutting board and loosely cover with foil. Let them rest for 5 minutes before serving on 3 toasted hamburger buns with ketchup or your favorite burger toppings.
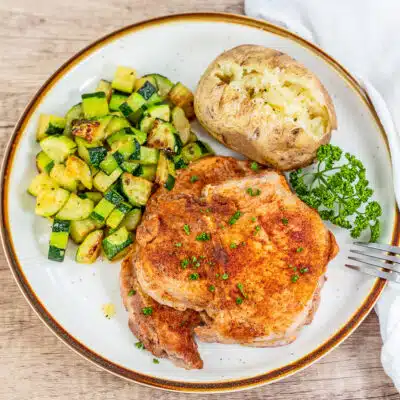
To make a complete meal, add a side of sweet potato fries or potato wedges! For a great alternative side dish, you could try out my broccoli tots! Enjoy!
💭 Tips & Notes
- You can make 2, 3, or 4 patties per pound. Make sure that you allow more cooking time for larger patties (and check smaller patties earlier).
- In place of steak seasoning, you could use a combo of 2 teaspoons paprika, 1 teaspoon salt, ½ teaspoon pepper, ½ teaspoon onion powder, and ½ teaspoon garlic powder instead.
- Bison burgers do not require any binders (like bread crumbs or eggs) to stick together. All you need is your meat and seasonings!
- No extra fat is required as the bison is flavorful and like using premium beef. Although, you could finish the burgers by basting with 2-3 tablespoons of butter if your bison is lean (or just because it’s incredibly delicious that way)!
- Dress your bison burger up with extra toppings, if you'd like! A few good choices would include sauteed onions, BBQ sauce, Dijon mustard, sliced dill pickles, or any of your favorite burger toppings!
🥡 Storing & Reheating
Keep your leftover bison burgers refrigerated in an airtight container for up to 4 days. If you need to store them for any longer than that, you are better off freezing them.
To freeze the patties, use the same container or a heavy-duty freezer bag with parchment paper between the patties (this is best without the cheese) for up to 4 months.
Reheating Bison Burgers
The easiest way to reheat your bison burgers is in the microwave on low power. Set your microwave to 50% power and microwave for 30 seconds on the first side, flip, then 30 seconds on the opposite side. If they are not warmed through, continue in 20-second increments.
❓ What Does Bison Taste Like?
Bison is a very flavorful kind of meat that tastes similar to beef. It is a tad sweeter than beef with a richer flavor. Bison is not gamey and cooks to be very tender!
❓ Can You Eat Bison Burgers Rare?
Yes, bison burgers can be eaten rare! In fact, it tastes delicious rare and retains a lot of juiciness! On the other hand, it is very easy to overcook bison as the meat dries out once it is passed medium.
❓ Are Bison Burgers Healthier Than Beef?
If you are wanting to limit your calories or fat consumption then bison would be a better option as it is leaner than beef. It is also higher in protein and contains more iron!
🍔 More Delicious Burgers
- Mushroom Swiss Burgers
- Western Bacon Cheeseburger
- Wagyu Burger
- Hawaiian Burger
- Elk Burgers
- Venison Burgers
Do you love a recipe you tried? Please leave a 5-star 🌟rating in the recipe card below and/or a review in the comments section further down the page.
Stay in touch with me through social media @ Pinterest, Facebook, Instagram, or Twitter! Subscribe to the newsletter today (no spam, I promise)! Don't forget to tag me when you try one of my recipes!
📖 Recipe Card
Bison Burgers
Ingredients
- 1 lb ground bison
- 1 tablespoon steak seasoning (my recipe, or your favorite brand -*see note)
- 3 slices cheddar cheese (optional)
- 3 hamburger buns (toasted)
- ketchup (optional to taste)
Instructions
- Divide the ground bison into 3 even-sized portions just over 5 ounces each (5.33 ounces if you want to be precise). Form each portion into a ball, then press gently on top to form a patty about 1" thick.
- Heat a large cast-iron skillet or heavy-bottomed frying pan (or grill pan, or grill) over medium heat. Season patties generously on both sides with steak seasoning (*see note).
- Once your skillet or frying pan is hot, add your patties and sear for about 5 minutes on the first side (until golden-brown).
- Flip your burgers and sear the opposite side until the burger's internal temperature reaches 135˚ (57°C) for medium-rare, about 3-4 minutes. If adding cheese, place it on your patties during the last minute of cooking. Cover the skillet to melt the cheese quickly.
- Transfer your burgers to a plate or cutting board and loosely tent foil over the top. Let them rest for 5 minutes before serving on toasted hamburgers with ketchup or your favorite burger toppings.
Notes
- You can make 2, 3, or 4 patties per pound. Make sure that you allow more cooking time for larger patties (and check smaller patties earlier).
- In place of steak seasoning, you could use a combo of 2 teaspoons paprika, 1 teaspoon salt, ½ teaspoon pepper, ½ teaspoon onion powder, and ½ teaspoon garlic powder instead.
- Bison burgers do not require any binders (like bread crumbs or eggs) to stick together. All you need is your meat and seasonings!
- No extra fat is required as the bison is flavorful and like using premium beef. Although, you could finish the burgers by basting with 2-3 tablespoons of butter if your bison is lean (or just because it’s incredibly delicious that way)!
- Dress your bison burger up with extra toppings, if you'd like! A few good choices would include sauteed onions, BBQ sauce, Dijon mustard, sliced dill pickles, or any of your favorite burger toppings!
- To store: Keep your leftover bison burgers refrigerated in an airtight container for up to 4 days. Any longer than that, you are better off freezing them. Use the same container or a heavy-duty freezer bag with parchment paper between the patties (this is best without the cheese) for up to 4 months.
- To reheat: The easiest way to reheat your bison burgers is in the microwave on low power. Set your microwave to 50% power and microwave for 30 seconds on the first side, flip, then 30 seconds on the opposite side. If they are not warmed through, continue in 20-second increments.
Nutrition

Angela is an at home chef that developed a passion for all things cooking and baking at a young age in her Grandma's kitchen. After many years in the food service industry, she now enjoys sharing all of her family favorite recipes and creating tasty dinner and amazing dessert recipes here at Bake It With Love!

Comments
No Comments