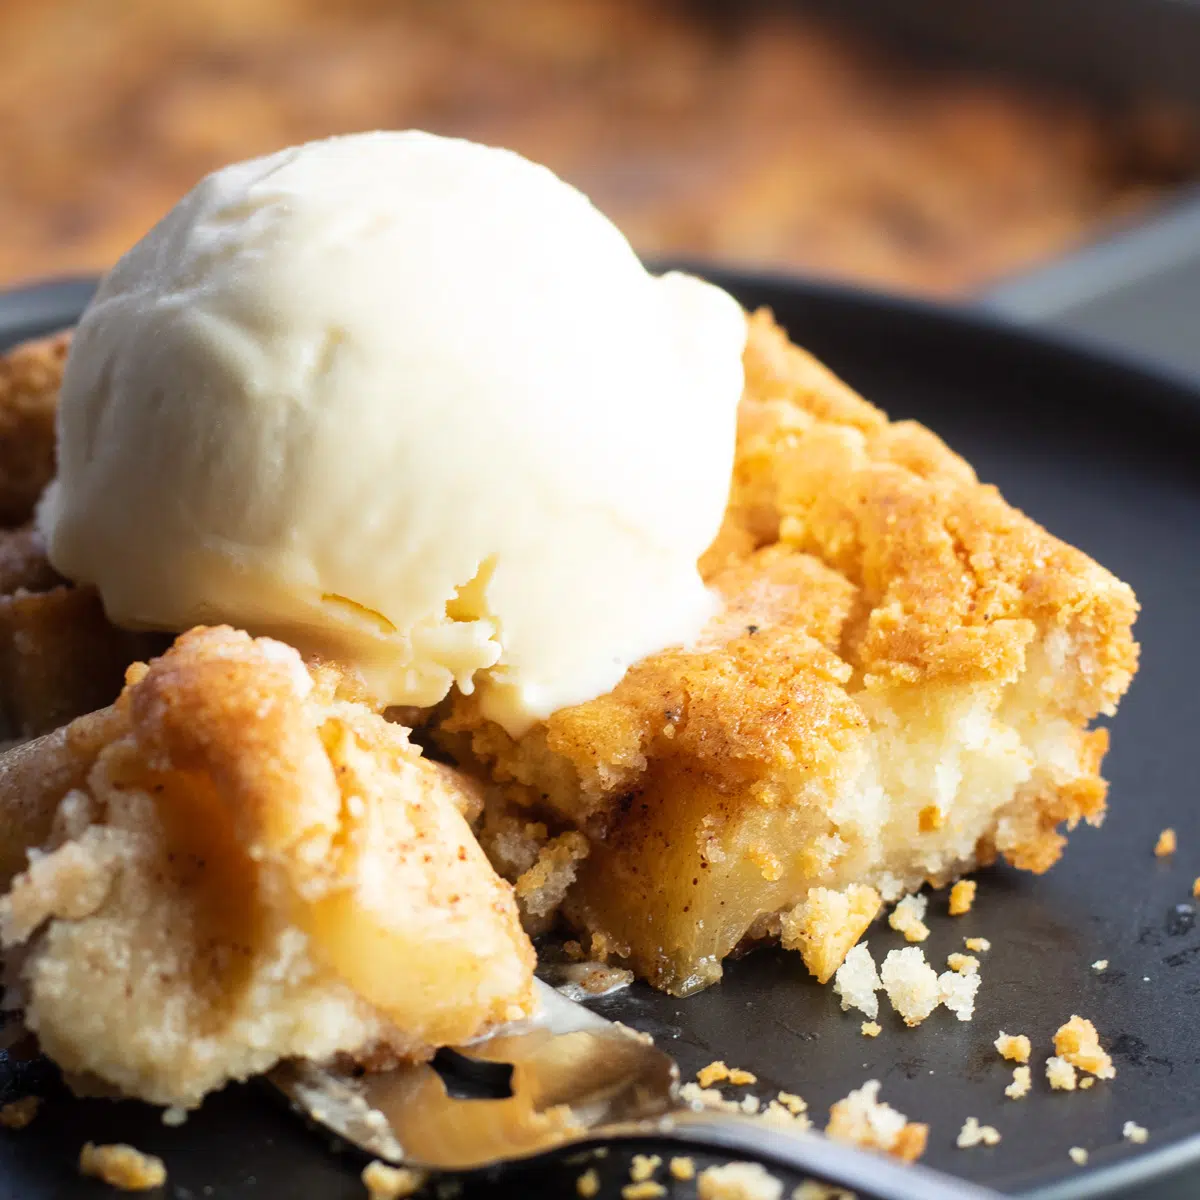
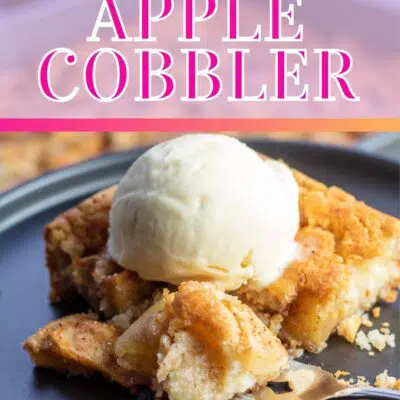
Bisquick apple cobbler is a satisfying classic comfort food that combines spiced apples with an easy Bisquick baking mix batter. It bakes up to perfection with just a few ingredients and minimal fuss but is sure to get rave reviews from everyone. This surprisingly simple fall dessert will leave you swooning and coming back for more (and more)!
Jump to:
When the temperatures drop, and the leaves begin to change color, there is nothing more cozy and delightful than a warm bowl of cobbler for dessert. Well, this recipe for apple cobbler is here to bring on all of the comfort food fall vibes and warm you up on a chilly night.
This easy-to-make Bisquick apple cobbler is a must in any recipe box. It oozes the best fall favorite flavors, including apples, nutmeg, and brown sugar. And don't worry - even inexperienced bakers will have no problem putting together this tasty, warming dessert!
❤️ Why I Love This Recipe
- Surprisingly simple. A cobbler might look and sound like a challenge, but this recipe makes it easy.
- Only six ingredients are required. Forget desserts with a lengthy list of ingredients. This recipe is designed to create delicious flavors without using everything but the kitchen sink.
- Perfect fall dessert. Fall is apple season, and nothing shouts "Autumn" quite like a just-baked apple cobbler.
🥘 Ingredients
With only six ingredients required, you likely won't have to run off to the store to buy the things you need. Plus, it's a great way to use up that box of Bisquick hiding in your pantry.
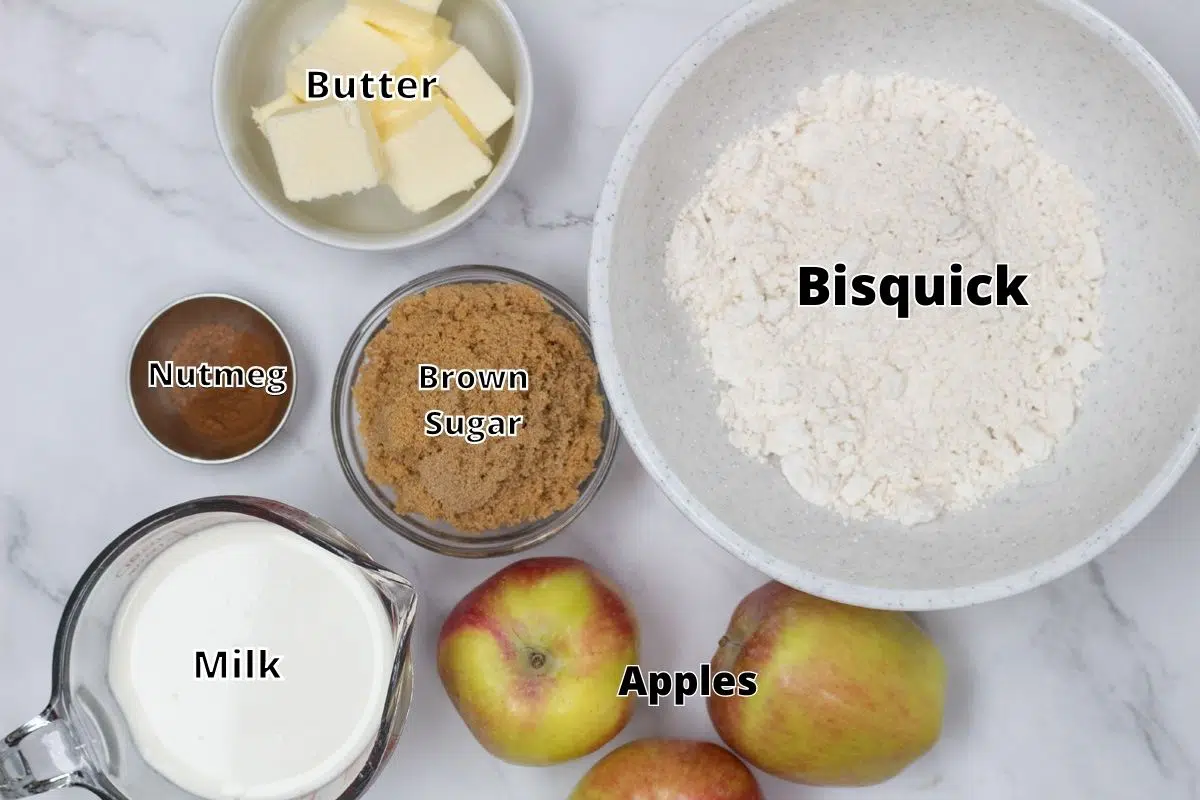
- Bisquick - 1½ cups of Bisquick. This baking mix is a great tool for anyone who wants to bake delicious treats without mixing and preparing the "base" (flour, salt, fat, and leavening).
- Milk - 1½ cups of milk. Stirring the ingredients simply won't be possible without a liquid. Milk is the best choice because it enhances flavor and color.
- Butter - ½ cup of butter (1 stick or 8 tablespoons butter, melted and cooled). A great cobbler is rich and delicious. You can thank butter for that burst of rich flavor and delicateness! Just make sure it's melted and cooled for this recipe to work.
- Apples - 3 large apples (peeled and cut into chunks). To bring that pop of "fall" into this cobbler recipe, you'll need apples. Use red apples for a sweet flavor or green apples for a tangy, sour flair.
- Light Brown Sugar - 1 cup of light brown sugar (packed). With just the right amount of sweetness and nuttiness, light brown sugar is an essential ingredient to apple cobblers.
- Nutmeg - ½ teaspoon ground nutmeg. The flavor of nutmeg can't be ignored. It contains just the right amount of spice that really brings this apple cobbler to life. Remember: a little goes a long way!
Be sure to see the free printable recipe card below for ingredients, exact amounts & instructions with tips!
🔪 How To Make Bisquick Apple Cobbler
One thing you will love about this apple cobbler recipe is that it's not only tasty but it's super easy to create, too. Take out a 9x13 or 9x9 baking pan, some mixing bowls, and a silicone spatula set to get started.
This apple cobbler recipe will yield about 8 servings. There's enough for everyone to enjoy a decent-sized slice.
Prep Apple Cobbler
- Prep. First things first - preheat your oven to 375°F (190°C) and make sure your pan is ready for action. You can use butter, a light coating of oil, or a non-stick cooking spray to coat your pan.
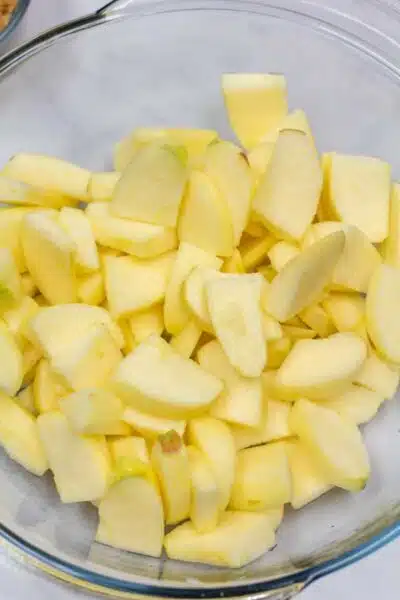
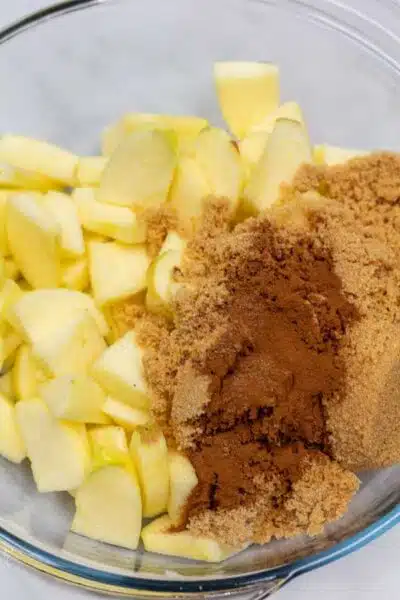
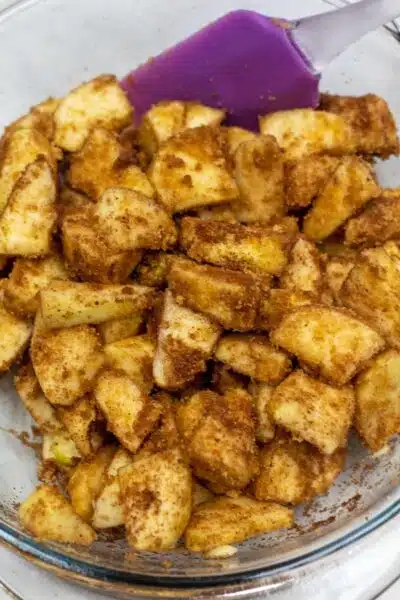
- Slice and season the apples. Cut 3 large red or green apples into small, bite-sized pieces (photo 1). Place in a bowl with 1 cup of light brown sugar and ½ teaspoon of nutmeg (photo 2). Mix to coat the apple slices (photo 3).
- (Optional) Heat apples in the microwave. Place the apples in a microwave-safe bowl. Heat on high power in 30-second increments for 2 minutes total. *This step helps to kick-start the apple cooking process but is entirely optional.
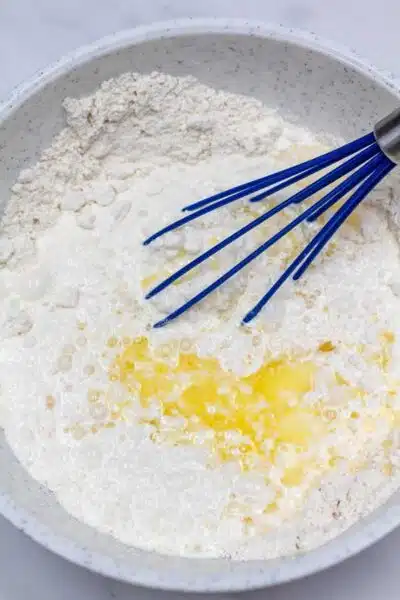
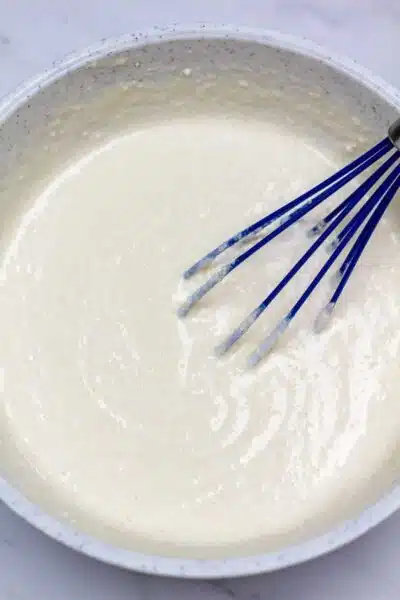
- Combine the remaining ingredients. In a separate bowl, combine 1½ cups of Bisquick with 1 ½ cups of milk and ½ cup of butter (photo 4). Stir until thoroughly mixed (photo 5).
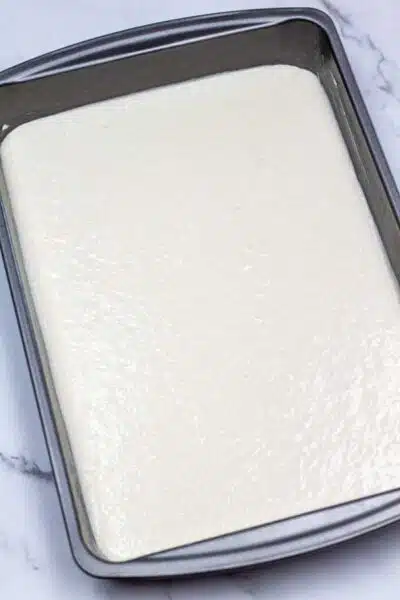
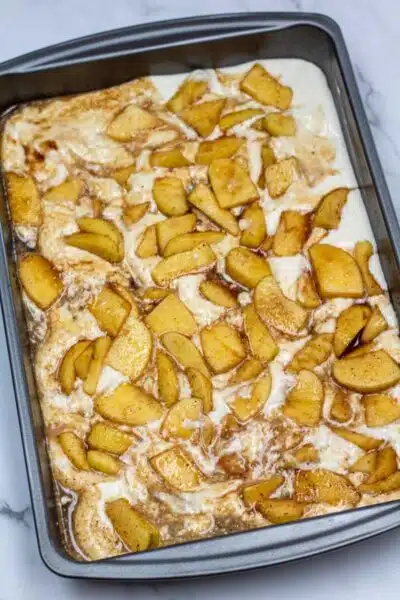
- Pour and layer ingredients. Pour the batter into your pan (photo 6). Then, spread the apples evenly over the batter (photo 7). This will allow for thorough and even cooking.
Bake Cobbler
- Bake. Place the pan into the preheated oven and bake at 375°F (190°C) for approximately 55 minutes to an hour. The top will appear golden brown when the cobbler is done, and an inserted toothpick will come out clean from the center.
- Cool slightly before serving. Remove the baked Bisquick apple cobbler when done and allow it to cool on a wire cooling rack for 10-15 minutes before serving.
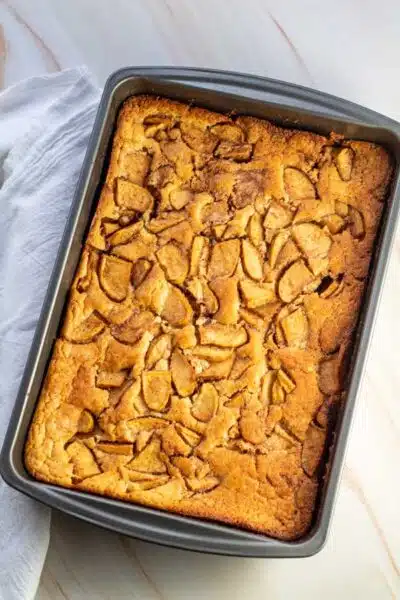
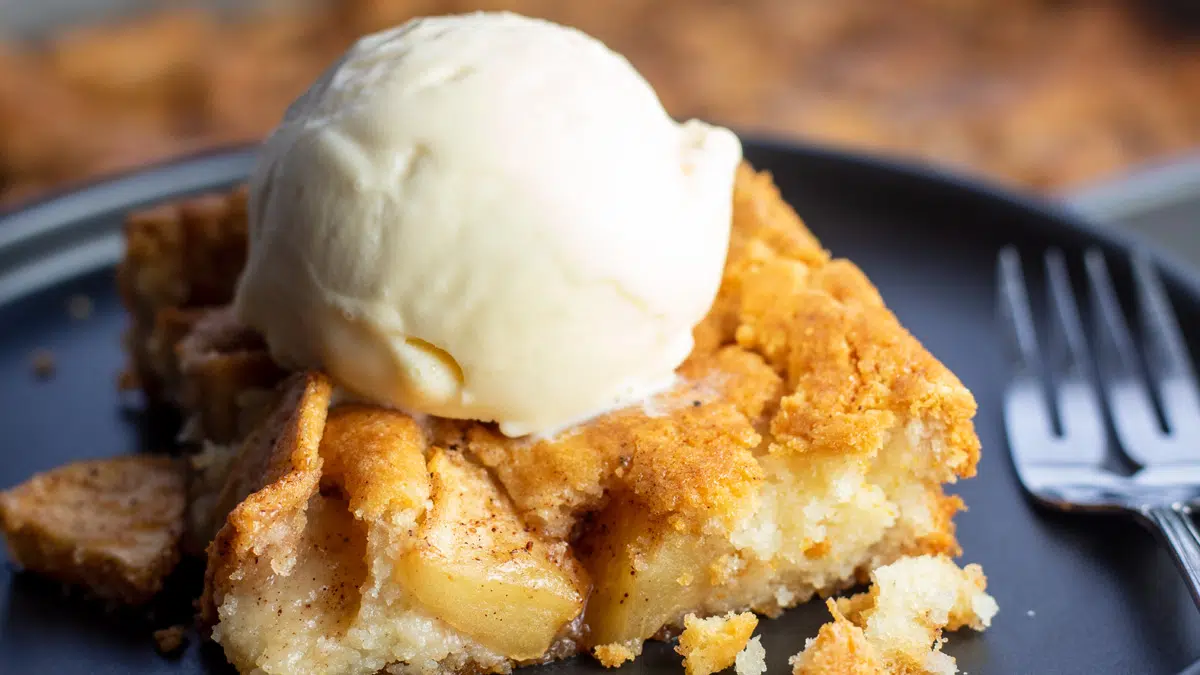
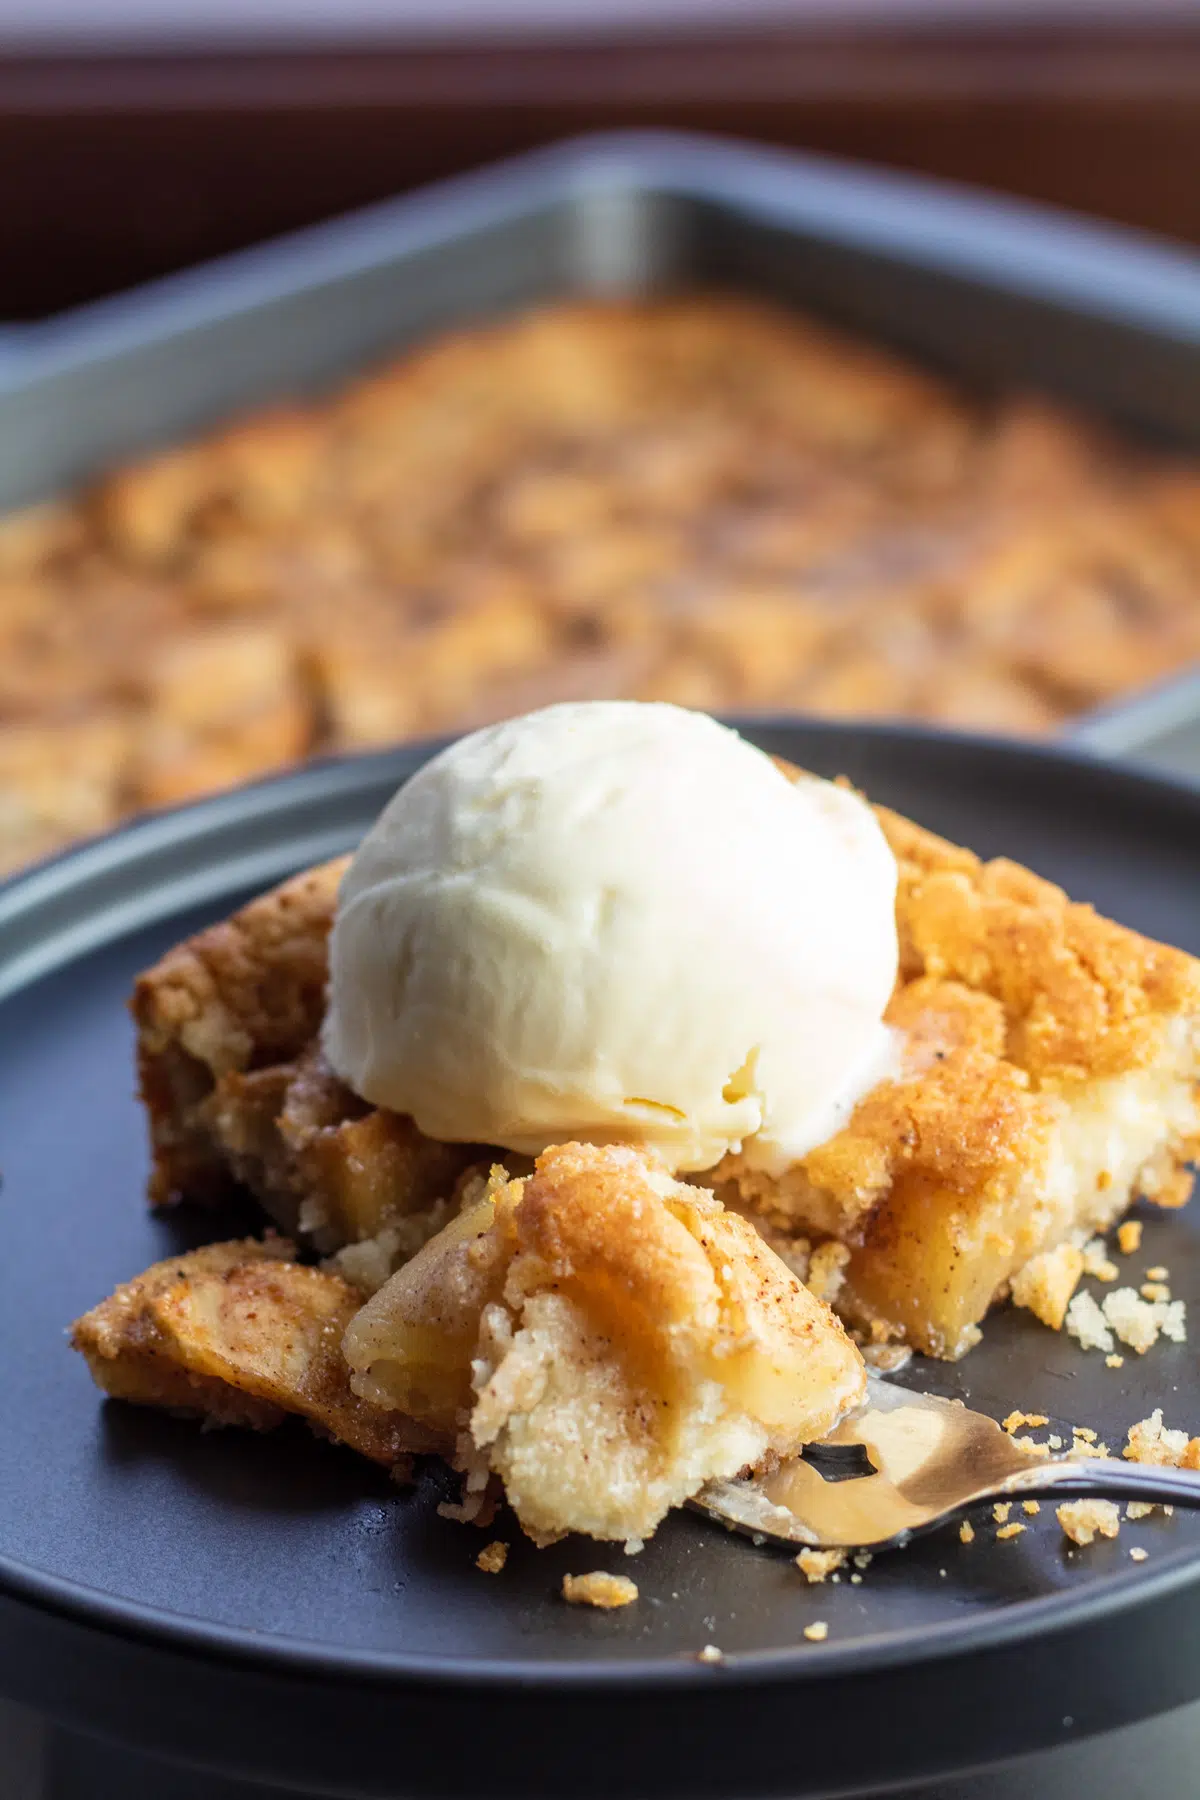
The cobbler doesn't need to be cooled entirely before serving. In fact, most people prefer their cobbler slightly warm. Serve with a scoop of vanilla ice cream or whipped cream for a classic fall dessert everyone will love.
💭 Angela's Pro Tips & Recipe Notes
- If you don't have nutmeg on hand or don't prefer the flavor, don't worry. You can swap the nutmeg for cinnamon and still achieve impeccable results.
- For a flavor with even more dimension, drop a teaspoon of vanilla extract into the Bisquick batter. This will enhance the sweetness and depth of the overall flavor, especially when paired with a scoop of vanilla ice cream.
- If the top of your cobbler is turning a golden brown, but the cobbler isn't done baking, you can cover it with a sheet of aluminum foil. This will prevent the top from burning while the rest of your ingredients continue to bake to perfection.
- Other apples work really well for cobbler. Semi-sweet varieties like Honeycrisp, Granny Smith, Gala, and Braeburn are some of the best but Jonagold, Golden Delicious, and Pink Lady varieties are also great!
>>>See All Of My Tasty Recipes Here!<<<
🥡 Storing & Reheating
The best way to store any leftovers is to let them come to room temperature (all the way through), lay a paper towel over it, and wrap it with parchment paper, wax paper, or aluminum foil. It can be left at room temperature for two days.
For longer storage, you can place it in the fridge for up to 5 days or in the freezer for up to 2 months. With either of these options, make sure that your apple cobbler is cooled and wrapped tightly.
Remember that the apple cobbler must be cooled before it's stored, whether you leave it on the counter or stick it in the fridge. A cobbler wrapped while still warm will trap moisture and render your apple cobbler a soggy mess.
Reheating
Apple cobbler is delicious even when it's cold. But if you want that warm and cozy dessert on a cool autumn night, simply stick it in the microwave for 10-30 seconds or place it in a preheated 350°F (175°C) oven until warmed.
❓ Recipe FAQs
An apple crisp is designed to have a crunchy factor with a topping that usually includes quick oats or old-fashioned oats. A cobbler is more of a deep-dish style dessert that combines fruit with batter, dumplings, or biscuit topping.
Some apples are better for baking than others. If you go with red apples, use Honeycrisp. If you're a fan of tart green apples, use Granny Smiths.
That depends! For one thing, it's totally up to your personal preference. If you choose not to peel your apples, choose a variety with softer skin. Gala apples are my favorite thin-skinned apple that will taste great in your baked crisps, cobblers, and crumbles.
🍎 Other Great Apple Recipes
- Crock Pot Applesauce - This homemade applesauce is incredibly easy, hands-off, and much better than store-bought.
- Apple Strawberry Crisp - Apple strawberry crisp combines the flavors and textures of two popular fruits.
- Blackberry & Apple Pie - The sweet and tangy flavors of blackberries and apples come together in this easy and delicious fall pie.
- Apple Dump Cake - Apple pie filling, yellow cake mix, and butter are layered to make this simple, yet tasty fall dessert.
- Apple Cider Pancakes - These golden and fluffy pancakes are topped with cinnamon-fried apples for the perfect fruit-filled breakfast.
- Irish Apple Cake - A delicious apple cake topped with a simple vanilla custard sauce can be enjoyed any time of year.
Do you love a recipe you tried? Please leave a 5-star 🌟rating in the recipe card below and/or a review in the comments section further down the page.
Stay in touch with me through social media @ Pinterest, Facebook, Instagram, or Twitter! Subscribe to the newsletter today (no spam, I promise)! Don't forget to tag me when you try one of my recipes!
📖 Recipe Card
Bisquick Apple Cobbler
Ingredients
- 1 ½ cups Bisquick
- 1 ½ cups milk
- ½ cup butter (1 stick or 8 tablespoons butter, melted and cooled)
- 3 large apples (peeled and cut into chunks)
- 1 cup light brown sugar (packed)
- ½ teaspoon ground nutmeg
(Note: 2x or 3x only changes the ingredient list)
Instructions
- Preheat your oven to 375°F (190°C) and butter or spray a 9x13 or 9x9 pan with non-stick cooking spray.
- Combine the sliced and chunked apples with brown sugar and nutmeg in a microwave-safe bowl (for more tender pieces of apple). Heat on high power in 30-second increments for 2 minutes total time. *This can be skipped, the apples will still bake beautifully!
- In a medium-sized mixing bowl combine the Bisquick baking mix with milk and melted butter, stir to combine then transfer into your baking dish.
- Spread the apple mixture evenly over the batter.
- Bake at 375°F (190°C) for 55 minutes to an hour until golden on top and an inserted toothpick comes out clean from the center. Remove from the oven and allow to cool slightly before serving.
Notes
- Try using a ¼ teaspoon each of cinnamon and nutmeg.
- Add 1 teaspoon of vanilla extract to the Bisquick batter for best flavor.
- If your top is golden and you need to keep baking the cobbler, cover with a sheet of aluminum foil to prevent burning.

Jebsw says
I used Swerve brown sugar replacement. Added the vanilla as suggested, and used both cinnamon and nutmeg. This was absolutely delicious!
Kelly says
Could I assemble it the night before, then cook the next day?
Angela @ BakeItWithLove.com says
The juices in the mixture and apples could get a bit runny overnight. The best way to do that would be to mix the batter and prepare the apples, but keep them in separate bowls until you're ready to bake. Hope that helps!
Anonymous says
When increasing the recipe to 2X, the butter quantity still shows 1 stick for a cup, & should show 2.
Angela @ BakeItWithLove.com says
Yes, the amount changes ie 1/2 cup to 1 cup, etc. To the right of the measurement is a note that doesn't change.
Katherine A Dietz says
Do you have high altitude adjustments for this recipe? Can't get bisquick to respond.
Thanks,
Katherine
Angela @ BakeItWithLove.com says
Typically for baking at high altitudes you want to bake at a higher temperature, or for a longer period of time. Usually, I add about 5 minutes per every 30 minutes of baking time (plus or minus a bit, just keep an eye on your food).
Angela @ BakeItWithLove.com says
try my post for high altitude baking to make adjustments.
Nidhi Bansal says
This was yummy
Sarah says
My family loved this!! Will make again and again!