
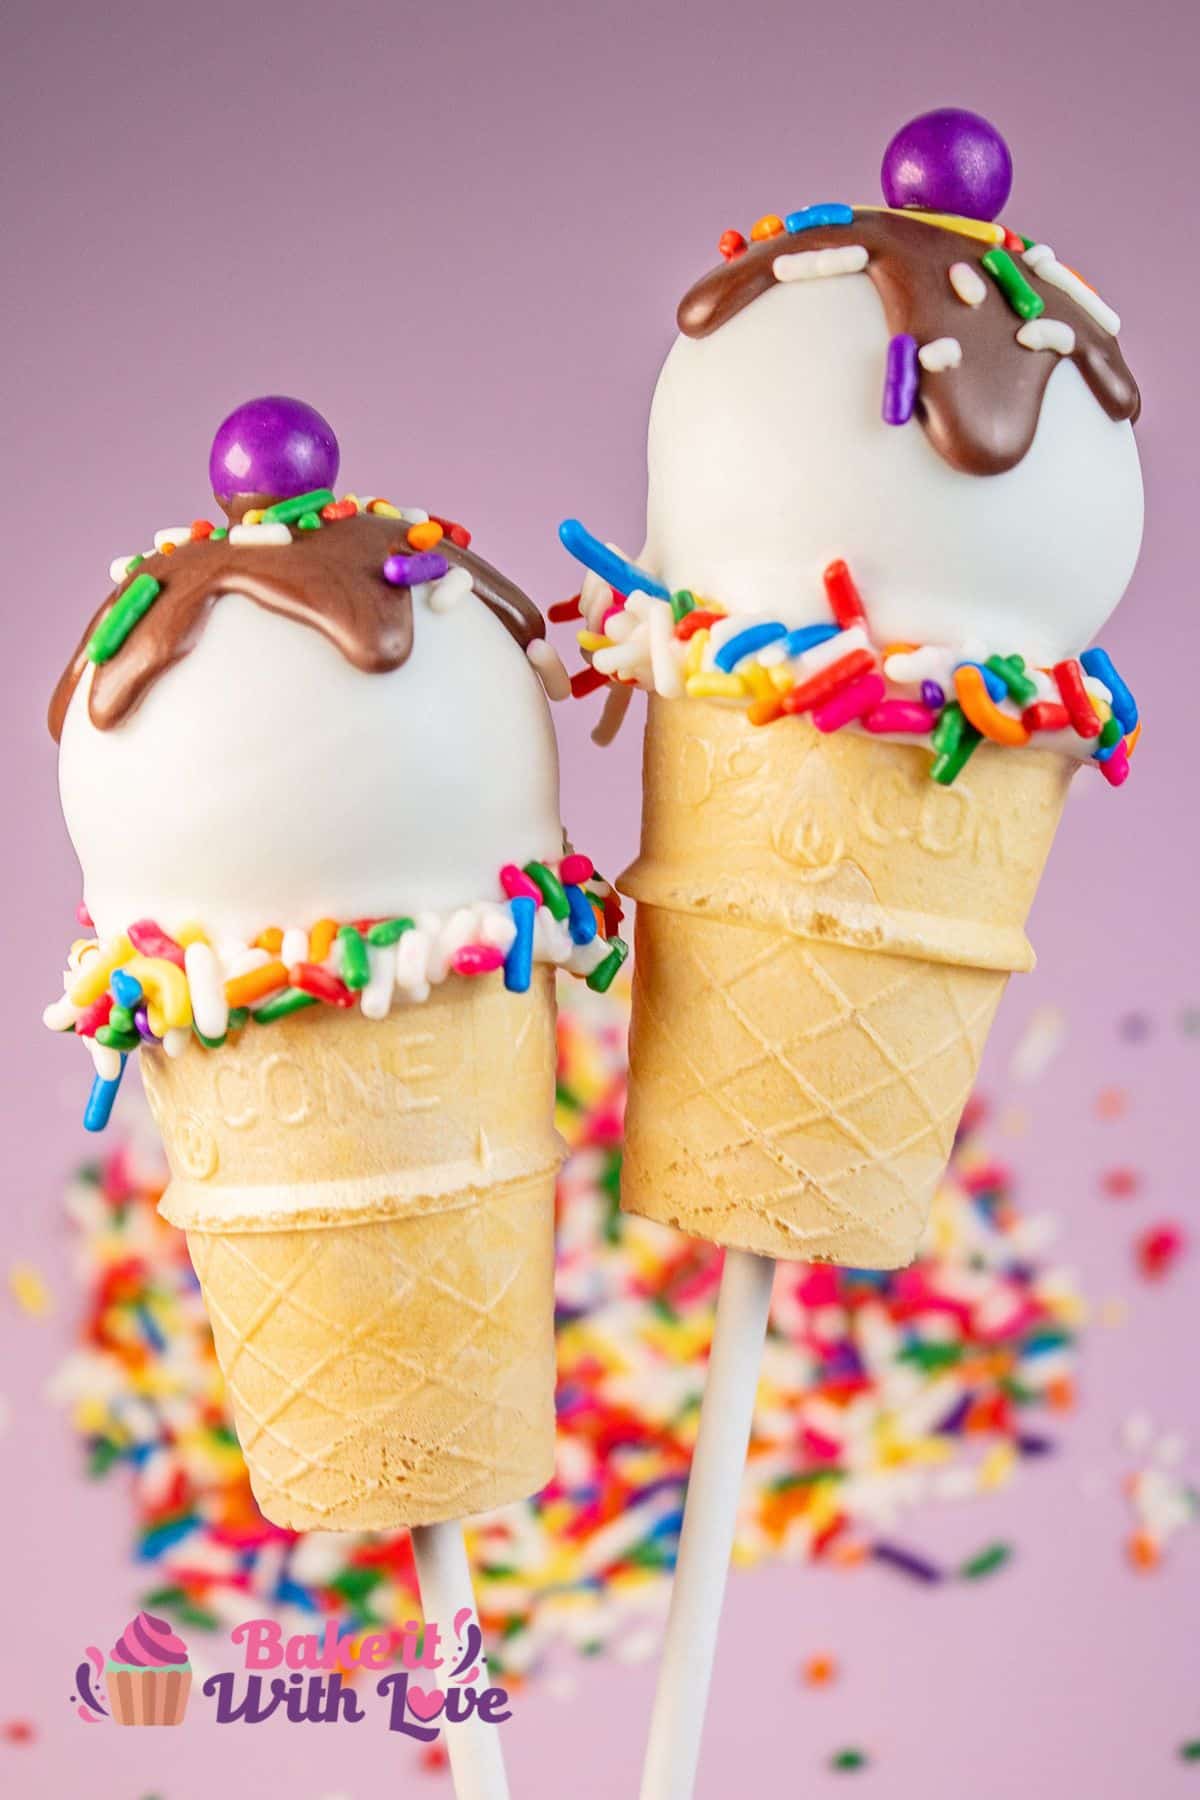
My ice cream cone cake pops feature homemade cake pops set into mini ice cream cones and decorated with sprinkles and chocolate ganache. This tasty treat is a fun and festive dessert to make for any party. Kids and adults alike will be thrilled to enjoy these ice cream-themed cake pops.
For more summertime treats, check out my collection of summer desserts like my strawberry angel food lush, Bisquick peach cobbler, and blueberry tart.

Jump to:
I think these ice cream cone cake pops might be one of the cutest treats I've ever made (right up there with my snow cone cake pops). They make a great addition to any summer festivities, birthday parties, or baby showers.
And, while they certainly do look impressive, they are surprisingly simple to make. Cake pops are a great DIY treat to make with the kids, too!
🥘 Ingredients
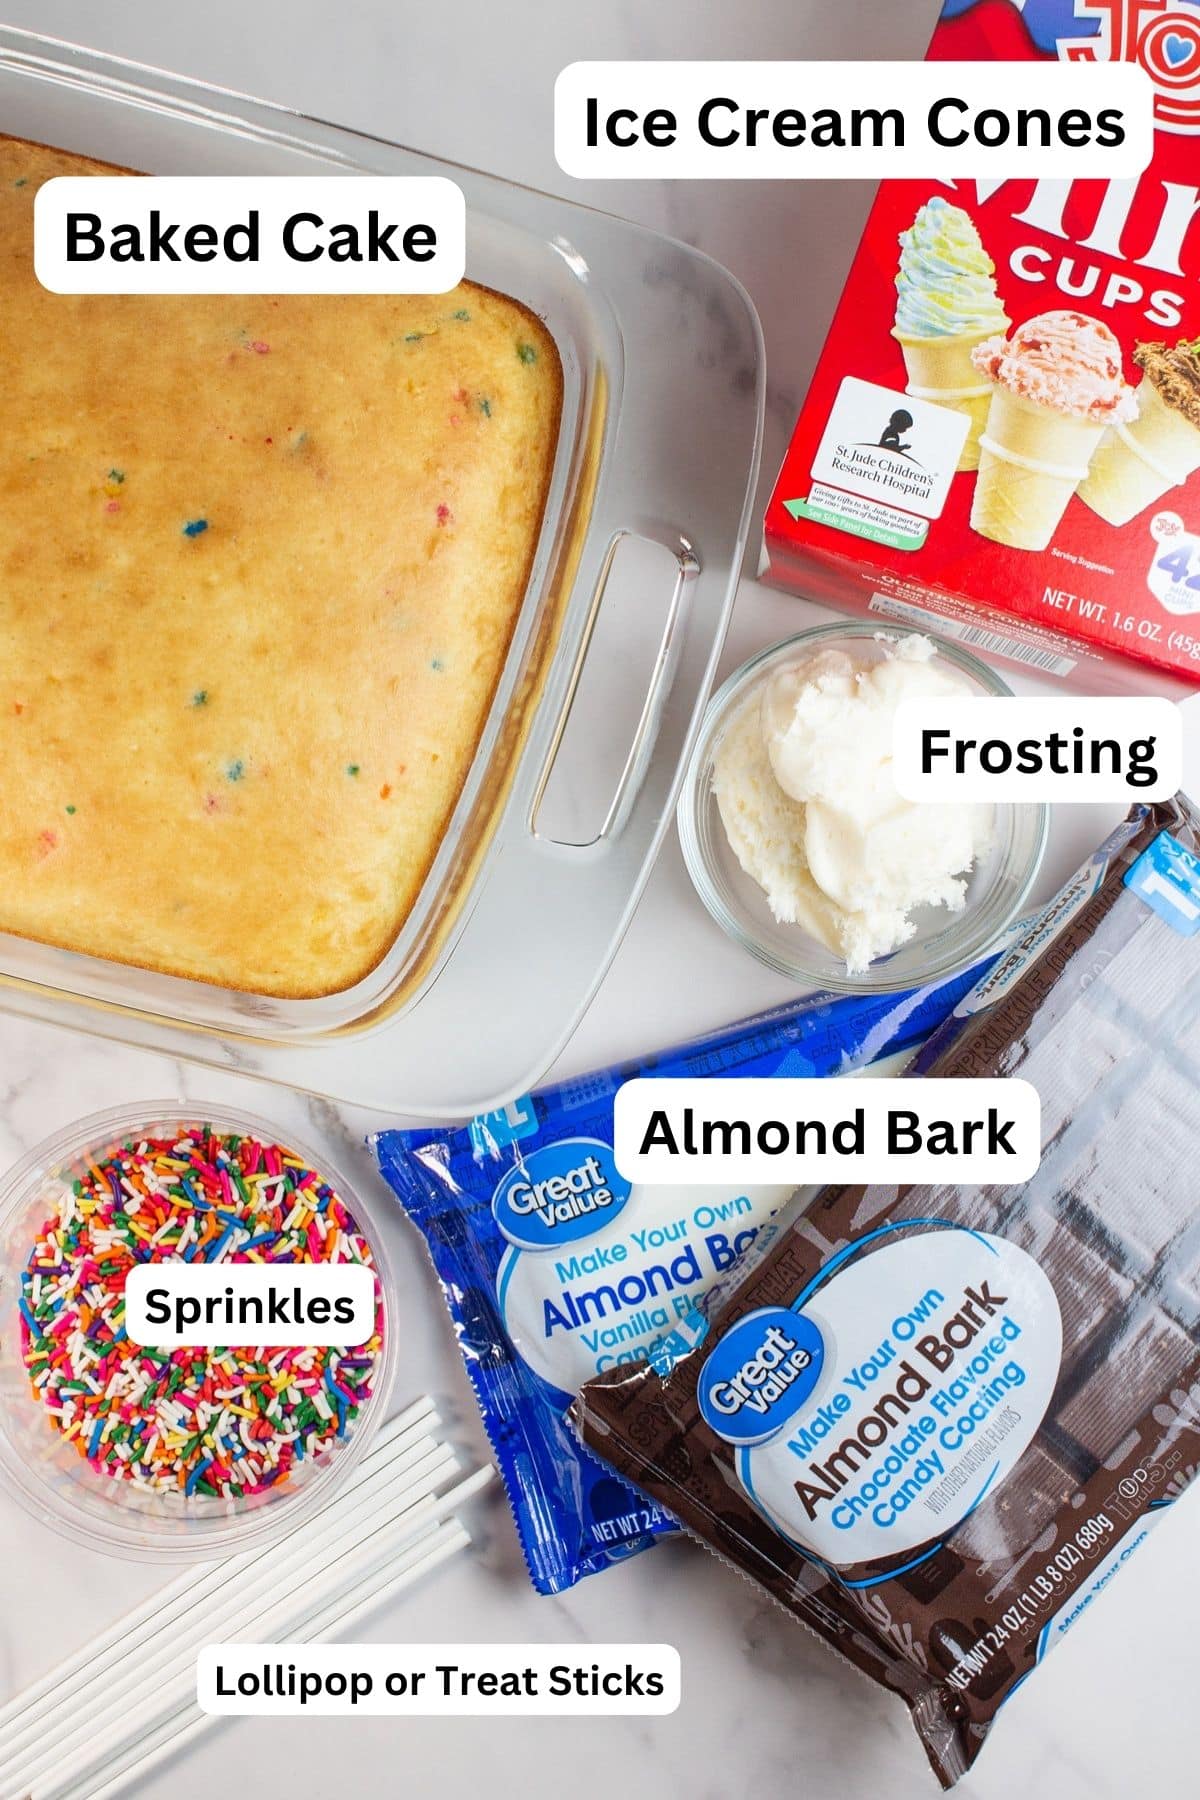
- Cake - You can use your favorite variety of cake! It can be storebought, made from a boxed mix, or made from scratch in any flavor you like.
- Frosting - Choose a flavor of frosting that will complement the cake flavor you are using.
- Almond Bark - You can use almond bark, melting wafers, or even white chocolate. To achieve the look of the ice cream, use two different colors.
- Sprinkles - Any variety of your favorite sprinkles.
- Food Coloring (optional) - If coloring white chocolate instead of using colored melting wafers, make sure you are using an oil-based food coloring. Liquid or gel will cause your chocolate to seize.
- Mini Ice Cream Cones - I've found these at Wal-Mart and Kroger, but I'm sure many grocery stores sell them.
- Treat Sticks - Treat sticks or lollipop sticks can be found in the cake decorating aisle of many supermarkets.
Be sure to see the free printable recipe card below for ingredients, exact amounts & instructions with tips!
🔪 How To Make Ice Cream Cone Cake Pops
These cake pops are just as easy to make as my regular homemade cake pops, just with a few extra decorating steps. You will need a stand mixer, a cake pop stand or styrofoam block, and some bowls.
This recipe will make 28 ice cream cone cake pops.
Make the Cake Pop Dough
Get your cake ready. Prepare your cake according to the boxed directions or make a cake from scratch. Bake like normal and let it cool completely before getting started.
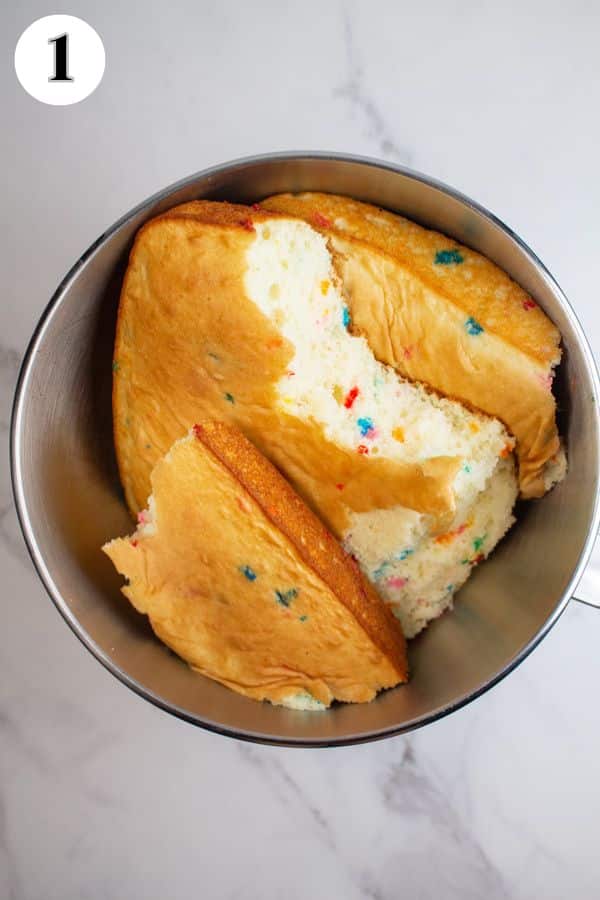
Transfer the cake. Once cooled, break up your cake and place the pieces into the bowl of your stand mixer (photo 1). *You can also do this by hand, but it takes longer.
Crumble. Using the paddle attachment, turn the mixer on low speed. Let the cake mix until it is crumbled into small pieces (photo 2).

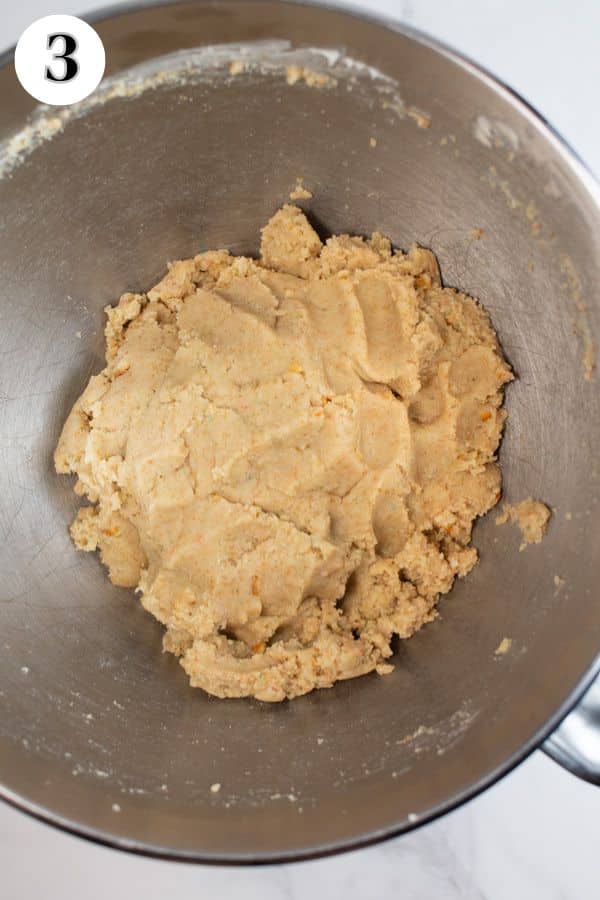
Add frosting. Add ⅓ cup (75 grams) of frosting and continue mixing on low to medium-low speed until thoroughly combined (photo 3). The consistency should be similar to play-doh putty. If it is too dry and crumbly, add more frosting.
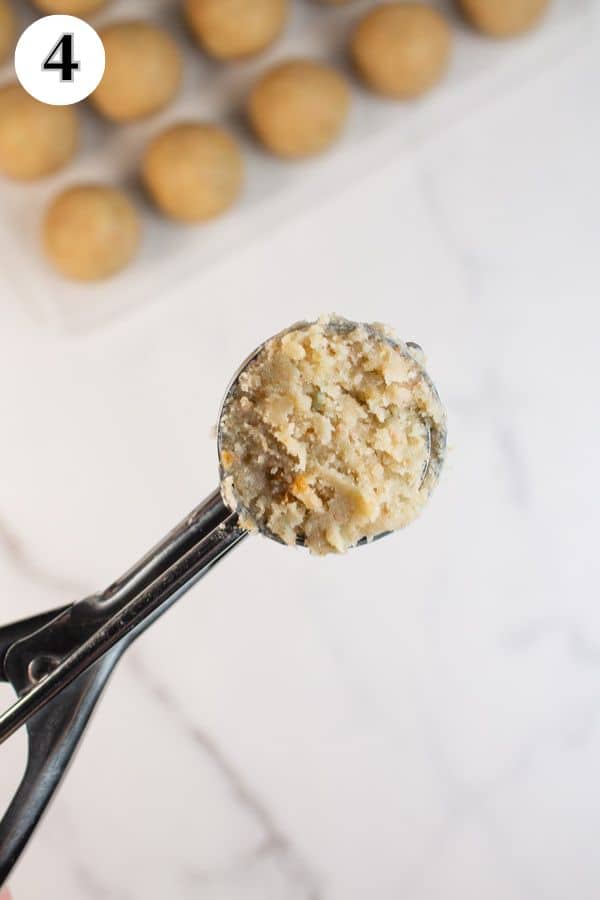
Portion. Use a cookie scoop, meatball maker, or kitchen scale to portion the cake pop dough (photo 4) into equal servings (a standard cake pop is 1 ounce each).
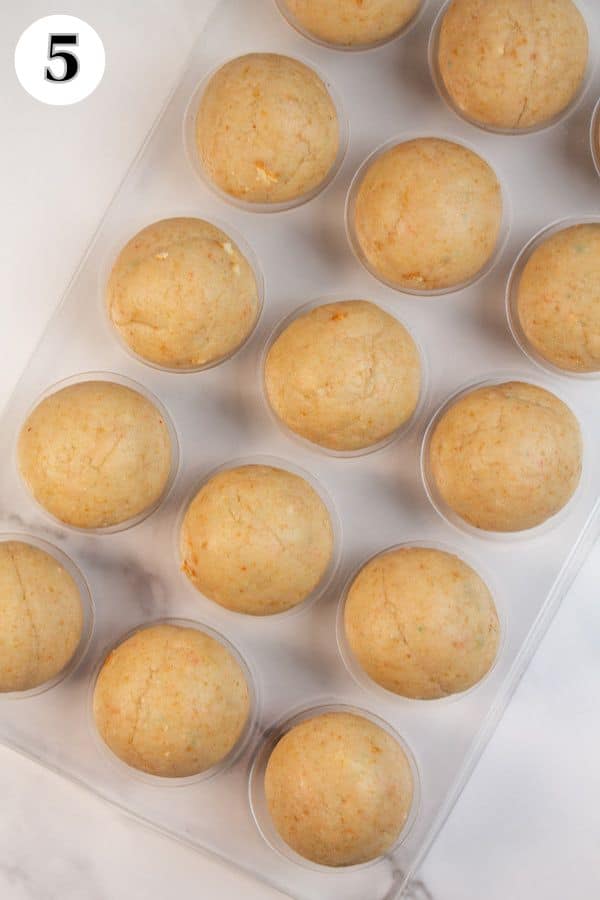
Roll into balls. Roll the portion dough around in your hand to form a smooth ball. Repeat with all of the cake pop dough (photo 5).
❗ Top Tip: Rolling Perfect Cake Pops
The balls are easier to round out into smooth, better-shaped cake pops if you chill them after combining and portioning. So roll the cake mixture out and pop them all in the fridge after they're shaped.
Chill for at least an hour before rolling them again to smooth out any misshapen edges.
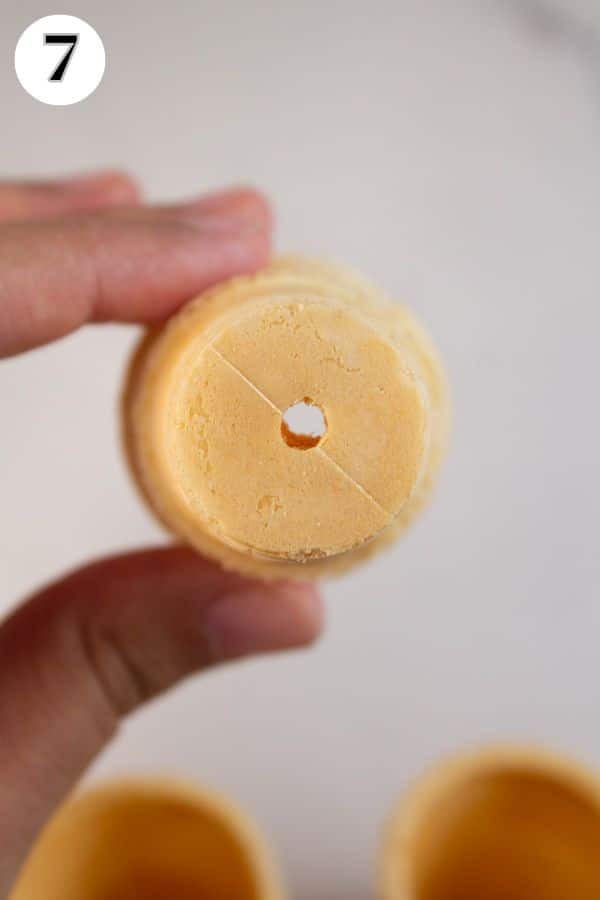
Prepare the Cones
Poke holes. Using one of your treat sticks, carefully poke a hole in the bottom of each of your 28 mini ice cream cones (photo 7). This is where the stick will pass through the cone later.
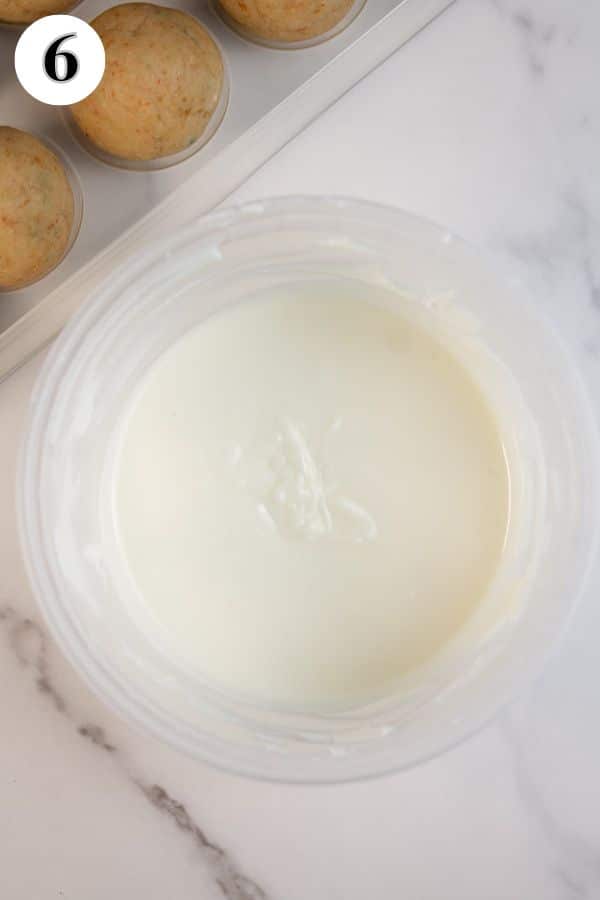
Break the almond bark. Break up half of your 1½ pound of almond bark and place it in a heat-safe container.
Melt. Heat the almond bark in 30-second increments, stirring well in between each one, until melted and smooth. If using oil-based food coloring, mix it into the melted chocolate (photo 6).
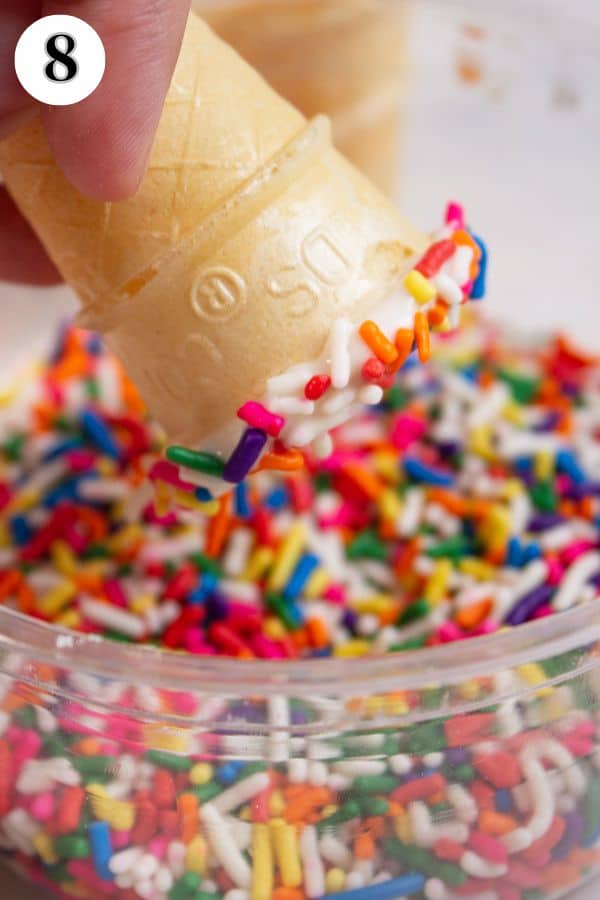
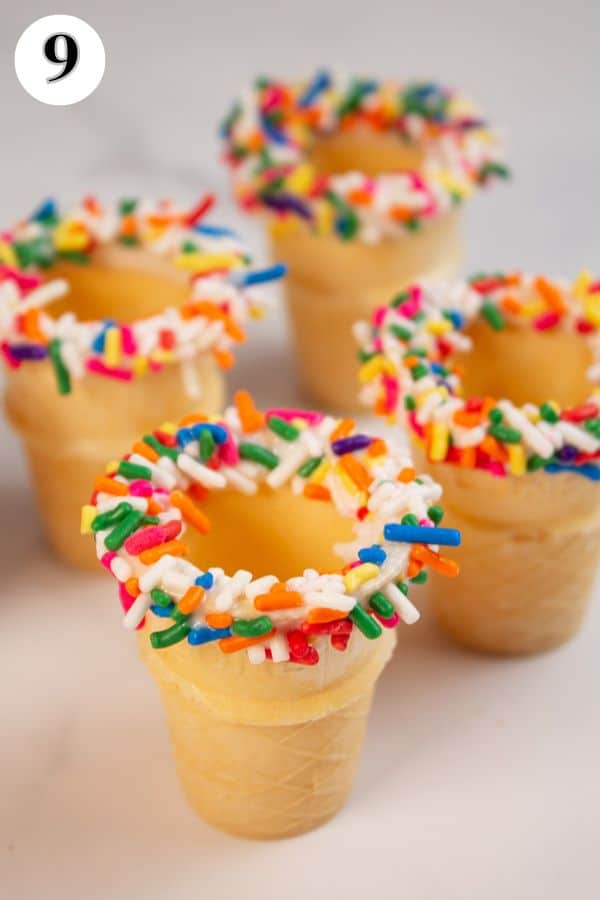
Decorate the cones. Dip the top of each cone into the melted chocolate, tap off any excess, and then immediately dip it into your preferred sprinkles (photo 8). Set the cones aside while you begin working on the cake pops (photo 9).
Dip & Decorate
Add the sticks. Take one of your 28 treat sticks and dip one end into the melted chocolate. Then, press the chocolate-covered end of the stick into one of the dough balls.
Repeat. Repeat this process until all of the balls have a stick, then let them set for 2-3 minutes so that the chocolate hardens.
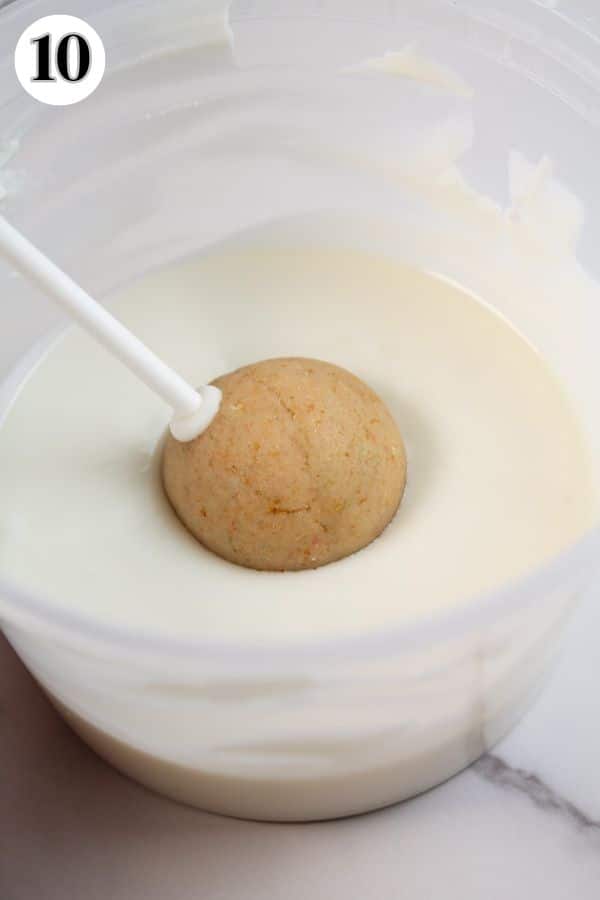
Dip. Take one cake pop and dip it into the melted almond bark (photo 10). Then, tap off any excess chocolate, twirl it around to the other side, and tap it again.
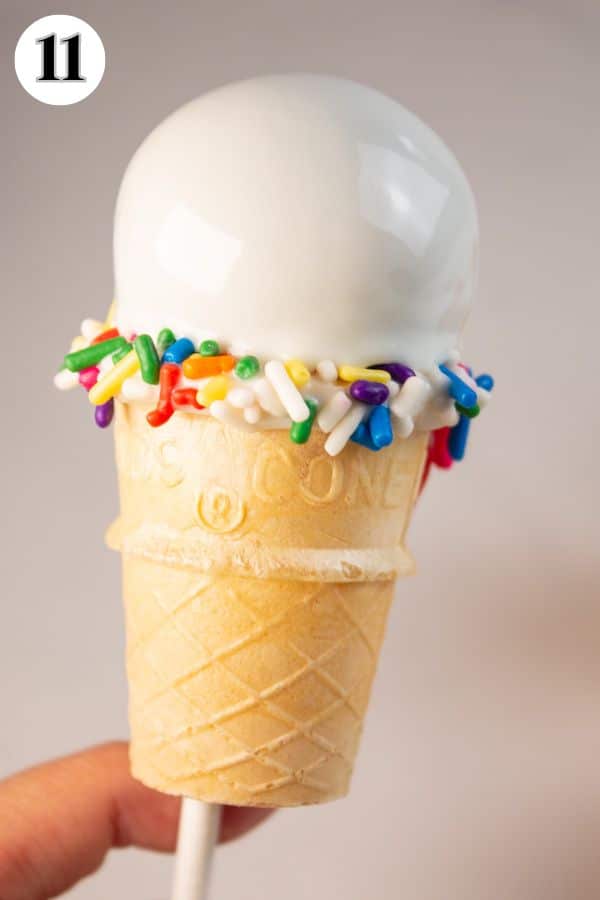
Place on the cone. Immediately, while the chocolate is still wet, pass the stick through the hole on one of the cones (photo 11) and gently press the cake ball to the top of the cone (this gives it the 'just starting to melt' appearance).
Set. Place the cake pop into a stand (or a cardboard box with some holes poked into it) and repeat with the remaining cake pops.
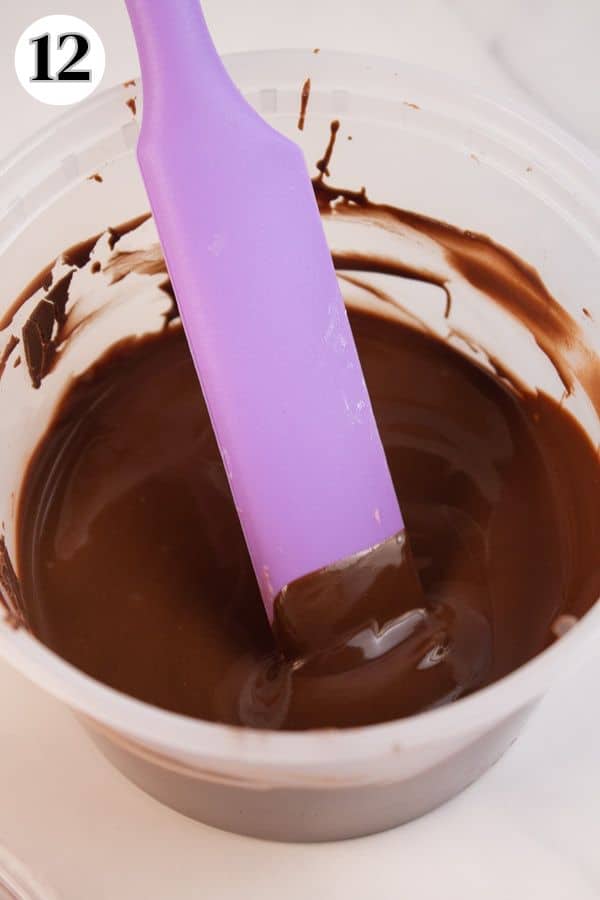
Melt. Melt your remaining portion of almond bark (either a different flavor or color) in the microwave (photo 12). Then, pour your second chocolate color/flavor into a piping bag or storage bag and cut off the tip.
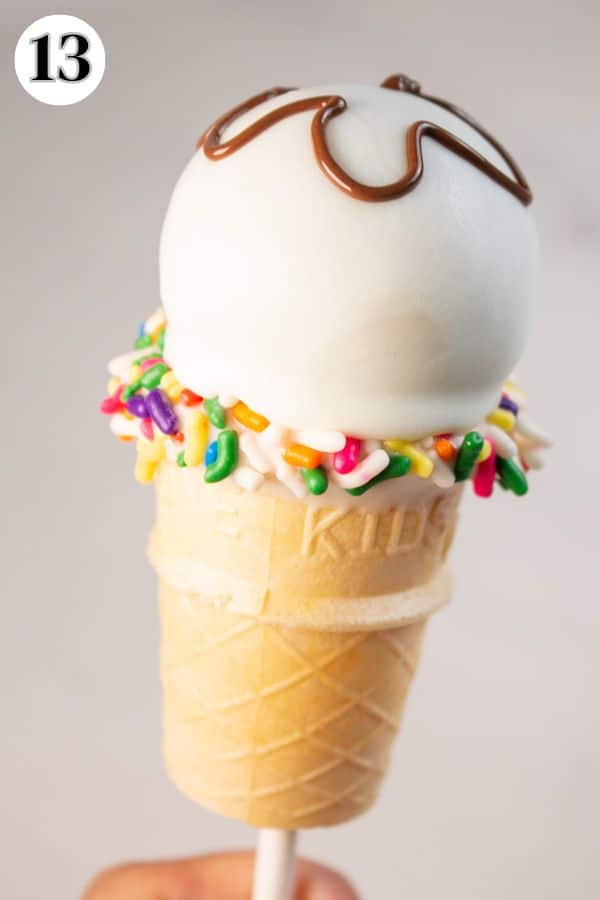
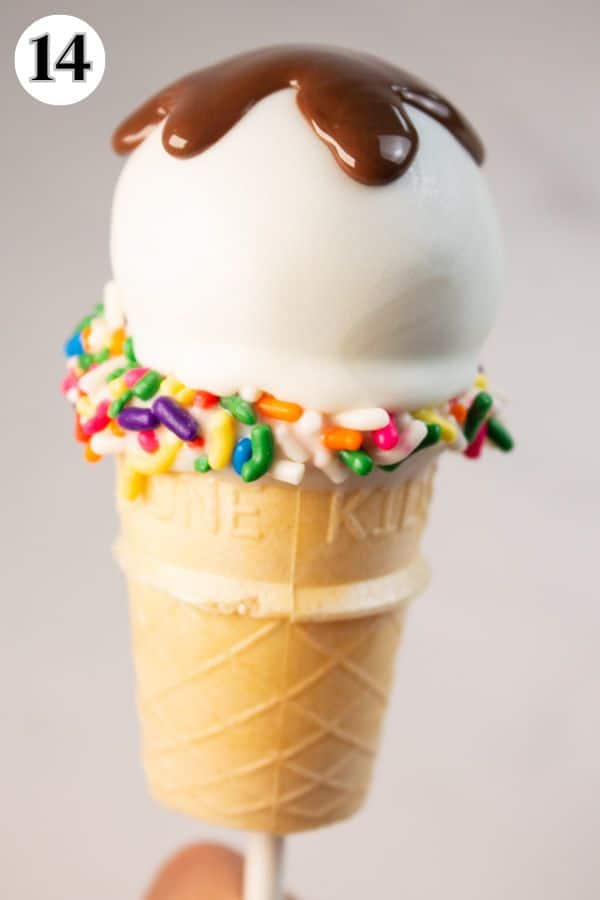
Decorate. Use the piping bag to outline a dripping shape on the top of your ice cream cake pop (photo 13). Then, fill in the outline with more chocolate and shake it firmly to smooth it out (photo 14).
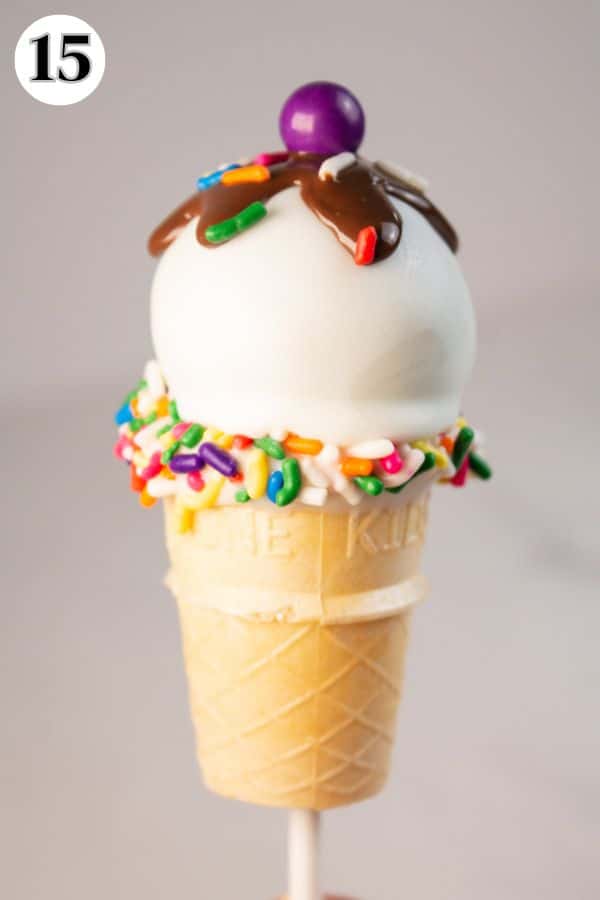
Add sprinkles. While the chocolate topping is still wet, add some sprinkles. For the cherry on top, you can use either a larger sprinkle or a red M&M candy (photo 15).
Set. Set the cake pops aside for 2-3 minutes to finish setting up before serving or storing for later.

>>>See All Of My Tasty Recipes Here!<<<
💭 Angela's Pro Tips & Recipe Notes
- Use your favorite cake. You can make cake pops using any of your favorite cakes. Have fun experimenting with different flavors (like red velvet, funfetti, vanilla, strawberry, or chocolate).
- Only one cake is needed. You only need a standard-sized cake. This is the amount that you would get from a box of cake mix or a regular cake recipe. It can be a 9x13, two 8-inch or 9-inch rounds, or even a bundt cake.
- Omit the oil. If using a boxed cake mix, I recommend leaving the oil out altogether and then preparing the cake as directed. Sometimes the added oil can make it hard for the cake pops to stay on the stick.
- Use your favorite frosting. You can use storebought frosting or homemade buttercream. Choose a flavor that pairs well with the flavor of cake you are using.
- Skip the mixer. If you don't have a stand mixer, you can make your cake pop dough by smashing everything together with your hands.
- Use the right coloring. If you want to color your cake pops, make sure you are using an oil-based food coloring (not liquid or gel). This can be difficult to find in stores, but I've had some luck at Michael's. If you can't find it, you may need to order it online.
- Tap off excess chocolate. After dipping your cake pops, tap the stick against the side of the container to shake off any excess chocolate. Turn the cake pop around and tap it a couple more times to smooth everything out.
- Make your own stand. If you don't have a cake pop stand, you can either make one by poking holes in an upside-down cardboard box, using a styrofoam block, or you can place your cake pops onto parchment paper with the stick pointing upwards. They are still cute and delicious!
- Try almond bark. Almond bark melts really nicely with no additional ingredients. If using melting wafers or candy melts, you may need to thin out the chocolate with a small amount of coconut oil.
- Choose your preferred colors. I used white almond bark as a base and then chocolate almond bark as my topping (no food coloring needed). However, you can use only white almond bark and color it with food coloring. If neither of those options works, you can buy pre-colored candy melts.
- Add candy. To make this treat extra fun, try adding a small handful of M&Ms into the cone before adding your cake pop.
📍🍡🎂 Top Tips to Master Cake Pops
See my top tips for the best cake pops to master cake pops in no time. There are 13+ great tips and tricks to help you skip my early mistakes 🤪.
With these tips, your first attempt at cake pops will look better-than-store-bought!
🥡 Storing
The undipped cake pop dough can be stored in the refrigerator for 4-5 days, or in the freezer for 3-6 months.
Once dipped, your cake pops can be kept at room temperature for 4 days or in the fridge for 7-10 days. Keep in mind that the cone itself may begin to get stale after a few days.
- Thanksgiving Turkey Cake Pops
- Top Tips For the Best Cake Pops
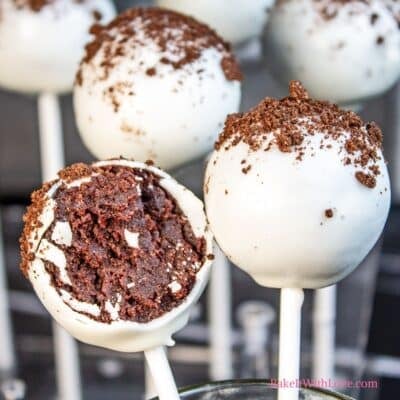
- Starbucks Cookies & Cream Cake Pops
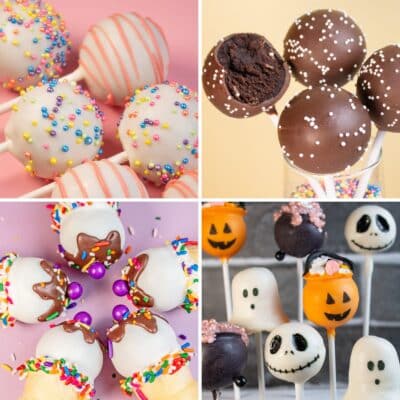
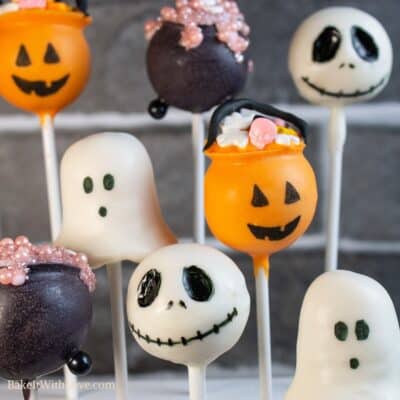
- Halloween Cake Pops
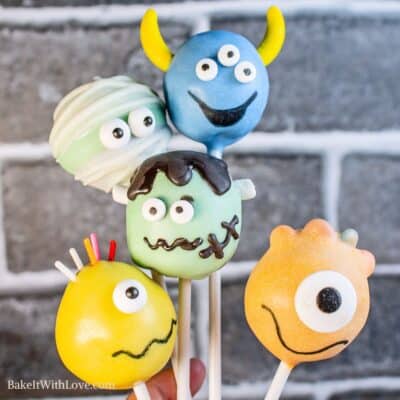
- Monster Cake Pops
- Pumpkin Cake Pops
- Starbucks Chocolate Cake Pops
- Starbucks Birthday Cake Pops

Do you love a recipe you tried? Please leave a 5-star 🌟rating in the recipe card below and/or a review in the comments section further down the page.
Stay in touch with me through social media @ Pinterest, Facebook, Instagram, or Twitter! Subscribe to the newsletter today (no spam, I promise)! Don't forget to tag me when you try one of my recipes!
📖 Recipe Card

Ice Cream Cone Cake Pops
Ingredients
- 1 cake (baked and cooled, any flavor - standard sized (9x13))
- ⅓ cup frosting (or more, if needed)
- 1½ lb almond bark (or melting wafers, two different colors)
- sprinkles
- oil-based food coloring (optional)
- 28 mini ice cream cones
- 28 treat sticks
(Note: 2x or 3x only changes the ingredient list)
Instructions
Make the Cake Pop Dough
- Prepare your cake according to the boxed directions or make a cake from scratch. Bake like normal and let it cool completely before getting started.
- Once cooled, break up your 1 cake and place the pieces into the bowl of your stand mixer. *You can also do this by hand, but it takes longer.
- Using the paddle attachment, turn the mixer on low speed. Let the cake mix until it is crumbled into small pieces.
- Add ⅓ cup frosting and continue mixing on low to medium-low speed until thoroughly combined. The consistency should be similar to play-doh. If it is too dry and crumbly, add more frosting.
- Use a cookie scoop, meatball maker, or kitchen scale to portion the cake pop dough into equal servings (a standard cake pop is 1 ounce each).
- Roll the portion dough around in your hand to form a smooth ball. Repeat with all of the cake pop dough.
Prepare the Cones
- Using one of your treat sticks, carefully poke a hole in the bottom of each 28 mini ice cream cones. This is where the stick will pass through the cone later.
- Break up half of your 1½ lb almond bark and place it in a heat-safe container.
- Heat the almond bark in 30-second increments, stirring well in between each one, until melted and smooth. If using oil-based food coloring, mix it into the melted chocolate.
- Dip the top of each cone into the melted chocolate, tap off any excess, and then immediately dip it into your preferred sprinkles. Set the cones aside while you begin working on the cake pops.
Dip & Decorate
- Take one of your 28 treat sticks and dip one end into the melted chocolate. Then, press the chocolate-covered end of the stick into one of the dough balls.
- Repeat this process until all of the balls have a stick, then let them set for 2-3 minutes so that the chocolate hardens.
- Take one cake pop and dip it into the melted almond bark. Then, tap off any excess chocolate, twirl it around to the other side, and tap it again.
- Immediately, while the chocolate is still wet, pass the stick through the hole on one of the cones and gently press the cake ball to the top of the cone (this gives it the 'just starting to melt' appearance).
- Place the cake pop into a stand (or a cardboard box with some holes poked into it) and repeat with the remaining cake pops.
- Melt your remaining portion of 1½ lb almond bark (either a different flavor or color) in the microwave. Then, pour your second chocolate color/flavor into a piping bag or storage bag and cut off the tip.
- Use the piping bag to make an outline of a dripping shape on the top of your ice cream cake pop. Then, fill in the outline with more chocolate and shake it firmly to smooth it out.
- While the chocolate topping is still wet, add some sprinkles. For the cherry on top, you can use either a larger sprinkle or a red M&M candy.
- Set the cake pops aside for 2-3 minutes to finish setting up before serving or storing for later.
Notes
- You can make cake pops using any of your favorite cakes! Have fun experimenting with different flavors (like red velvet, funfetti, vanilla, strawberry, or chocolate).
- You only need a standard-sized cake. This is the amount that you would get from a box of cake mix or a regular cake recipe. It can be a 9x13, two 8-inch or 9-inch rounds, or even a bundt cake.
- If using a boxed cake mix, I recommend leaving the oil out altogether and then preparing the cake as directed. Sometimes the added oil can make it hard for the cake pops to stay on the stick.
- You can use storebought frosting or homemade buttercream. Choose a flavor that pairs well with the flavor of cake you are using.
- If you don't have a stand mixer, you can make your cake pop dough by smashing everything together with your hands.
- If you want to color your cake pops, make sure you are using an oil-based food coloring (not liquid or gel). This can be difficult to find in stores, but I've had some luck at Michael's. If you can't find it, you may need to order it online.
- After dipping your cake pops, tap the stick against the side of the container to shake off any excess chocolate. Turn the cake pop around and tap it a couple more times to smooth everything out.
- If you don't have a cake pop stand, you can either make one by poking holes in an upside-down cardboard box or you can place your cake pops onto parchment paper with the stick pointing upwards. They are still cute and delicious!
- Almond bark melts really nicely with no additional ingredients. If using melting wafers or candy melts, you may need to thin out the chocolate with a small amount of coconut oil.
- I used white almond bark as a base and then chocolate almond bark as my topping (no food coloring needed). However, you can use only white almond bark and color it with food coloring. If neither of those options works, you can buy pre-colored candy melts!
- To make this treat extra fun, try adding a small handful of M&Ms into the cone before adding your cake pop.
- The undipped cake pop dough can be stored in the refrigerator for 4-5 days, or in the freezer for 3-6 months.
- Once dipped, your cake pops can be kept at room temperature for 4 days or in the fridge for 7-10 days. Keep in mind that the cone itself may begin to get stale after a few days.
Angela @ BakeItWithLove.com says
I saw these cake pops once and had to try to make my own fantastic version. They're easy to make and such a hit with everyone at parties. Give them a try, you'll have fun with every bit of the process.