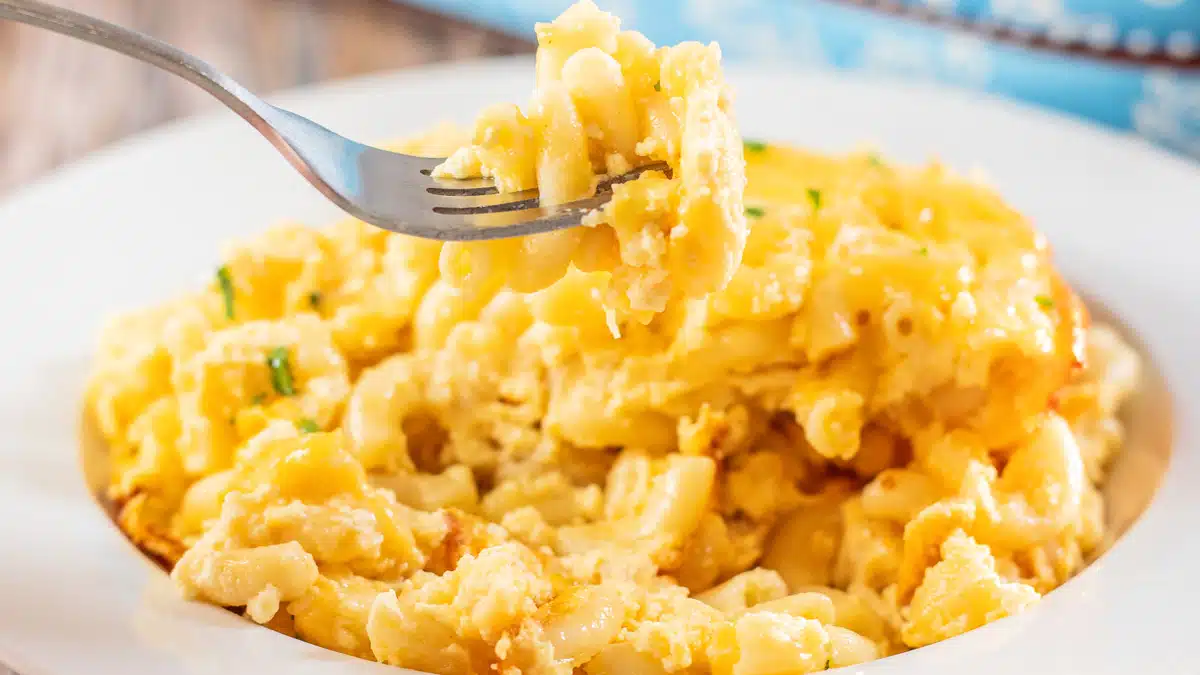
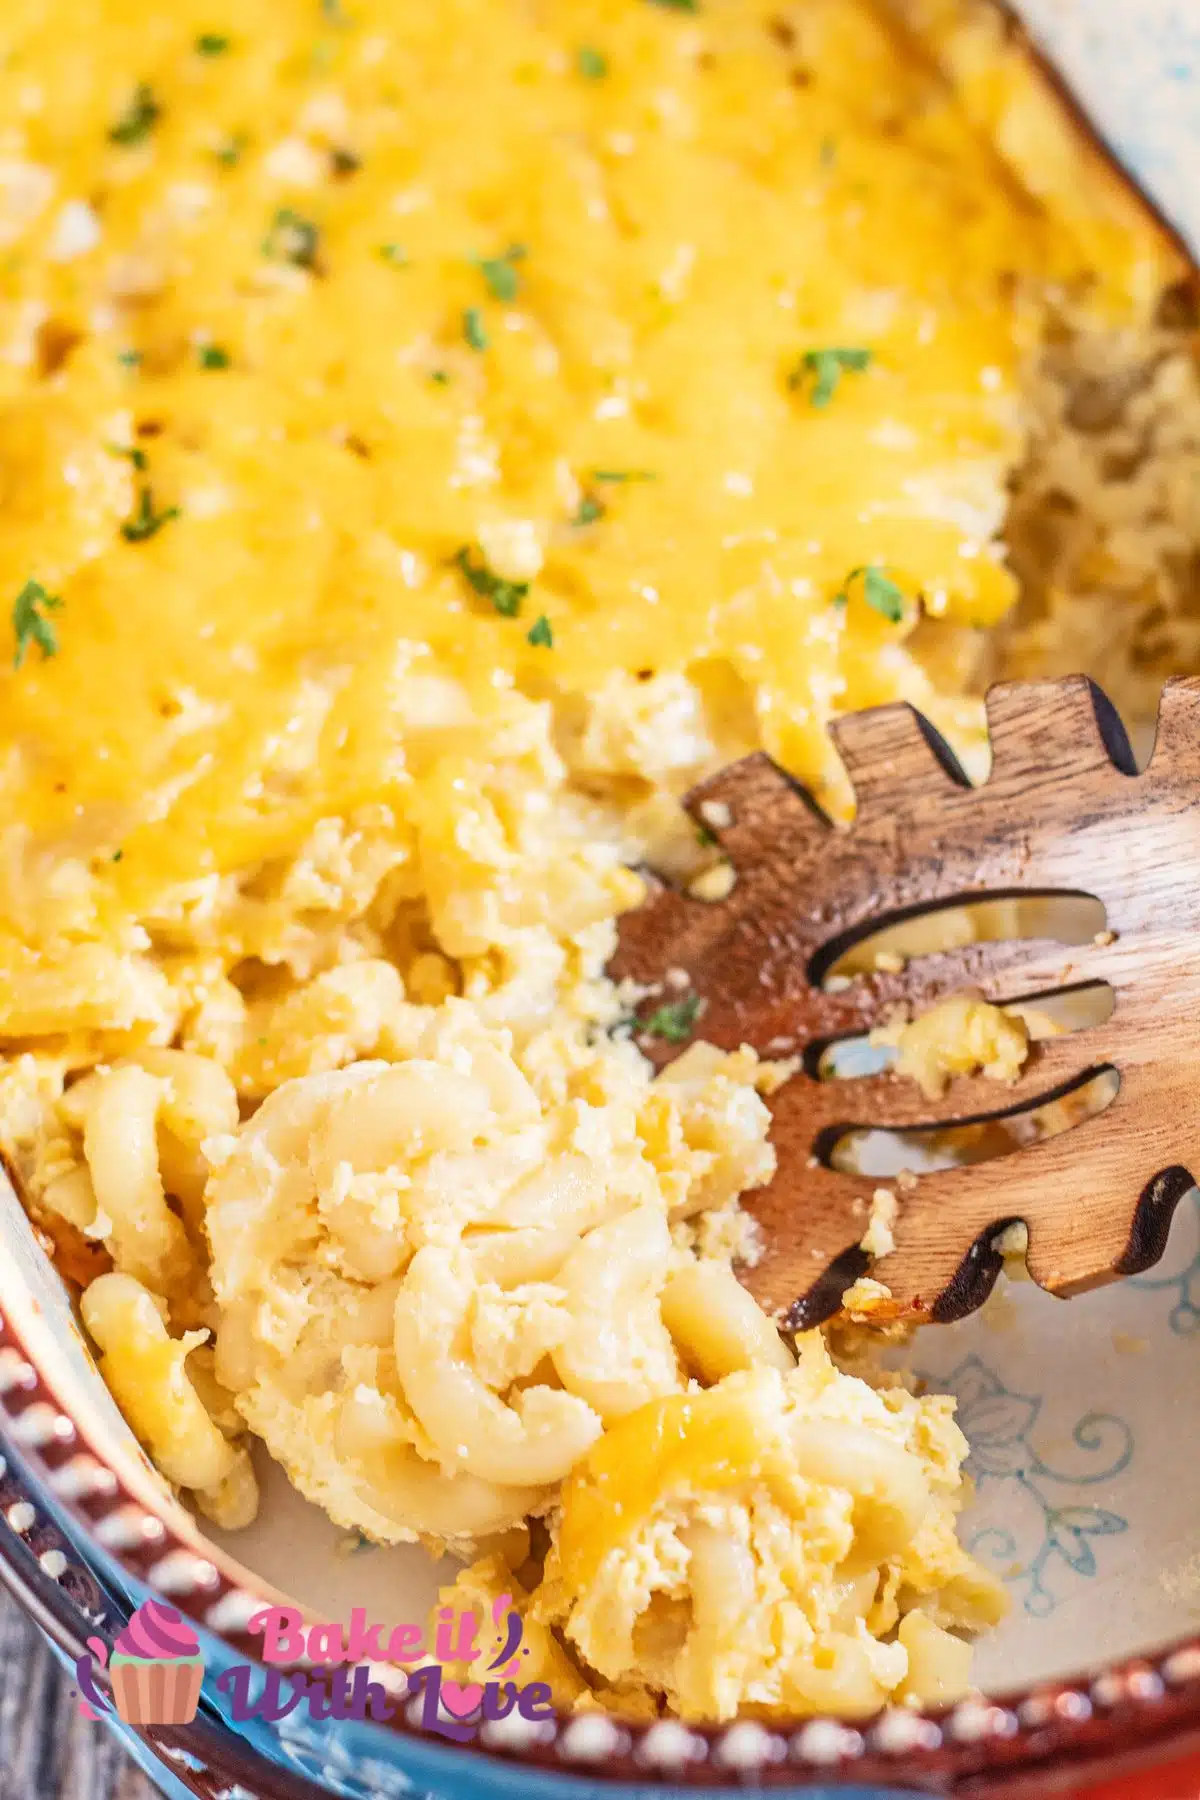
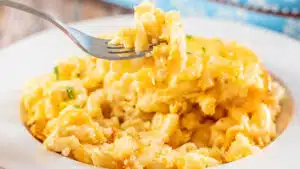
Paula Deen's macaroni and cheese recipe is made with simple ingredients and always comes out deliciously cheesy and rich. Combine the ingredients in a baking dish and pop it in the oven for 30 minutes until the cheese is melted and bubbling. It's the ultimate Southern comfort food!
Serve this with homemade shake & bake pork chops or my delicious Stove Top meatloaf.
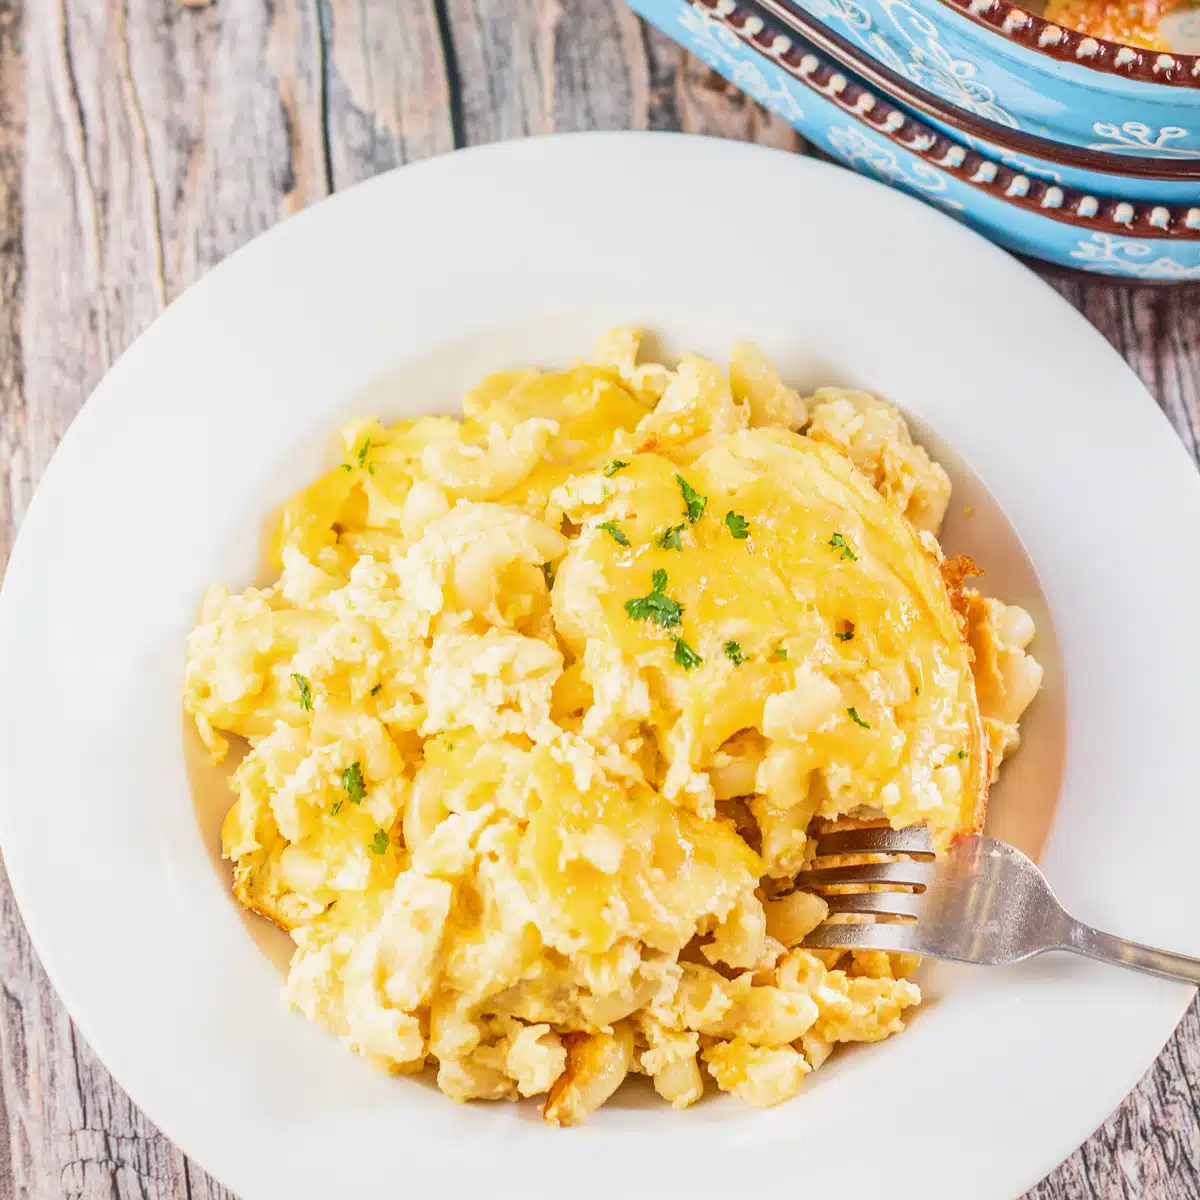
Paula Deen's Mac and Cheese Copycat Recipe
If you're from the South or a fan of Southern cooking, then you undoubtedly know of Paula Deen. Her cheesy baked macaroni epitomizes Southern comfort food, and now you can recreate it in your kitchen!
This super simple recipe yields rich and satisfying mac and cheese every time. There are eggs added to the cheese sauce, so it bakes into an almost 'fluffy' consistency that is hard to resist!
🥘 Ingredients
These are the ingredients that Paula Deen uses to make her popular baked macaroni. You can use substitutes as needed; just remember the texture and flavor will also change.
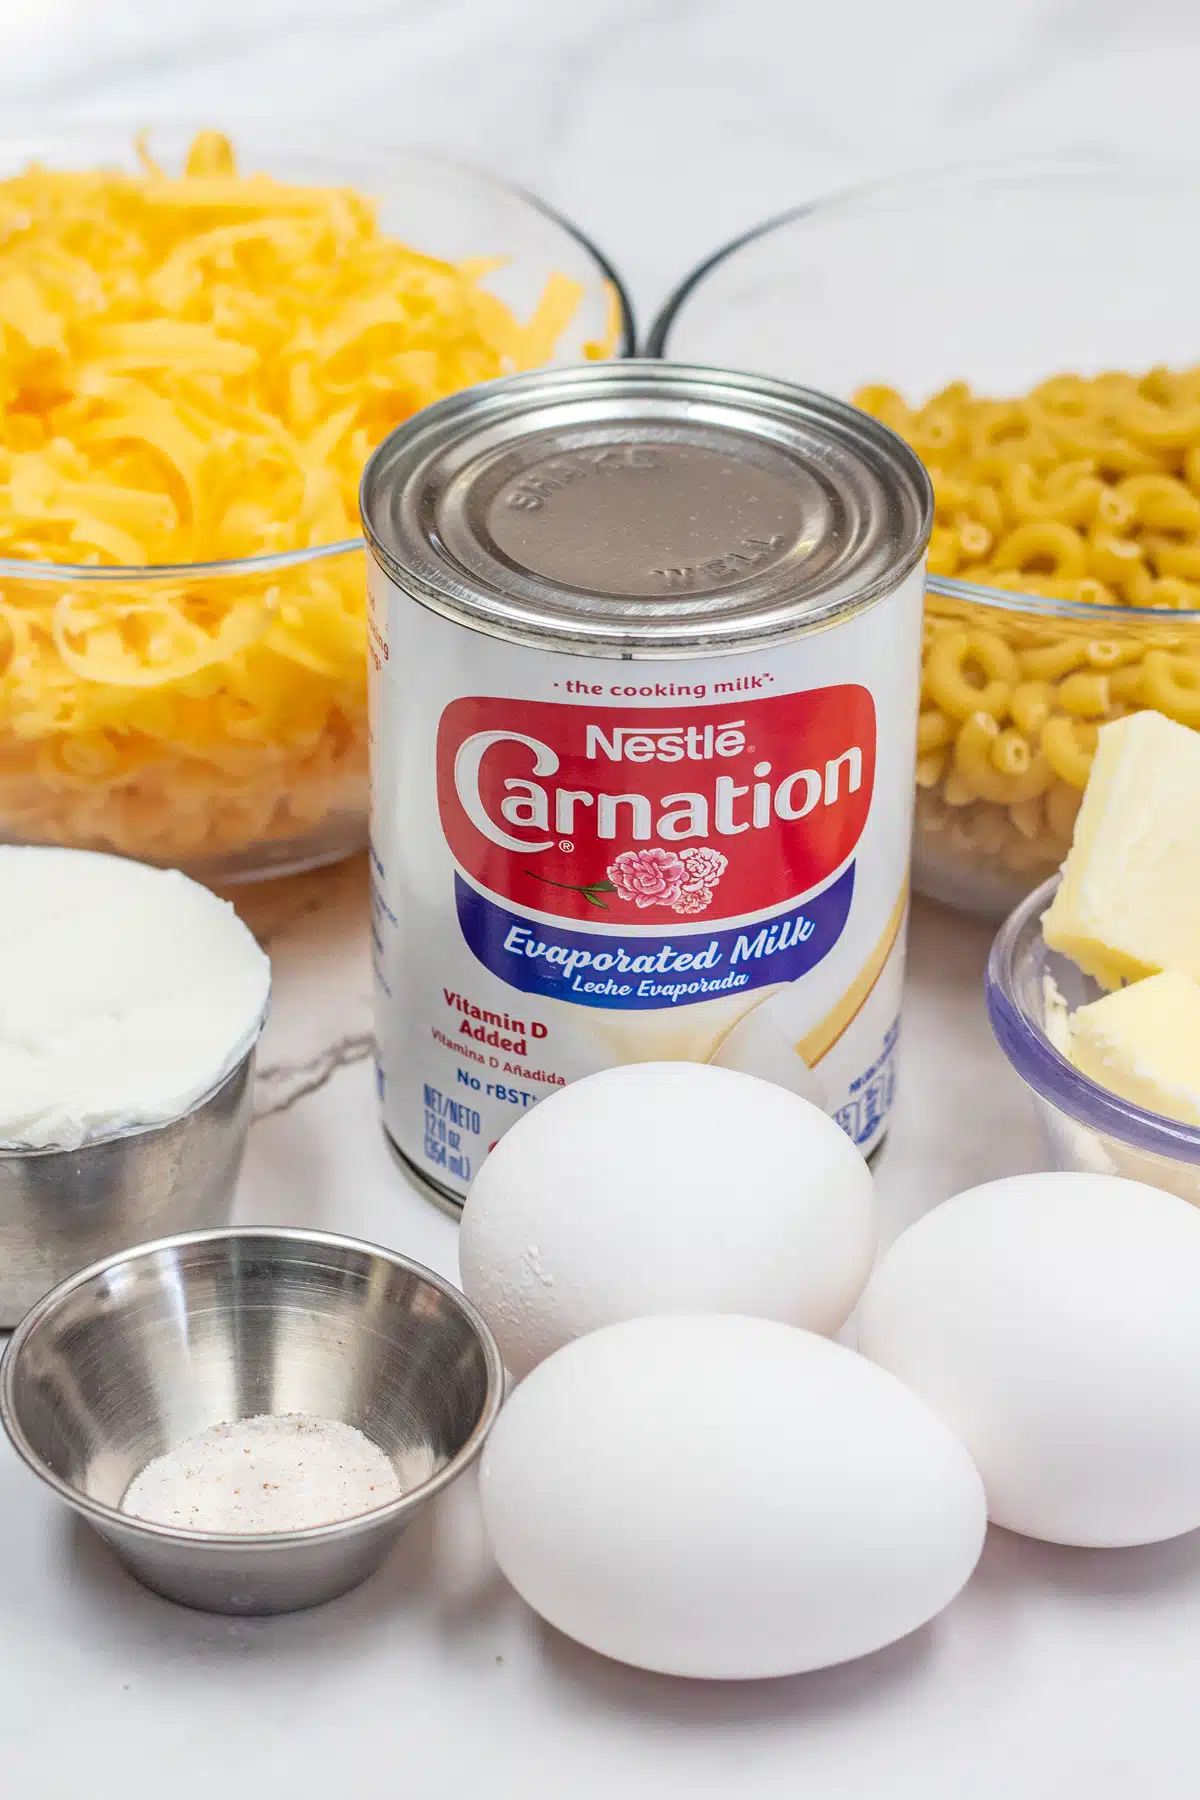
- Elbow Macaroni - 8 ounces of elbow macaroni cooked, drained, and rinsed in cool water (2 cups of uncooked noodles).
- Cheddar Cheese - 3 cups of freshly shredded cheddar cheese (divided into 2 and 1 cup portions).
- Eggs - 3 large eggs, or you could try your preferred egg substitute.
- Evaporated Milk - 1 cup or 8 ounces of evaporated milk.
- Sour Cream - ½ cup of sour cream or a sour cream substitute.
- Salt - ½ teaspoon of kosher salt.
- Unsalted Butter - ¼ cup of cubed unsalted butter or a butter substitute.
Be sure to see the free printable recipe card below for ingredients, exact amounts & instructions with tips!
🔪 How To Make Paula Deen's Macaroni And Cheese
This macaroni and cheese is ready to eat after a few simple steps. You'll need your measuring utensils, 2 mixing bowls, a whisk, and an 8x8 baking dish to get started.
One 8x8 pan of baked macaroni makes 6-8 servings as a side dish.
- Preheat. Preheat your oven to 350°F (175°C) and grease an 8x8 baking dish with non-stick cooking spray.
Mix The Cooked Pasta & Sauce
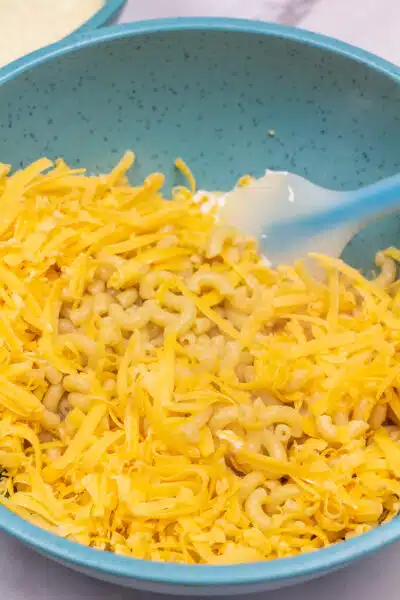
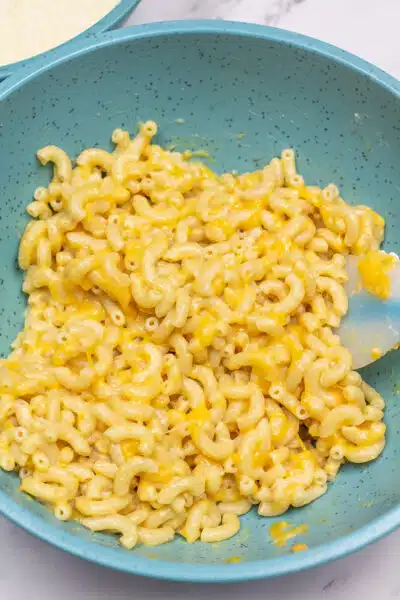
Mix pasta and cheese. If you haven't already, prepare 8 ounces (250 grams) of elbow macaroni. Add the cooked and drained pasta to a large mixing bowl with 2 of the 3 cups (334 grams) of cheddar cheese and mix until thoroughly combined.
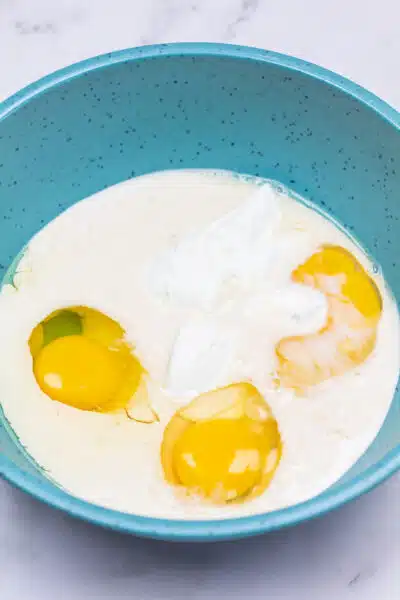
Whisk together liquid ingredients. In a separate bowl, whisk together 3 large eggs, 1 cup (252 grams) of evaporated milk, ½ cup (61 grams) of sour cream, and ½ teaspoon (2 grams) of kosher salt.
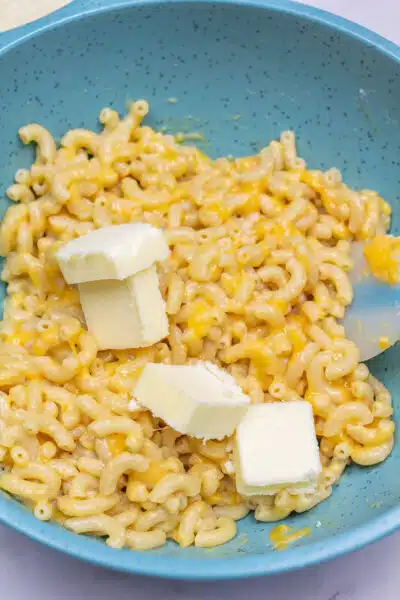
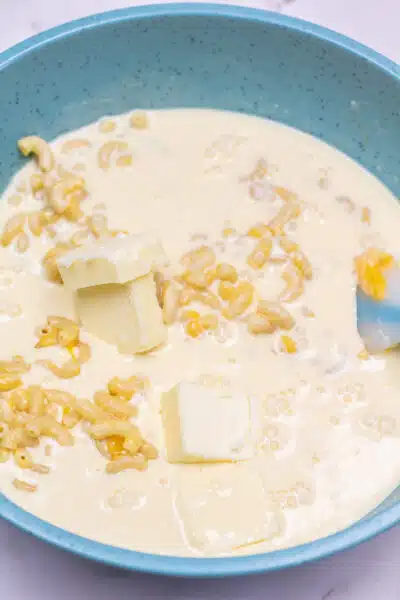
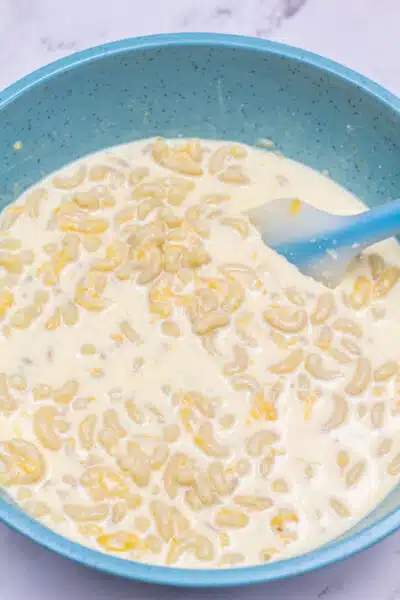
Combine. Fold the egg mixture and ¼ cup (54 grams) of cubed unsalted butter with the pasta and cheese until evenly distributed.
Transfer to baking dish. Pour the mixture into your prepared baking dish.
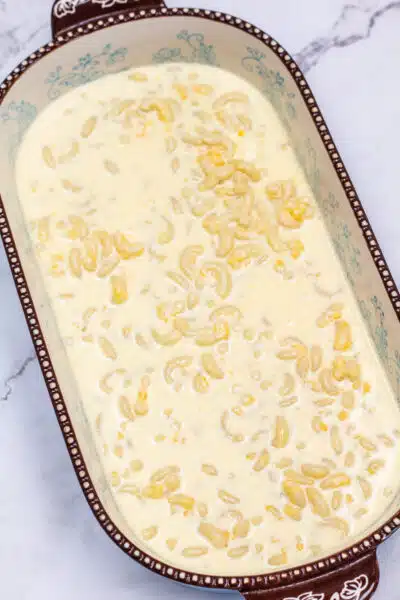
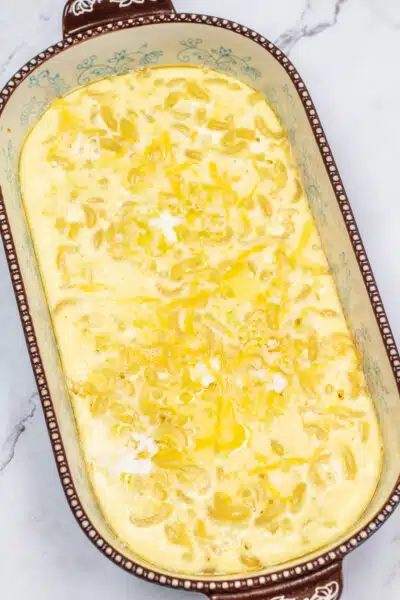
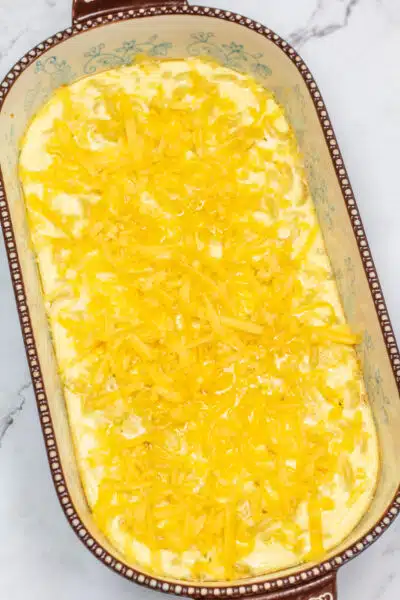
Bake. Bake uncovered at 350°F (175°C) for 30 minutes or until the cheese bubbles.
Add more cheese. Sprinkle the remaining 1 cup of cheddar over the top, then pop it back in the oven for 5 minutes or until the cheese has melted.
Serve. Remove from the oven and let cool for 10 minutes before serving.
>>>See All Of My Tasty Recipes Here!<<<
🍴 What to Serve With
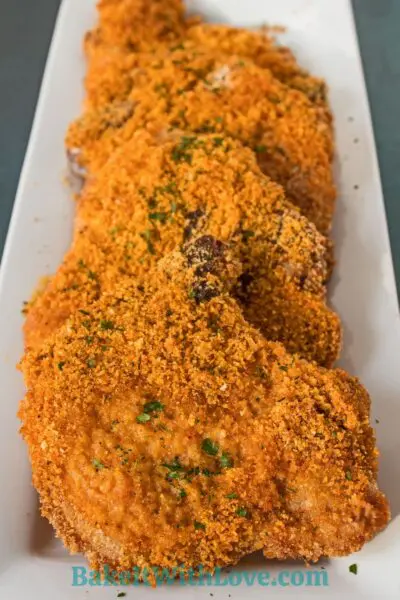
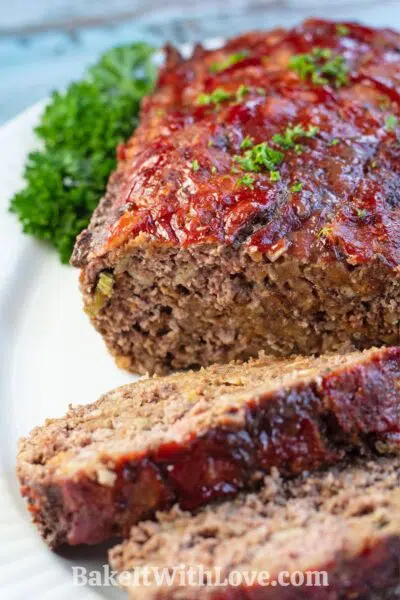
You can serve this cheesy baked mac and cheese alongside your favorite recipes. In fact, I have a whole page dedicated to what to serve with mac and cheese. Enjoy!
💭 Angela's Pro Tips & Recipe Notes
- 8 ounces of elbow macaroni is about 2 cups of uncooked pasta.
- Always use freshly shredded cheese when making macaroni and cheese. The pre-shredded bags of cheese at the grocery store are coated with cellulose to prevent the cheese from sticking or melting.
- You can butter the dish to prevent sticking. It's not required, but I have found it to be helpful.
- This is Paula Deen's signature recipe, but you can still try out some different cheeses if you prefer a variety. I recommend using at least 1 ½ cups of cheddar, but the other 1 ½ cups could be Gruyere, gouda, brie, or whatever melting cheese you like! See my post on the best cheeses for mac and cheese for more suggestions.
🥡 Storing & Reheating
Once your macaroni has cooled completely, cover it with foil or transfer it to an airtight container and keep it in the fridge. Enjoy within 3-4 days.
Reheating
Individual portions can be reheated in the microwave. Otherwise, you can pop the mac and cheese (in the baking dish) in your oven at 350°F (175°C) for 15-20 minutes or until warmed through and bubbling.
❓ Recipe FAQs
The eggs in this recipe act as a binder for the sauce and the macaroni noodles. When mixed with the cheese and evaporated milk, the eggs create a custard-like consistency when baked!
I don't recommend freezing this recipe. The sauce has a lot of dairy, including evaporated milk and sour cream, so it tends to separate when reheated.
Yes, you can! Combine all the ingredients as instructed. Then, before baking, cover the dish tightly with plastic wrap and pop it in the fridge for up to 24 hours. Pull it from the fridge 30 minutes before baking to take some of the chill off.
🧀 😋 More Mac And Cheese Recipes
- Smoked Gouda Mac and Cheese - A gourmet mac and cheese perfect for any occasion.
- Chili Mac - Two comfort foods come together in this savory and satisfying.
- Sour Cream Macaroni and Cheese - Super creamy and slightly tangy, this sour cream mac and cheese is downright addicting.
- Velveeta Mac and Cheese - A classic recipe for super creamy Velveeta macaroni that kids and adults will enjoy.
- Crockpot Mac and Cheese - A fuss-free mac and cheese recipe you can set and forget in your slow cooker.
- Microwave Mac and Cheese - If you're craving mac and cheese but don't have much time, microwave mac and cheese will hit the spot.
Do you love a recipe you tried? Please leave a 5-star 🌟rating in the recipe card below and/or a review in the comments section further down the page.
Stay in touch with me through social media @ Pinterest, Facebook, Instagram, or Twitter! Subscribe to the newsletter today (no spam, I promise)! Don't forget to tag me when you try one of my recipes!
📖 Recipe Card
Paula Deen's Macaroni and Cheese
Ingredients
- 8 oz elbow macaroni (cooked, drained, and rinsed in cool water)
- 3 cups cheddar cheese (shredded, divided into 2 cups and 1 cup portions)
- 3 large eggs
- 1 cup evaporated milk
- ½ cup sour cream
- ¼ teaspoon salt (to taste)
- ¼ cup butter (cubed)
(Note: 2x or 3x only changes the ingredient list)
Instructions
- Preheat your oven to 350°F (175°C/Gas Mark 4) and grease an 8x8 baking dish with non-stick cooking spray.
- Prepare 8 oz elbow macaroni if you haven't already, then add the cooked and drained pasta to a large mixing bowl with 2 of the 3 cups cheddar cheese and mix until thoroughly combined.
- In a separate bowl, whisk together 3 large eggs, 1 cup evaporated milk, ½ cup sour cream, and ¼ teaspoon salt.
- Fold the egg mixture and ¼ cup butter in with the pasta and cheese until evenly distributed. Then, pour everything into your prepared baking dish.
- Bake uncovered at 350°F (175°C/Gas Mark 4) for 30 minutes or until the cheese is bubbling.
- Sprinkle the remaining 1 cup of cheddar over the top, then pop it back in the oven for 5 minutes or until the cheese has melted.
- Remove from the oven and let cool for 10 minutes before serving.
Notes
- 8 ounces of elbow macaroni is about 2 cups of uncooked pasta.
- Always use freshly shredded cheese when making macaroni and cheese. The pre-shredded bags of cheese at the grocery store are coated with cellulose to prevent the cheese from sticking or melting.
- You can butter the dish to prevent sticking. It's not required, but I have found it to be helpful.
- This is Paula Deen's signature recipe, but you can still try out some different cheeses if you prefer a variety. I recommend using at least 1 ½ cups of cheddar, but the other 1 ½ cups could be Gruyere, gouda, brie, or whatever melting cheese you like! See my post on the best cheeses for mac and cheese for more suggestions.
- To store: Once your macaroni has cooled completely, cover it with foil or transfer it to an airtight container and keep it in the fridge. Enjoy within 3-4 days.
- To reheat: Individual portions can be reheated in the microwave. Otherwise, you can pop the mac and cheese (in the baking dish) in your oven at 350°F (175°C) for 15-20 minutes or until warmed through and bubbling.
Nutrition
Originally published May 25, 2023



Lorelei says
My family loved this!
Paula says
I’ve been trying different baked Mac and cheese and this is my favorite so far. I think i make add some different cheeses in next time but i made 2 pans (1 gluten free and 1 regular pasta) and both were delicious. Recommend!!
Kelli says
This is a really rich Mac and cheese. Great leftover!!
Jamie Brown says
I made this for T-giving and again today for Christmas dinner. It delicious and simple to make. The family loves it.
Tammie says
I tripled this recipe, big mistake, for our big Thanksgiving w family and my biggest baking dish almost didn’t hold it all. The directions seemed off by never mentioning when to stir in the other 6 cups of cheese. (My baking dish didn’t allow the 1 cup cheese on top.) It’s in the oven now and I put timer on 35 minutes, but it probably will have to stay in a bit longer. We’ll see how this turns out!
Angela Latimer says
When you double or triple the recipe it only adjusts the primary listed ingredient amounts. All notes have to be adjusted, and dish sizes, cooking times are not automatically adjusted. It's a work in progress and I'll continue to report issues to the app developer.
The recipe when 3x read "9 cups cheddar cheese (shredded, divided into 2 cups and 1 cup portions)" - the "shredded, divided" also needs to be tripled to 6 cup and 3 cup portions.
Anonymous says
If I double the recipe what size pan should I use?
Angela Latimer says
A 9x13 pan will work wonderfully for 2x this recipe. Your baking time should be pretty similar, with only a few extra minutes needed.
Kathy says
This is my new go-to mac n cheese recipe! I added some Gouda along with the cheddar and it was creamy and delicious
Kelli Jurek says
This is such a good Mac and cheese recipe. I’ve made it twice. This last time I used smoked Gouda and various shredded cheese that I had. My mom taught me to put Smokey links in.
Daneen says
Made this for church and added chopped turkey sausage links to it. I did use already shredded cheese and it still worked I’m sure it would have been more creamy if I would have shredded it myself. This is the best mac and cheese I’ve made, great recipe! Had a lot of compliments on it.
Kamrynn says
My edges and the top looked more like a frittata than mac and cheese? I added some bacon, bacon grease and sauté jalapeños and mixed them in as well. My husband loved it. It had a bit of a sweetness to it from the bacon grease I think.. it was maple bacon. But then also a bit of spice from the Jalapeño. It didn’t hit the spot for me but that’s alright.
Sarae says
Flavor is good. My cheese separated and it was an oily mess. I don’t know what I did wrong. I did exactly as the recipe stated.
Angela @ BakeItWithLove.com says
The most common cause is using packaged shredded or processed cheese. You need good cheddar, brands like Tillamook, Cabot, etc. Try that and that will take care of it. For more of the best cheese types for ANY homemade mac & cheese look at this article: best cheese for mac & cheese
Brittany says
Will this freeze well?
Angela @ BakeItWithLove.com says
No, as there is a lot of dairy it doesn't freeze well. You can do it, but it takes some extra love when reheating.
Nancy says
Can I prepare everything and refrigerate and cook later in the day?
Angela @ BakeItWithLove.com says
Yes, most baked mac & cheese recipes do very well even if assembled a day or two in advance of baking. Thanks for asking!
Lynn Kelly says
I mixed parmesan and panko read crumbs and topped the casserole before baking. I also added cubed ham to it.it was amazing
Rosemary says
Can you double the recipe?
Angela @ BakeItWithLove.com says
Sure, you will need a larger baking pan, though. 🙂