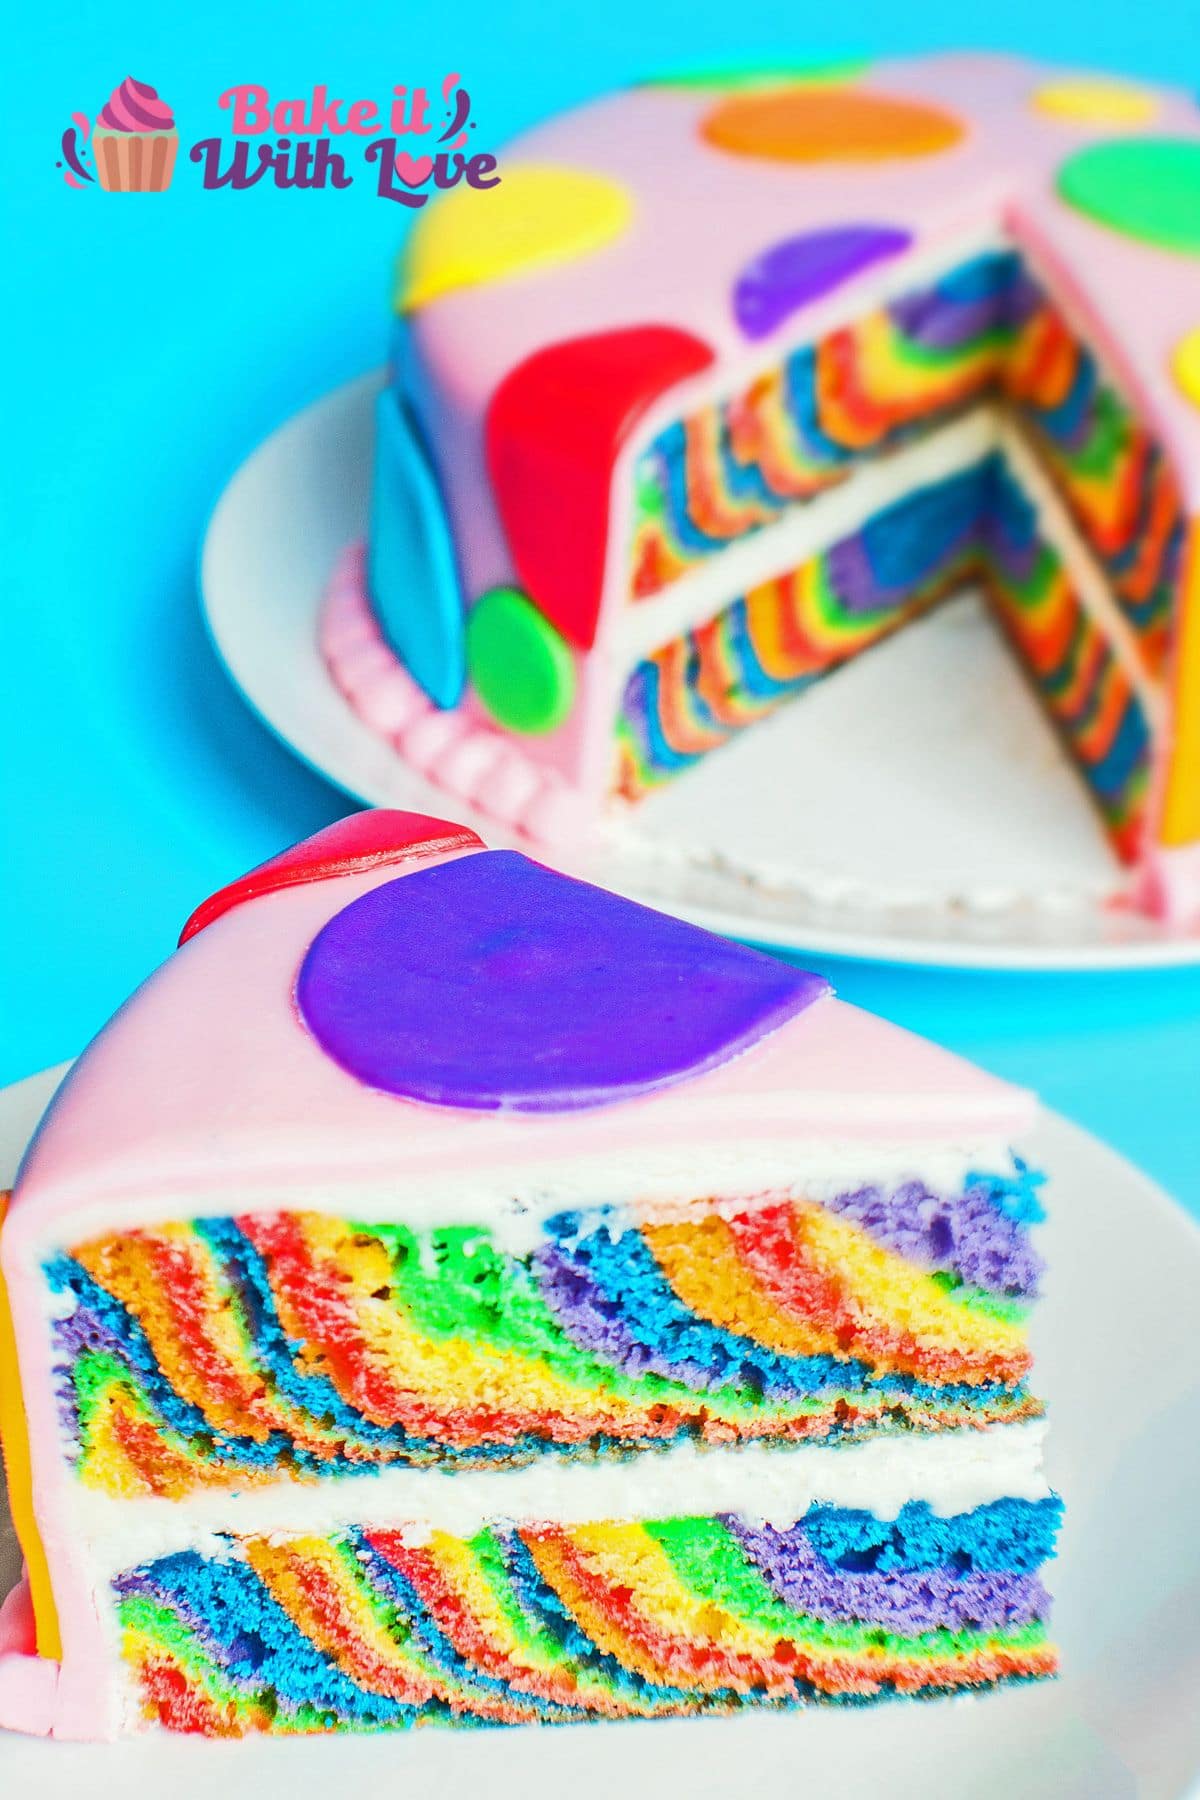
This truly easy-to-make one-pan rainbow swirl cake is topped with vibrantly colored fondant polka dots for a fun cake anyone can make! No matter where you take this cake, it is always a crowd-pleasing favorite with its bright colors and fantastic flavors!
See my Rainbow Lollipop Drip Cake and my other Rainbow Layer Cake.
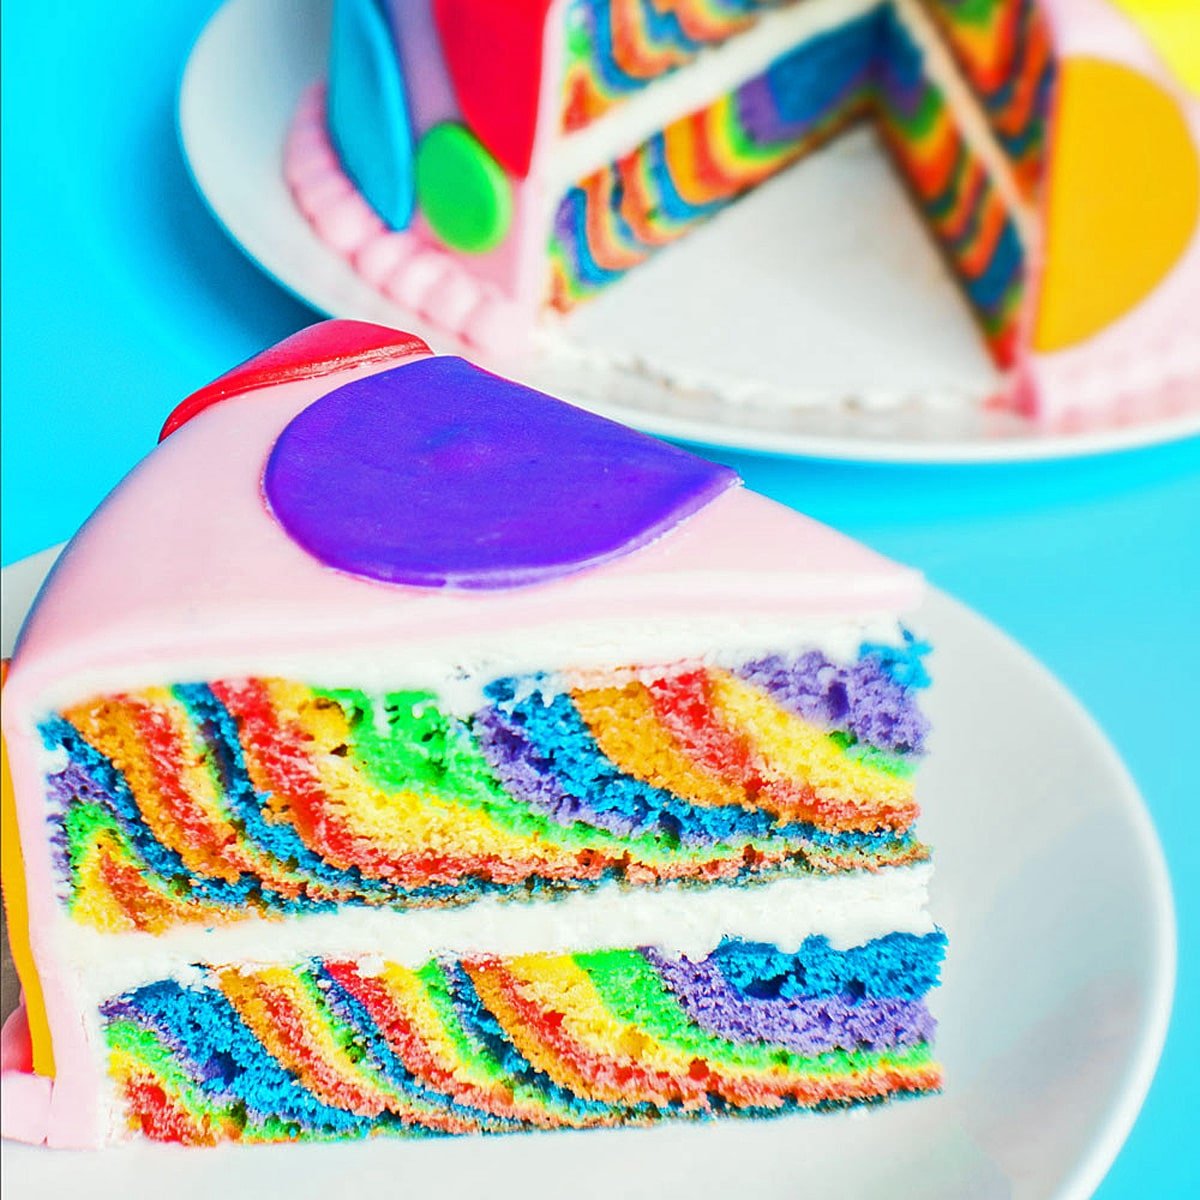
Of course, this is a wildly popular kids' birthday cake, but it can go anywhere from office parties to anything you can think of! The bright, beautiful cake will surely be the party's hit!!
What I love most about this method for rainbow cakes is that it is so easy to make these colorful layers! It's one of the best and easiest ways to make a rainbow cake, whether you are doing a single-layer cake or even more layers than I used here!
This fun and festive dessert is always the talk of the party! For more delicious cakes, check out all of my fabulous cake recipes!
Jump to:
🥘 Ingredients
All you need for this one-pan rainbow swirl cake is a few standard baking ingredients. Of course, you could buy buttercream frosting or fondant, but my recipes are super easy and delicious!
- All-Purpose Flour - 2 ¼ cups of flour.
- Sugar - 1 ⅓ cups of granulated sugar.
- Baking Powder - 3 teaspoons of baking powder (not baking soda)!
- Salt - ½ teaspoon of salt.
- Milk - 1 cup of milk at room temperature.
- Butter - ½ cup of butter that has been melted and cooled.
- Eggs - 2 large eggs at room temperature.
- Vanilla Extract - 1 teaspoon of vanilla extract.
- Almond Extract - ½ a teaspoon of almond extract, or omit it and use 2 teaspoons vanilla extract.
- Gel Food Coloring - In your desired colors.
- Vanilla Buttercream Frosting - 1 batch of my buttercream frosting recipe.
- Marshmallow Fondant - 1 batch of my recipe or 1 batch of my fondant without marshmallows.
*Be sure to see the recipe card below for ingredients, amounts & instructions!*
🔪 How To Make A Rainbow Swirl Cake
This one-pan method for making a brightly colored rainbow cake is super easy to bake and just as easy to assemble and decorate!
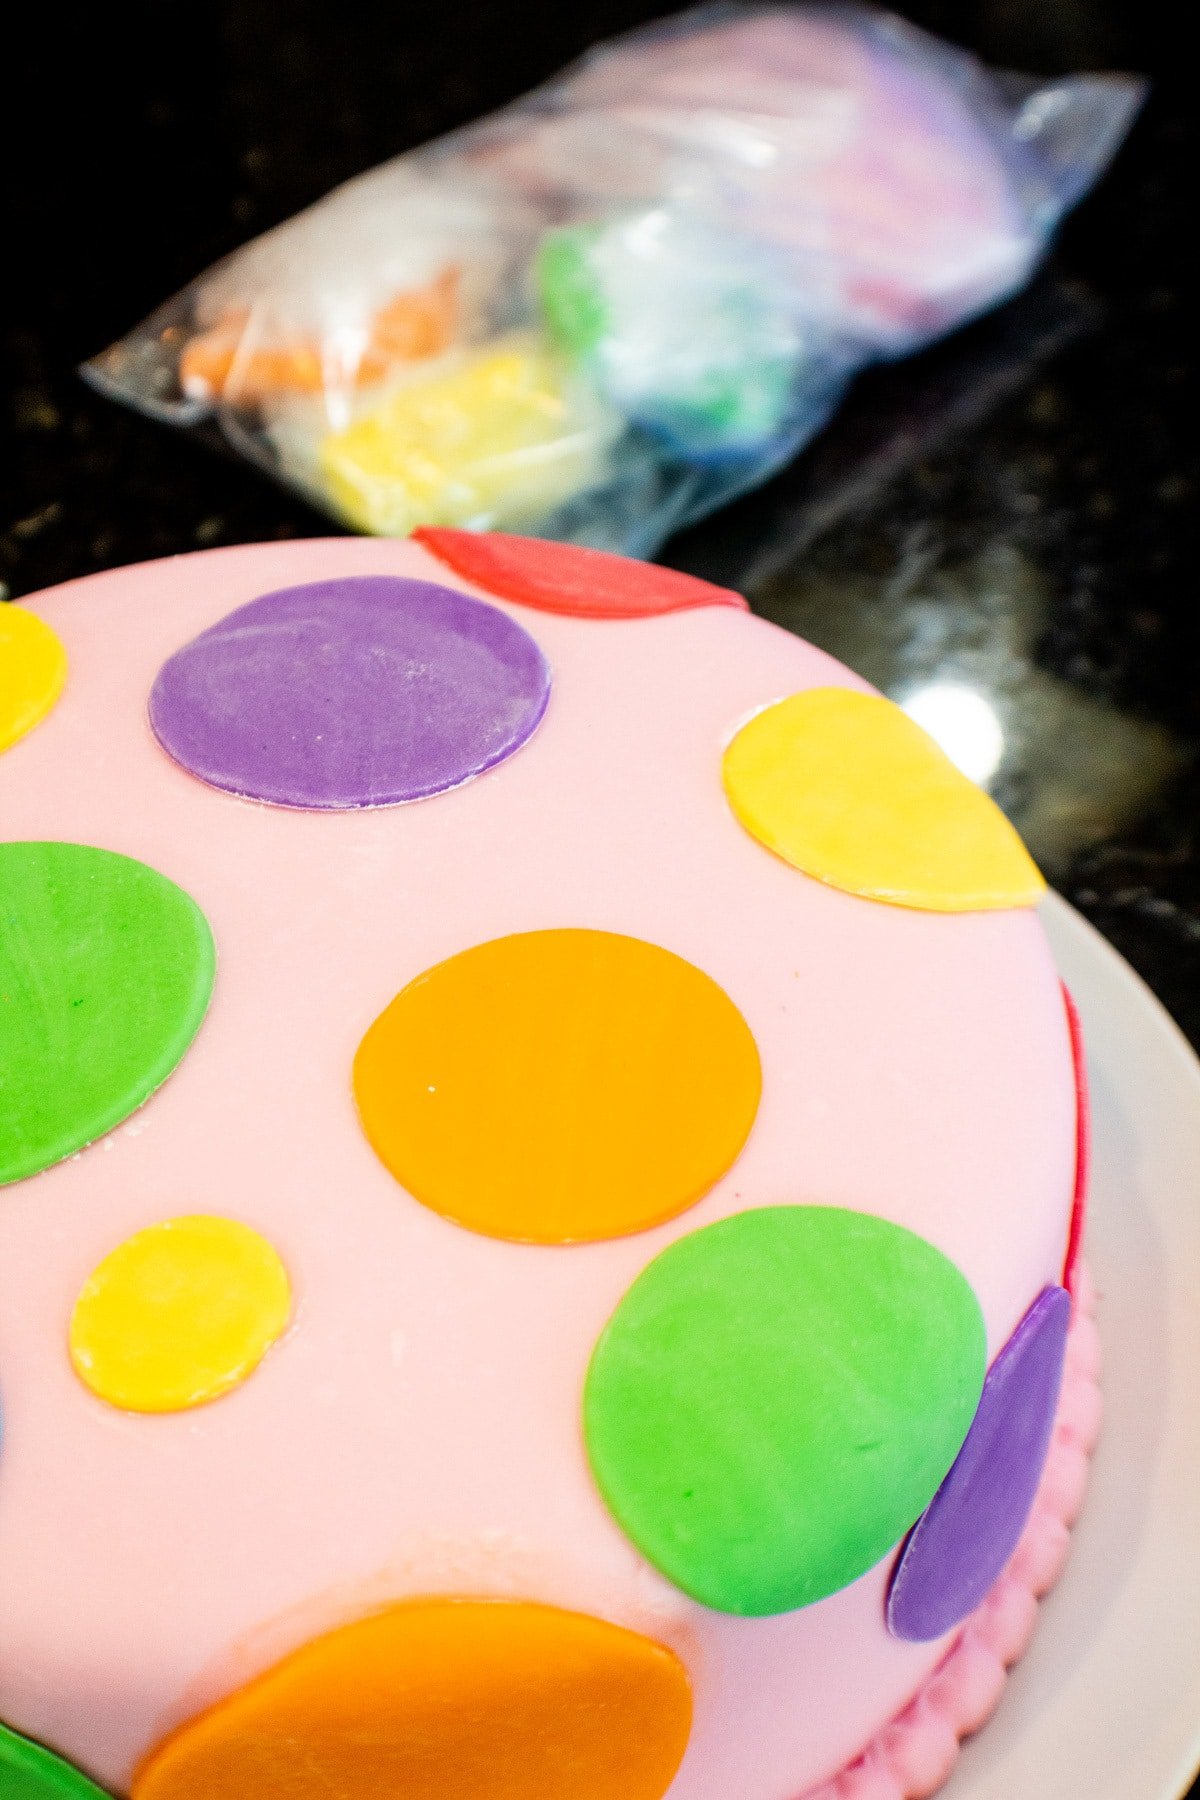
My cake is topped off with a buttercream frosting crumb coat, then a layer of marshmallow fondant before we add more rainbow-colored fondant polka dots!
Mix, Color & Bake The Cake
- Prep. Preheat your oven to 350°F (175°C) and lightly coat 2 8-inch round cake pans with butter or non-stick baking spray.
- Mix dry ingredients. In a large mixing bowl or the bowl of your stand mixer, add all of the dry cake ingredients (2 ¼ cups all-purpose flour, 1 ⅓ cups sugar, 3 teaspoons baking powder, and ½ teaspoon salt) and mix them together.
- Add wet ingredients. Add your wet ingredients (1 cup milk, ,½ cup butter, 2 large eggs,1 teaspoon vanilla extract, and ½ teaspoon almond extract) to the dry ingredients and mix on medium speed for about 2 minutes, or until smooth. Make sure to scrape the sides and bottom of the mixing bowl.
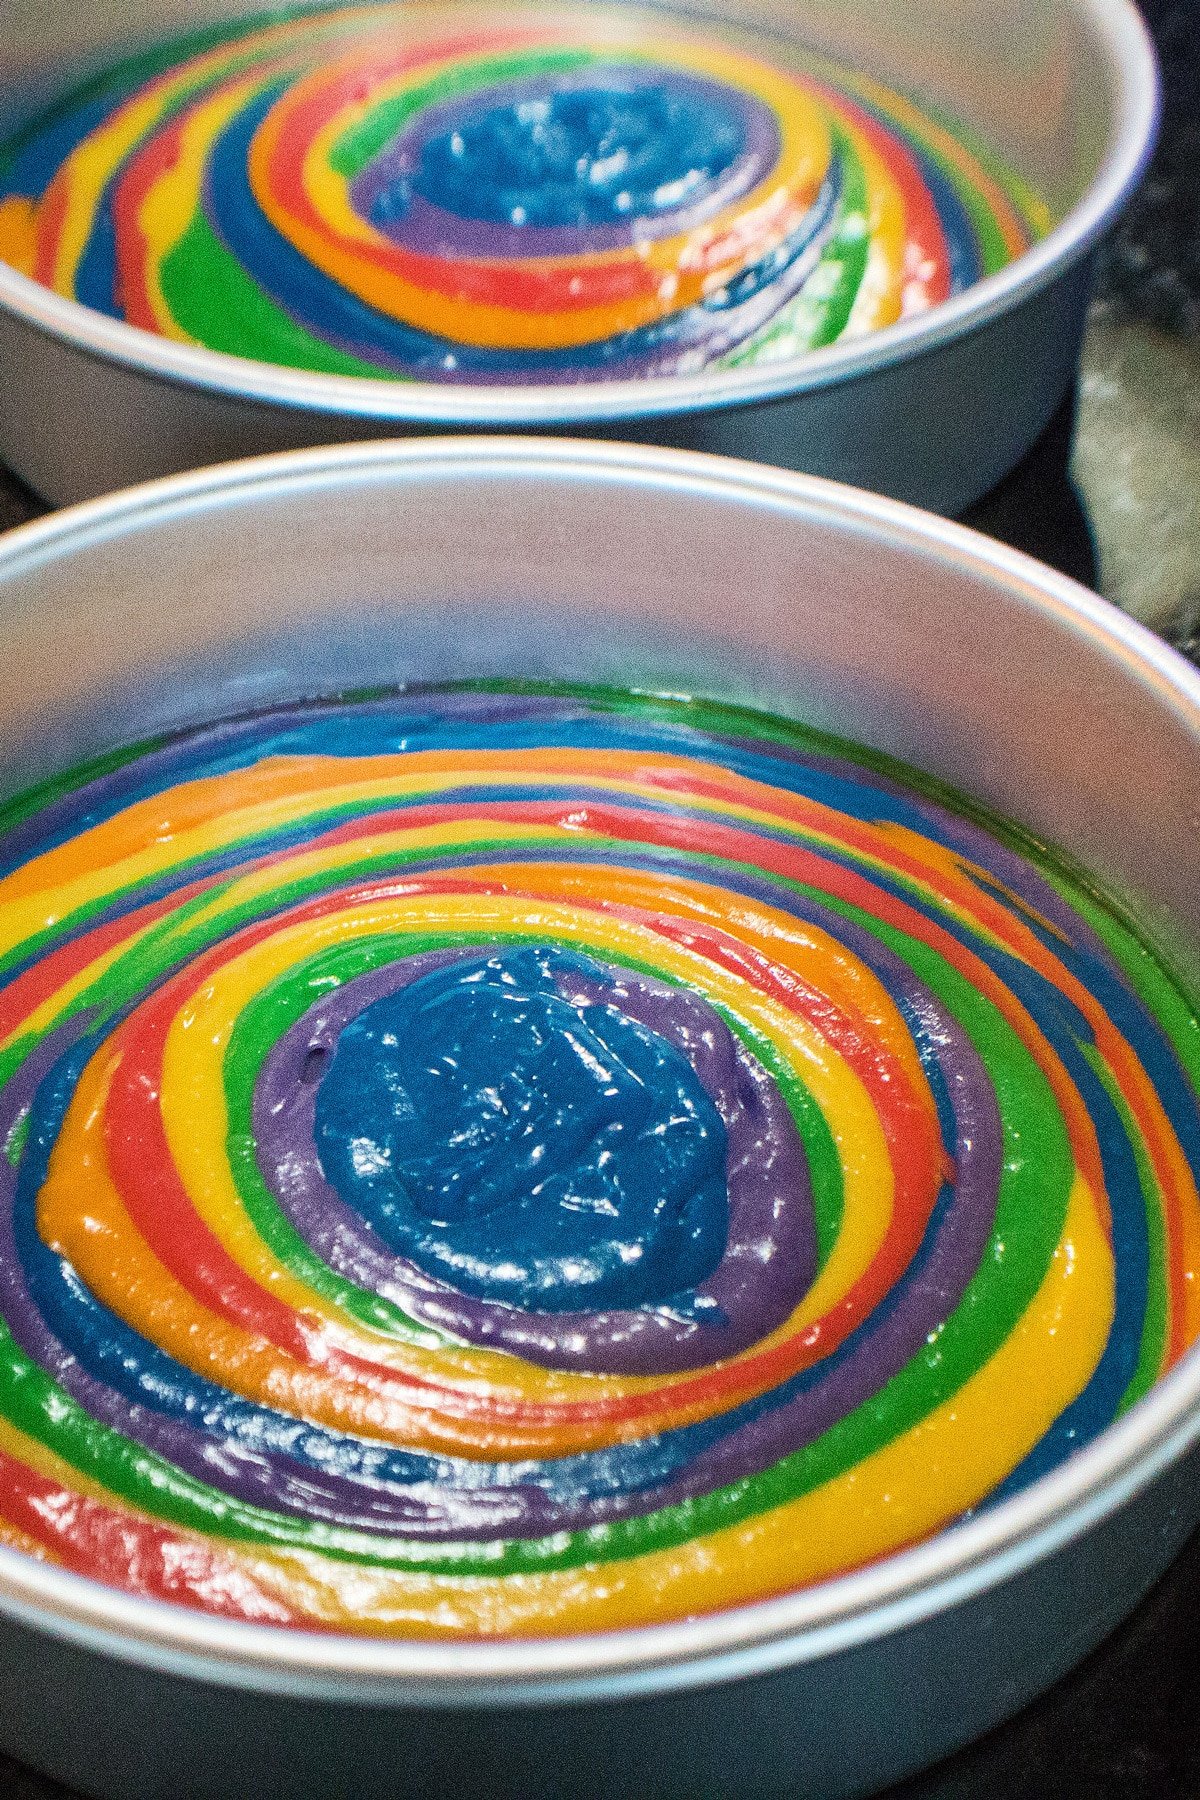
- Color the batter. Once the cake batter is mixed well, divide it into 6 equal portions. (You can use more or fewer colors or opt for whatever colors you like.) Color each portion of batter a different color with gel food coloring, mixing until the color and batter are thoroughly combined.
- Make swirl layers. In your prepared 8-inch cake pans, layer the colors by adding a spoonful of each color into the center. The colors will spread and push out to form the rainbow layers on their own. Repeat until you have used all of the cake batter.
- Bake. Bake your cake centered on your oven's middle rack for 30-35 minutes or until an inserted toothpick, knife, or cake tester comes out clean. Remove from the oven and allow the cake to cool slightly, about 5 minutes.
- Cool. Transfer the baked rainbow cakes to a wire cooling rack so they may cool completely before you decorate.
Assembling the Rainbow Cake
- Color your fondant. After mixing 1 recipe of buttercream frosting and making 1 recipe of marshmallow fondant, split the fondant batch to add colors. Wrap the fondant tightly and securely until (and between) ready to use.
- Level the cake rounds. Level each of the cake rounds then spread a small amount of buttercream beneath where the center of the cake will sit to hold it in place. Put the first cake layer on top of your serving plate or a turntable.
- Pipe buttercream. Pipe buttercream frosting around the outside edge of your cake. Then, either continue to add buttercream to make an even layer in the center of your cake or fill it with a flavored filling of your choice.
- Add a second layer. Set your second cake round on top of the first and even it out until it is securely in place. Frost the sides and top in a thin ¼-inch layer. Place the cake in the fridge before covering it with fondant.
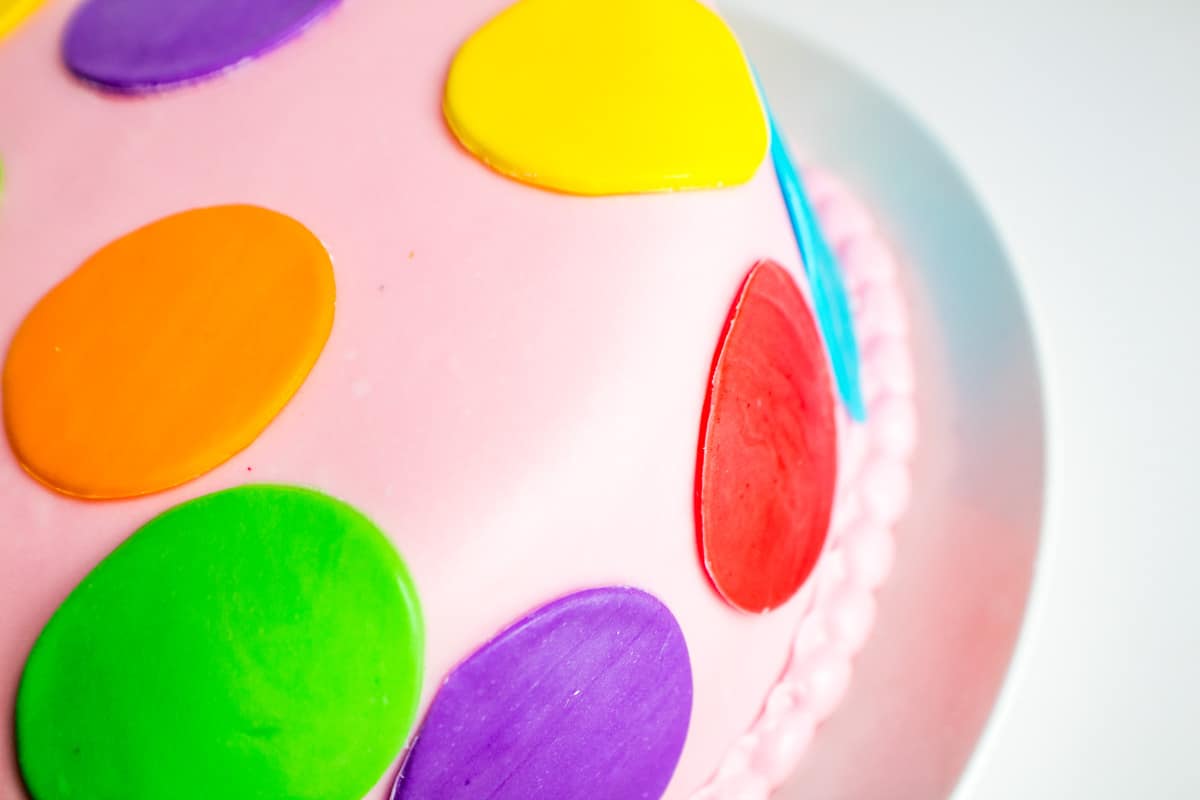
- Add fondant. Roll your fondant out into a single round large enough to cover the 8-inch cake (16 inches wide and ¼ inch thick). Drape the fondant over the cake and smooth it toward the base.
- Add polka dots. Using water, apply your cut polka dots to the fondant covering the cake. Allow them to dry while you apply any other desired trim or decorations.
- Store or serve. Once done, store your fondant-covered cake at room temperature so long as you do not use fruit or dairy fillings that can spoil.
This delightfully fun polka dot swirl cake is wonderful for birthday parties or any celebration!
Everyone will be so impressed that this beautiful cake was made by hand and not purchased at the bakery. Enjoy!
💭 Angela's Pro Tips & Recipe Notes
- Using Clear Vanilla Extract: For a vibrant color in your cake, consider using clear vanilla extract. This can be found in the party and cake supplies sections at stores like Walmart, Hobby Lobby, or Michael's Crafts.
- Gel Food Coloring: Gel food coloring is recommended over liquid for ease of use, especially when coloring cake batter, icing, or frosting. Gel food coloring is available at the same locations as clear vanilla extract.
- Chilling the Cake: For easier decoration, chill your cake before starting. Wrap the individual cake layers in cling film and refrigerate them before applying the crumb coat. This makes the decorating process smoother.
- Storing the Cake: A fondant-covered cake can be stored at room temperature in a container for up to 3 days or refrigerated for up to a week, depending on the fillings and toppings used.
- Freezing the Cake: For long-term storage, wrap the cake tightly in plastic wrap, then in foil, and freeze it for up to a year. The suitability for freezing depends on any perishable toppings or fillings. To serve, thaw the cake in the fridge overnight and then let it come to room temperature before slicing and serving.
>>>>See all of my recipes here<<<<
🍰 More Amazing Cake Recipes!
- Maraschino Cherry Coffee Cake
- Mandarin Orange Cake
- Jamaican Black Cake
- Cherry Chocolate Dump Cake
- Pineapple Sunshine Cake
- Chocolate Fudge Cake with Fudge Frosting
Do you love a recipe you tried? Please leave a 5-star 🌟rating in the recipe card below and/or a review in the comments section further down the page.
Stay in touch with me through social media @ Pinterest, Facebook, Instagram, or Twitter! Subscribe to the newsletter today (no spam, I promise)! Don't forget to tag me when you try one of my recipes!
📖 Recipe Card
Rainbow Swirl Cake with Fondant Polka Dots (One Pan Method)
Ingredients
Rainbow Vanilla Cake
- 2 ¼ cups all-purpose flour
- 1 ⅓ cups sugar
- 3 teaspoon baking powder
- ½ teaspoon salt
- 1 cup milk (at room temperature)
- ½ cup butter (melted, cooled)
- 2 large eggs (at room temperature)
- 1 teaspoon vanilla extract
- ½ teaspoon almond extract (or omit and use 2 teaspoons vanilla extract)
- gel food coloring (your desired colors)
- 1 recipe vanilla buttercream frosting
- 1 recipe marshmallow fondant (or my fondant without marshmallows)
(Note: 2x or 3x only changes the ingredient list)
Instructions
- Preheat your oven to 350°F (175°C) and lightly coat 2 8-inch round cake pans with butter or non-stick baking spray.
Mix, Color & Bake
- In a large mixing bowl or the bowl of you stand mixer, measure out your dry ingredients and add them (all-purpose flour, sugar, baking powder, and salt) then mix them together.
- Add the milk, melted butter, eggs, and extracts (vanilla and almond extract combo, or use vanilla) then mix on medium speed for about 2 minutes or until smooth. Be sure to scrape the sides and bottom of your bowl.
- Once the batter is combined, divide the batter into 6 equal portions. You can use more or less colors, and whatever colors you want. Color each portion a different color and mix until well combined.
- Layer the colors in your prepared 8-inch cake pans by adding a spoonful of each different color in the center (the colors will spread and push out to form the rainbow layers). Repeat until all of the cake batter is portioned out.
- Bake centered on your oven's middle rack for 30-35 minutes or until an inserted toothpick, knife, or cake tester comes out clean. Remove from the oven and allow the cakes to cool slightly, about 5 minutes.
- Remove the baked rainbow cakes from the pans and transfer them to a wire cooling rack to cool completely before decorating.
Assembling the Rainbow Swirl Cake + Adding Fondant Polka Dots
- Mix the buttercream frosting and make your fondant. Split your fondant batch to add colors. Wrap the fondant tightly and securely until (and between) ready to use.
- Level both cake rounds then put a small spread of buttercream beneath the center of where your cake will sit (to hold it in place). Place the first cake layer on your serving plate or a turntable.
- Pipe buttercream around the outside edge of the cake. From here you can continue to add buttercream to make an even layer of white buttercream in the center of your cake, or fill with a flavored filling of your choice.
- Set the second cake round on top and even it out until it is securely in place. Frost the sides and tops, leaving a thin ¼ inch layer. Place in the fridge before covering with fondant.
- Roll out your fondant into a round big enough to cover the 8-inch cake (16-inches wide, and ¼ inch thick). Drape over the top of the cake and smooth toward the base.
- Use water to apply your cut out polka dots to the fondant covering. Allow to dry while you apply any other desired trim or decorations.
- Store your fondant covered cake at room temperature (as long as it hasn't been filled with fruit or dairy fillings that could spoil).
Notes
- I like to use clear vanilla extract when coloring cakes. You can find it in the party and cake supplies section of WalMart, at Hobby Lobby, and Michael's craft stores.
- Gel food coloring is easier to work with when coloring cake batter, icing, and frosting and is also easy to find at the locations mentioned above.
- It's easier to decorate your cake after chilling the cake layers. My preferred method is to wrap the layers in cling film and chill before applying the crumb coat.

FLO says
COOL
Joanna Humphrey says
it is so delicious i can not believe how fantastic this is. you are so amazing at coming up with recipes like this. we have baked it twice now because it is that good .
you are so amazing!!!!
Angela @ BakeItWithLove.com says
Thank you very much! I'm glad you enjoyed the cake.🥰
Jennifer Meyerovitz says
I made this cake for my daughters 9th birthday. Not only did the colors look amazing and do just as expected the taste was phenomenal. The kids were squealing over The Rainbow In The Cake! And everyone had to try it. My nine year old was so excited for it I got a huge thank you before the first bite and then she came back for more hugs and gratitude for the cake and all the work I put into it. I used your cake recipe, measuring dry ingredients by weight for precision. I also used your buttercream recipe (also doubled) and added lemon extract to it for a bright lemony flavor. I love making cakes and this was definitely one for the books. We will make it again and have already passed the link on to family for more rainbow futures.
Angela @ BakeItWithLove.com says
That's fantastic! So glad that it was a hit for your birthday party! Thanks for coming back and letting us know your results 🙂
Denise Smith says
Can a boxed cake mix be used for this
Angela @ BakeItWithLove.com says
Yes, mix the cake mix as directed on the box then divide up the batter and add color as directed. Use the baking times on the box. Enjoy!
Carly says
I’m a little confused by this recipe, did you double it to make two cakes? If so, can you clarify that a little better in the recipe. I just ended up with two thin/overdone cakes and followed the recipe to a T :/
Angela @ BakeItWithLove.com says
No, this is one batch of cake batter divided between 2 8-inch pans. I'm sorry yours turned out dry and I'll add a note to start checking the cakes at 25 minutes of baking time instead.
Sherrel Mitchell says
Question: When adding the spoonful of batter to the pan, did you use a teaspoon, or a tablespoon? Or, does it matter? Thanks!
Angela @ BakeItWithLove.com says
I used tablespoons to portion out each color. Thanks for asking!
Wannabe Baker says
I was a little nervous as even though I am no means an expert, I've never added the wet ingredients as they are to the dry. Generally I've creamed the sugar and butter, then added the eggs, then the milk and finally add the mixture to the dry.
That being said, the cake turned out great! Quite sweet, but I don't think the kids will mind that 🙂
Anonymous says
Lovely cake.
Please correct the ingredients list-it says 3 tablespoons for baking powder instead of teaspoons.
Angela @ BakeItWithLove.com says
Done! And thank you for catching that! 🙂