

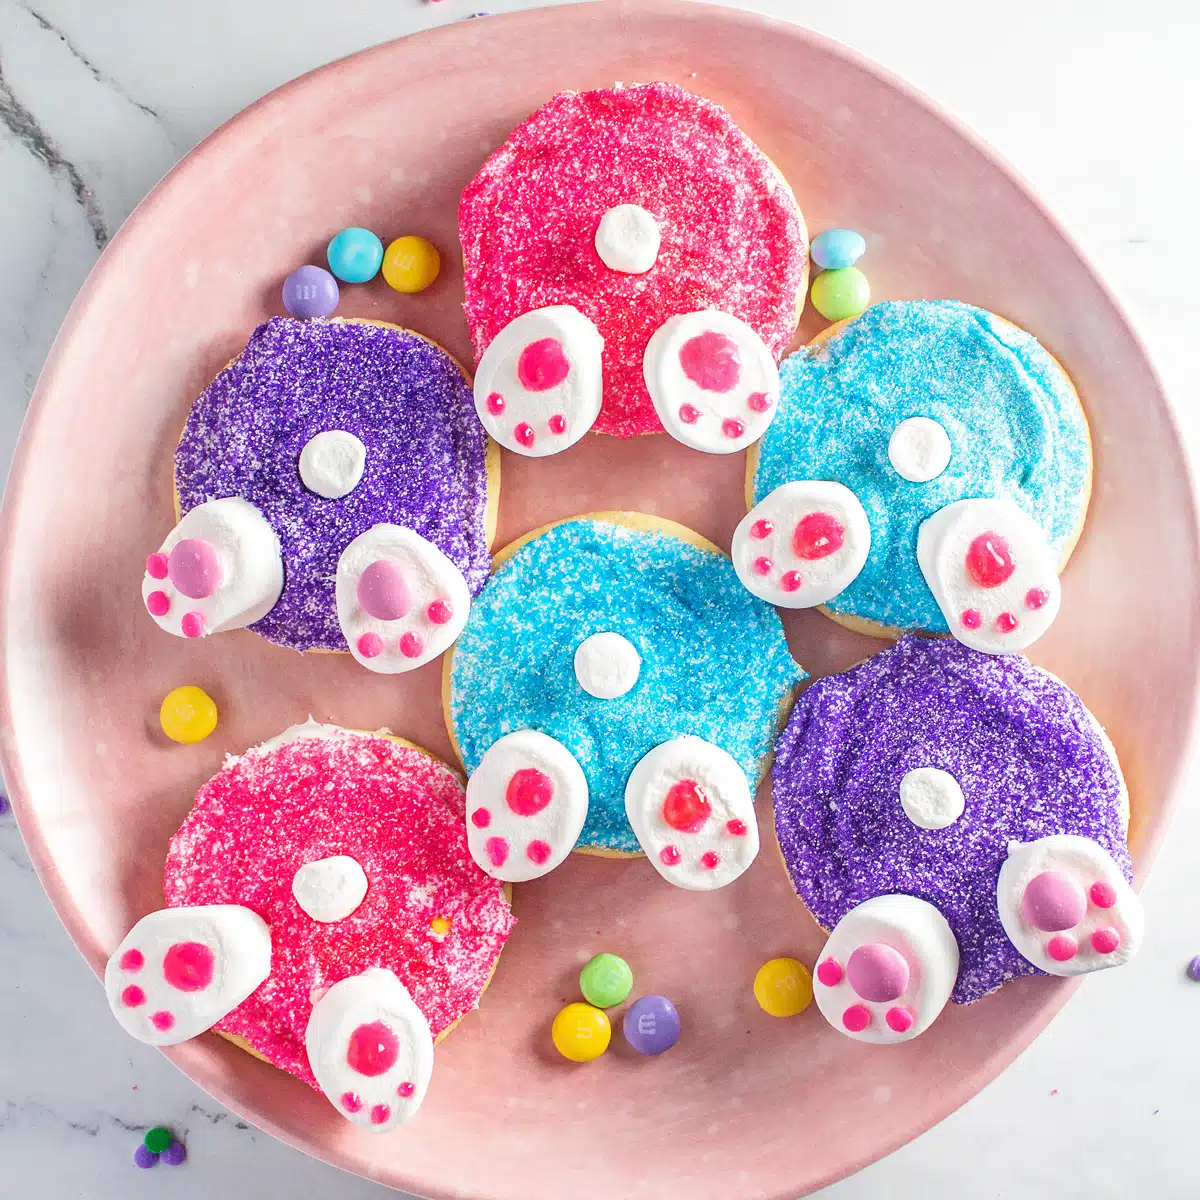
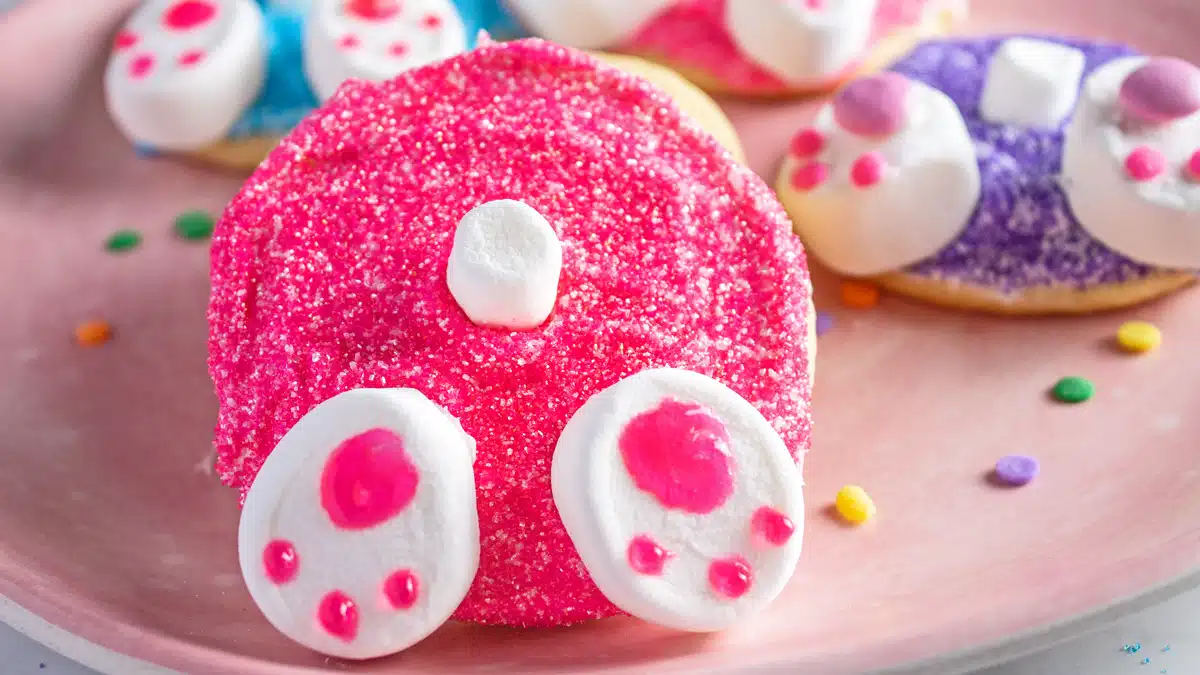
These bunny butt cookies are an adorable and tasty treat that makes a perfect springtime activity for the kids! You can make them entirely from scratch or use store-bought ingredients to fit your needs! Either way, they make a super delicious dessert that is great for spring, Easter, or birthday parties!
Fun Easter Bunny Cookie Recipe
One of my favorite parts about any holiday is all of the fun kid-friendly baking activities that come with it! Of course, there are tons of Easter arts and crafts you could do with your kiddo, but they certainly don't taste anywhere near as good as these adorable bunny cookies!
You can either make the sugar cookies from scratch (which is super easy) or just buy some premade sugar cookie dough from the store for extra convenience. Let your kids help with frosting, dunking the cookies in sugar, decorating the feet, and then assembling the cookies!
Jump to:
If you are making these cookies from scratch, take a look at my guides on how to make sugar cookies and how to make cutout cookies!
🥘 Bunny Butt Cookies Ingredients
If you use store-bought sugar cookie dough, you only need the assembling ingredients to turn them into cute little bunny butts! However, I will say that these homemade sugar cookies are extra yummy!
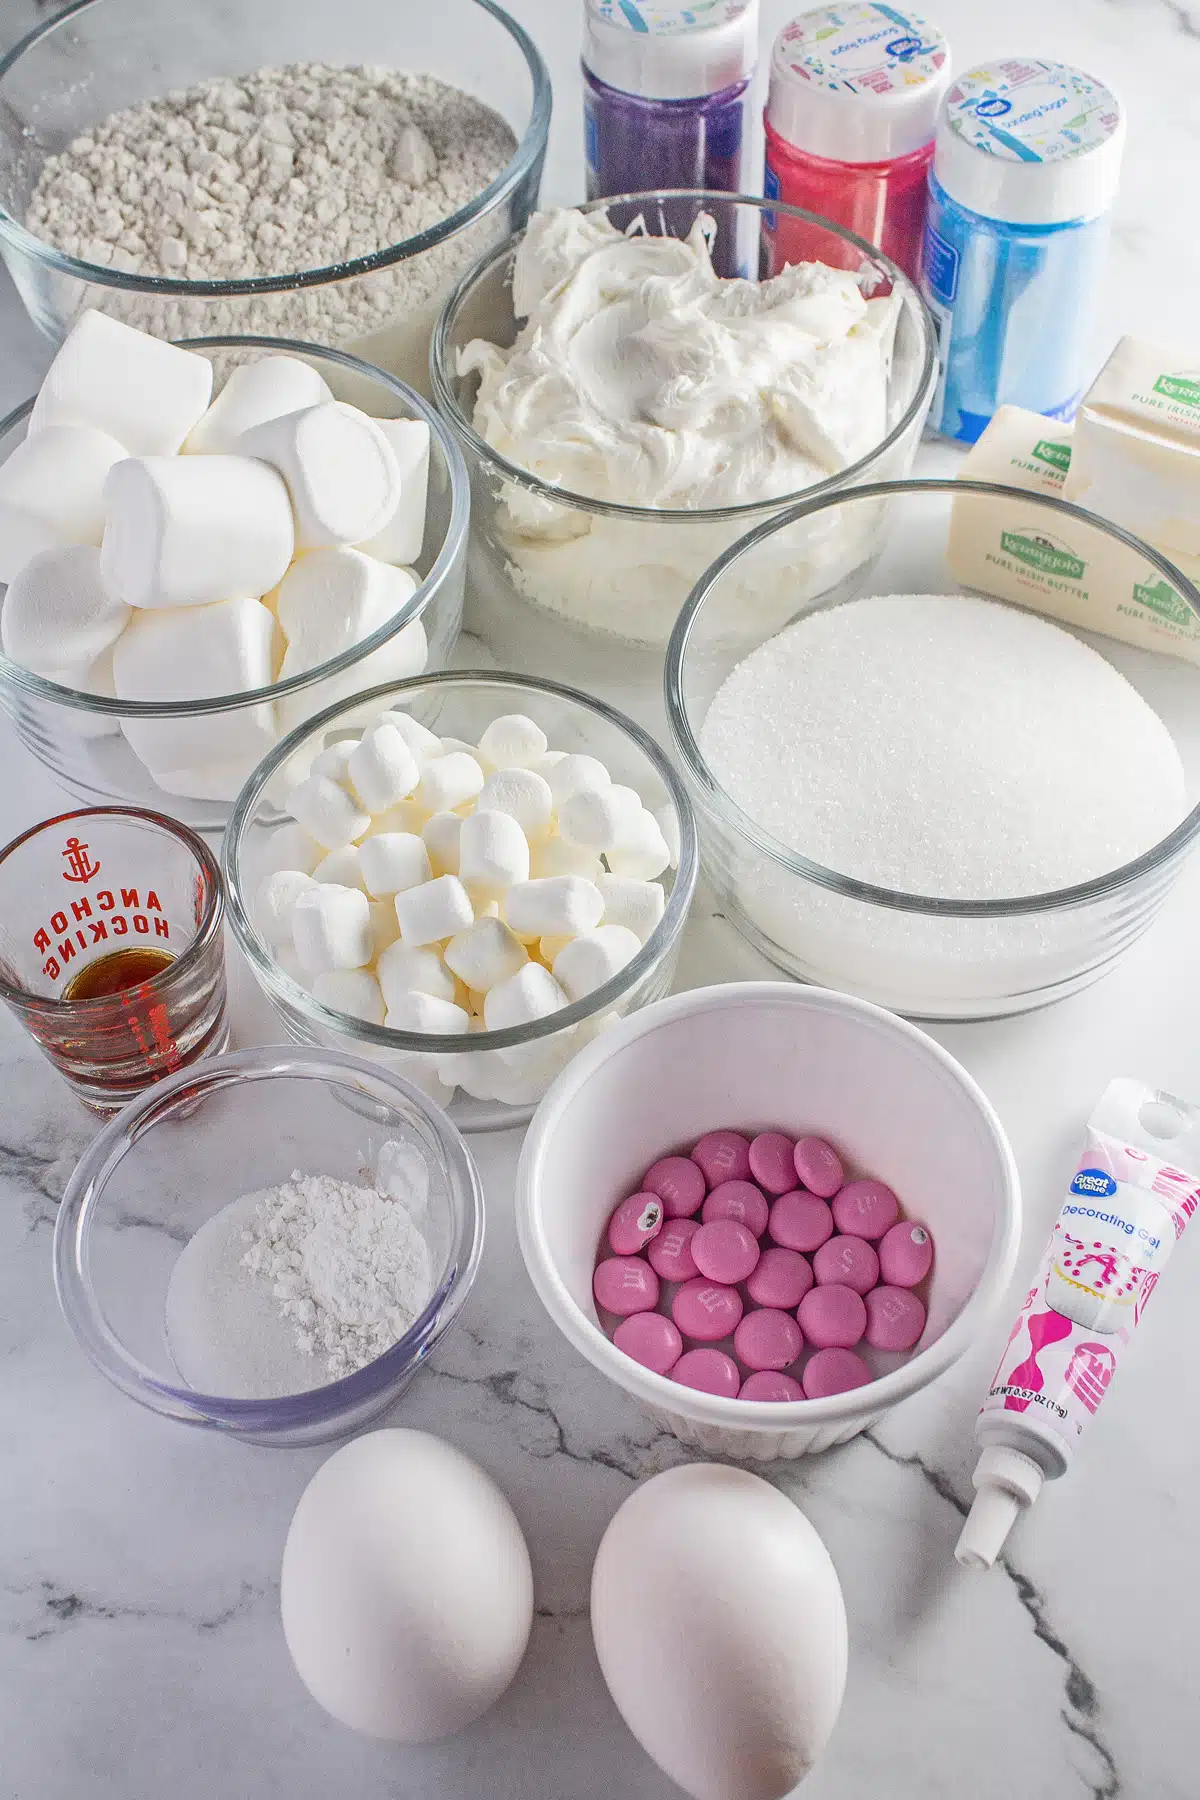
Sugar Cookies
- Butter - ¾ cup of unsalted butter, softened at room temperature.
- Sugar - 1 cup of white granulated sugar.
- Eggs - 2 large, room-temperature eggs.
- Vanilla Extract - 1 teaspoon of pure vanilla extract (or the flavor you like the best).
- Baking Powder - 1 teaspoon of baking powder.
- Salt - 1 teaspoon of salt (if salted butter, reduce this to ½ teaspoon).
- Flour - 2½ cups of all-purpose flour, spooned and leveled.
Bunny Butts
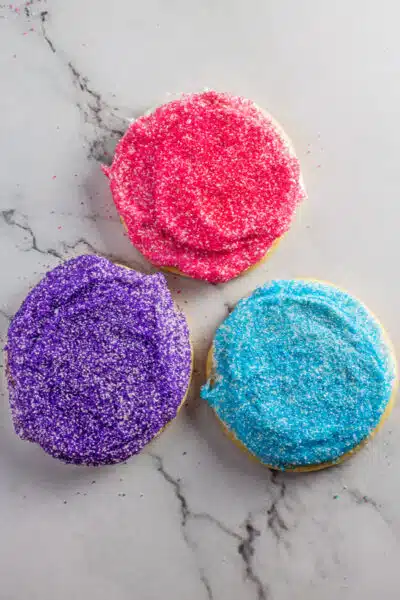
- Sanding Sugar - This will be used to color the cookies. I recommend using multiple colors to add variety!
- Frosting - 16 ounces of vanilla buttercream frosting. You can try my homemade recipe or use a store-bought container of white frosting.
- Marshmallows - 24 standard-sized marshmallows, cut in half. These will act as the bunny's feet.
- Mini Marshmallows - 24 mini marshmallows for the tails.
- Pink Decorations - You can use pink candy (I found some Easter M&Ms at the grocery store), pink sprinkles, pink frosting, or pink icing gel for decorating the feet.
*Be sure to see the free printable recipe card below for ingredients, exact amounts & instructions with tips!*
🔪 How To Make Bunny Butt Cookies
This recipe uses my favorite classic sugar cookie recipe that is then topped with vanilla buttercream frosting and turned into little bunnies that are great for Easter (or any springtime occasion). You will need an electric mixer, measuring utensils, a baking sheet, a rolling pin, and a round cookie cutter.
You can easily customize your cookies' size based on the cookie cutters you use. I ended up with about 2 dozen bunny cookies.
Prepare the Sugar Cookie Dough
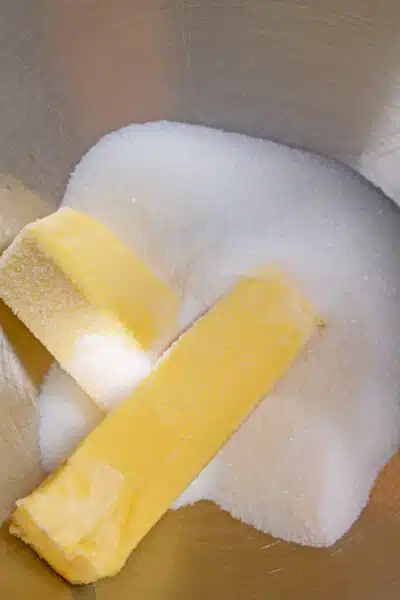

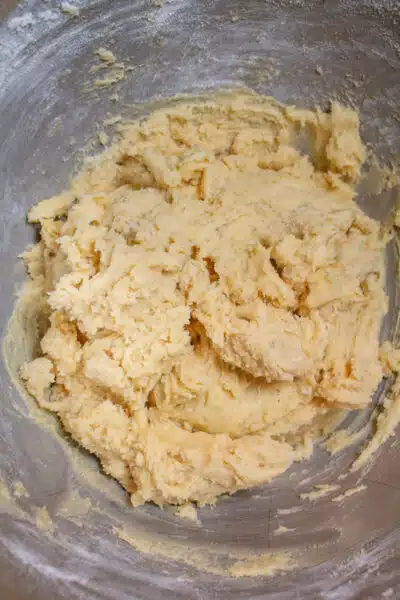
- Cream the butter. Use an electric mixer to cream together 1 cup of sugar and ¾ cup of room-temperature butter. Then, add 2 eggs and 1 teaspoon each of pure vanilla extract (or your preferred extract), baking powder, and salt, and mix well.
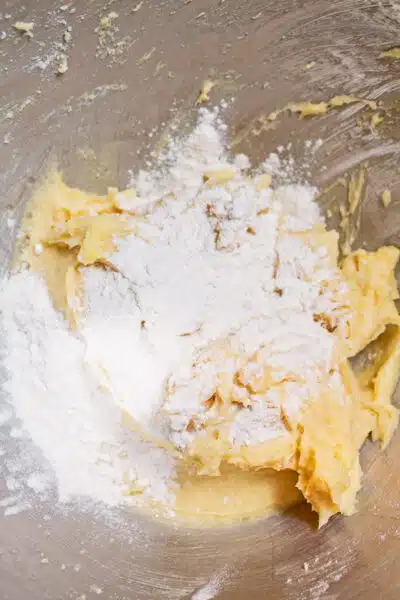
- Chill. Add 2½ cups of all-purpose flour and mix just until the flour has been well incorporated into the dough. Transfer the bowl to the fridge and allow it to chill for one hour (or you can wrap the dough in plastic wrap and chill it for up to 3 days).
Roll & Bake the Sugar Cookies
- Preheat. Preheat your oven to 375°F (190°C) and line your baking sheet(s) with parchment paper.
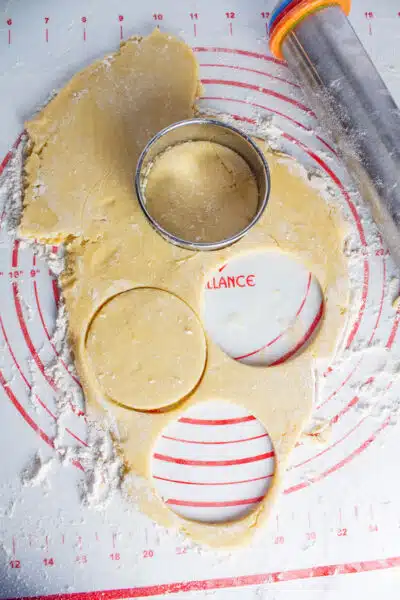
- Roll the dough. Once the dough has chilled, work with small portions of the dough on a floured surface. Use a rolling pin to roll the sugar cookie dough out until it is between ¼ and ½-inch thick. Then, cut the dough into your desired rounds using round cookie cutters.
- Bake. Place the cutout cookies onto the prepared baking sheet and bake at 375°F (190°C) for 6-9 minutes.
- Cool completely. Remove your sugar cookies from the oven before the edges turn golden. Let them cool on the baking sheet for 5 minutes, then move them to a cooling rack. Allow the cookies to cool completely before frosting.
Assemble the Bunny Butt Cookies
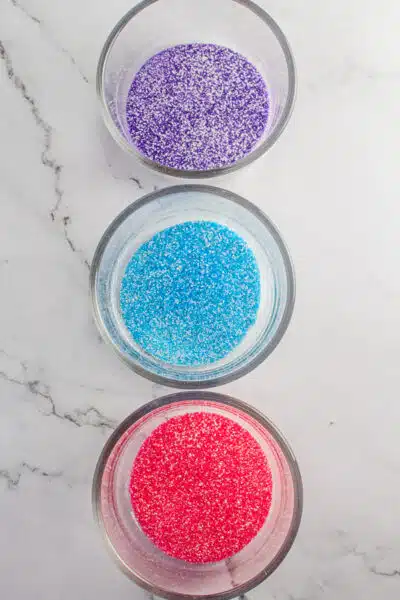
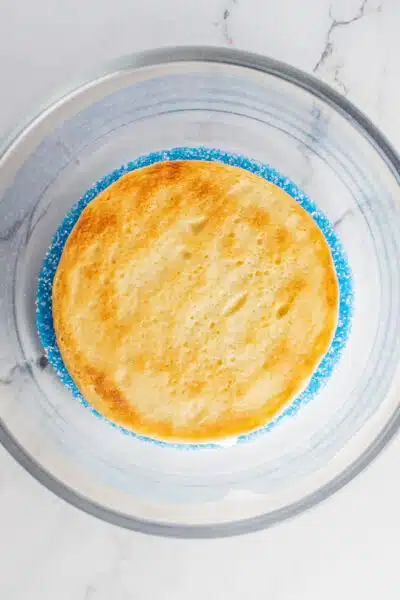
- Prepare the sugar. Pour your sanding sugar onto separate plates or shallow bowls.
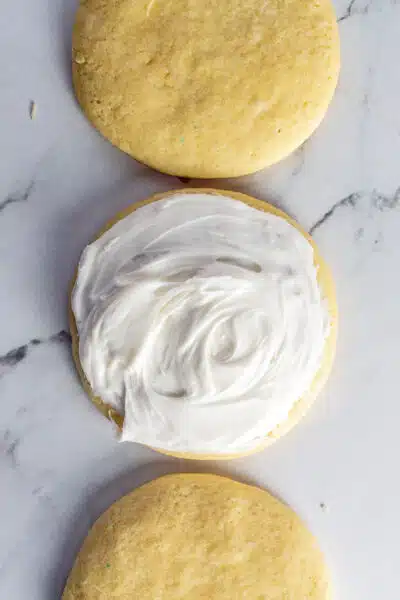
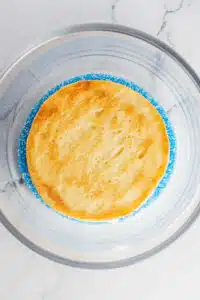
- Frost the cookies. Spread a thin layer of vanilla frosting over top of each of the cooled sugar cookies. Then, gently press the cookies with the frosting side facing down into the sanding sugar.
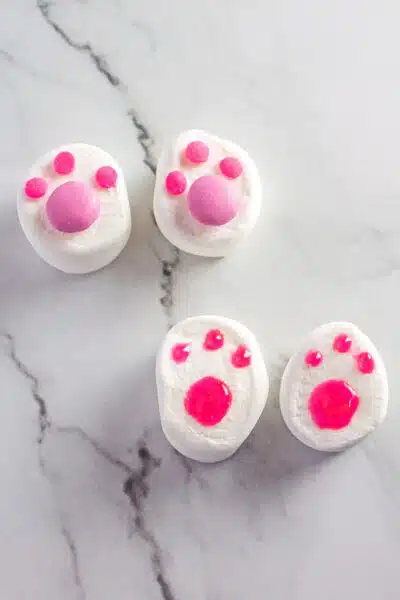
- Decorate the feet. Cut 24 marshmallows in half for the bunny feet. Decorate them to look like feet on the non-sticky side using either pink frosting, sprinkles, or pink candy.
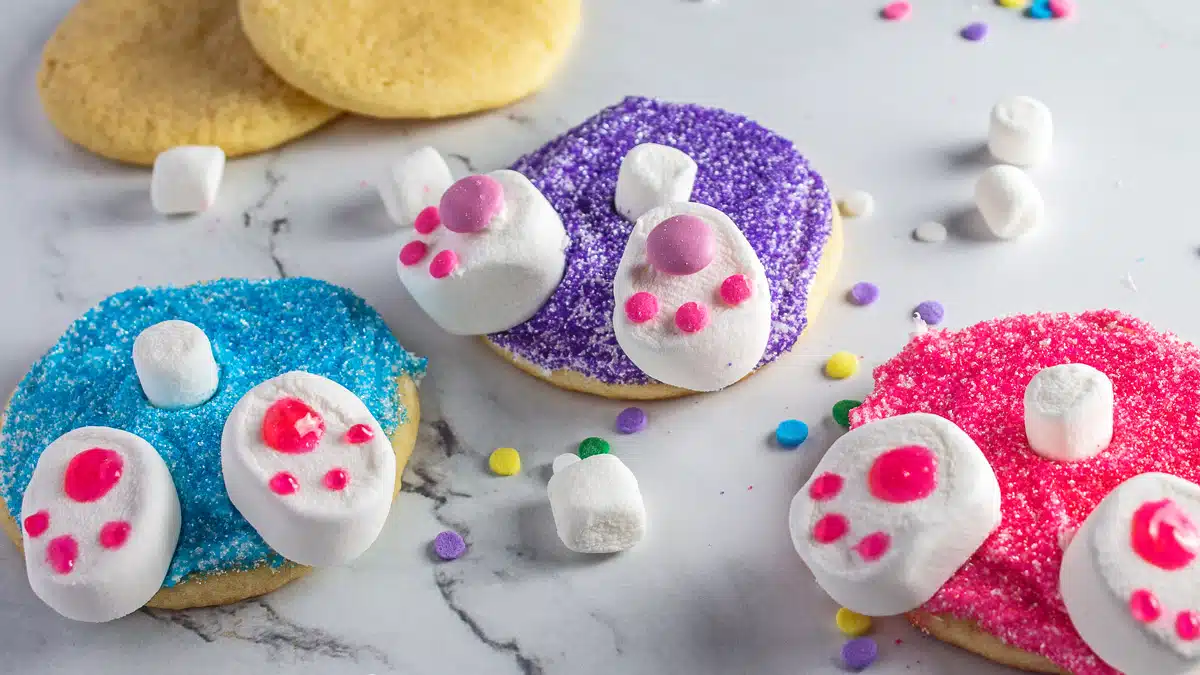
- Assemble the cookies. Add a dot of frosting to the sticky side of the marshmallow and press them onto the cookie. Then, add a dot of frosting to a mini marshmallow and press it into the center of the cookie to act as a tail.
- Serve. Serve immediately or store for later.
These cookies are great for Easter, springtime, or even birthday parties! For more Easter dishes, take a look at my collection of Easter brunch ideas and Easter lunch ideas! Enjoy!
💭 Angela's Pro Tips & Recipe Notes
- These cookies could easily be made using store-bought cookie dough and frosting if you don't want to make them from scratch!
- Reduce the salt to ½ teaspoon if using salted butter.
- To mix it up, you could press the cookies into shredded coconut instead of sanding sugar for texture and flavor!
- Shredded coconut is easily colored for making these cute cookies. See my Easter Basket Cookies for tips on coloring your coconut.
- You can decorate the feet with pink frosting in a piping bag (or a storage bag with the corner snipped off), pink icing gel, some pink candies, pink sprinkles, or anything else you may have on hand!
🥡 Storing
These cookies can be stored in a sealed container at room temperature. Try to keep from stacking them on top of each other, or use wax paper to separate them.
Check out my post on how long sugar cookies last here.
>>>>See all of my recipes here<<<<
❓ Recipe FAQs
Sugar cookies should have a texture that is both soft and tender. If your cookies are crispy then they were probably overbaked. Rolling the dough out to be ¼-inch thick will help to ensure wonderfully soft cookies!
Chilling the dough is essential in making most sugar cookie recipes, and it cannot be skipped! If you don't properly chill your dough in the fridge for at least an hour, the cookies can spread in the oven and lose their shape. See my no-chill sugar cookies recipe if you want to make sugar cookies in a rush, skipping the chilling time.
It's surprisingly easy to accidentally over-bake sugar cookies. You'll know they're done when the edges have set and they no longer look soft or melted. However, you do not want to wait until the edges have turned golden brown, as they will be overcooked.

🐰 More Easter Treats
- Easter Basket Cupcakes - Sweet cupcakes that look just like miniature Easter baskets!
- Fudge Covered Oreos - A no-bake recipe that features Oreo cookies covered in homemade fudge!
- Easter Peeps Nest - No-bake chocolate and peanut butter cookies are filled with shredded coconut!
- Coconut Loaf Cake - Moist coconut cake is topped off with a homemade coconut glaze and shredded coconut!
- Carrot Cake - Spiced cake is loaded with grated carrots and coated with cream cheese frosting!
- Pineapple Upside Down Bundt Cake - Preparing pineapple upside-down cake in a bundt pan makes it extra beautiful!
Do you love a recipe you tried? Please leave a 5-star 🌟rating in the recipe card below and/or a review in the comments section further down the page.
Stay in touch with me through social media @ Pinterest, Facebook, Instagram, or Twitter! Subscribe to the newsletter today (no spam, I promise)! Don't forget to tag me when you try one of my recipes!
📖 Recipe Card
Bunny Butt Cookies
Ingredients
Sugar Cookies
- ¾ cup butter (unsalted, softened, at room temperature)
- 1 cup sugar
- 2 large eggs (at room temperature)
- 1 teaspoon vanilla extract (or extract flavor of your choice)
- 1 teaspoon baking powder
- 1 teaspoon salt
- 2½ cups all-purpose flour (spooned and leveled)
Bunny Butts
- sanding sugar (in various colors)
- 16 oz vanilla buttercream frosting (or use store-bought)
- 24 marshmallows (cut in half)
- 24 mini marshmallows
- assorted pink sprinkles (or pink mini marshmallows, pink candy, or pink icing gel)
(Note: 2x or 3x only changes the ingredient list)
Instructions
Prepare the Sugar Cookie Dough
- Use an electric mixer to cream together the sugar and room-temperature butter. Then, add the eggs, pure vanilla extract, baking powder, and salt, and mix well.

- Add the all-purpose flour and mix just until the flour has been well incorporated into the dough. Transfer the bowl to the fridge and allow it to chill for one hour (or you can wrap the dough in plastic wrap and chill it for up to 3 days).


Roll & Bake the Sugar Cookies
- Preheat your oven to 375°F (190°C) and line your baking sheet(s) with parchment paper.
- Once the dough has chilled, work with small portions of the dough on a floured surface. Use a rolling pin to roll the sugar cookie dough out until it is between ¼ and ½-inch thick. Then, use round cookie cutters to cut the dough into your desired rounds.
- Place the cutout cookies onto the prepared baking sheet and bake at 375°F (190°C) for 6-9 minutes.
- Remove your sugar cookies from the oven before the edges begin to turn golden. Let them cool on the baking sheet for 5 minutes and then move them to a cooling rack. Let them cool completely before frosting.

Assemble the Bunny Butt Cookies
- Pour your sanding sugar onto separate plates or shallow bowls.
- Spread a thin layer of vanilla frosting over top of each of the cooled sugar cookies. Then, gently press the cookies with the frosting side facing down into the sanding sugar.
- Cut your larger marshmallows in half for the bunny feet. Decorate them to look like feet on the non-sticky side using either pink frosting, sprinkles, or pink candy.
- Add a dot of frosting to the sticky side of the marshmallow and press them onto the cookie. Then, add a dot of frosting to a mini marshmallow and press it into the center of the cookie to act as a tail.
- Serve immediately or store for later.


Notes
- These cookies could easily be made using store-bought cookie dough and frosting if you don't want to make them from scratch!
- Reduce the salt to ½ teaspoon if using salted butter.
- To mix it up, you could press the cookies into shredded coconut instead of sanding sugar for texture and flavor!
- Shredded coconut is easily colored for making these cute cookies. See my Easter Basket Cookies for tips on coloring your coconut.
- You can decorate the feet with pink frosting in a piping bag (or a storage bag with the corner snipped off), pink icing gel, some pink candies, pink sprinkles, or anything else you may have on hand!
- To store: These cookies can be stored in a sealed container at room temperature. Try to keep from stacking them on top of each other, or use wax paper to separate them.
Comments
No Comments