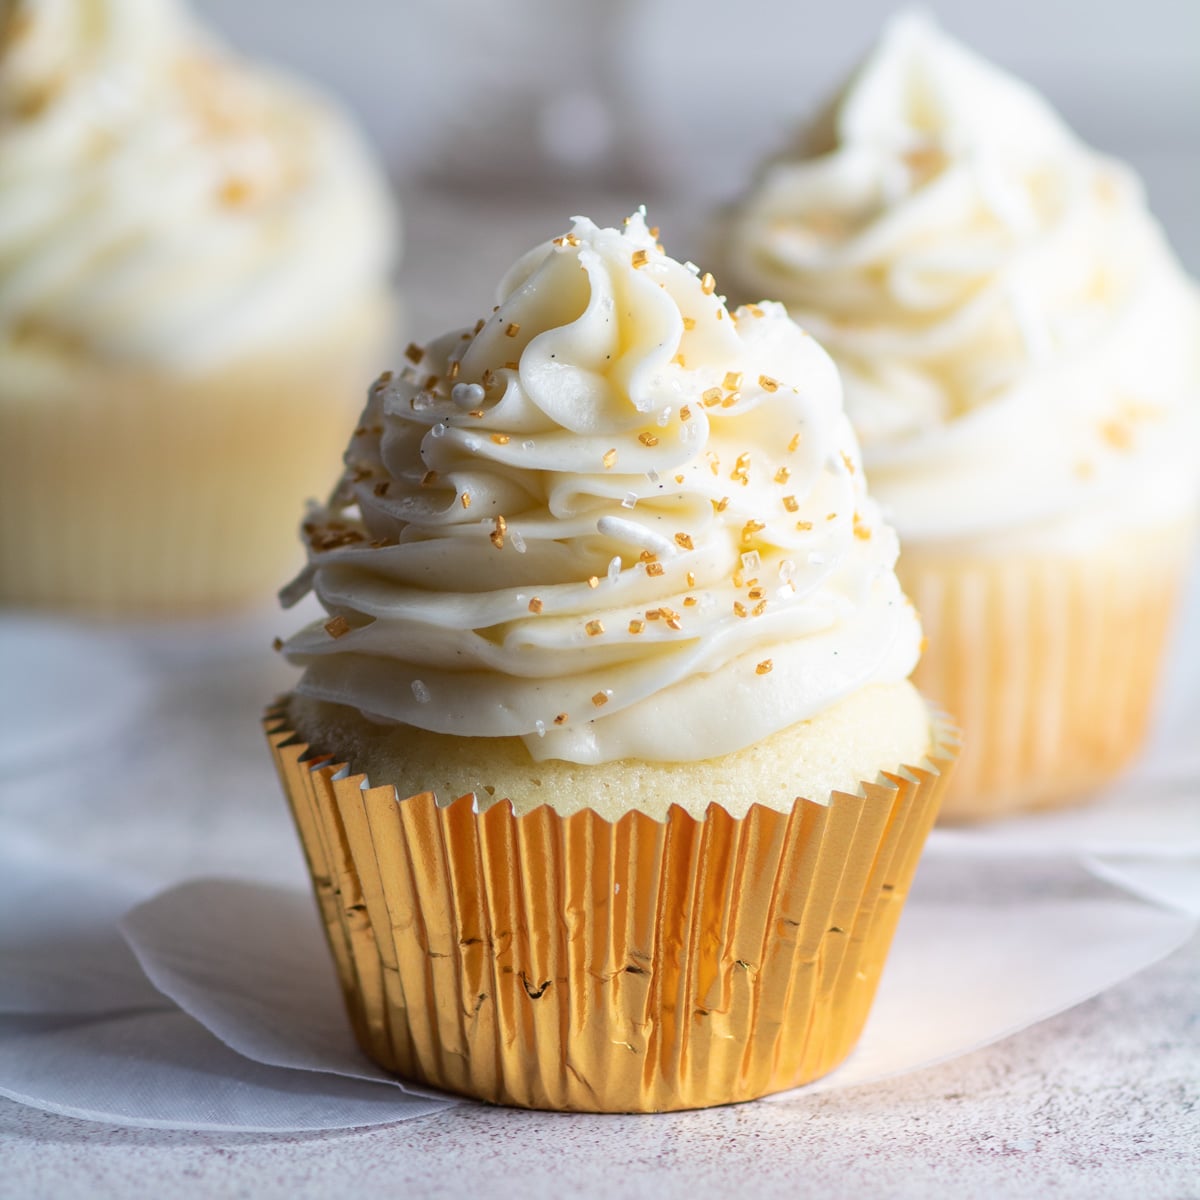
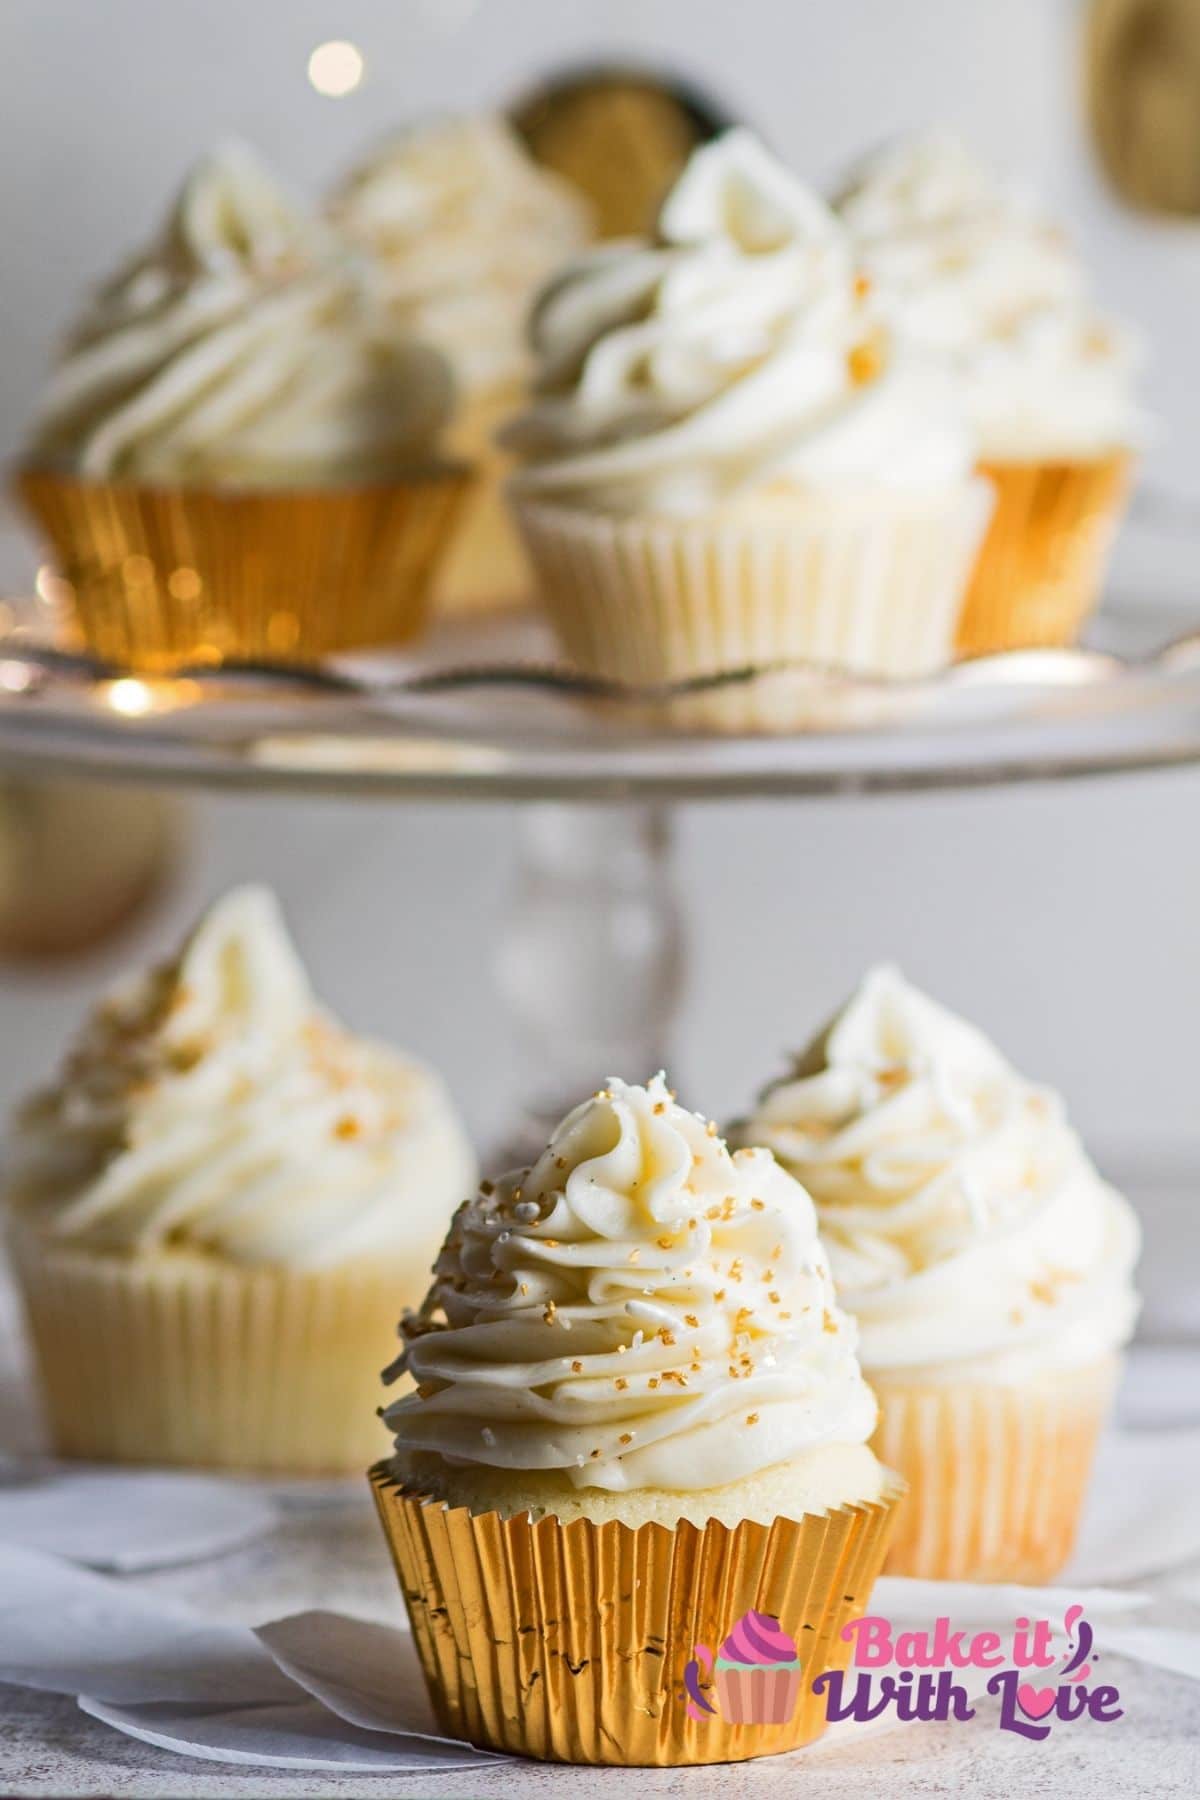
These easy-to-make vanilla bean cupcakes are deliciously moist and they are saturated with the classic vanilla flavor that everyone loves! You can tell the difference when using vanilla extract vs. actual vanilla bean paste or caviar, and boy is it addicting! Try my recipe for the best vanilla bean cupcakes and you will be shocked by how rich and decadent a simple vanilla cupcake can be!
The Best Vanilla Bean Cupcakes
Sometimes you just crave a good old-fashioned vanilla cupcake. Sure you could make the boxed stuff, but let me tell you, there is just something so satisfying about vanilla bean cupcakes made with true vanilla!
When using vanilla bean paste or vanilla bean caviar, you can taste the fabulous vanilla flavor in a way that you just don't get from vanilla extract. These moist vanilla cupcakes are so fluffy and indulgent, they are just what the doctor ordered for curing any sweet tooth!

Jump to:
🥘 Ingredients
Vanilla bean caviar and vanilla bean paste can generally be found on the baking aisle. The remaining ingredients for these easy-to-make cupcakes are likely already in your kitchen!

- Cake Flour - 2 ¾ cups cake flour (or all-purpose flour).
- Sugar - 1 ¾ cups.
- Baking Powder - 3 teaspoons.
- Salt - ½ a teaspoon.
- Butter - 1 cup, cold and cubed.
- Large Eggs - 3 large eggs at room temperature.
- Vanilla Bean Caviar - 2 tsp vanilla bean caviar or vanilla bean paste.
- Milk - 1 cup at room temperature, we used 2%.
*Be sure to see the recipe card below for ingredients, amounts & instructions!*
🔪 How To Make Vanilla Bean Cupcakes
You can definitely incorporate the ingredients by mixing the batter by hand, but if you have a stand mixer go ahead and whip it out! You will also need 2 muffin pans, some cupcake liners, and a whisk.


- Prep. Preheat your oven to 350°F (175°C) and line 2 muffin pans with cupcake liners.
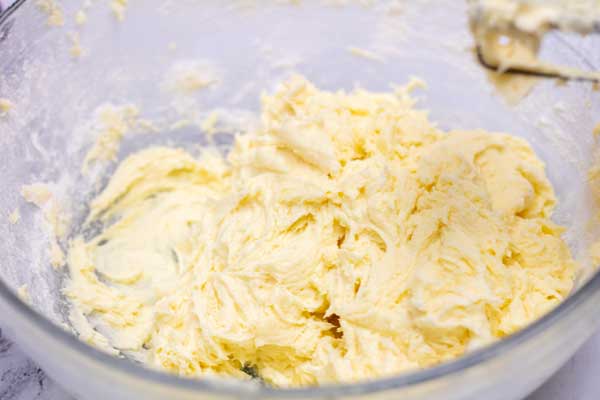
- Add wet ingredients. In a mixing bowl, or the bowl of your stand mixer, cream together the butter and sugar until light and fluffy (about 2 minutes). Add the eggs in one at a time, adding the baking powder and salt with the last egg. Mix until just combined.
- Alternate milk and flour. Add the milk by adding the first half only, and mixing it into the batter. Add the cake flour (or all-purpose flour) gradually into the wet batter. Finish combining the ingredients with adding the last half of the milk and mixing until smooth, and adding the vanilla bean caviar or paste. Mix until well distributed.
Portion & Bake Vanilla Bean Cupcakes


- To scrape the vanilla bean caviar from a whole bean: Press the vanilla bean flat on a cutting board then use a sharp knife to cut down the length of the bean to make a slit. Pull the bean open carefully, then use the tip of your knife to scrape down the insides of the bean.
- Bake. Portion the batter equally into each cupcake liner. Place the pans on the center of your oven's middle rack and bake for 20-25 minutes at 350°F (175°C), or until a toothpick can be entered into the center of the cupcake and come out clean.
- Cool. Allow your cupcakes to cool in their pans for 5 minutes, then remove them from the pan and let them cool completely before frosting or serving.
The great thing about vanilla is that it goes with just about any other flavor! You could make a double vanilla cupcake by using vanilla bean buttercream frosting, or mix it up with chocolate buttercream frosting, or peanut butter buttercream frosting! Enjoy!
💭 Angela's Pro Tips & Recipe Notes
- Using room temperature ingredients is beneficial because it helps the cupcakes to bake evenly.
- Storing: You may keep your frosted cupcakes (or unfrosted) at room temperature in an airtight container for up to 24 hours, or in the fridge for up to 3 days.
- Freezing: Cooled cupcakes can be wrapped in plastic wrap, placed in freezer bags with the air squeezed out, and frozen for up to 3 months. Thaw in the fridge overnight, then frost as usual.

🧁 More Delicious Cupcakes!
- Vanilla Funfetti Cupcakes
- Root Beer Cupcakes with Cream Soda Buttercream Frosting
- Orange Crush Soda Cupcakes with Orange Crush Frosting
- Easter Basket Cupcakes
- Mary Berry Chocolate Cupcakes
- Honey Cakes
Do you love a recipe you tried? Please leave a 5-star 🌟rating in the recipe card below and/or a review in the comments section further down the page.
Stay in touch with me through social media @ Pinterest, Facebook, Instagram, or Twitter! Subscribe to the newsletter today (no spam, I promise)! Don't forget to tag me when you try one of my recipes!
📖 Recipe Card
Vanilla Bean Cupcakes (Topped with Vanilla Bean Buttercream Frosting!)
Ingredients
- 1 cup butter (softened, at room temperature)
- 1 ¾ cups sugar
- 3 large eggs (at room temperature)
- 3 teaspoon baking powder
- ½ teaspoon salt
- 1 cup milk (room temperature, I prefer to use whole milk or 2% milk)
- 2 ¾ cups cake flour (or all-purpose flour)
- 2 teaspoon vanilla bean caviar (or vanilla bean paste)
(Note: 2x or 3x only changes the ingredient list)
Instructions
- Preheat your oven to 350°F (175°C) and line 2 muffin pans with cupcake liners.
- In a mixing bowl, or the bowl of your stand mixer, cream together the butter and sugar until light and fluffy (about 2 minutes). Add the eggs in one at a time, adding the baking powder and salt with the last egg. Mix until just combined.
- Add the milk by adding the first half only, and mixing it into the batter. Add the cake flour (or all-purpose flour) gradually into the wet batter. Finish combining the ingredients with adding the last half of the milk and mixing until smooth, and adding the vanilla bean caviar or paste. Mix until well distributed.
- To scrape the vanilla bean caviar from a whole bean: Press the vanilla bean flat on a cutting board then use a sharp knife to cut down the length of the bean to make a slit. Pull the bean open carefully, then use the tip of your knife to scrape down the insides of the bean.
- Pour equal portions of the batter into each cupcake liner and bake at 350°F (175°C) for 20-25 minutes, or until a toothpick can be entered into the center of the cupcake and come out clean.
- Allow your cupcakes to cool in the pans for about 5 minutes, then remove them from the pan and set them aside so they may cool completely before frosting or serving.
Notes
- Using room temperature ingredients is beneficial because it helps the cupcakes to bake evenly (and according to recipe timelines).
- Store your frosted cupcakes (or unfrosted) at room temperature in an airtight container for up to 24 hours, or in the fridge for up to 3 days.
- Freeze cooled cupcakes after wrapping in plastic wrap, then placing into freezer bags with the air squeezed out. Keep your cupcakes frozen for up to 3 months. Thaw in the fridge overnight, then frost as usual.


Amber says
Can you make this as a cake recipe?
Angela @ BakeItWithLove.com says
Yes, you can definitely make this as a cake recipe. The same recipe yields 1 9x13 cake or a 9 or 8 inch layered cake.
Amanda says
Can you substitute the dairy for non dairy ingredients. I am looking to make them for my sons wedding and the bride has a dairy allergy and can't have any dairy
Angela @ BakeItWithLove.com says
I like to use coconut milk as a non-dairy substitute in buttercream frosting recipes. Hope that helps!
Jourdyn says
When I baked these, my tops didn't rise and ended up looking like I stacked a cookie on top. Do you have any suggestions on how to fix this or what caused it?
Angela @ BakeItWithLove.com says
Hi Jourdyn, I look at two things when the rise isn't quite right on cupcakes or cakes. 1) The bake time could have used a few more minutes to set so that the cake was firmer, or 2) the butter was creamed a bit too well. Most likely another minute or two in the oven would help. Thanks for asking!
Thikra says
these look good, can you make them into mini cupcakes? im guessing just reduce the cooking time
Angela @ BakeItWithLove.com says
Yes, exactly. Bake mini cupcakes for approximately 12-15 minutes. Thanks for asking!
Rebecca Stanbrough says
How many approx. does it yield? I don't see it written on the recipe.
Angela @ BakeItWithLove.com says
24 cupcakes!
Jazz says
Are we suppose to use regular salted butter or unsalted butter ?
Angela @ BakeItWithLove.com says
I made these with salted butter or I would have noted to use unsalted butter. If you're sensitive to salt flavor, you can always start with unsalted butter. Hope that helps!