

My easy stuffed manicotti with Italian sausage is pure Italian comfort food that's ideal for everything from family dinners to potlucks. The cooked manicotti shells are stuffed with rich ricotta cheese mixture, covered in pasta sauce and more cheese, and baked. It's an easy enough recipe that you can make it for dinner tonight!
Serve with garlic bread and a Caprese salad or green garden salad with creamy Italian dressing for a well-rounded meal.
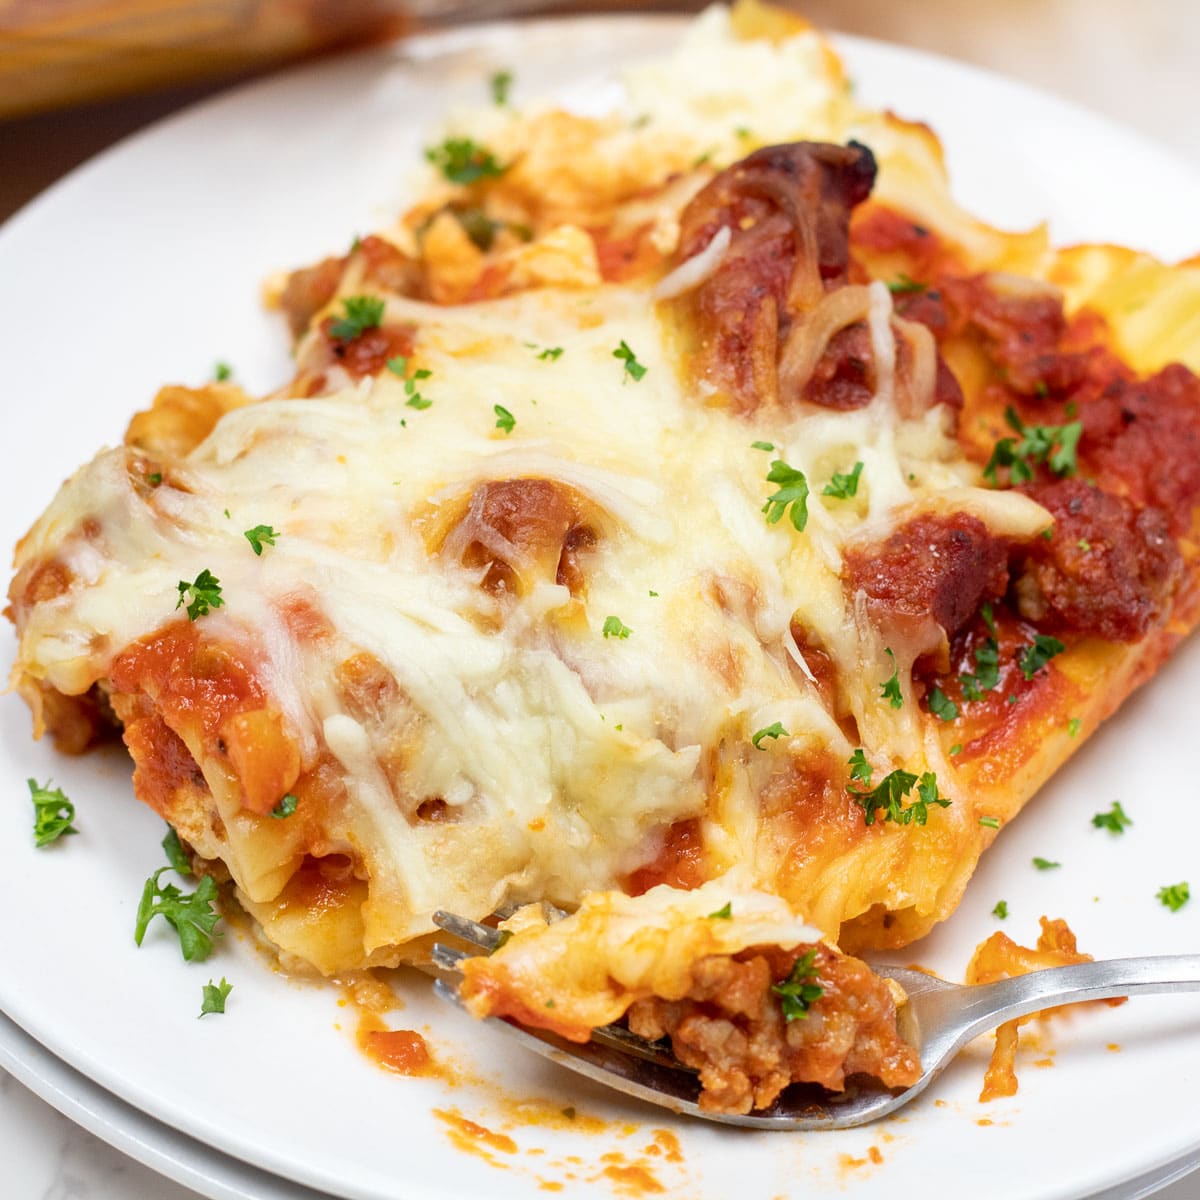
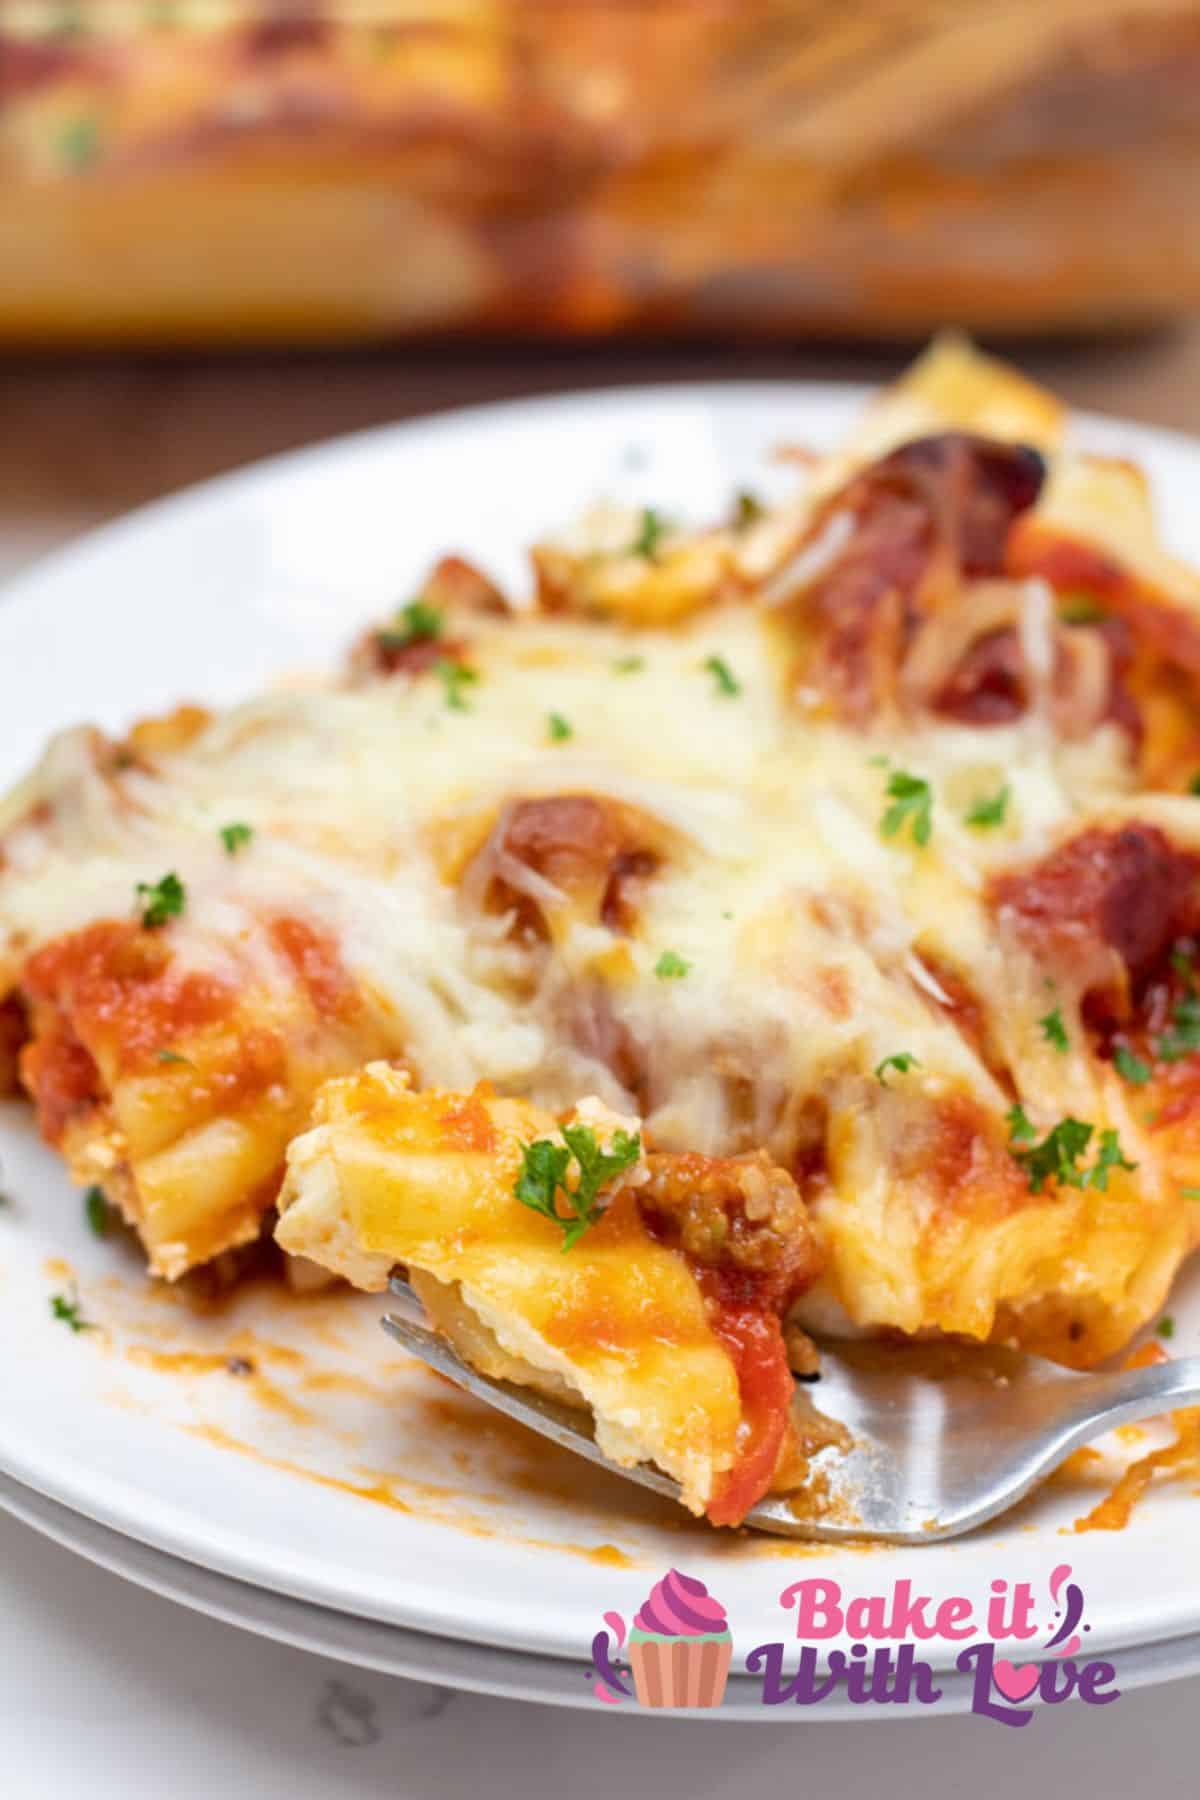
Stuffed manicotti is a delicious Italian dish made by filling large pasta tubes with a rich ricotta cheese mixture. The filled pasta is baked in a flavorful tomato sauce until bubbly and golden brown.
You can keep the tomato sauce simple using jarred pasta sauce or add browned Italian sausage to your favorite marinara sauce for meaty manicotti. I've tried it many ways, many times, and no one ever complains!
🥘 Ingredients
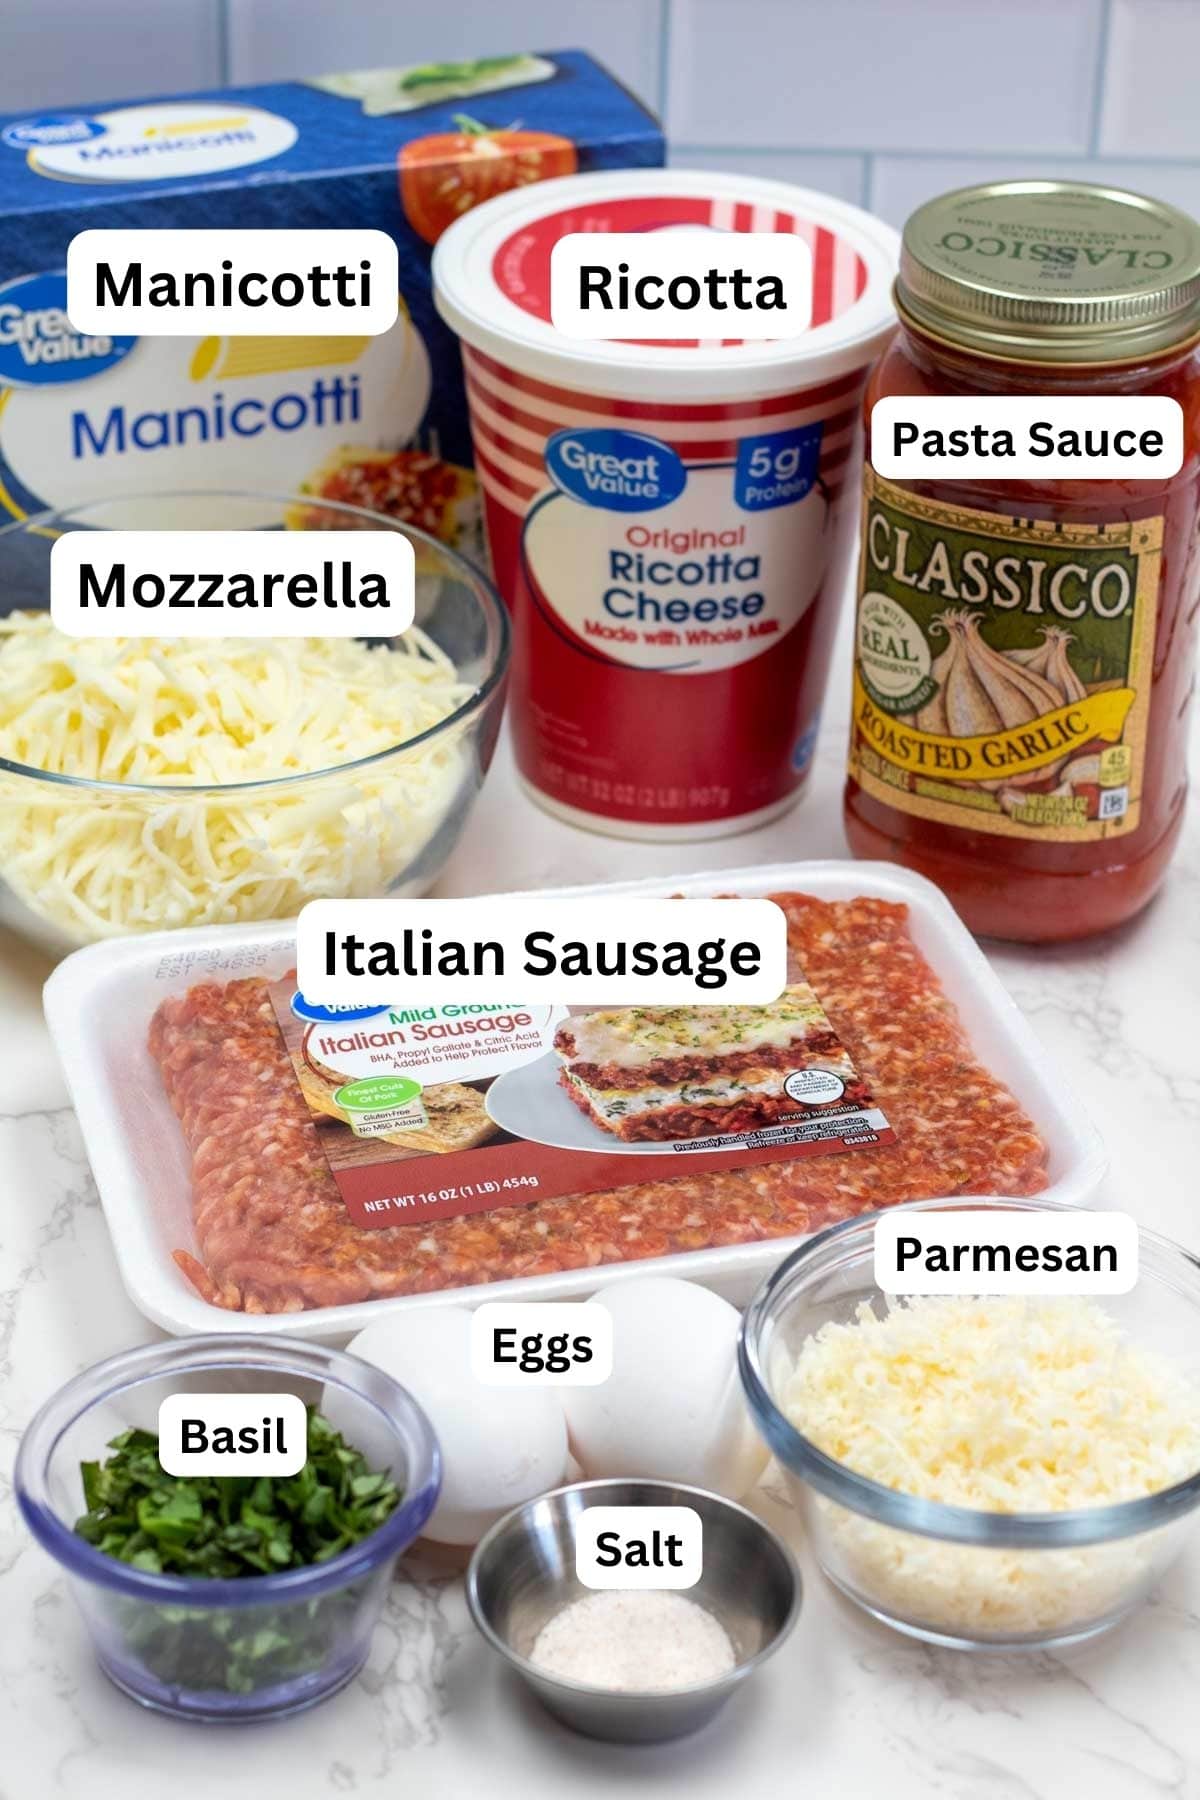
- Italian Sausage - Italian sausage or ground beef can be browned and simmered in the pasta sauce to make it a hearty meat sauce.
- Pasta Sauce - A jar of your favorite pasta or spaghetti sauce. For more authentic flavors, you can also use homemade marinara, arabiatta sauce, or salsa di Pomodoro.
- Ricotta Cheese - The key ingredient in my ricotta mixture for lasagna. It works great in manicotti, too! Use full-fat ricotta cheese for the best results.
- Eggs - Eggs are the binding ingredient that keeps the cheese from melting out of the pasta shells. They should be beaten before adding to the ricotta mixture, and at room temperature.
- Parmesan - Freshly shredded Parmesan or a Parmesan cheese substitute.
- Basil - Fresh, finely chopped basil or parsley.
- Salt - Just a little salt to highlight all the great flavors.
- Manicotti - Manicotti shells that have been cooked just shy of al dente, rinsed, and cooled enough to handle easily.
- Mozzarella - Shredded mozzarella to top it all off!
*Be sure to see the free printable recipe card below for ingredients, exact amounts & instructions with tips!*
🔪 How To Make Stuffed Manicotti with Italian Sausage
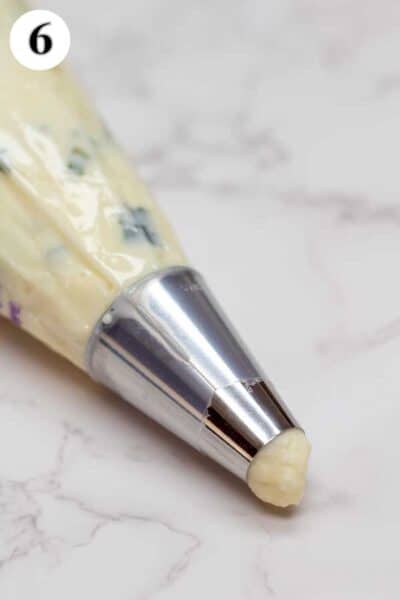
Stuffing the manicotti is the hardest part, but it's a breeze with a piping bag! You will also need your measuring utensils, a silicone spatula and mixing bowl, a 9x13 baking dish, and a skillet if adding sausage.
This recipe will give you enough filling for 10-12 regular-sized manicotti shells, or approximately 10 servings.
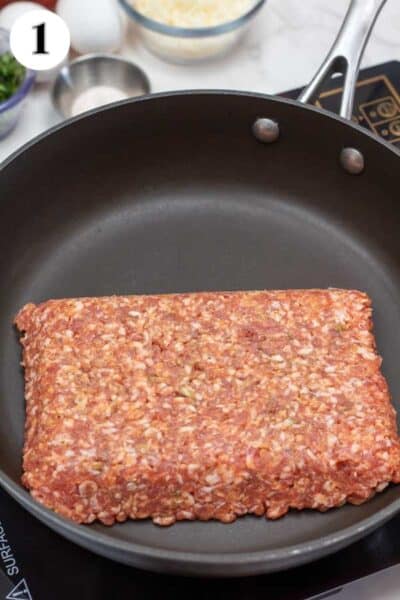
Cook The Meat Sauce
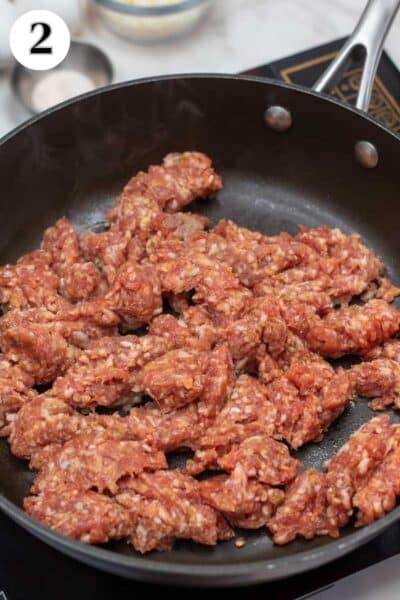
Step 1: Brown the sausage. Cook and crumble 1 pound (453.59 grams) of Italian sausage in a skillet over medium-high heat, draining the excess grease if needed.
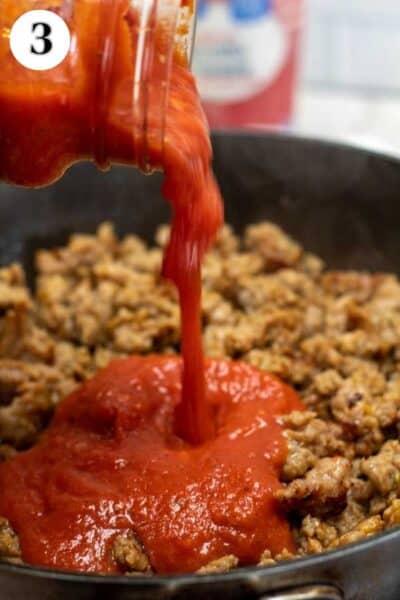
Step 2: Combine with 24 ounces (680.39 grams) of pasta sauce and bring to a low boil. Reduce heat and simmer uncovered for 5-10 minutes.
Make The Ricotta Filling
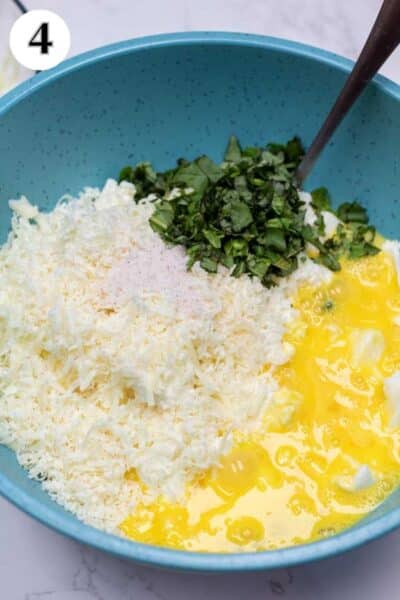
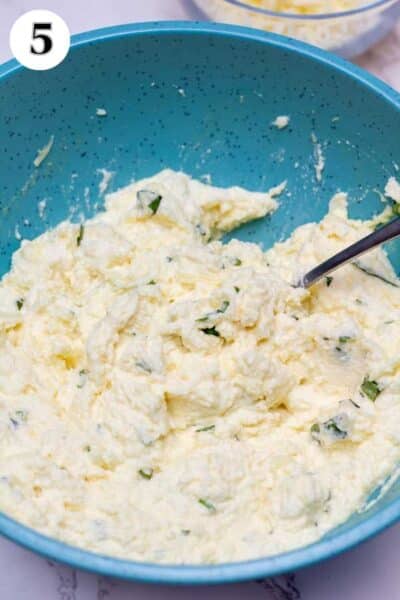
Step 3: Mix the filling ingredients. Preheat your oven to 350℉ (175℃/Gas Mark 4). Meanwhile, add 32 ounces (907.19 grams) of ricotta, 2 large beaten eggs, ½ cup (50 grams) of Parmesan cheese, ¼ cup (6 grams) of basil, and 1 teaspoon of salt to a large mixing bowl and mix until smooth. Fill a piping bag for the easiest stuffing.
Fill Manicotti Pasta
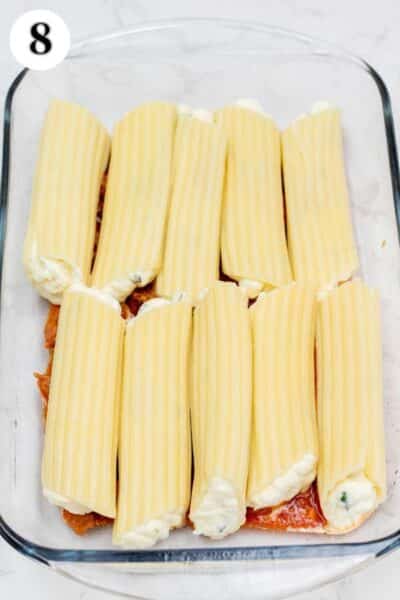
Step 4: Add a layer of sauce. Grease a 9x13 baking dish, then make a bottom layer using 1-1 ½ cups (329 grams) of the pasta sauce on the bottom.
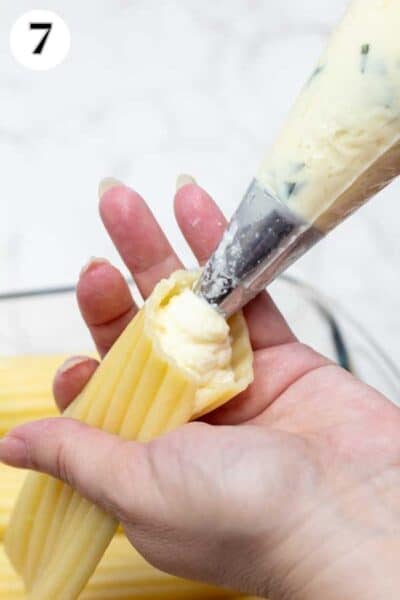
Step 5: Fill the pasta shells. Gently fill 8 ounces (226.8 grams) of manicotti, starting at the center and working toward the end, then flip and fill from the other end. Place the filled manicotti in your prepared dish in two rows.
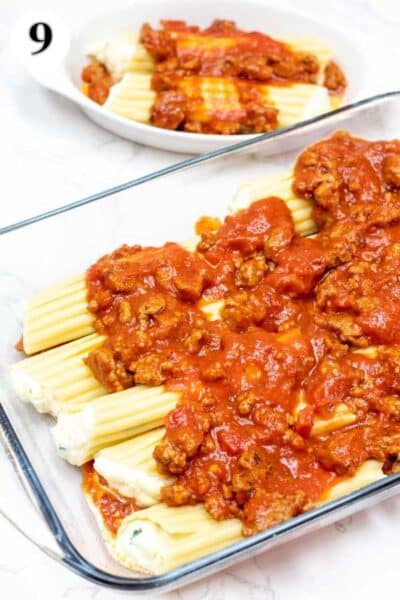
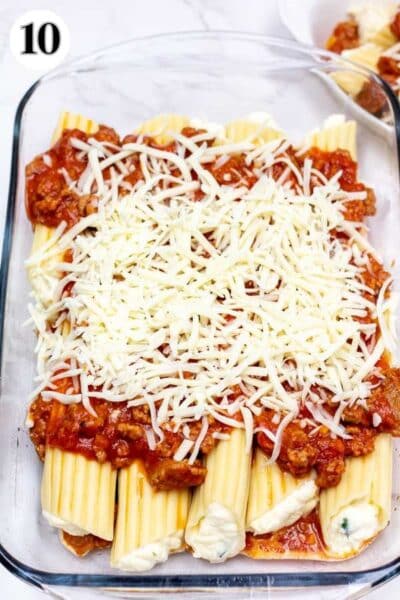
Step 6: Top with cheese. Once all of the manicotti have been filled and placed in the dish, top with the remaining pasta sauce and 1-2 cups (112 grams) of mozzarella.
Bake & Serve
Step 6: Bake. Bake at 350℉ (175℃/Gas Mark 4) for 40-45 minutes or until bubbling around the edges.
Step 7: Serve. Remove from oven and serve while hot.

🍱 Freeze Drying Instructions
I placed the leftovers in 4 small HarvestRight trays and transferred them into my deep freezer to pre-freeze. This helps to reduce the freezing cycle on your freeze dryer.
Before starting the freeze-drying cycle, get the starting weight of each tray of food. I cycled the manicotti overnight or in a 20-hour cycle to freeze dry.
Once dried, weigh the trays again. The difference is how much liquid is needed to rehydrate your food. Transfer into mylar bags, add an oxygen absorber, and seal.
Are you looking to buy a home freeze dryer? Visit Harvest Right to start saving money by not wasting food now! *My affiliate link does not add cost to your purchase, but it does help BIWL continue creating great recipes for you.
💭 Angela's Pro Tips & Recipe Notes
- A piping bag works best. Using a piping bag is key to filling the pasta without tearing the manicotti. You can find them in most Walmart stores' party/wedding section.
- A ziptop storage bag also works. If you don't have a piping bag, a large zip-top storage bag with the corner snipped off will work, or you can use a small, long spoon in a pinch.
- Cook the pasta just shy of al dente. Undercook your manicotti just slightly so it is about 1 minute shy of al dente. The pasta will continue to cook in the oven as it bakes.
- The more cheese, the better. To make this a 3-cheese stuffed manicotti, add 1 cup mozzarella to the ricotta mixture.
- Cottage cheese works, too. Mix the ricotta and cottage cheese in a 50/50 ratio to add a tasty addition to the filling. This also makes it a 3-cheese filling.
>>>See All Of My Recipes Here!<<<
🥡 Storing & Reheating
Once cooled, wrap the manicotti dish tightly in plastic clingwrap or transfer it to an airtight container. Refrigerate for up to 4 days.
To make it in advance, follow the steps for assembling and filling manicotti until it's time to bake. Wrap tightly in plastic clingwrap and refrigerate for up to 1 day before baking, or freeze for up to 3 months.
Bake as directed, adding 5-10 minutes to account for refrigerated manicotti or 30 extra minutes if baking from frozen.
Reheating
Cover the entire baking dish with foil and bake at 350℉ (175℃/Gas Mark 4) for 15 minutes to reheat. Individual portions can be reheated in the microwave.
Heat on high for 1 minute, covered with a damp towel to reduce splatter and keep your pasta moist. Add 30-second increments until your portion is heated.
Do you love a recipe you tried? Please leave a 5-star 🌟rating in the recipe card below and/or a review in the comments section further down the page.
Stay in touch with me through social media @ Pinterest, Facebook, Instagram, or Twitter! Subscribe to the newsletter today (no spam, I promise)! Don't forget to tag me when you try one of my recipes!
📖 Recipe Card

Stuffed Manicotti With Italian Sausage
Ingredients
- 1 lb Italian sausage (optional)
- 24 oz pasta sauce (or marinara, spaghetti sauce, arrabiatta, or salsa di pomodoro)
- 32 oz ricotta
- 2 large eggs (at room temperature, beaten)
- ½ cup Parmesan cheese (shredded)
- ¼ cup basil (fresh, chopped - or use parsley)
- 1 teaspoon salt
- 8 oz manicotti (10-12 shells, cooked, drained, and rinsed)
- 1-2 cups mozzarella (shredded)
(Note: 2x or 3x only changes the ingredient list)
Instructions
Cook The Meat Sauce
- If using, brown 1 lb Italian sausage in a skillet over medium-high heat, draining the excess grease if needed.
- Combine with 24 oz pasta sauce and bring to a low boil. Reduce heat and simmer uncovered for 5-10 minutes.
Make The Ricotta Filling
- Preheat your oven to 350℉ (175℃/Gas Mark 4). Meanwhile, add 32 oz ricotta, 2 large eggs, ½ cup Parmesan cheese, ¼ cup basil, and 1 teaspoon salt to a large mixing bowl and mix until smooth. Fill a piping bag for the easiest stuffing.
- Grease a 9x13 baking dish then make a bottom layer using 1-1 ½ cups of the pasta sauce on the bottom.
Fill Manicotti Pasta
- Gently fill each of the 8 oz manicotti, starting at the center and working toward the end, then flip and fill from the other end. Place the filled manicotti in your prepared dish in two rows.
- Once all of the manicotti have been filled and placed in the dish, top with the remaining pasta sauce and 1-2 cups mozzarella.
Bake & Serve
- Bake at 350℉ (175℃/Gas Mark 4) for 40-45 minutes or until bubbling around the edges.
- Remove from oven and serve while hot.
Notes
- Using a piping bag is key to filling the pasta without tearing the manicotti. You can find them in most Walmart stores' party/wedding section.
- If you don't have a piping bag, a large zip-top storage bag with the corner snipped off will work, or you can use a small, long spoon in a pinch.
- Undercook your manicotti just slightly so it is about 1 minute shy of al dente. The pasta will continue to cook in the oven as it bakes.
- To make this a 3-cheese stuffed manicotti, add 1 cup mozzarella to the ricotta mixture.
- Mix the ricotta and cottage cheese in a 50/50 ratio to add a tasty addition to the filling. This also makes it a 3-cheese filling.
- I freeze-dried the leftovers in 4 small HarvestRight trays and placed them in my deep freezer to pre-freeze. I cycled them overnight or in a 20-hour cycle to freeze dry.
- Once cooled, wrap the manicotti dish tightly in plastic clingwrap or transfer it to an airtight container. Refrigerate for up to 4 days.
- To make it in advance, follow the steps for assembling and filling manicotti until it's time to bake. Wrap tightly in plastic clingwrap and refrigerate for up to 1 day before baking, or freeze for up to 3 months. Bake as directed, adding 5-10 minutes to account for refrigerated manicotti or 30 extra minutes if baking from frozen.
- Cover the entire baking dish with foil and bake at 350℉ (175℃/Gas Mark 4) for 15 minutes to reheat. Individual portions can be reheated in the microwave. Heat on high for 1 minute, covered with a damp towel to reduce splatter and keep your pasta moist. Add 30-second increments until your portion is heated.
Nutrition
Originally published April 6, 2024
Samantha says
this was delicious! It was easy to put together, however stuffing the shells proved to be a challenge for me, but my hubby stepped in and helped and made the process much easier - 4 hands rather than 2!!! Will definitely make again! thank you for the recipe.
Peggy Turner says
My family loved this!
정진호 says
너무도 칠절하고 자세한 레시피입니다
마치 만들고 있는 느낌...^^
다음주 쯤에 꼭 만들어보겠습니다
감사합니다
행복하세요~
"This is a very detailed recipe.
It feels like I'm making it...^^
I'll definitely make it next week
thank you
Be happy~"
Debbie H says
Made this recipe yesterday easy and delicious. I filled my shells with a spoon but when I make them again I will have a pastry bag☺️