
Pineapple pie filling is not only easy and quick to make, but it is a perfect addition to so many tasty desserts! You can use it in pies, ice cream, cobblers, and more! Not to mention, this homemade version tastes way better than anything you can find in a can.
Best Pineapple Pie Filling Recipe
If you've never tried a pineapple pie before, you have to! It is one of those desserts that, once you have tried it, you'll want to make it over and over again!
Of course, this pineapple pie filling has more uses than just pie. You can use it for so many different recipes and toppings!
Jump to:
- Best Pineapple Pie Filling Recipe
- 🥘 Pineapple Pie Filling Ingredients
- 🔪 How To Make Pineapple Pie Filling
- 💭 Angela's Pro Tips & Recipe Notes
- 🥡 Storing
- ❓ Is Flour Or Cornstarch Better For Pie Filling?
- ❓ Will My Pie Filling Thicken As It Cools?
- ❓ Can You Freeze Pineapple Pie Filling?
- 🍍 More Fruity Desserts
- 📖 Recipe Card
- 💬 Comments & Reviews
🥘 Pineapple Pie Filling Ingredients
You might already have all of these ingredients on hand, even the canned pineapple! Feel free to use some fresh pineapple if you prefer.
- Sugar - 1½ cups of sugar.
- Corn Starch - ⅓ cup of corn starch.
- Crushed Pineapple - 1 20-ounce can of crushed pineapple (with juice).
- Pineapple Tidbits - 1 20-ounce can of pineapple tidbits (with juice).
- Lemon Juice - 2 tablespoons of lemon juice.
*Be sure to see the free printable recipe card below for ingredients, exact amounts & instructions with tips!*
🔪 How To Make Pineapple Pie Filling
This pie filling is incredibly easy, just make sure to stir it constantly! You're going to need a saucepan and a silicone spatula to get started!
This recipe will make you enough filling for a pie, as well as to have some leftover!
- Add ingredients. To begin, add 1½ cups of sugar, ⅓ cup of cornstarch, 2 cans of pineapple (with the juice), and 2 tablespoons of lemon juice to a medium-sized saucepan.
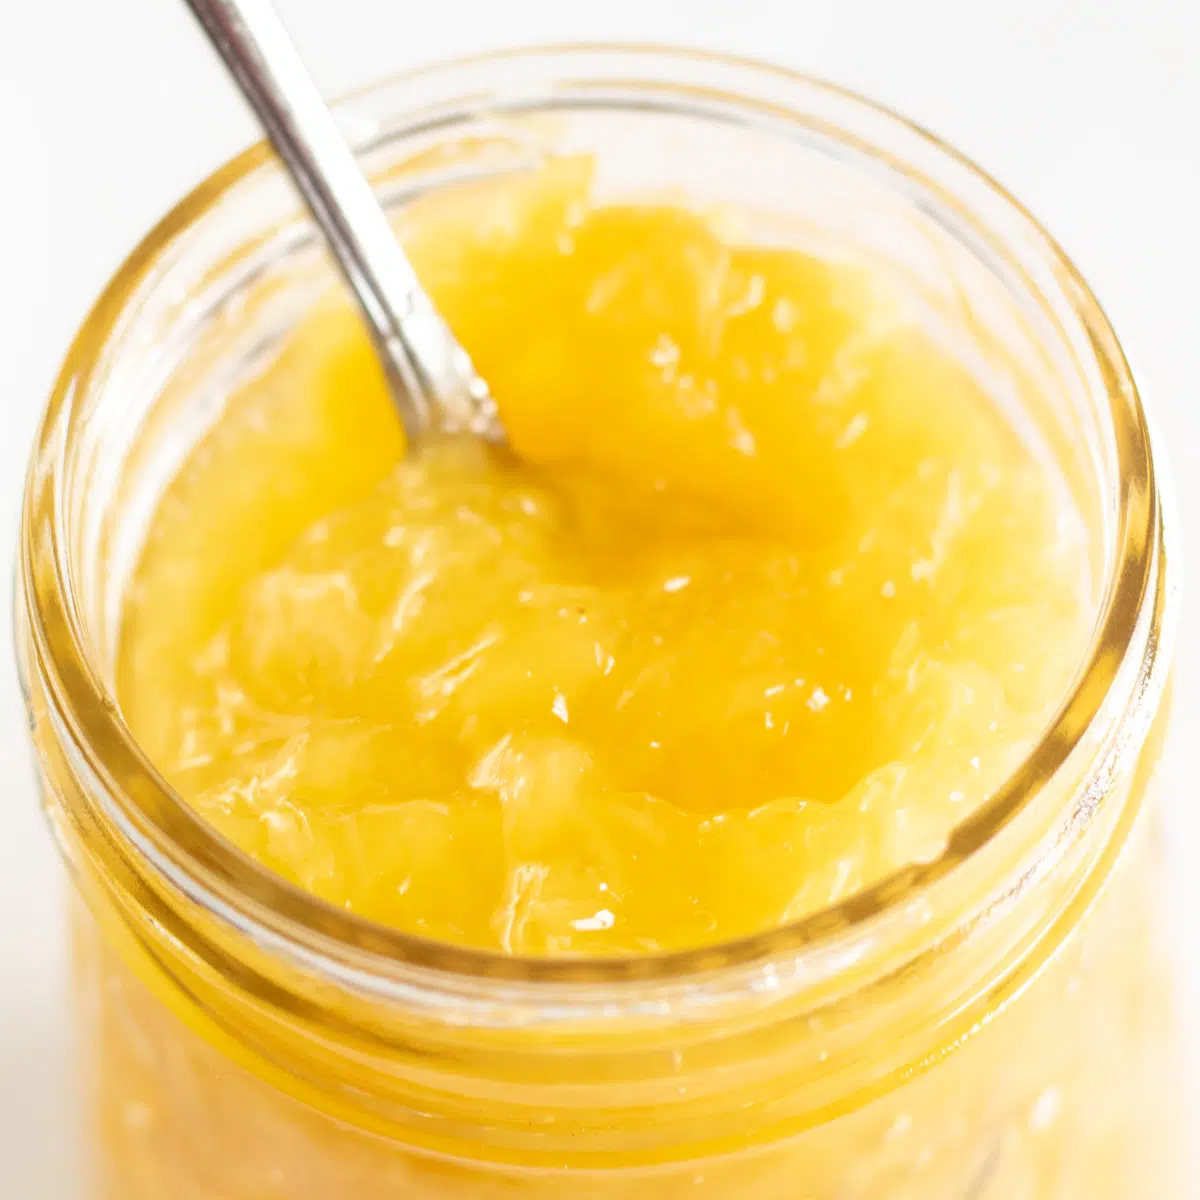
- Cook. Cook the pie filling over medium heat, making sure to stir it constantly until it thickens (about 2 minutes). Then, boil it for 1 minute before removing it from the heat.
- Cool. If using immediately in a pie, allow the filling to cool before pouring it into a pie crust. Otherwise, allow it to cool completely before storing.
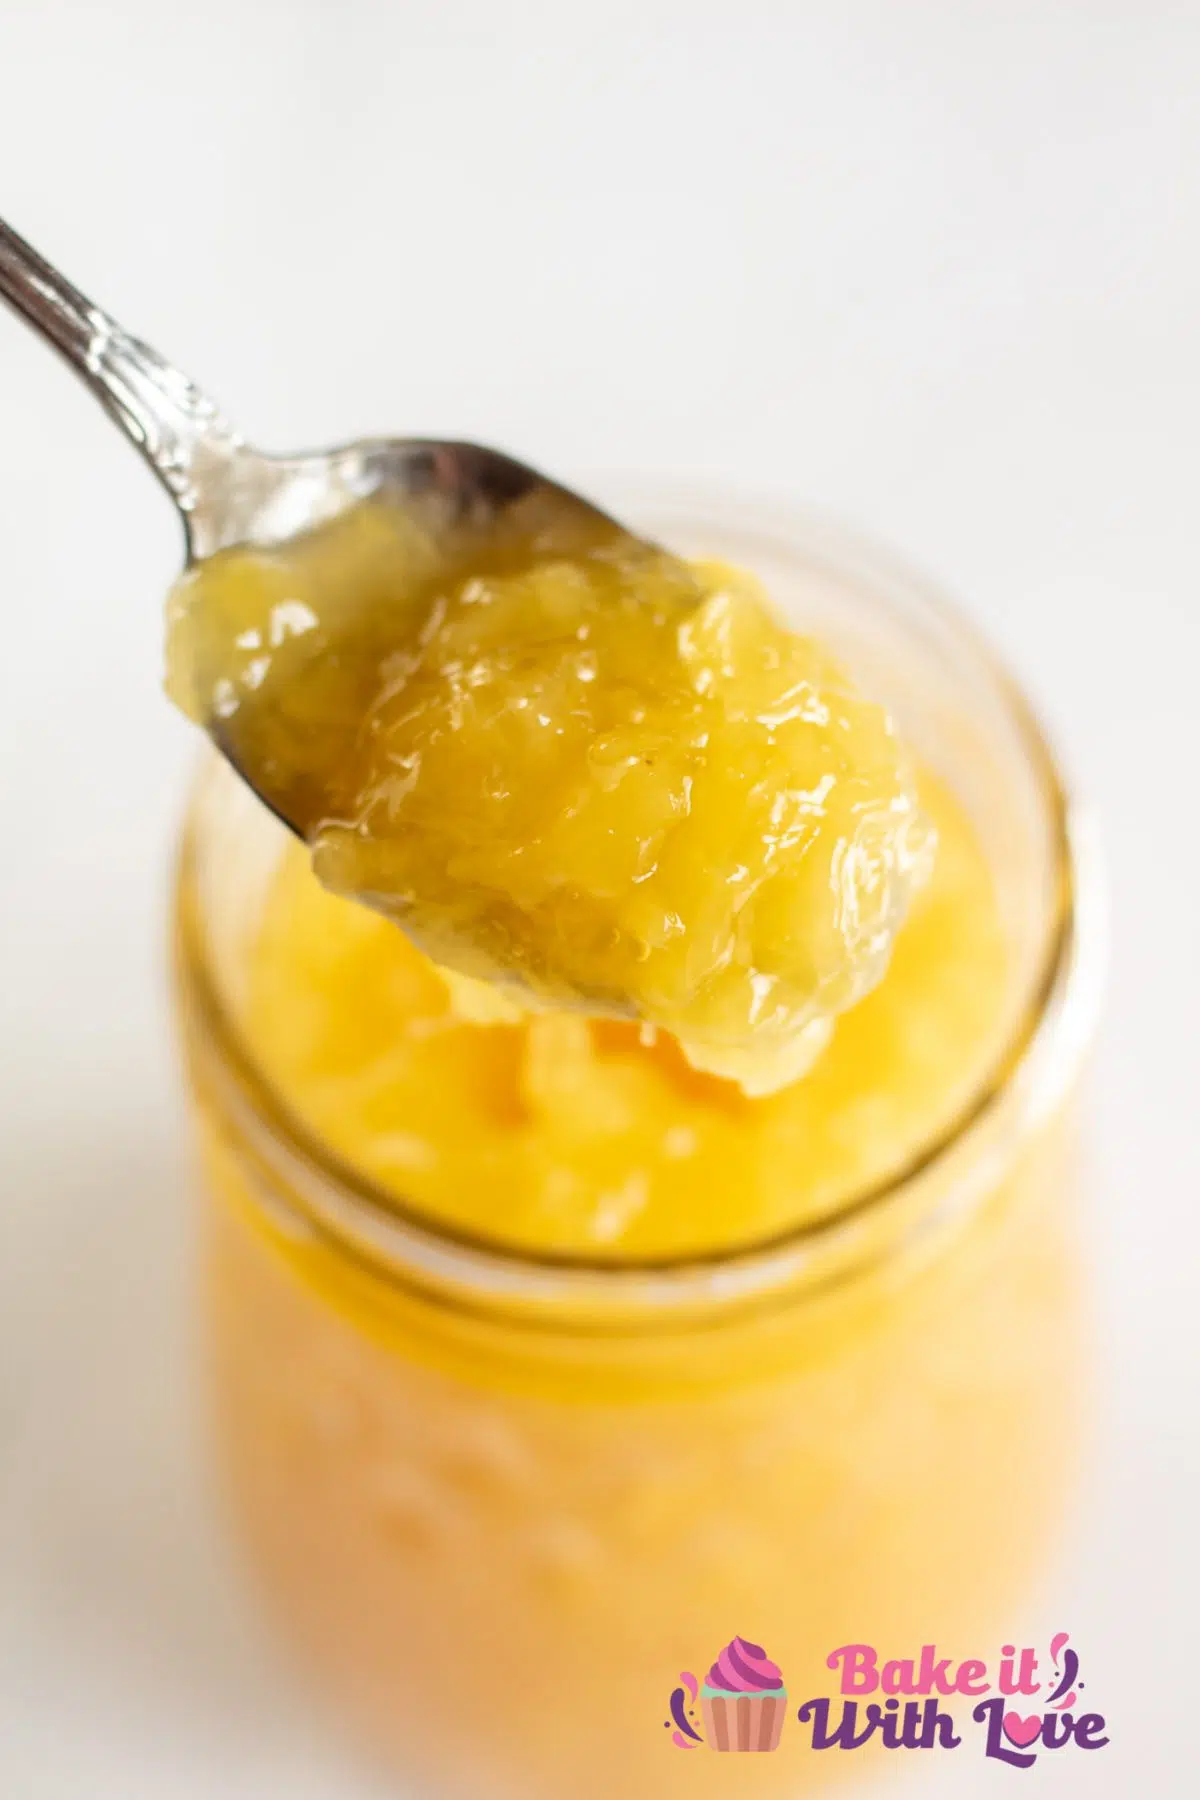
In addition to an amazing pineapple pie, use this filling inside of cakes or on top of pancakes! Its also super tasty with some ice cream or mixed together in a yogurt parfait! Enjoy!
💭 Angela's Pro Tips & Recipe Notes
- If you only have a can of pineapple chunks on hand, you can run it through your food processor to make a perfect crushed pineapple substitute.
- You can use 2 cans of pineapple tidbits or crushed pineapple (instead of 1 of each), but using both adds a great texture to the filling!
- Using fresh pineapple for this recipe is an amazing upgrade!
- If you are worried about your filling being too sweet, start with half of the amount of sugar and add more from there.
- You can also use a half-and-half mixture of brown sugar and white sugar to add a molasses flavor!
- If you are using this pie filling for a pie, depending on the size and depth of your pan, you may have some filling left over. Serve the extra over a scoop of ice cream when serving your pineapple pie.
- Don't melt your pastry by adding hot filling! Do let this pineapple mix cool before filling a pie.
🥡 Storing
If you have leftovers or are making it in advance, place the filling into an airtight container and store it in the fridge for up to 5 days.
Once your filling is completely cooled, you can freeze it by pouring it into a large freezer bag and squeezing out any excess air. Lay it flat in the freezer for up to 3 months.
❓ Is Flour Or Cornstarch Better For Pie Filling?
Cornstarch is my preferred thickening agent for pie filling. It works faster than flour does and gives the filling a nice and glossy appearance!
❓ Will My Pie Filling Thicken As It Cools?
Yes! If you think that your pie filling is too runny when you take it off the heat, don't worry! Not only did it thicken while it was cooking, but it will thicken further as it cools off (and even more so in the refrigerator).
❓ Can You Freeze Pineapple Pie Filling?
Yep! Just make sure that it is cooled completely before you put it into a storage bag (and squeeze out any excess air). Lay it flat in the freezer for up to 3 months. Let it thaw in the fridge overnight before using.
🍍 More Fruity Desserts
- Nectarine Cobbler
- Pineapple Bars
- Strawberry Pineapple Lemonade Bars
- Blueberry Buckle
- 2 Ingredient Lemon Bars
- Pineapple Sunshine Cake
Do you love a recipe you tried? Please leave a 5-star 🌟rating in the recipe card below and/or a review in the comments section further down the page.
Stay in touch with me through social media @ Pinterest, Facebook, Instagram, or Twitter! Subscribe to the newsletter today (no spam, I promise)! Don't forget to tag me when you try one of my recipes!
📖 Recipe Card

Pineapple Pie Filling
Ingredients
- 1½ cups sugar
- ⅓ cup corn starch
- 20 oz crushed pineapple (1 20-ounce can, with juice)
- 20 oz pineapple tidbits (1 20-ounce can, with juice)
- 2 tablespoon lemon juice
(Note: 2x or 3x only changes the ingredient list)
Instructions
- To begin, add your sugar, cornstarch, canned pineapple (with the juice), and lemon juice to a medium-sized saucepan.
- Cook the pie filling over medium heat, making sure to stir it constantly until it thickens (about 2 minutes). Then, boil it for 1 minute before removing it from the heat.
- If using immediately in a pie, allow the filling to cool slightly before pouring it into a pie crust. Otherwise, allow it to cool completely before storing.
Notes
- If you only have a can of pineapple chunks on hand, you can run it through your food processor to make a perfect crushed pineapple substitute.
- You can use 2 cans of pineapple tidbits or crushed pineapple (instead of 1 of each), but using both adds a great texture to the filling!
- Using fresh pineapple for this recipe is an amazing upgrade!
- If you are worried about your filling being too sweet, start with half of the amount of sugar and add more from there.
- You can also use a half-and-half mixture of brown sugar and white sugar to add a molasses flavor!
- If you are using this pie filling for a pie, depending on the size and depth of your pan, you may have some filling left over. Serve the extra over a scoop of ice cream when serving your pineapple pie.
- Don't melt your pastry by adding hot filling! Do let this pineapple mix cool before filling a pie.
- To store: Place this filling into an airtight container and store it in the fridge for up to 5 days.
- To freeze: Once your filling is completely cooled, you can freeze it by pouring it into a large freezer bag and squeezing out any excess air. Lay it flat in the freezer for up to 3 months.
Beatriz says
I love this recipe. It's easy. I use it for pastes as known in Hildalgo, MX ... some may know it as an empanada.
Sue says
I read the recipe and it sounds great, I have a family recipe for pineapple bars and it calls for 2 cans of pineapple pie filling..so by making your homemade recipe..is the 1x enough or do I need to double it? Ty!
Angela Latimer says
This uses 2 cans of pineapple as the base, which will equal your 2 cans of filling for the recipe. Enjoy!
KC says
Used this filling for little tarts and also for filled sugar cookies!
Love that you can add fresh pineapple to the crushed to bring in more flavor and texture!
I appreciate the information about cornstarch differences if I change the recipe.
Firma says
My go to pineapple filling. Love the simplicity, it’s easy to adapt it and delicious to boot💜💜💜
PK says
Hello there
I absolutely loved your recipe, I’m wondering, can you make this recipe with out fruit? Just fruit juices?
Angela @ BakeItWithLove.com says
This recipe relies on the juice to make it so great, so yes, I would make it using just juice too. You'll need the same amount of liquid (20 ounces x2 = 40 ounces or 5 cups) but it is very likely you'll need to increase the cornstarch by a couple of tablespoons. Let me know how it turns out. Thanks for asking!
Marty says
I have frozen pineapple chunks to use. What amount would be used in substitution?
Angela @ BakeItWithLove.com says
Each 8 ounces of pineapple (roughly) is 1 cup, so you'll need approximately 5 cups of pineapple (fresh or frozen and thawed). Thanks for asking!
Patricia says
This pie filling is my go to now to top and for inside layer of my lady finger cheesecake, thank you so much for sharing! It is worth the effort , not that it takes much. Delicious. Will never use can again.
elaine says
canyou can this recipe
Angela @ BakeItWithLove.com says
From the recipe comments: "Because pineapple has a high acidity, it can be canned using a water bath (rather then pressure canning). Make the filling and seal with new, sterile lids and cleaned and sterilized jars and bands. Leave a 1/2 inch head space in the jars and carefully tamp the jars on your counter to remove air bubbles. Pint jars will need to be boiled for 15 minutes, quarts for 20 minutes. Store cooled jars in a cool, damp place for best storing."
Anonymous says
Reduced sugar to 1 cup. Really good recipe.
Baker'sdream says
Excellent recipe! It was truly delicious! Bye, Lucky Leaf!!! Thank you so very much for sharing this awesome recipe!
Carol Gibson says
Thanks for the recipe. My grandmother used to make this and when I now make it its always both a surprise and a hit! I only use crushed pineapple though; not the tidbits.
Angela @ BakeItWithLove.com says
I've used the crushed pineapple too, and a combination of crushed and tidbits. It's wonderfully tasty no matter which you use. 🙂
Lucille Carling says
Hi Angela 🤗... Love pineapple pie also apple, I was wondering if these two can be put together in one pie ? If so how much do I use for each ingredient? Thank you for sharing and thank you in advance for your response. Z🦋
Angela @ BakeItWithLove.com says
You will need approximately a 20-ounce can (it can range anywhere from 18-21 ish ounces) and make sure that it's drained, but some of the juice is used in the filling. Cut up 2 large or 3 medium-sized apples (about 1 pound) so that you have approximately 2-2 1/2 cups of chopped apples. I would use 1/4-1/3 cup flour to set the mixure and I like both cinnamon and nutmeg with the combo. 🙂 Let me know if you have any other questions (and now I need to go bake this pie!).
Jean Priday says
Can I can this recipe and if so how long in hot bath?
Angela @ BakeItWithLove.com says
Because pineapple has a high acidity, it can be canned using a water bath (rather then pressure canning). Make the filling and seal with new, sterile lids and cleaned and sterilized jars and bands. Leave a 1/2 inch head space in the jars and carefully tamp the jars on your counter to remove air bubbles. Pint jars will need to be boiled for 15 minutes, quarts for 20 minutes. Store cooled jars in a cool, damp place for best storing.
kelsey dugas says
how long is it good for in the refrigerator?!
Angela @ BakeItWithLove.com says
Per the storing info and recipe card- "To store: Place this filling into an airtight container and store it in the fridge for up to 5 days." Thanks for asking!
Leslie says
I used fresh pineapple, crushed half and cubed half. I Crushed it to find so added a can of chunks and a bit more of the juice, so it wasn't too thick. The lemon gives it brightness. Tastes amazing!
Texas mom says
Love the simplicity of ingredients and the suggested modifications. I went with tapioca starch since I was out of cornstarch and then half sugar in the raw and half coconut sugar. However, I didn’t have a lemon and figured that the acidity in pineapple would be enough so I left out the lemon juice. Seemed fine to me - what is the purpose of the lemon juice?
Angela @ BakeItWithLove.com says
The lemon is used for highlighting the pineapple flavor, that's all. 🙂