

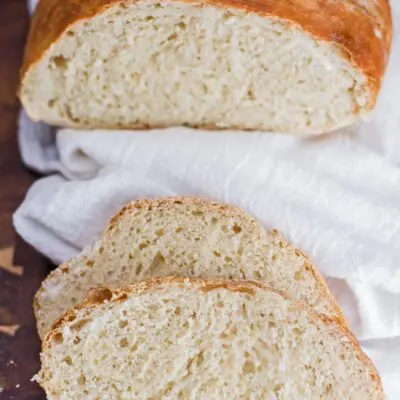
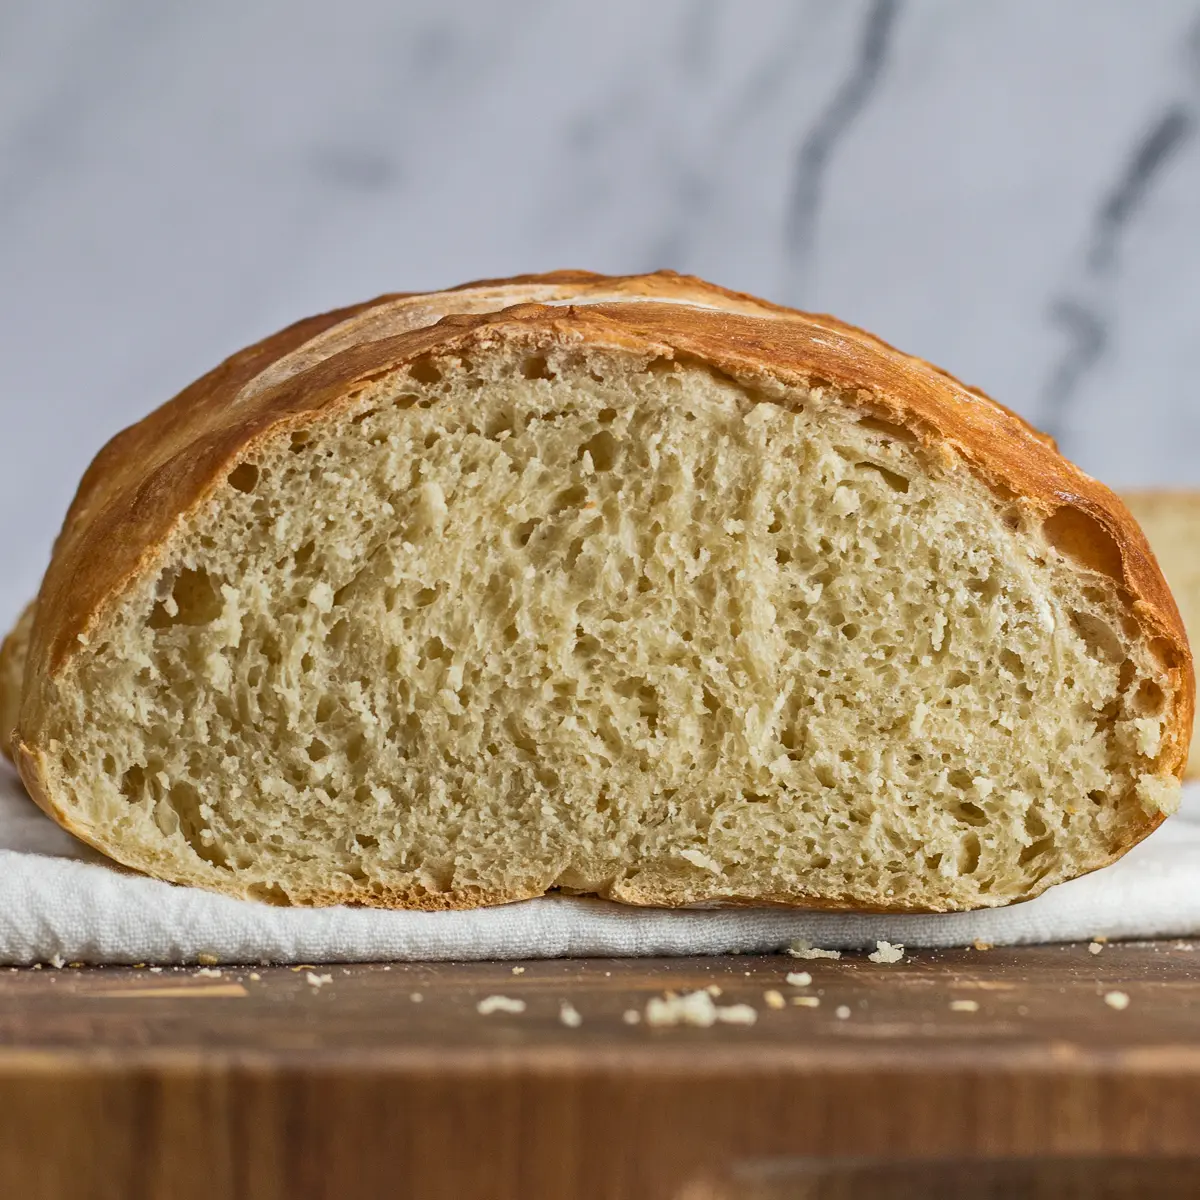
This rustic bread is an easy-to-make tasty bread with a delightful crust and the perfect amount of chewiness! Mix up your dough, let it rise, then turn it out and shape it with as little handling as possible for a super all-purpose bread that the whole family will love! You don't even have to knead the dough!
Rustic Bread Recipe (Easiest No-Knead Method)
When it comes to bread baking, I love simple homemade bread recipes like this easy, no-knead rustic bread! It doesn't require a stand mixer, there's no kneading; all you have to do is just mix it up by hand and let it rise!
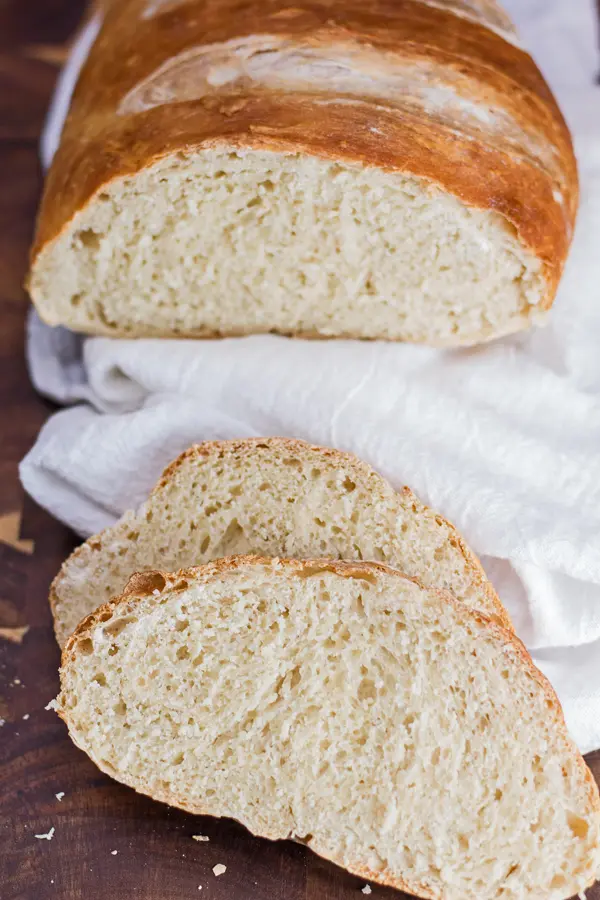
The bread bakes up beautifully and has a wonderful, chewy texture with a tender crumb. It's a perfect bread for sandwiches, French toast, or served with tasty soup or even pasta meals!
Jump to:
🥘 Rustic Bread Ingredients, Notes, & Substitutions
- Water - 3 cups of water. Warm water, to be exact! Your water needs to be between 100ºF (38ºC) and 110ºF (43ºC) for the yeast to 'bloom' correctly. Use a digital thermometer to make sure that the water isn't too cold or too warm.
- Active Dry Yeast - one packet of active dry yeast, which equals 2¼ teaspoons.
- Sugar - 1 tablespoon of sugar to feed the yeast and start the blooming process!
- All-Purpose Flour - about 6 cups or 750 grams of flour to start out with. Depending on the weather, I have added up to 1 additional cup of flour to reach my desired dough consistency. I also typically use between ½ to 1 cup for my working surface and then sprinkle flour over the dough to prevent it from sticking to my fingers.
- Salt - 3 teaspoons of salt. Just enough to add delicious flavor to your bread!
*Be sure to see the free printable recipe card below for ingredients, exact amounts & instructions with tips!*
Can I Use Instant Yeast
Yes! Definitely! If you're like me and have been to the store and only found one type of yeast available at a time lately, you can also use rapid-rise (or instant) yeast.
To use instant yeast, reduce the amount of yeast by 25% to equal 1.6875 teaspoons (or 1½ teaspoons plus a dash, which is ¹⁄₁₆ of a teaspoon or half a pinch ).
Of course, you don't have to be so exacting; a simple substitution of 1½ teaspoons instant yeast will work quite well!
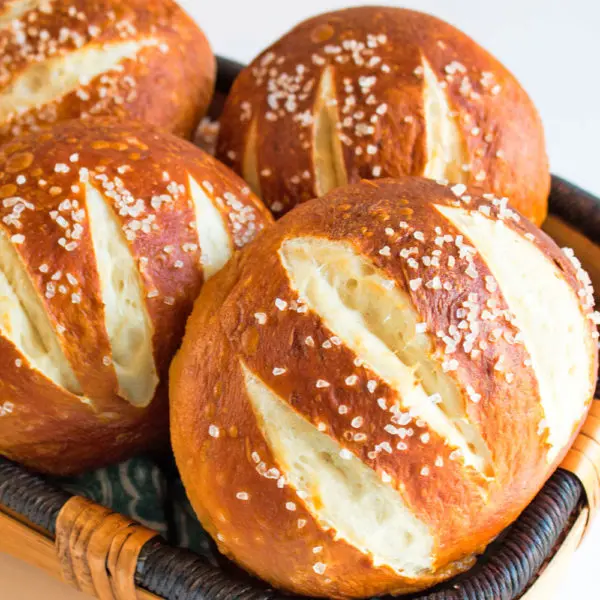
Check out my perfectly chewy Pretzel Buns too! They're super tasty, and the recipe is chocked-full of tips, including a video for making these burger buns amazing every time!!
🔪 How To Make Rustic Bread
Making this easy, crusty artisan bread is a snap! The hardest part? Trying NOT to handle the dough too much!
You will need a large bowl, your measuring cups, a bench scraper, a knife, and a baking sheet.
This recipe will yield 2 loaves of rustic bread or about 30 slices.
Mix the Bread Dough
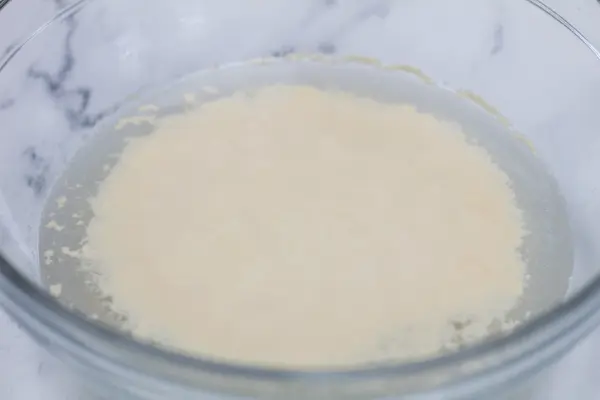

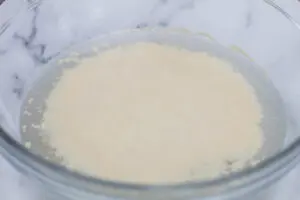
Step 1: Combine. Combine 3 cups (710 milliliters) of warm water (100-110ºF or 38-43ºC) with a packet of your active dry yeast and 1 tablespoon (15 grams) of sugar in a large bowl.
Step 2: Bloom. Allow the yeast to 'bloom' for 5 - 10 minutes or until frothy.
Step 3: Add. Weigh or measure out 6 cups (750 grams) of flour and add it to the yeast and water, then add 3 teaspoons (15 grams) of salt.
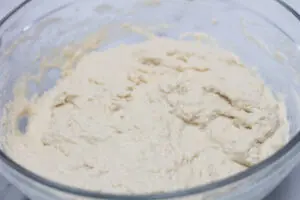
Step 4: Mix. Mix the ingredients until all of the flour has been incorporated. Add more flour if the dough is too wet. It should form a loose ball that, when stirred, pulls away from the sides of the bowl.
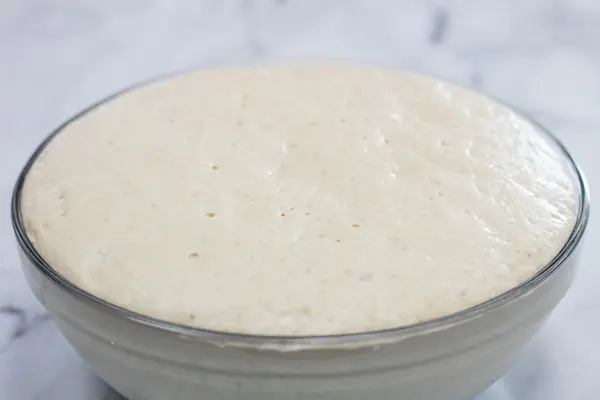
Step 5: Rise. Cover the dough with a damp towel or greased plastic wrap and allow it to rise for 1-2 hours, or until doubled in size.
Shape the Bread Dough
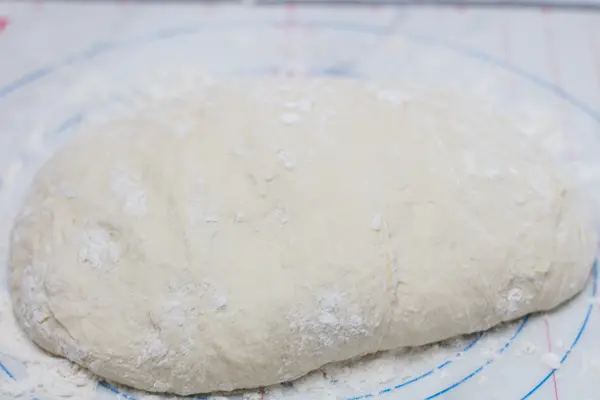


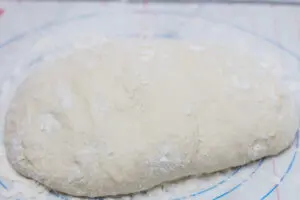
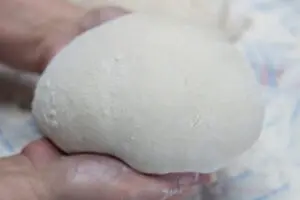
Step 6: Portion. Turn the dough out onto a generously floured work surface, and sprinkle with flour until you can handle the dough enough to turn it under itself. Shape the dough so that it can be cut into two even halves. Using a bench scraper, cut the dough into two portions.
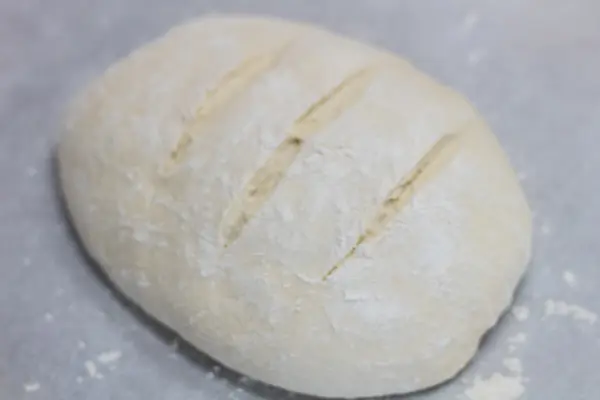
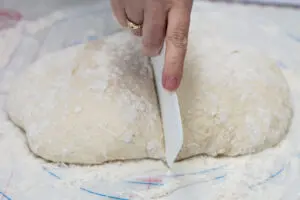
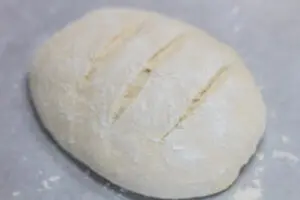
Step 7: Shape. Shape two loaves or round boules from the halves with minimal handling. Use a sharp knife and make 3 - 4 slits (between ¼ inch to ½ inch deep) in a loaf or crossed slits over the top of round boules.
Step 8: Rise. Allow the shaped loaves to rise for 20 - 30 minutes. For easy transferring to my preheated oven, I leave my loaves on individual sheets of parchment paper. *You want enough parchment paper to handle the bread spreading and to allow you some edges to pull and transfer the dough. Excess parchment paper that touches the sides of the oven may burn, so trim accordingly.
Baking Your Rustic Bread
There are a couple of ways to bake your bread, but I prefer my loaves that are transferred directly onto a heated pizza stone or cookie sheet. I use my large jelly roll sheets and turn them upside down so that I can easily transfer bread on and off while baking.
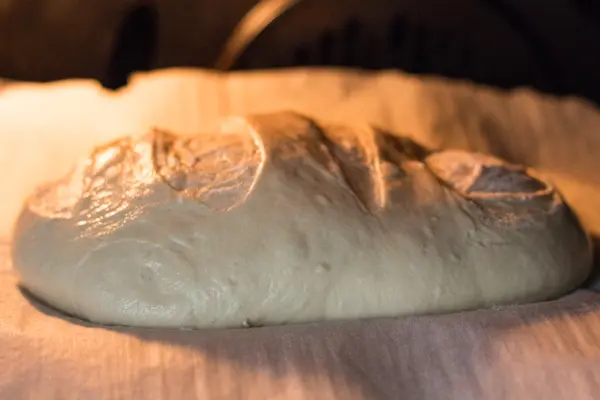
Step 9: Preheat. While the shaped dough is rising, start your oven preheating to 450ºF (230ºC/Gas Mark 8). Leave a pizza stone or cookie sheet in the oven to preheat as well.
Step 10: Prepare water. Fill a baking dish with 2 inches of water and have it ready to add to the oven with your bread loaves. Then, carefully transfer the risen bread loaves into your oven once it is fully heated.
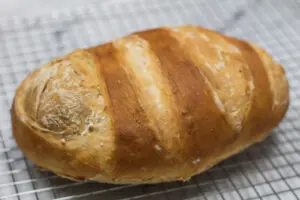
Step 11: Bake. Bake for 25 - 30 minutes or until the bread is golden brown and has an internal temperature of 190ºF (90ºC). Tapping on the bottom of the loaf should also produce a hollow sound when the bread is nicely done.
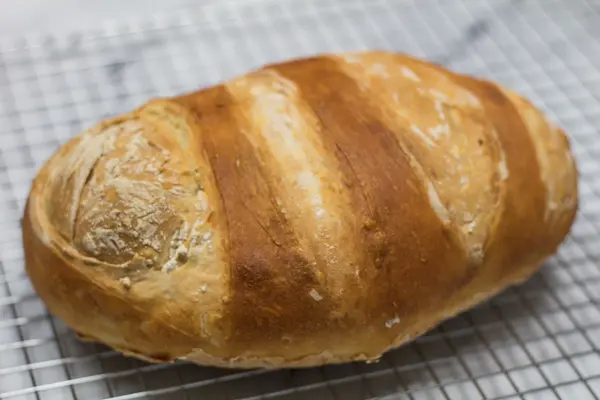
Step 12: Cool. Once done, remove the bread and allow it to cool on a wire cooling rack for one hour before slicing, serving, or storing.
💭 Angela's Pro Tips & Recipe Notes
- Weigh out your flour for the most accuracy. If you don't have a food scale, measure your flour by fluffing it up with a fork and then using a spoon to scoop it into your measuring cup. Finally, level off the top with a knife.
- To check if your bread is done baking, use an instant-read thermometer. Insert it into the center of the bread. The internal temperature of bread should be 190ºF (90ºC).
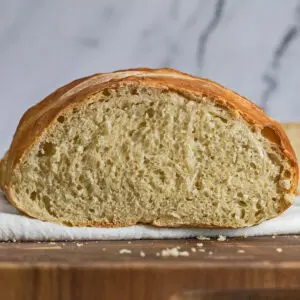
- To prevent your bread from deflating, hold off on slicing it until it has been cooling for at least an hour.
🥡 Storing
To best maintain the delightfully crisp crust of your easy homemade artisan bread, use a paper bag for storing the remaining bread. However, because I want some longevity to my loaves, I wrap them in aluminum foil over plastic wrap and then refrigerate or freeze the unused loaves.
Even slices can be placed into plastic storage bags and stored for later! To thaw any frozen bread, leave it in the wrapping or storage bag and allow it to thaw on the kitchen counter.
>>>>See all of my recipes here<<<<
❓ Recipe FAQs
This is another resounding yes! I love the resulting chewy, pull-apart crust that the bread bakes up with after whipping up a quick egg wash and brushing it onto the shaped loaves! Or brush some melted butter and coat the whole loaf before making the slits!
Partially. 100% whole wheat flour makes a dense loaf that doesn't rise as well for this easy rustic, artisan bread.
Instead, use 4 cups all-purpose flour + 2½ cups whole wheat flour for a beautifully tender, chewy bread loaf!
Yes, and it's a perfect loaf that bakes up! Instead of transferring your round boule loves onto a preheated baking sheet or pizza stone, preheat the Dutch oven instead.
The pot will be hot, so use care when lifting it out of the oven and transferring the loaf in!
Use the edges of the parchment paper to transfer the round loaf into the heated Dutch oven, cover, then return to the oven and bake for 30 minutes. Remove the lid and bake for an additional 10 - 12 minutes or until golden brown.
🥖 More Bread Recipes
- Oven Garlic Bread - This classic garlic bread can be soft and chewy or wonderfully crispy.
- Homemade Panko Breadcrumbs - Perfect Panko breadcrumbs can be used in many different recipes.
- Jiffy Jalapeno Cornbread - An easy homemade cornbread recipe with a zesty twist.
- Traditional Irish Soda Bread - 4-ingredient bread that requires no yeast or kneading.
- Whole Wheat Bread From Scratch - Simple all-purpose sandwich bread that is incredibly versatile.
- Naan Bread - A soft and pillowy flatbread that pairs fantastically with so many things!
Do you love a recipe you tried? Please leave a 5-star 🌟rating in the recipe card below and/or a review in the comments section further down the page.
Stay in touch with me through social media @ Pinterest, Facebook, Instagram, or Twitter! Subscribe to the newsletter today (no spam, I promise)! Don't forget to tag me when you try one of my recipes!
📖 Recipe Card
Rustic Bread
Ingredients
- 3 cups water (warm - between 105-110 degrees F,40-43 degrees C)
- 1 package active dry yeast (or 2 ¼ teaspoons)
- 1 tablespoon sugar
- 6 cups all-purpose flour (plus more for your work surface after rising)
- 3 teaspoon salt
(Note: 2x or 3x only changes the ingredient list)
Instructions
Mix the Rustic Bread Dough
- In a large mixing bowl or the bowl of your stand mixer, add the warm water, yeast, and sugar. Allow the yeast to 'bloom' for 5-10 minutes until frothy.

- Add the flour (weighed at 750 grams is best practice) and salt on top of the flour. Mix until the dough comes together, pulling away from the edges of the bowl. Be sure that all of the flour has been incorporated into the dough evenly.
- Cover the bowl of dough with either a damp kitchen towel or a sheet of plastic cling film (it's best to grease or spray the cling film with non-stick spray as the bread will rise and meet the plastic wrap). Allow the bread to rise for 1-2 hours, or until doubled in size.
- The risen dough should double in size to the point where, depending on the size of your bowl, you may need to remove the covering. Prepare your work surface with a generous amount of flour for turning out the dough.

Shape the Bread Loaves
- Turn the dough out onto your floured work surface and sprinkle with enough flour to handle the dough. Gently fold dough under itself into a loaf shape so that you can cut into two halves.
- Using a bench scraper, cut the dough into halves.
- Shape the dough into two loaves or round boules without handling them too much.
- Slice 3-4 slits into the top of loaves or a cross pattern into a round loaf using a sharp knife. Leave the shaped loaf on a sheet of parchment paper to easily transfer to a preheated baking sheet.
Baking Your Rustic Bread
- Preheat your oven to 450°F (230°C) and place a pizza stone or cookie sheet in the oven to heat up as well. Place a baking dish with about 2 inches of water on the tray below your bread (I use my 8x8 baking dishes for this).
- While your oven is preheating, leave the loaves to rise for 30 minutes. At that time, carefully transfer the shaped loaves onto your preheated pizza stone or baking sheet.
- Bake at 450°F (230°C) for 25-30 minutes. The bread should be golden brown on the top, have an internal temperature of 190°F (90°C), and sound hollow when tapped on the bottom. This is when your bread is fully baked.
- Remove the bread from your oven and allow it to cool on a wire cooling rack for one hour before slicing or storing.

anita says
Odlično objašnjeno
Hvala ti
(Excellently explained
Thank you)