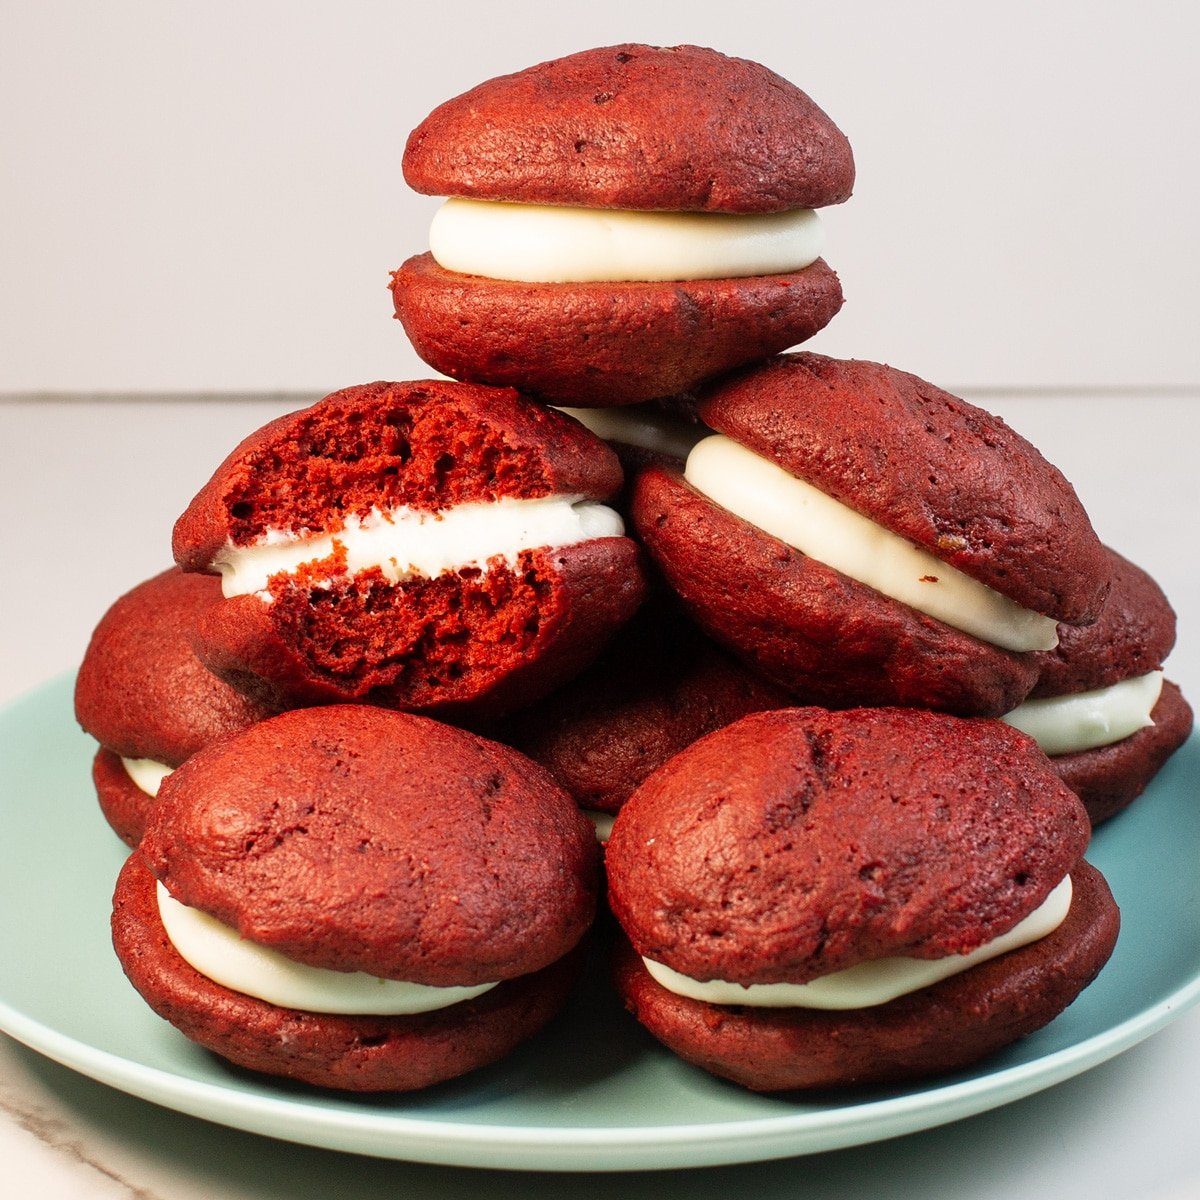
Sweet red velvet whoopie pies combine tender red velvet cookies sandwiched around cream cheese buttercream frosting. The classic red velvet combination makes the perfect cookie sandwich with the tangy filling highlighting the sweet cake-like cookies. They're an ideal treat for Valentine's Day but easy enough to make whenever you have a craving for red velvet.
Take a look at more of my red velvet treats, like my red velvet blossoms, red velvet crinkle cookies, and red velvet cake.
Jump to:
I made these red velvet whoopie pies by tweaking my traditional chocolate whoopie pies but swapped out the filling for some delicious cream cheese frosting. If you're a red velvet fan, these are pretty hard to beat.
The pretty red color makes them perfect for Valentine's Day or Christmas cookie baking, but they are 100% great for any occasion. Add a dusting of powdered sugar to make them look stunning.
🥘 Ingredients
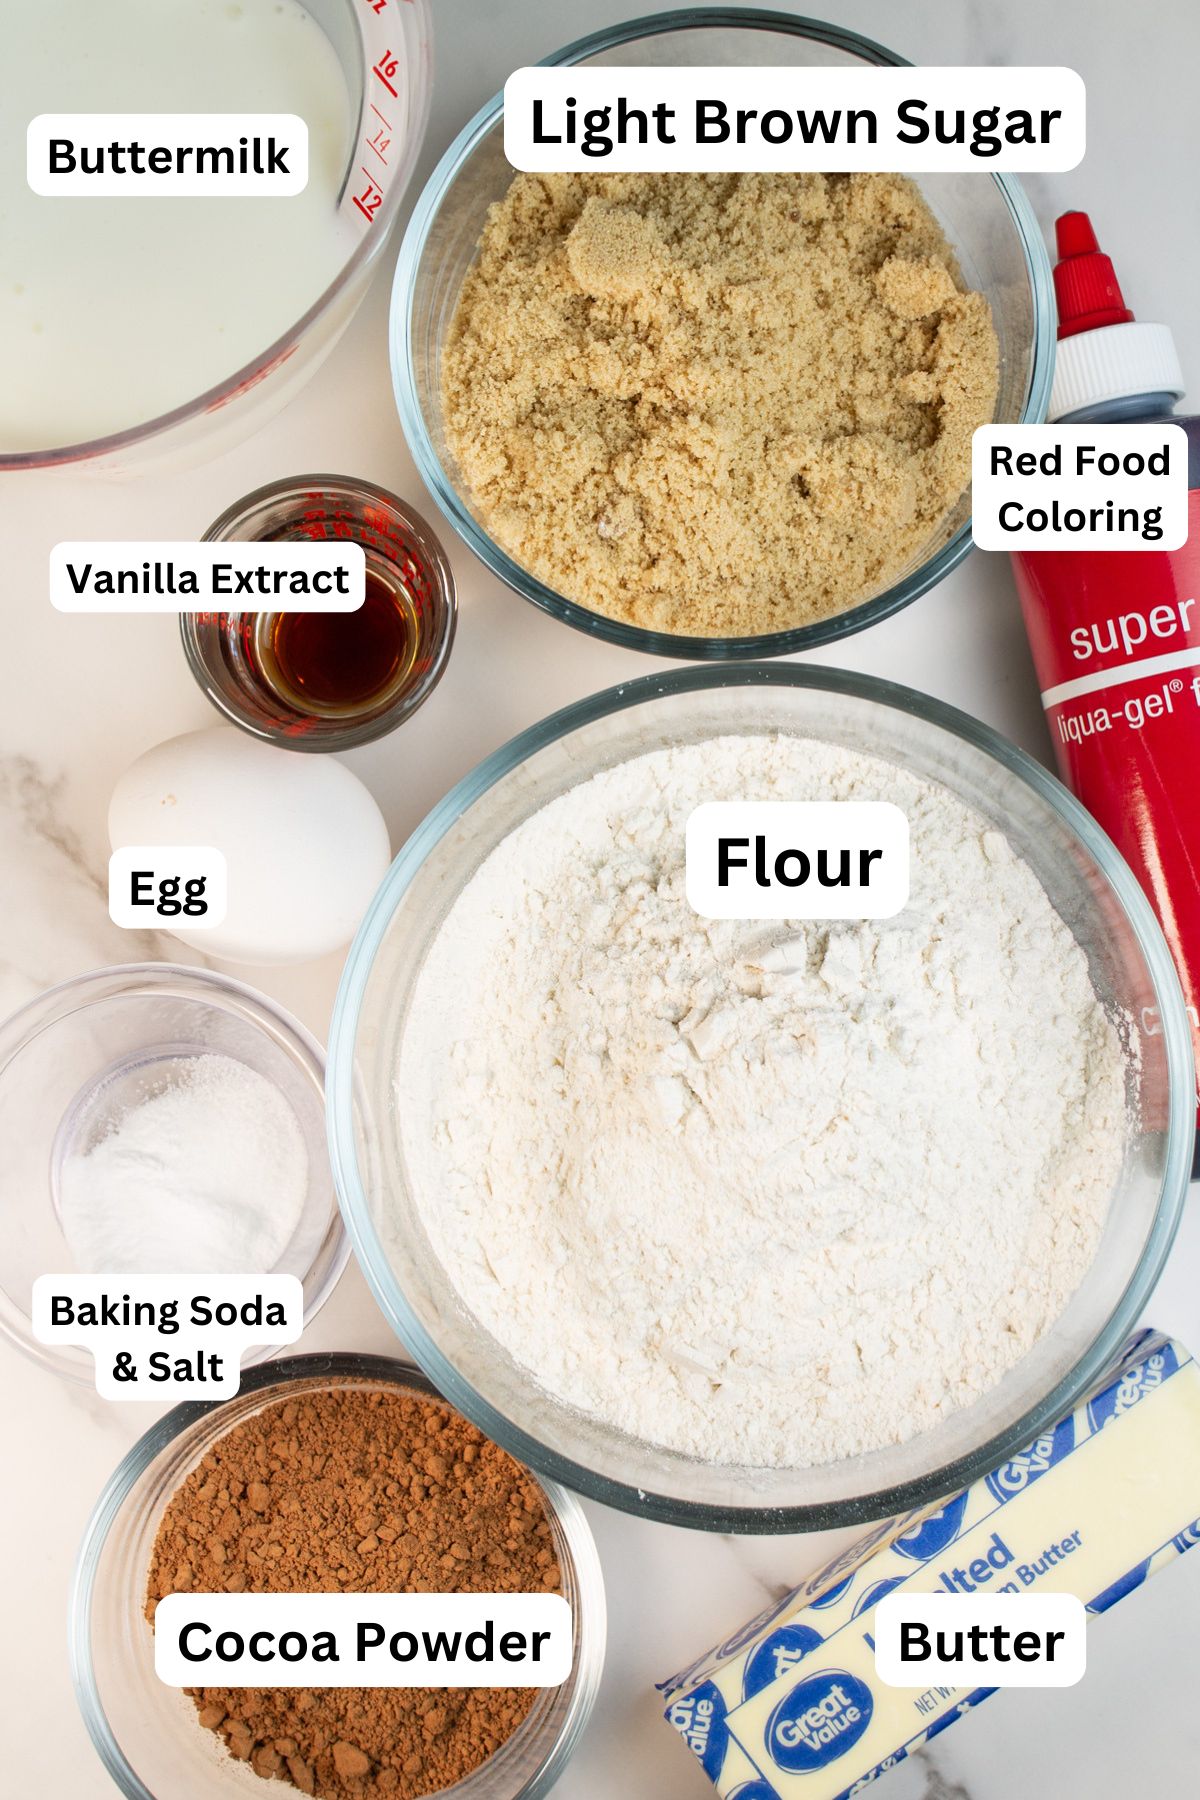
Red Velvet Whoopie Pie Cakes
- All-Purpose Flour - Make sure you measure your flour by fluffing it up, scooping it into your measuring cup with a spoon, and then leveling off the top with a knife (spooned and leveled).
- Cocoa Powder - You can use regular unsweetened cocoa powder, Dutch-processed cocoa powder, or dark cocoa.
- Baking Soda - Some baking soda to help the cakes rise.
- Salt - Just a little salt to highlight ingredient flavors and balance the sweetness of the cookies.
- Butter - Let your butter come to room temperature before getting started.
- Brown Sugar - I like to use light brown sugar, but dark brown sugar would work, too.
- Egg - Let the egg come to room temperature, too.
- Vanilla - Use pure vanilla extract for the best flavor.
- Red Food Coloring - Use gel food coloring for a deep red color best suited to red velvet recipes.
- Buttermilk - I recommend using actual buttermilk rather than a buttermilk substitute for the best results.
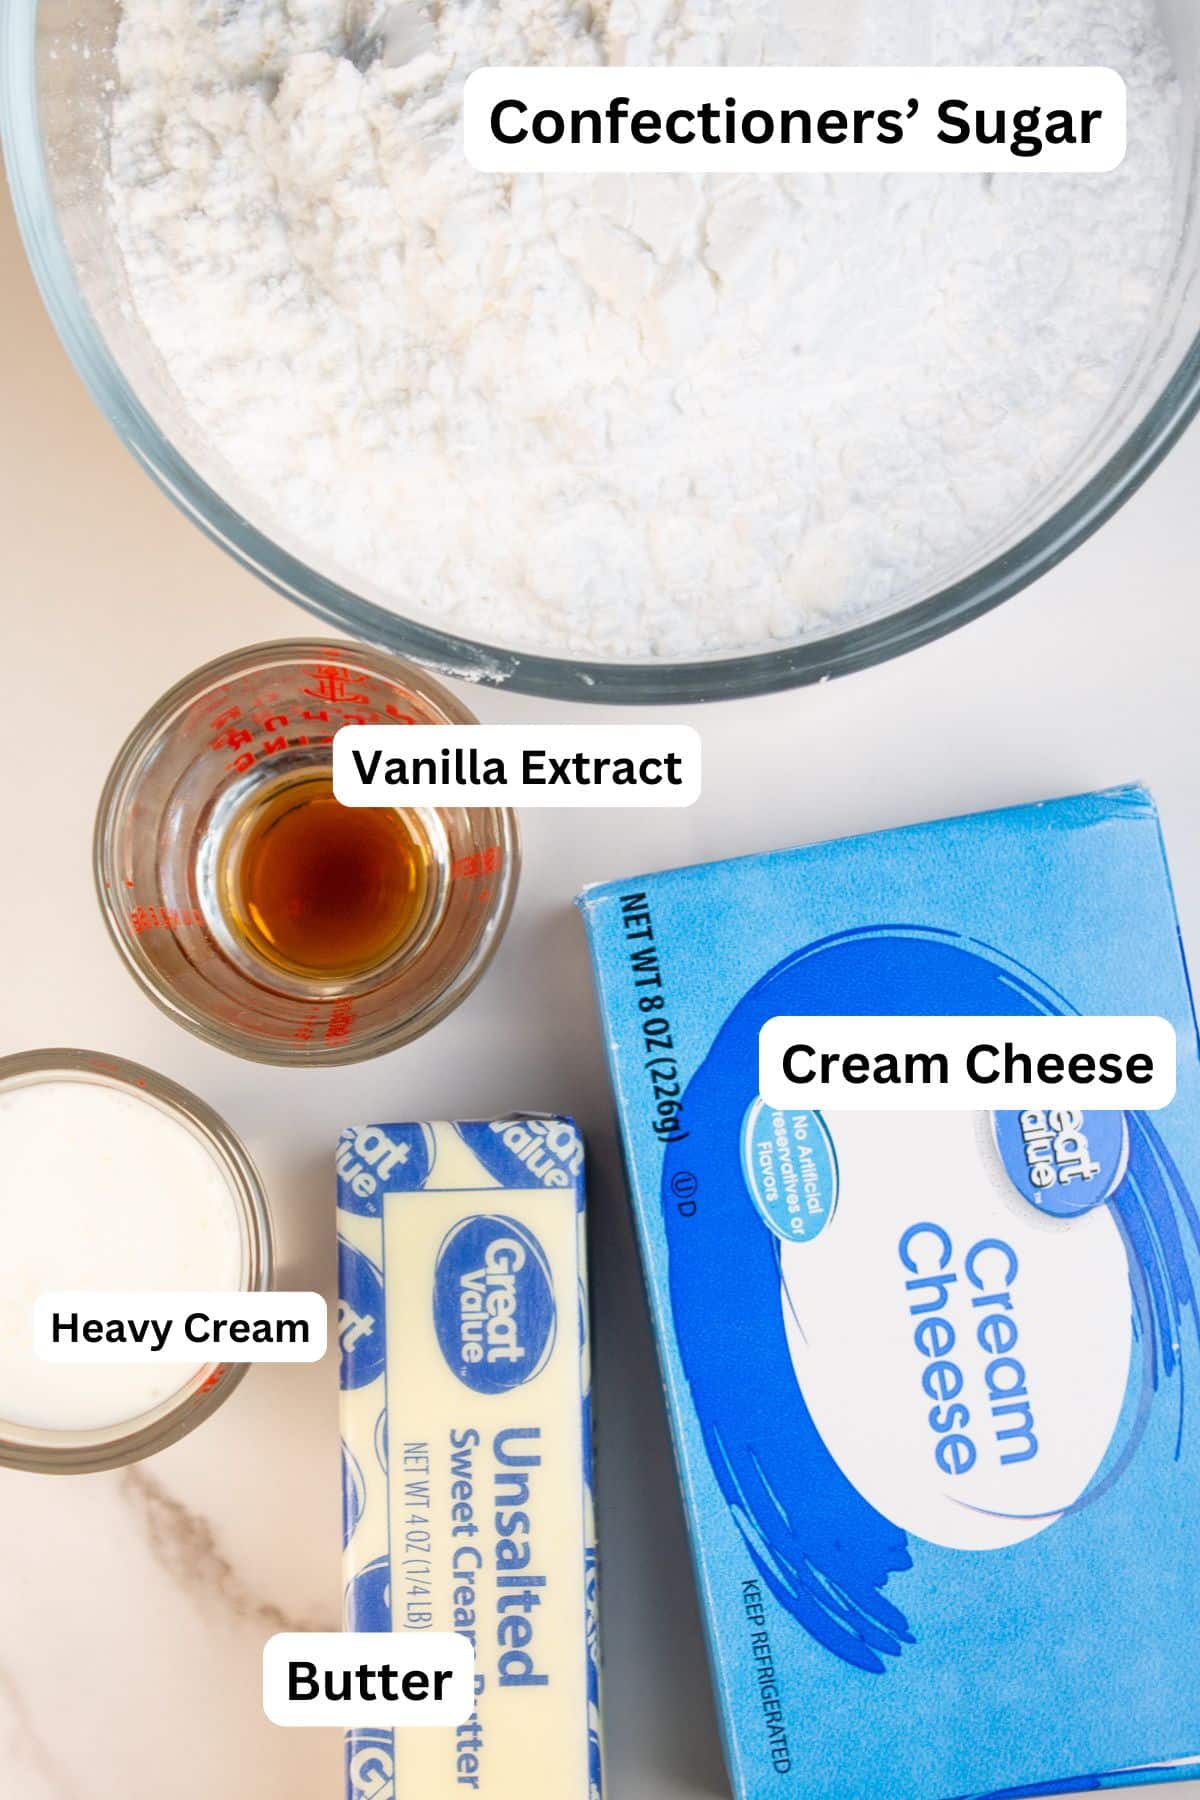
Cream Cheese Filling
- Cream Cheese - You can use full-fat or reduced-fat cream cheese.
- Butter - Let your butter come to room temperature.
- Confectioners' Sugar - Also called icing sugar or powdered sugar, this will thicken your frosting and add sweetness.
- Heavy Cream - Using heavy cream (or milk) can help you to thin the frosting.
- Salt (optional) - Salt in any frosting recipe will balance out the sweetness and keep the filling from being overly sweet.
Be sure to see the free printable recipe card below for ingredients, exact amounts & instructions with tips!
🔪 How To Make Red Velvet Whoopie Pies
Whoopie pies are an easy treat to make, you just need to bake the cakes and make the filling. You will need a sieve, some baking sheets, a stand mixer, and your measuring utensils.
This recipe will make 20 assembled red velvet whoopie pies.
Preheat. Preheat your oven to 375°F (190°C/Gas Mark 5) and line a baking sheet (or two) with parchment paper or use silicone baking mats in your baking sheets.
Make the Whoopie Pie Cakes
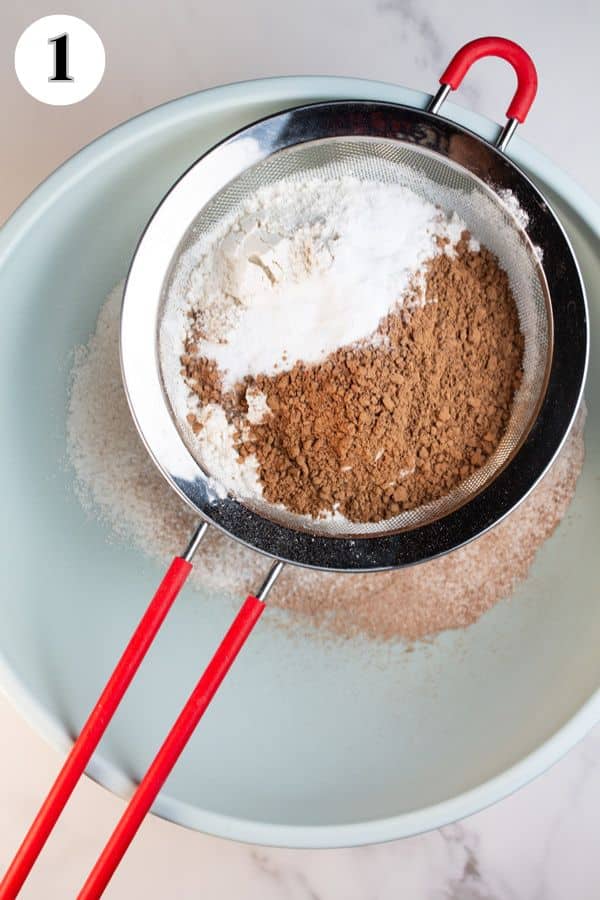
Combine the dry ingredients. Use a sieve to sift your 2¼ cups (281 grams) of all-purpose flour, ¼ cup (21.5 grams) of unsweetened cocoa powder, 1½ teaspoon of baking soda, and ¼ teaspoon of salt into a large bowl (photo 1). Set aside.
Top Tip: Best Temp For Room Temperature Butter
When instructions reference room temperature butter, butter that is slightly softened is best. The temperature should be between 67-72°F (19-22°C).
What this means is that if you can press your finger into the stick of butter easily, it is probably too softened for a great cookie structure. There should be just an indent from your finger when the temp is ideal.
If you're going to make this recipe, make sure to follow this top tip!
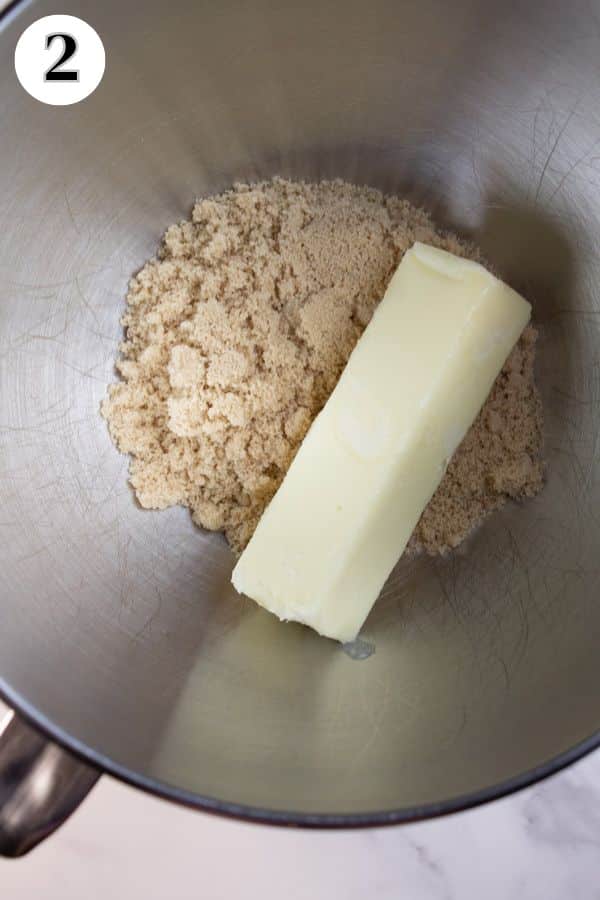
Cream the butter. In the bowl of your stand mixer, cream together ½ cup (113.5 grams) of butter and 1 cup (220 grams) of light brown sugar (photo 2) until smooth and creamy.
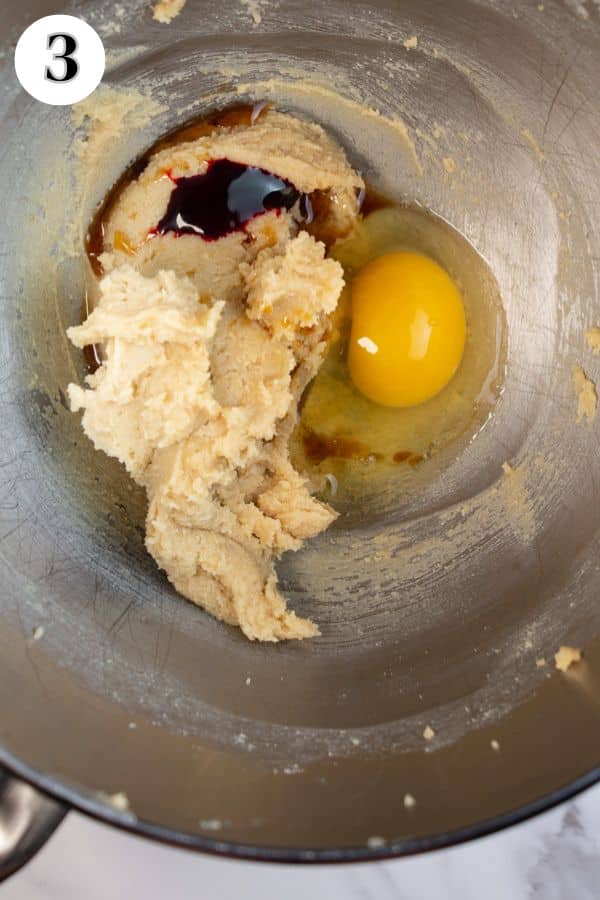
Add. Add 1 large egg, 1½ teaspoons of vanilla extract, and 1-2 teaspoons of red gel food coloring (photo 3) and beat at medium-high speed until completely combined.
Alternate the dry and wet ingredients. Turn the mixer off and add half of your 1¼ cup (296 milliliters) of buttermilk and half of your dry mixture (photo 4).
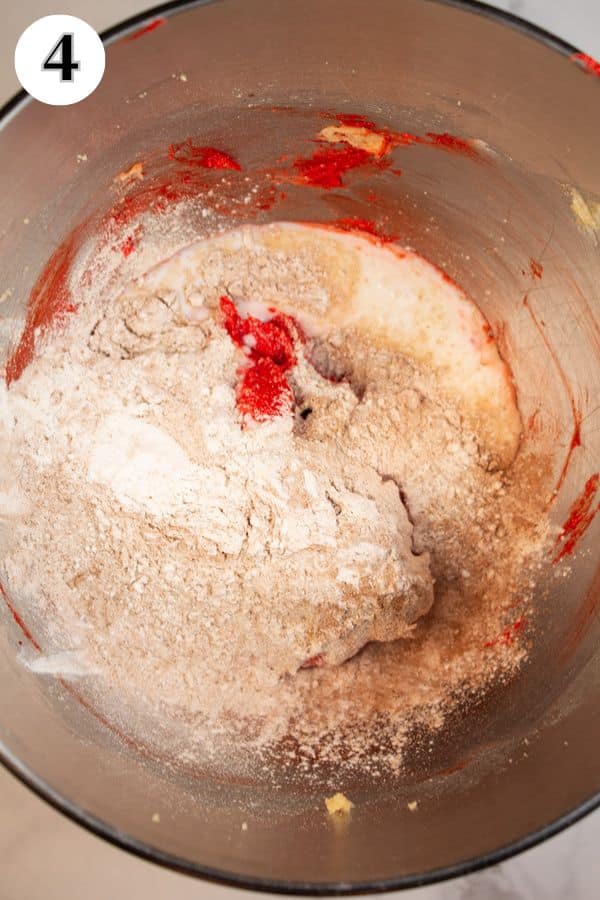
Mix. Mix at low speed, stopping occasionally to scrape the bowl, until well combined.
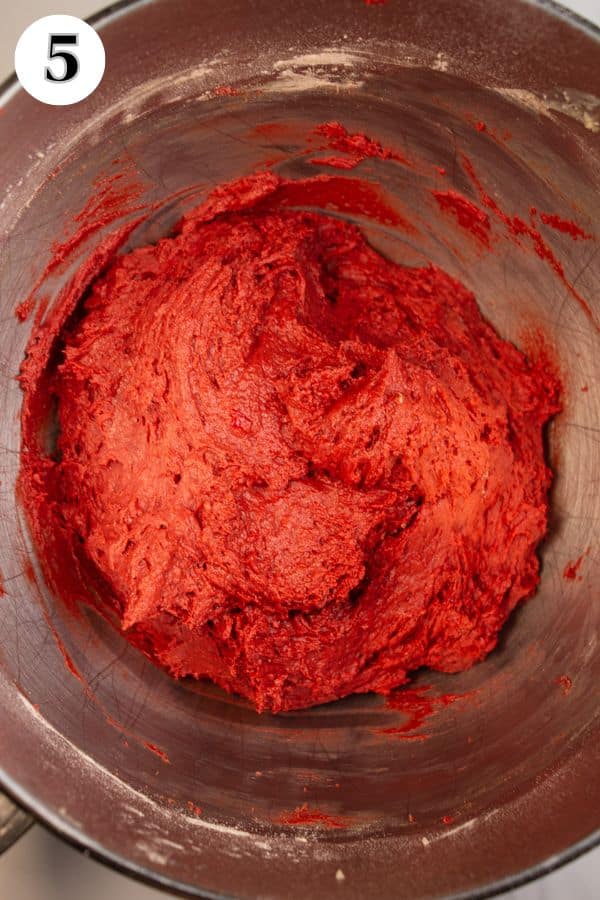
Add. Add the rest of your dry ingredients and buttermilk and mix again until everything is combined and it resembles a very thick cake batter (photo 5).
Portion, Bake & Cool
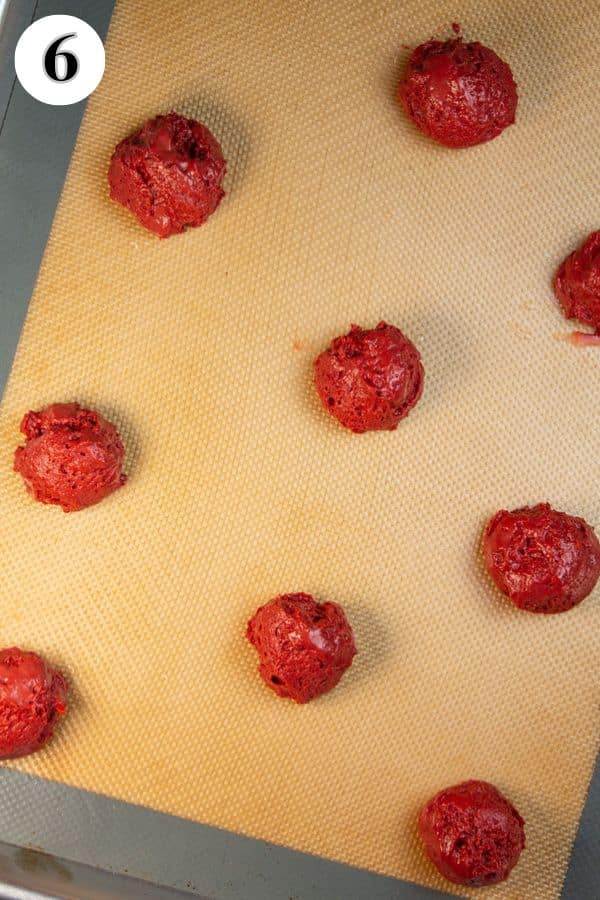
Portion. Use a standard-sized cookie scoop (about 1 - 1½ tablespoons) to scoop the batter and drop it onto your prepared baking sheet, leaving 2 inches of space in between each ball of dough (photo 6).
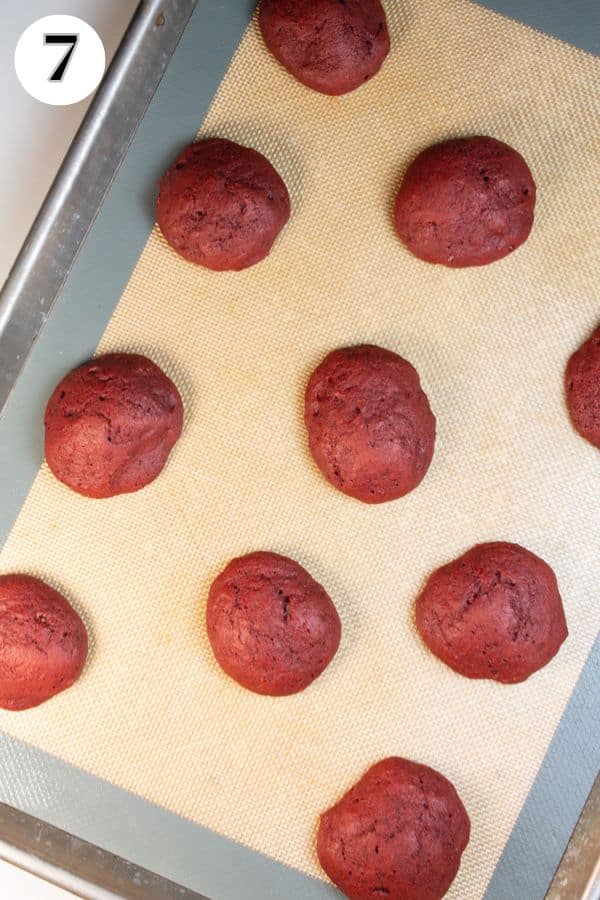
Bake. Bake in the oven at 375°F (190°C/Gas Mark 5) for 9-11 minutes, or until the top is no longer shiny and the cake slightly springs back when touched gently.
Cool. Remove the cakes from the oven (photo 7) and let them cool on the baking sheet for 5 minutes before transferring them to a wire rack to cool completely.
Make the Cream Cheese Filling
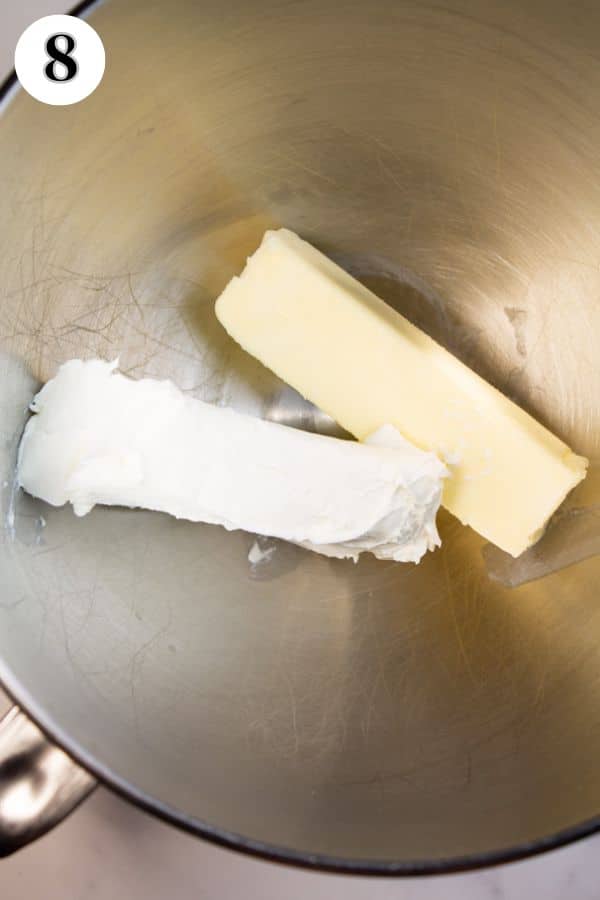
Cream the butter and cream cheese. Using a stand mixer or hand mixer, beat together 8 ounces (227 grams) of cream cheese and ½ cup (113.5 grams) of butter (photo 8) until smooth.
Add. Add 3 cups (360 grams) of confectioners sugar and 1 teaspoon of vanilla extract (photo 9) and mix, starting slow and gradually increasing in speed, until combined.

Adjust. Add 2 tablespoons of heavy cream and beat at medium-high speed until smooth and fluffy (photo 10). Adjust the consistency by adding more heavy cream or powdered sugar if needed.
Taste and add optional salt to reduce the sweetness of the frosting if needed.
Assemble the Red Velvet Whoopie Pies


Fill. Spread, spoon, or pipe the cream cheese frosting onto the flat side of the cooled cakes (photo 11).
Press. Gently press another cake on top and serve immediately or store them for later.

>>>See All Of My Tasty Recipes Here!<<<
💭 Angela's Pro Tips & Recipe Notes
- Use actual buttermilk. While I do love a good buttermilk substitute, I recommend sticking with actual buttermilk when making whoopie pies. It is the secret to activating the baking soda and is what gives them their tender texture.
- Use your preferred cocoa. I used regular unsweetened cocoa powder, but you can use dark cocoa powder (or Dutch-processed).
- Make even circles. If you drop your batter onto your baking sheet in uneven shapes, they will bake unevenly. Use a spoon to gently shape them into circles if needed.
- Chill the cookie sandwiches. If you are planning on transporting your whoopie pies, I recommend chilling them in the fridge first. This makes them sturdier (and gives them a fudgier texture).
- Keep them cold. Since the filling for these cookies contains cream cheese, they do need to be kept refrigerated and shouldn't be left out for more than two hours.

🥡 Storing
Store your whoopie pies in the fridge in a sealed container for up to 4-5 days. I like to use a sheet of parchment paper between layers if stacking the cookies.
Freezing
Whoopie pies can be frozen for up to 1 month. Let them thaw overnight in the fridge before serving or bringing them to room temperature.
- Best Cookies of Summertime
- Recipes To Bake When You Don't Have Eggs
- Pistachio Macarons
- Champagne Macarons
Do you love a recipe you tried? Please leave a 5-star 🌟rating in the recipe card below and/or a review in the comments section further down the page.
Stay in touch with me through social media @ Pinterest, Facebook, Instagram, or Twitter! Subscribe to the newsletter today (no spam, I promise)! Don't forget to tag me when you try one of my recipes!
📖 Recipe Card
Red Velvet Whoopie Pies
Ingredients
Red Velvet Whoopie Pie Cakes
- 2¼ cup all-purpose flour (spooned and leveled)
- ¼ cup unsweetened cocoa powder
- 1½ teaspoon baking soda
- ¼ teaspoon salt
- ½ cup butter (at room temperature)
- 1 cup light brown sugar (packed)
- 1 large egg (at room temperature)
- 1½-2 teaspoon vanilla extract
- 1-2 teaspoon red gel food coloring
- 1¼ cup buttermilk (at room temperature)
Cream Cheese Filling
- 8 oz cream cheese (softened, at room temperature)
- ½ cup butter (softened, at room temperature)
- 3 cups confectioners sugar
- 1 teaspoon vanilla extract
- 2 tablespoon heavy cream (or more, if needed)
(Note: 2x or 3x only changes the ingredient list)
Instructions
Make The Whoopie Pie Cakes
- Preheat your oven to 375°F (190°C/Gas Mark 5) and line a couple of baking sheets with parchment paper.
- Use a sieve to sift your 2¼ cup all-purpose flour, ¼ cup unsweetened cocoa powder, 1½ teaspoon baking soda, and ¼ teaspoon salt into a large bowl. Set aside.
- In the bowl of your stand mixer, cream together ½ cup butter and 1 cup light brown sugar until smooth and creamy.
- Add 1 large egg, 1½-2 teaspoon vanilla extract, and 1-2 teaspoon red gel food coloring and beat at medium-high speed until completely combined.
- Turn the mixer off and add half of your 1¼ cup buttermilk and half of your dry mixture.
- Mix at low speed, stopping occasionally to scrape the bowl, until well combined.
- Add the rest of your dry ingredients and buttermilk and mix again until everything is combined and it resembles a very thick cake batter.
Portion, Bake & Cool
- Use a standard-sized cookie scoop (about 1 - 1½ tablespoons) to scoop the batter and drop it onto your prepared baking sheet, leaving about 2 inches of space in between each one.
- Bake in the oven at 375°F (190°C/Gas Mark 5) for 9-11 minutes, or until the top is no longer shiny and the cake slightly springs back when touched gently.
- Remove the cakes from the oven and let them cool on the baking sheet for 5 minutes before transferring them to a wire rack to cool completely.
Make the Cream Cheese Filling
- Using a stand mixer or hand mixer, beat together 8 oz cream cheese and ½ cup butter until smooth.
- Add 3 cups confectioners sugar and 1 teaspoon vanilla extract and mix, starting slow and gradually increasing in speed, until combined.
- Add 2 tablespoon heavy cream and beat at medium-high speed until smooth and fluffy. Adjust the consistency by adding more heavy cream or powdered sugar if needed.
- Taste and add optional salt to reduce the sweetness of the frosting if needed.
Assemble the Whoopie Pies
- Spread, spoon, or pipe the cream cheese filling onto the flat side of the cooled cakes.
- Gently press another cake on top and serve immediately or store them for later.
Notes
- When instructions reference room temperature butter, butter that is slightly softened is best. The temperature should be between 67-72°F (19-22°C).
- While I do love a good buttermilk substitute, I recommend sticking with actual buttermilk when making whoopie pies. It is the secret to activating the baking soda and is what gives them their tender texture.
- I used dark cocoa powder (or Dutch-processed), but you can use regular unsweetened cocoa powder.
- If you drop your batter onto your baking sheet in uneven shapes, they will bake unevenly. Use a spoon to gently shape them into circles if needed.
- If you are planning on transporting your whoopie pies, I recommend chilling them in the fridge first. This makes them sturdier (and gives them a fudgier texture).
- Since the filling for these cookies contains cream cheese, they do need to be kept refrigerated and shouldn't be left out for more than two hours.
- Store your whoopie pies in the fridge in a sealed container for up to 4-5 days.
- Whoopie pies can be frozen for up to 1 month. Thaw overnight in the fridge before serving or bringing them to room temperature.





Charlsa says
Thank you for sharing this recipe