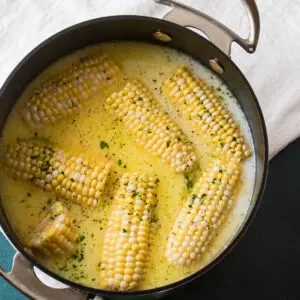
I love serving up my tasty milk butter boiled corn on the cob for any family meal but especially with something hot of the grill. It's just as easy as boiling or steaming corn on the cob, but this version is so superbly sweet and soft that you will make it your new 'go-to' method of cooking your corn.
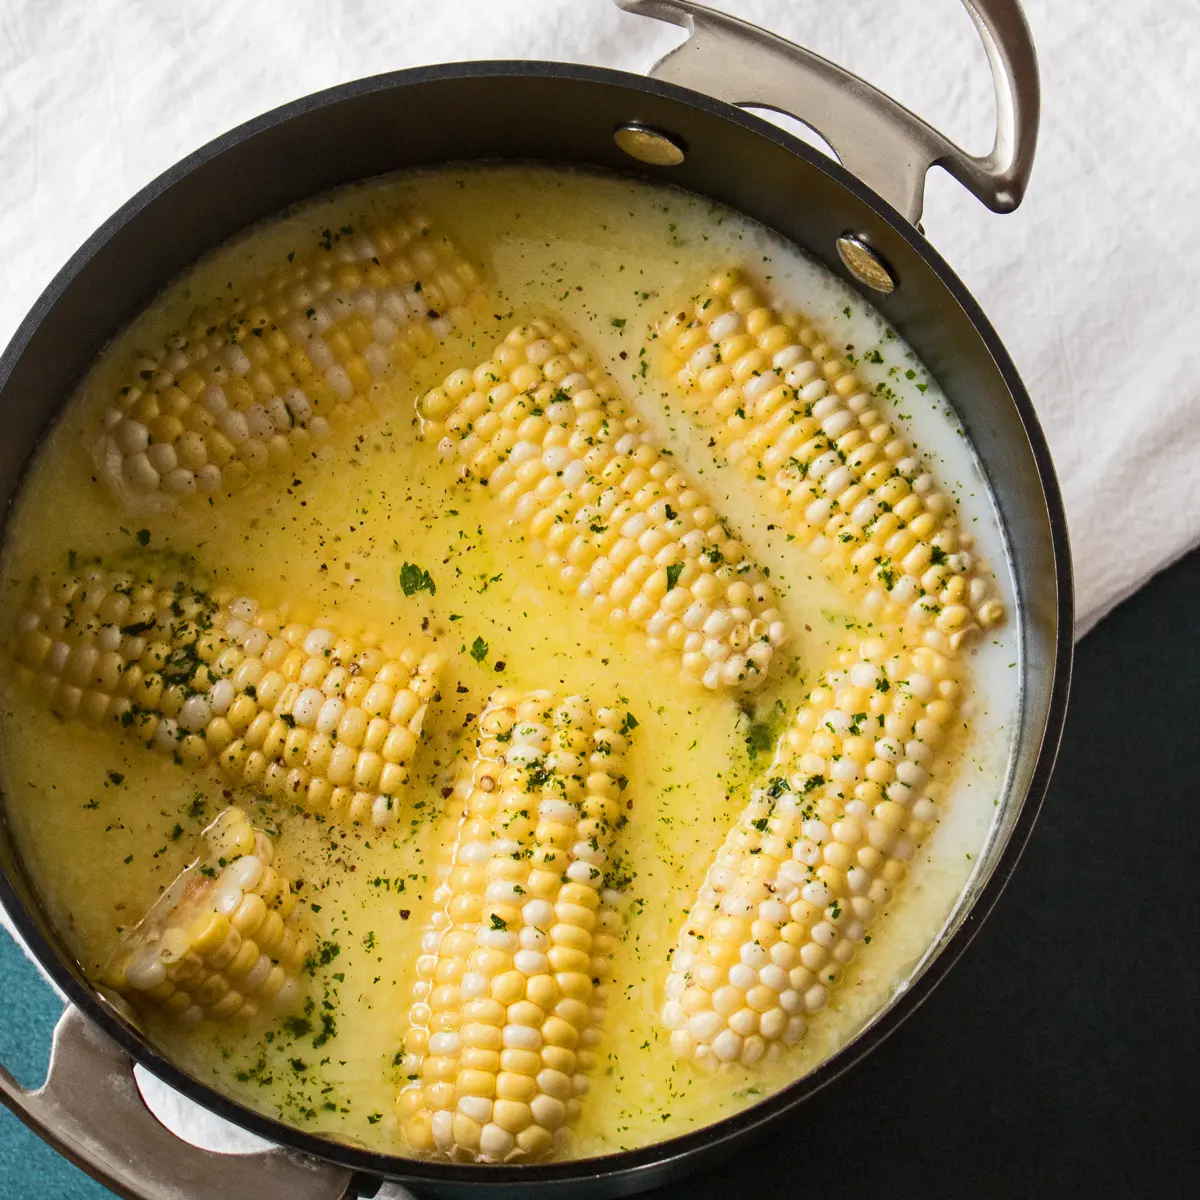
The Best Way To Cook Corn On The Cob
Have you ever heard of cooking your corn on the cob in milk, or milk and butter? It's certainly not the usual way that my corn was prepared when I was growing up.
I'm grown now (obviously, right?!) with a family of my own, and we all simply love the super tender, super sweet corn that results from milk and butter boiled corn on the cob!!
One of the very best summer side dishes to serve with BBQ dinners!
🥘 Ingredients
- 4 ears Corn (husks and silk removed)
- Water (enough to cover the ears of corn)
- 1 cup Heavy Cream
- ½ cup Milk
- 6 tablespoon Butter (divided, 2 portions - ¼ c and 2 Tbsp)
- ¼ cup Sugar
- ½ teaspoon Paprika (optional)
- Salt & Pepper (to taste)
Be sure to see the free printable recipe card below for ingredients, exact amounts & instructions with tips!
🔪 How To Make Milk Butter Boiled Corn on the Cob
- Fill a large stockpot with your fresh shucked corn on the cob, then add water so that it just covers the ears of corn.
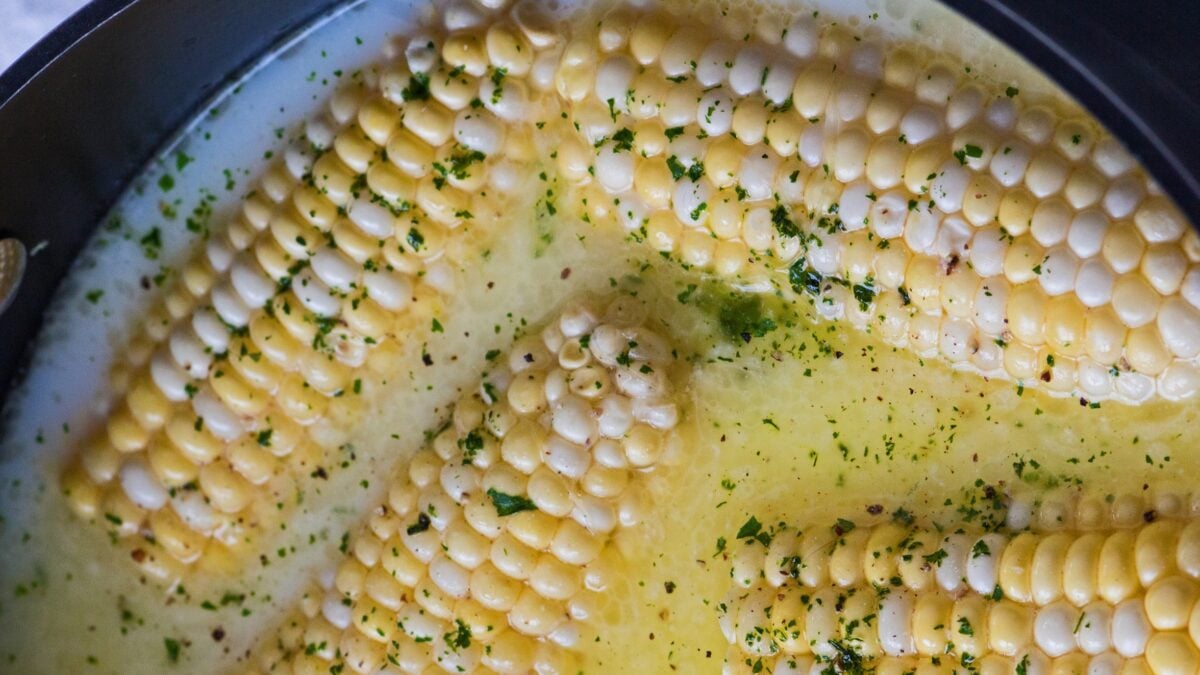
- Add the heavy cream, milk, the first ¼ cup portion of butter, and sugar, then bring to a boil over medium-high heat.
- Reduce heat to low and simmer for 8-10 minutes, or until corn is tender. *You can wait and gently place the ears of corn in the stockpot after the contents are boiling, but I prefer to throw everything in at once.
- Remove cooked corn from the stockpot and liquid.
- Serve with the remaining 2 tablespoons of melted butter that has been combined with paprika, if desired. Brush the melted butter and paprika onto the cooked corn on the cob with a basting brush.
- Serve immediately, or cover loosely with aluminum foil until ready to serve. Enjoy!
>>>See All Of My Tasty Recipes Here!<<<
❓ Recipe FAQs
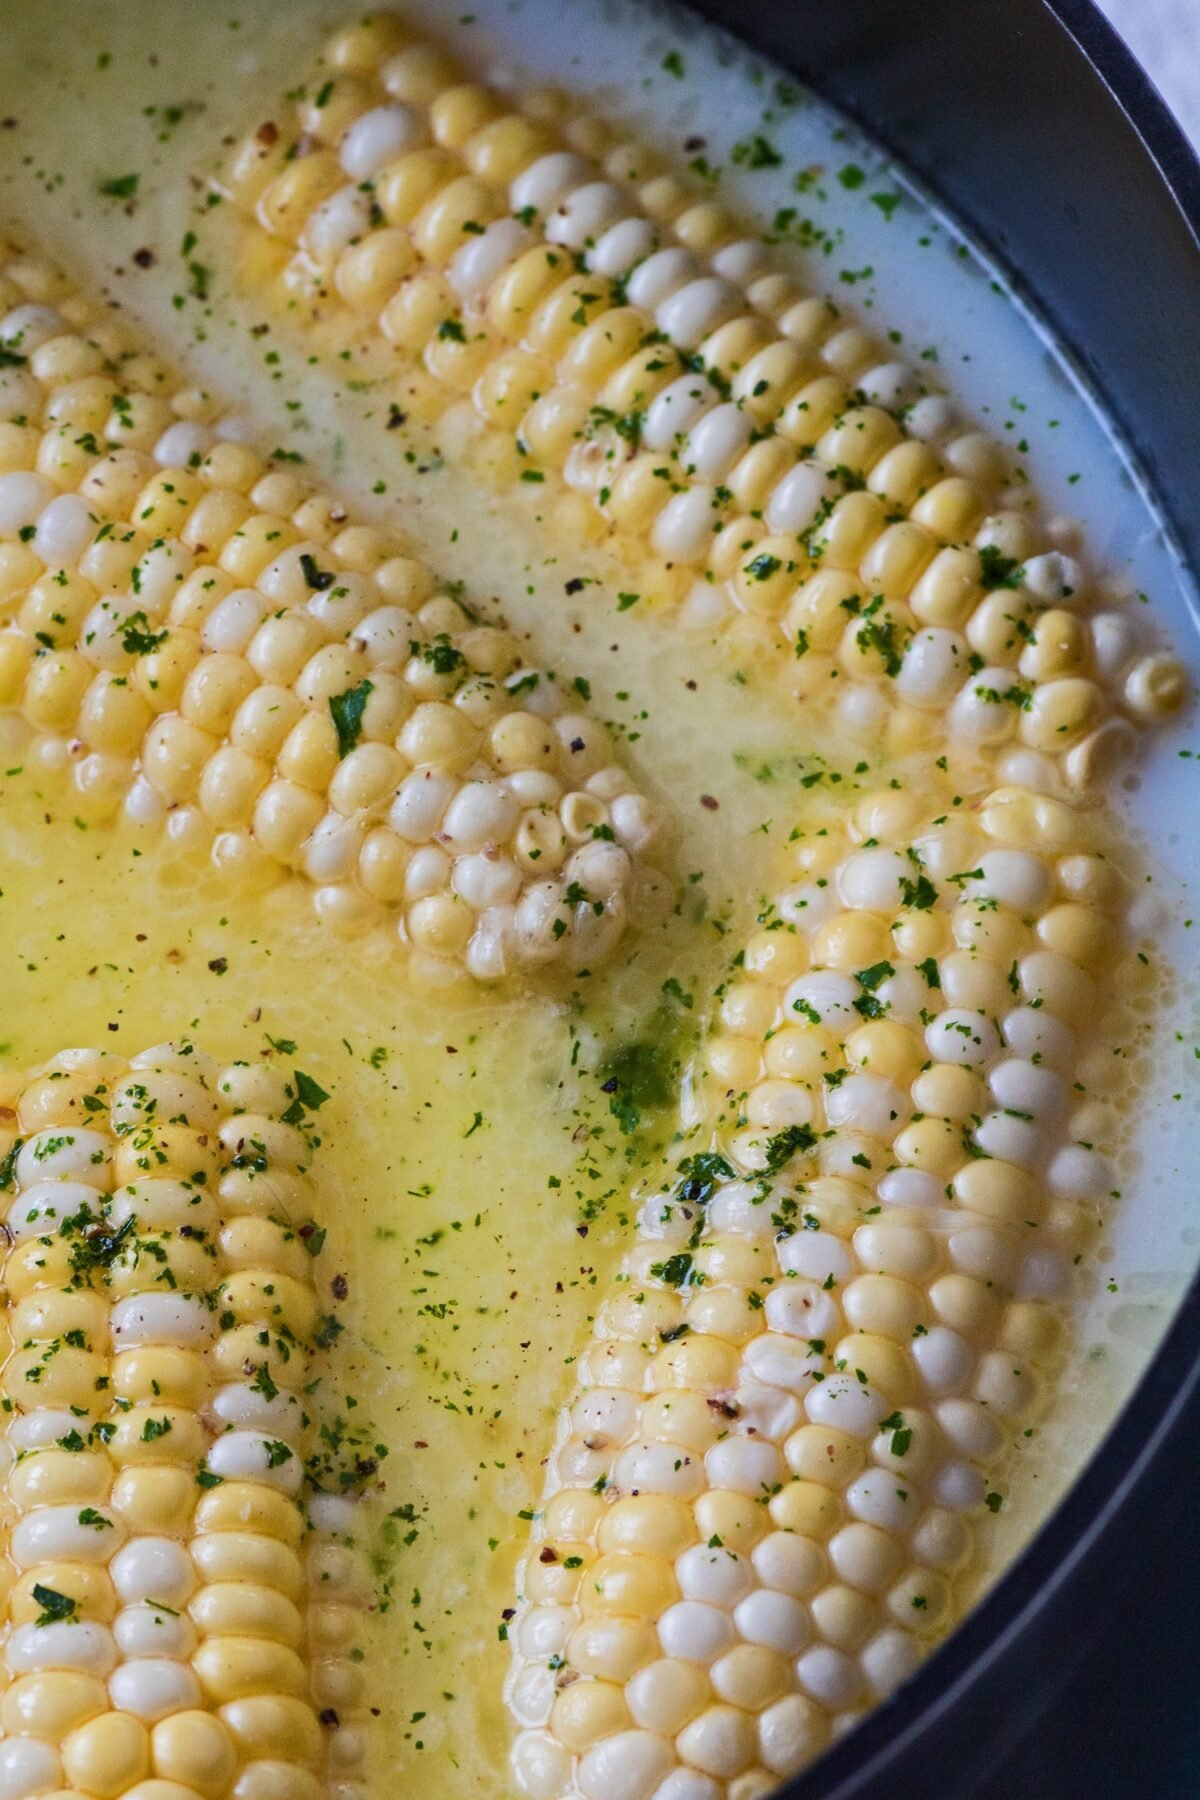
Boiling your corn in milk brings out the sweetness of the corn that you are cooking, especially in sweet corn. This can also be enhanced even more when adding sugar to the water and milk liquid.
Boiled corn is very hot, and when picked up with tongs it will dry out rapidly. The liquid should evaporate within only seconds from a nice, hot cooked piece of corn on the cob.
When cooked at a boil, the corn should be done in just 5 minutes. When brought to a boil and then simmered, the 8 - 10 minute mark is when your corn should be done. I always remove my corn from the heat at the eight-minute mark ( even if it takes me a minute or two to get it on to plates ).
Corn can be left in the water, or a combination of water and milk, for up to 10 minutes once done. Leaving your cooked corn in the pan for anything more than 10 minutes results in overcooked corn. After that, your corn will start to lose both flavor and the desired texture of plump corn kernels.
🌽 More Corn Recipes
- Southern Fried Corn
- Mexican Street Corn (Elotes)
- Mexican Corn Fritters
- Corn Fries
- Jiffy Corn Casserole
- Mexican Cornbread Casserole
- Jiffy Jalapeno Cornbread
Do you love a recipe you tried? Please leave a 5-star 🌟rating in the recipe card below and/or a review in the comments section further down the page.
Stay in touch with me through social media @ Pinterest, Facebook, Instagram, or Twitter! Subscribe to the newsletter today (no spam, I promise)! Don't forget to tag me when you try one of my recipes!
📖 Recipe Card
Milk Butter Boiled Corn on the Cob
Ingredients
- 4 ears corn (husks and silk removed)
- water (enough to cover the ears of corn)
- 1 cup heavy cream
- ½ cup milk
- 6 tablespoon butter (divided, 2 portions - ¼ c and 2 Tbsp)
- ¼ cup sugar
- ½ teaspoon paprika (optional)
(Note: 2x or 3x only changes the ingredient list)
Instructions
- In a large stock pot, fill with enough water to just cover the ears of corn. Add the heavy cream, milk, ¼ cup portion of the butter, and sugar then bring to a boil over medium high heat.
- Reduce heat to low and simmer for 8-10 minutes, or until corn is tender. *The corn be added once a boil has been reached, if desired. Be careful of splattering water if choosing this method!
- (Optional) Melt the remaining two tablespoons of butter and combine with the paprika. Set aside to brush onto the cooked corn on the cob when serving.
- Remove from the stock pot and liquid. (Optional) Brush the melted butter and paprika onto the cooked corn on the cob with a basting brush.
- Serve immediately, or cover with aluminum foil until ready to serve.
Notes
Nutrition

Mindy says
This has to be the tastiest way to make boiled corn EVER!
Tracy J says
Made this tonight and it was great. My father had 4 helpings! Will for sure make again.
Kenyatta says
Can you use frozen corn on the cob for this recipe?
Angela @ BakeItWithLove.com says
Yes, frozen fresh corn on the cob can be used just like fresh corn. Cook until it reaches your desired level of tenderness.
Joyce says
Can the corn on Cobb water. Milk and butter be used again?
Anonymous says
Best tasting corn
Angela @ BakeItWithLove.com says
Awesome! So glad you enjoyed it!
Kelly says
Can I freeze the leftover corn, there are only two of us but I made ears? It was delicious!
Angela @ BakeItWithLove.com says
You definitely can! Freezing cooked corn on the cob is a great way to save some for later.
Neda says
So delicious sweet enough and tender thank you for sharing
Natalie says
I was around 6 - my grandma was boiling corn but with milk
We we’re talking as if I was an adult
Her childhood growing up in Puerto Rico
(I thought corn with milk was weird because my mom doesn’t cook like that lmao) it was unusually good I liked it
*would I have it again ? yes lol
Brenda says
What is the green stuff in the pot of corn? What herb?
Angela @ BakeItWithLove.com says
That's just parsley, which tastes great with everything! It's not necessary and was simply for garnish and photo purposes.
amy@houseofnasheats.com says
Your corn sounds wonderful and I happen to have some in the fridge. Might be trying this tomorrow! Thanks!
Angela @ Bake It With Love says
It is wonderful 🙂 You'll love how tender it turns out (and it doesn't really need any additional butter when served)!