

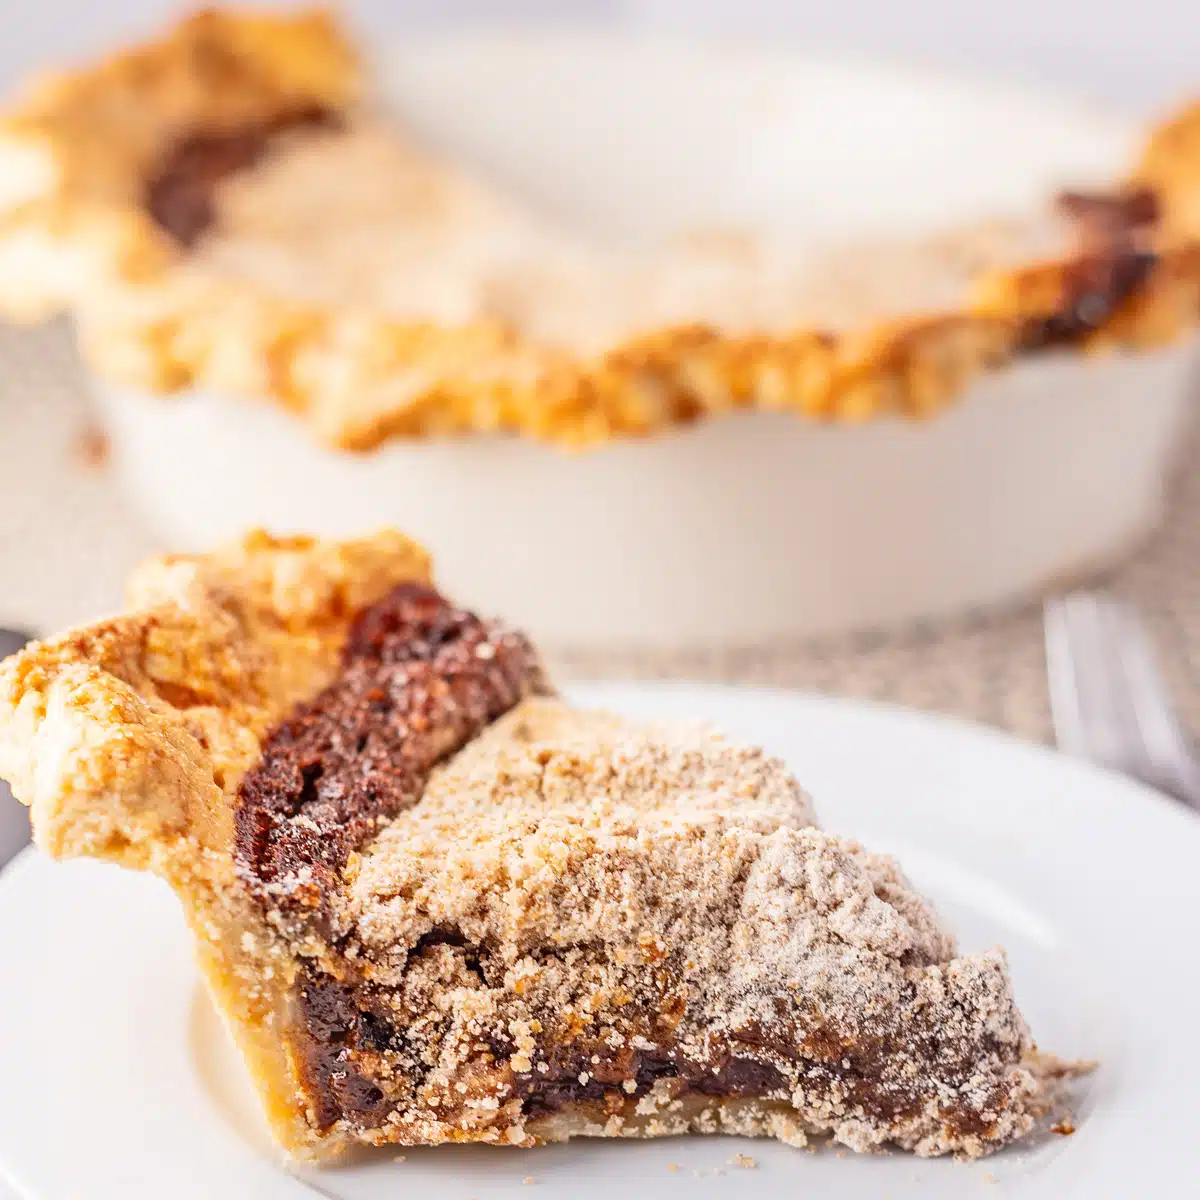
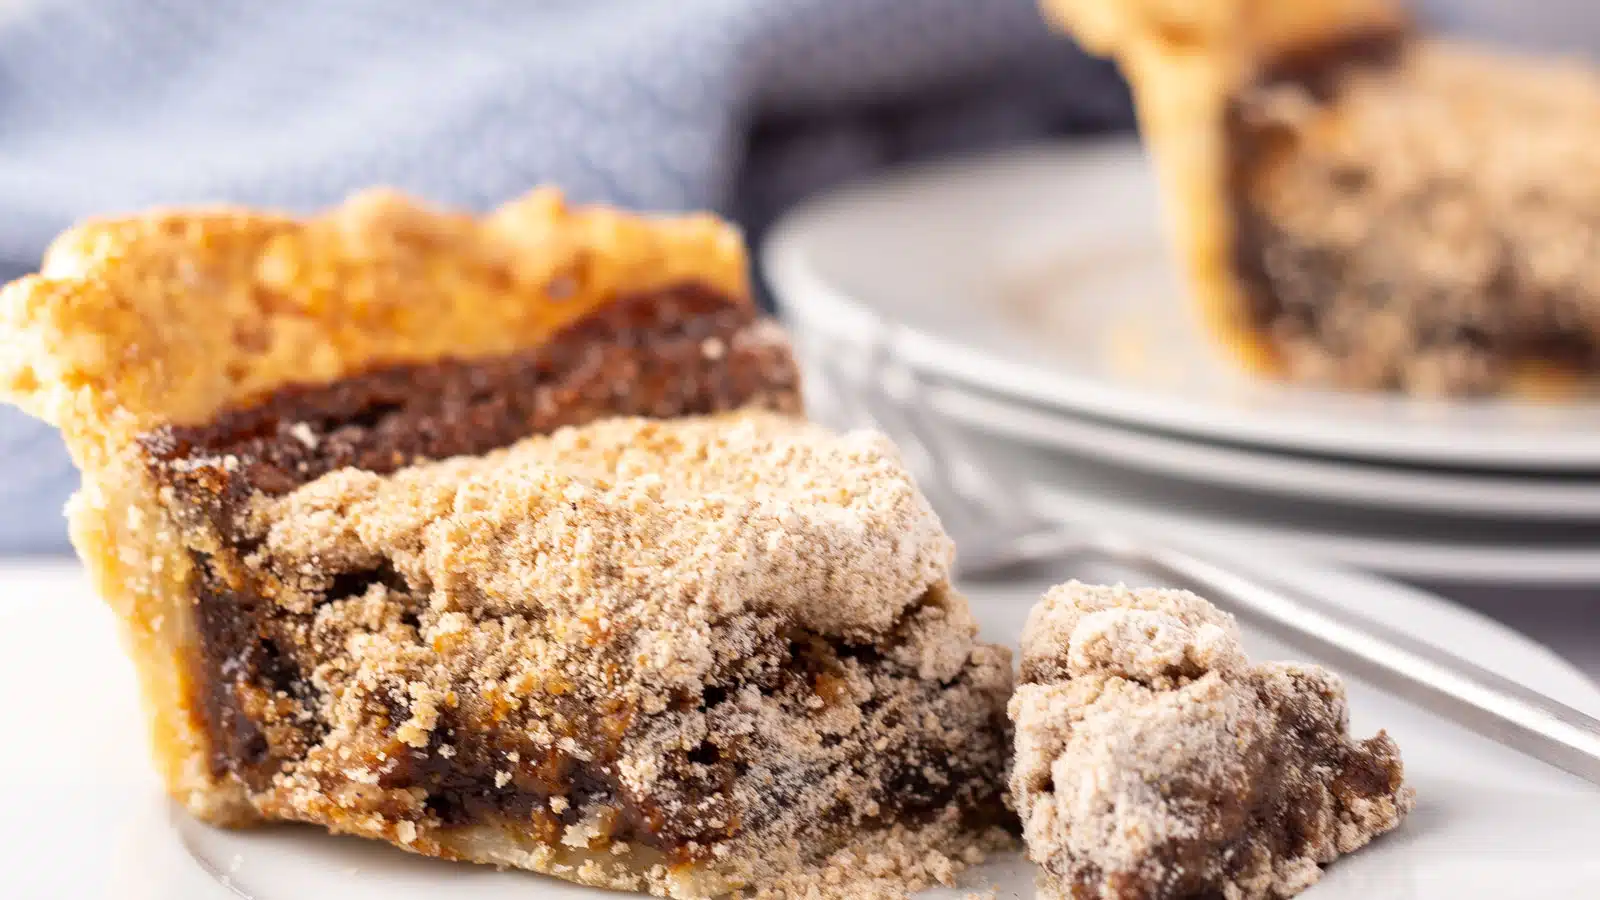
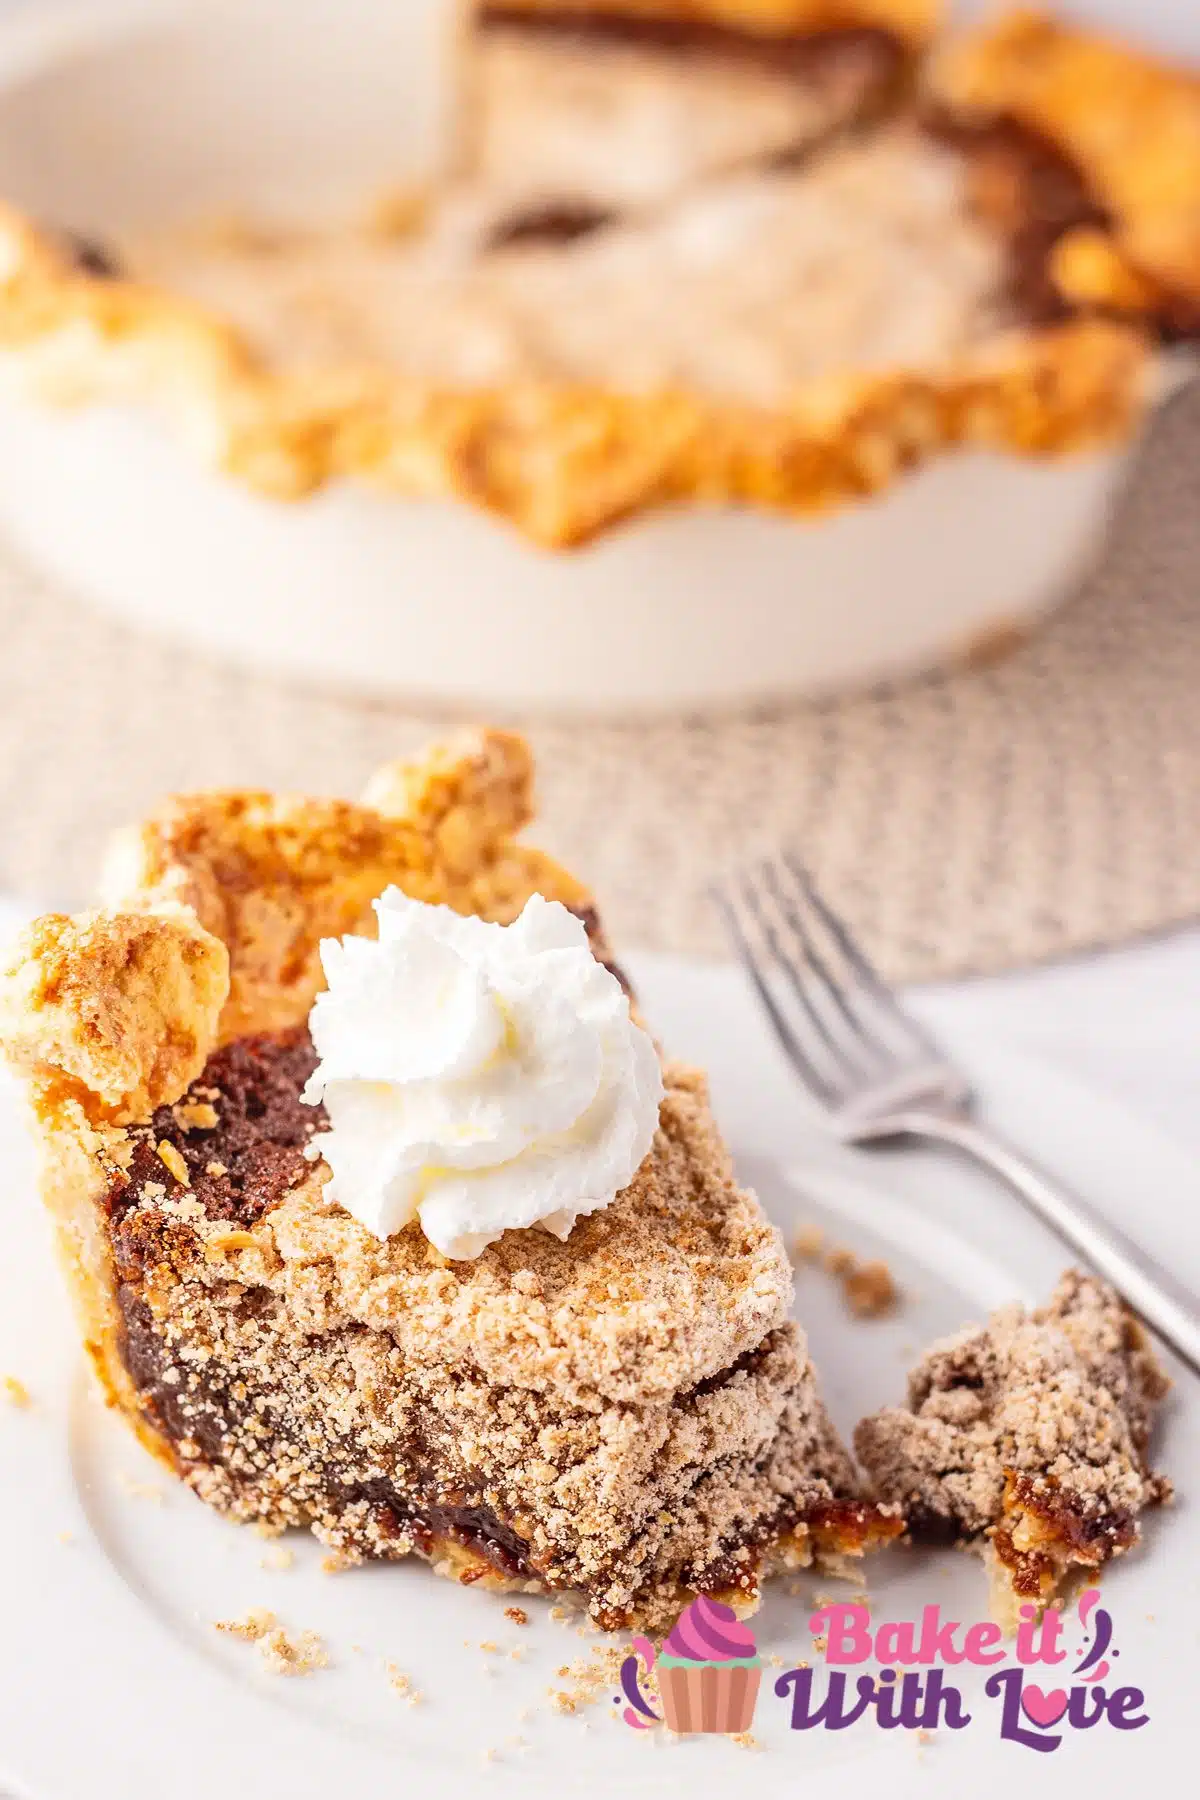
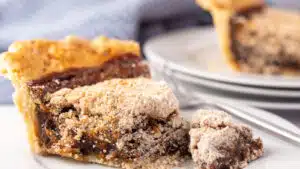
My delicious shoofly pie features a sweet molasses-based filling and a cinnamon brown sugar streusel topping. It's a classic Amish wet-bottom pie that is beginner-friendly and easy to make. This dessert can be prepared up to two days in advance, making it the perfect make-ahead treat.
If pies are your favorite dessert, try my Mississippi mud pie, blackberry pie, chocolate chess pie, coconut cream pie, and buttermilk pie.
Jump to:
I'm always on the lookout for new, tasty desserts to try. While shoofly pie is popular in the Pennsylvania region, it is not as well known around the rest of the country.
It is also a featured pie at a favorite restaurant in Oregon, Epilogue Kitchen. It's been many years since first trying this unique pie, but I've been hooked since my first bite!
🌎 Origin
Shoofly pie began as a crustless molasses cake (or Centennial cake) in 1876 to celebrate the 100th anniversary of signing the Declaration of Independence. Over the next few years, the pie shell was added to make it easier to eat with your hands with morning coffee.
It is very popular in the Pennsylvania Dutch and Amish communities, especially since it began using only inexpensive baking staples, such as flour, sugar, cinnamon, nutmeg, and molasses.
The pie had a longer shelf life when it didn't include eggs, and baking soda was used as the leaving agent. The addition of eggs didn't happen until the 1920s.
Why Is It Called Shoofly Pie?
There are three theories about where the name came from. The first refers to when bakers let the pies cool on the windowsill.
Molasses would sometimes pool on the top of the pie, attracting flies, which the bakers would have to shoo away.
The second theory is because of the brand name of "Shoofly" molasses.
Finally, some people think it was named after Shoofly the Boxing Mule, a circus animal named after the popular song "Shoofly, Don't Bother Me."
🥧 Wet-Bottom vs Dry-Bottom Pie
There are both dry-bottom and wet-bottom shoofly pies. A dry-bottom shoofly pie is when the crumb topping is added to the pie crust, and the filling is poured over the top.
Wet-bottom shoofly pie is made by pouring the filling into the crust and sprinkling it with the crumb topping.
Dry-bottom shoofly pie has a drier, more cake-like consistency, while wet-bottom ones have a consistency more similar to custard or sticky toffee pudding.
🥘 Ingredients
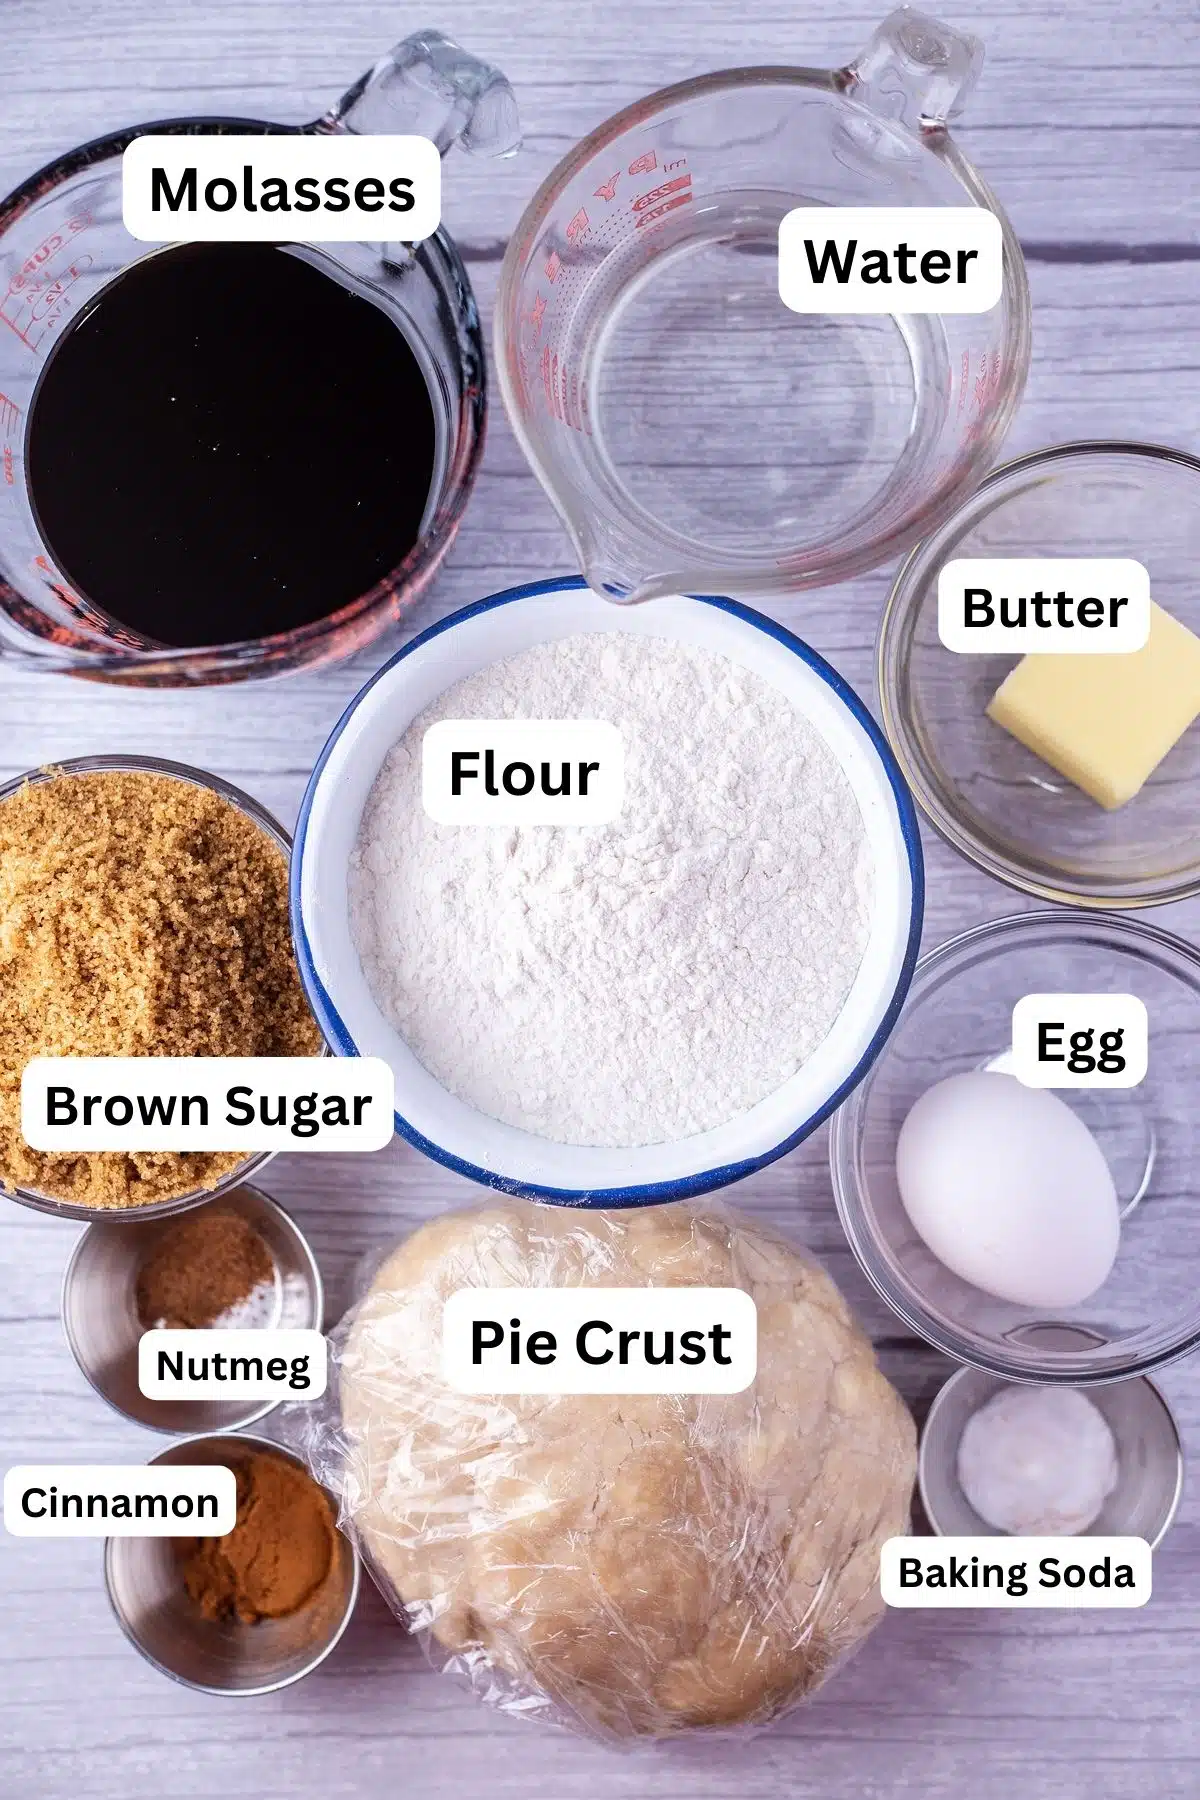
- Flour - All-purpose flour is used to make the crumb topping.
- Brown Sugar - You can use light or dark brown sugar. Dark brown sugar yields a richer, more molasses-like flavor.
- Spices - Ground cinnamon and nutmeg are all you need.
- Butter - Make sure your butter is cold before cutting it into flour and sugar to make the topping.
- Molasses - I recommend using light molasses.
- Water - You want your water to be hot for the filling.
- Egg - Beat your egg before mixing it with the other filling ingredients.
- Baking Soda - Baking soda will act as the leavening agent to help it rise.
- Pie Crust - You can use a homemade all-butter pie crust or a store-bought 9-inch deep-dish pie crust.
*Be sure to see the free printable recipe card below for ingredients, exact amounts & instructions with tips!*
🔪 How To Make Shoofly Pie
Whether you make this a wet-bottom pie or swap it for a dry-bottom version, it is easy to prepare. Grab your mixing bowls, a pie pan, measuring utensils, and a whisk to get started.
This recipe is for one pie, which yields 8 servings.
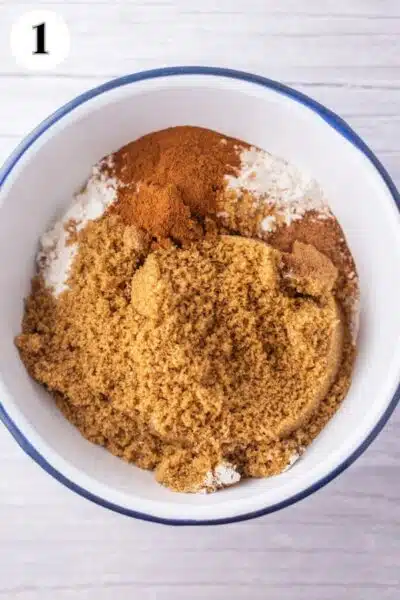
Prepare the Crumb Topping
Step 1: Preheat. Preheat your oven to 400°F (205°C/Gas Mark 6).
Step 2: Mix. In a medium-sized bowl, mix 1½ cups of all-purpose flour, 1 cup of brown sugar, 1 teaspoon of ground cinnamon, and ½ teaspoon of ground nutmeg until well combined.
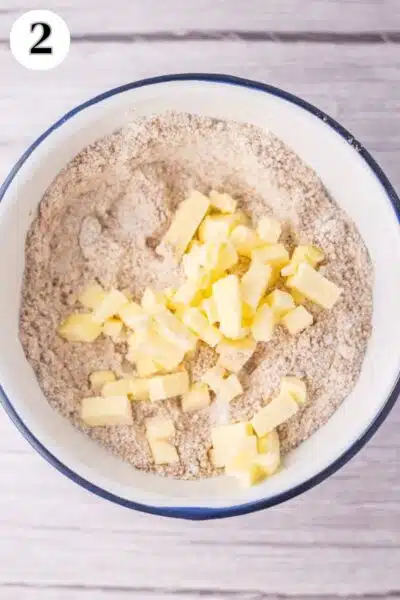
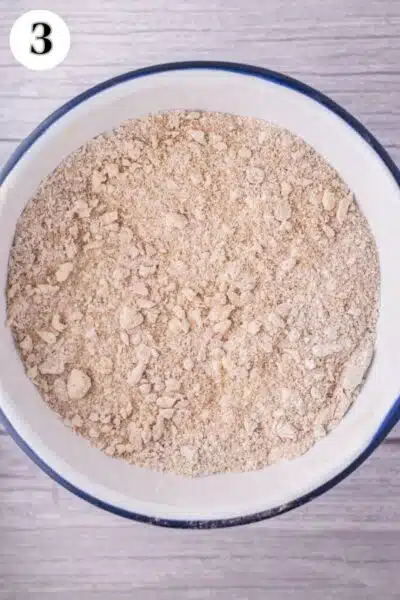
Step 3: Add the butter. Use a fork or pastry knife to cut the ¼ cup of cold butter into the mixture until crumbly and pea-sized.
Make the Filling & Assemble
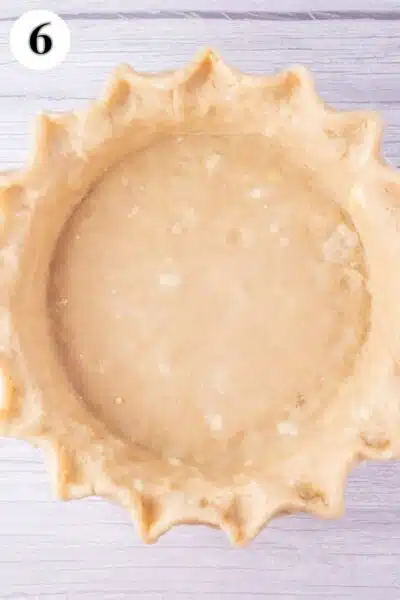
Step 4: Roll out the pie crust. If using homemade pie crust, roll it out into a 9-inch deep-dish pie pan.
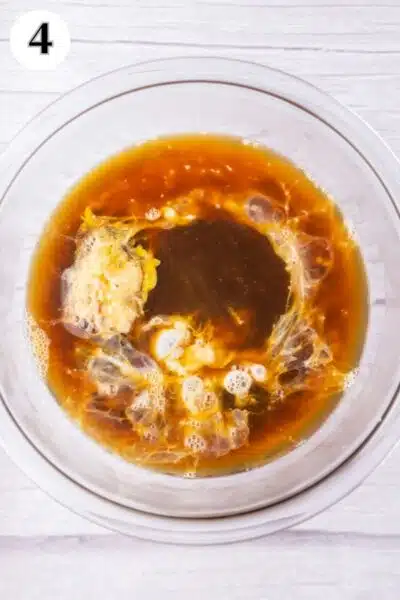
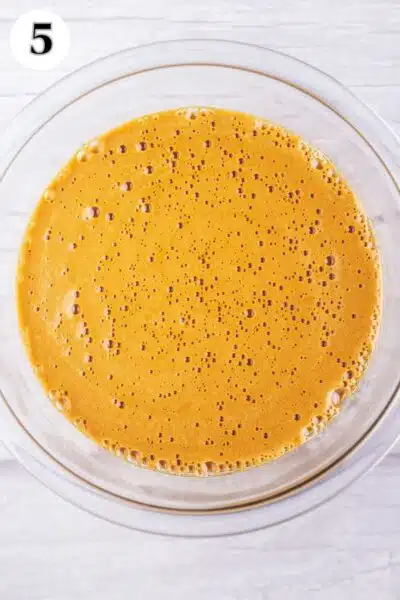
Step 5: Whisk. In a mixing bowl, whisk together 1 cup of molasses, ¾ cup of hot water, 1 large beaten egg, and ¾ teaspoon of baking soda until thoroughly combined.
Step 6: Assemble. Pour the filling into the prepared pie crust, then sprinkle the crumb topping over the top.
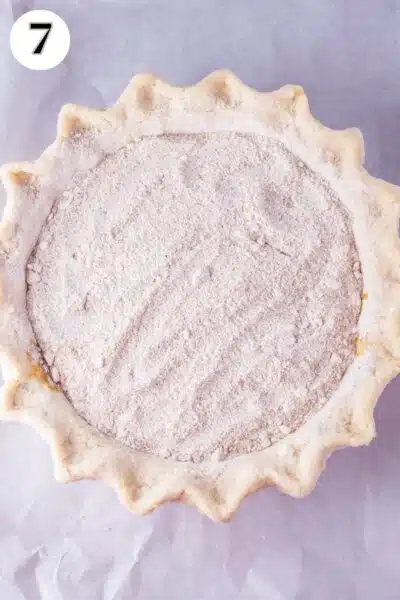
Bake & Serve
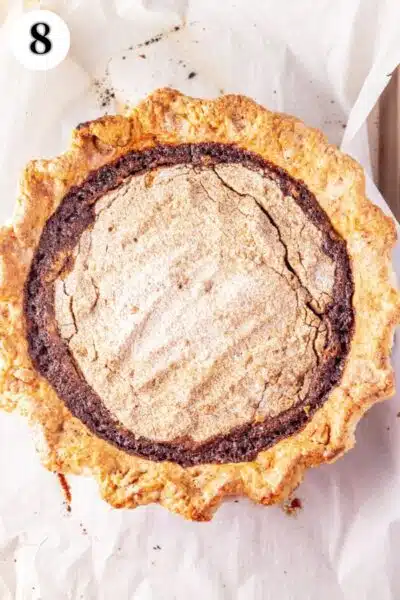
Step 7: Bake. Bake in the preheated oven at 400°F (205°C/Gas Mark 6) for 15 minutes and then reduce the temperature to 350°F (175°C/Gas Mark 4) for an additional 20-25 minutes, or until firm.
Step 8: Cool. Remove the baked pie from the oven and let it cool to room temperature before slicing and serving.
💭 Angela's Pro Tips & Recipe Notes
- Minimize the mess. A deep-dish pie pan is important so the filling doesn’t bubble over. If you’re worried about a mess, place the pie on a baking sheet before baking.
- Check for doneness. Your shoofly pie is done when the filling is firm, and a knife comes out clean when you insert it into the center.
- Use a food processor. You can prepare your streusel topping using a food processor if you prefer.
- Make a dry-bottom pie. You can easily swap this for a dry-bottom shoofly pie by pouring the crumb topping into the pie shell, followed by the filling. Then, bake as directed.
>>>See All Of My Recipes Here!<<<
🥡 Storing
Once completely cool, wrap your pie in plastic wrap and store it in the refrigerator for up to 7 days.
You can freeze the pie for up to 3 months. Let it thaw in the fridge overnight before serving.
Make Ahead
You can make this pie up to 2 days in advance, letting it chill in the fridge before slicing.
Do you love a recipe you tried? Please leave a 5-star 🌟rating in the recipe card below and/or a review in the comments section further down the page.
Stay in touch with me through social media @ Pinterest, Facebook, Instagram, or Twitter! Subscribe to the newsletter today (no spam, I promise)! Don't forget to tag me when you try one of my recipes!
📖 Recipe Card
Shoofly Pie
Ingredients
- 1½ cup all-purpose flour (spoon and leveled)
- 1 cup brown sugar (dark or light, packed)
- 1 teaspoon ground cinnamon
- ½ teaspoon ground nutmeg
- ¼ cup butter (cold)
- 1 cup molasses (light)
- ¾ cup hot water
- 1 large egg (beaten)
- ¾ teaspoon baking soda
- 1 butter pie crust (or store-bought 9-inch deep-dish pie crust)
(Note: 2x or 3x only changes the ingredient list)
Instructions
- Preheat your oven to 400°F (205°C/Gas Mark 6).
Prepare the Crumb Topping
- In a medium-sized bowl, mix together 1½ cup all-purpose flour, 1 cup brown sugar, 1 teaspoon ground cinnamon, and ½ teaspoon ground nutmeg until well combined.
- Use a fork or pastry knife to cut the cold ¼ cup butter into the mixture until crumbly and pea-sized.
Make the Filling & Assemble
- If using homemade 1 butter pie crust, roll it out into a 9-inch deep-dish pie pan.
- In a mixing bowl, whisk together 1 cup molasses, ¾ cup hot water, 1 large egg, and ¾ teaspoon baking soda until thoroughly combined.
- Pour the filling into the prepared pie crust, then sprinkle the crumb topping over the top.
Bake & Serve
- Bake in the preheated oven at 400°F (205°C/Gas Mark 6) for 15 minutes and then reduce the temperature to 350°F (175°C/Gas Mark 4) for an additional 20-25 minutes, or until firm.
- Remove the baked pie from the oven and let it cool completely to room temperature before slicing and serving.
Notes
- It’s important to use a deep-dish pie pan so that the filling doesn’t bubble over. If you’re worried about a mess, place the pie on a baking sheet before baking.
- You’ll know your shoofly pie is done when the filling is firm, and a knife comes out clean when you insert it into the center.
- You can prepare your streusel topping using a food processor if you prefer.
- You can prepare this pie up to 2 days in advance, letting it chill in the fridge before slicing.
- Once completely cool, wrap your pie in plastic wrap and store it in the refrigerator for up to 7 days.
- You can also freeze the pie for up to 3 months. Let it thaw in the fridge overnight before serving.
Nutrition
Originally published March 26, 2024
Stephanie says
I love this recipe but recently moved to high altitude and haven’t been successful in baking it. I am hoping to try the dry bottom version to see if it helps. Do you have any advice for high altitude? Mine either didn’t set up or is way too thin. Thanks for your help!
Angela Latimer says
The biggest issue you have at high altitude pie baking is usually with the filling being too liquid (and frequently boils over). I would reduce the brown sugar and molasses to 3/4 cup and the baking soda to 1/2 teaspoon. Make sure your crust stays in place and is high enough on the sides to keep the filling set inside nicely. From my experience, a springform pan works great for high altitude pie baking too. Hope that helps, if you need any more thoughts you can email me with pics of your results so I can trouble shoot better 🙂 Thanks~ Angela