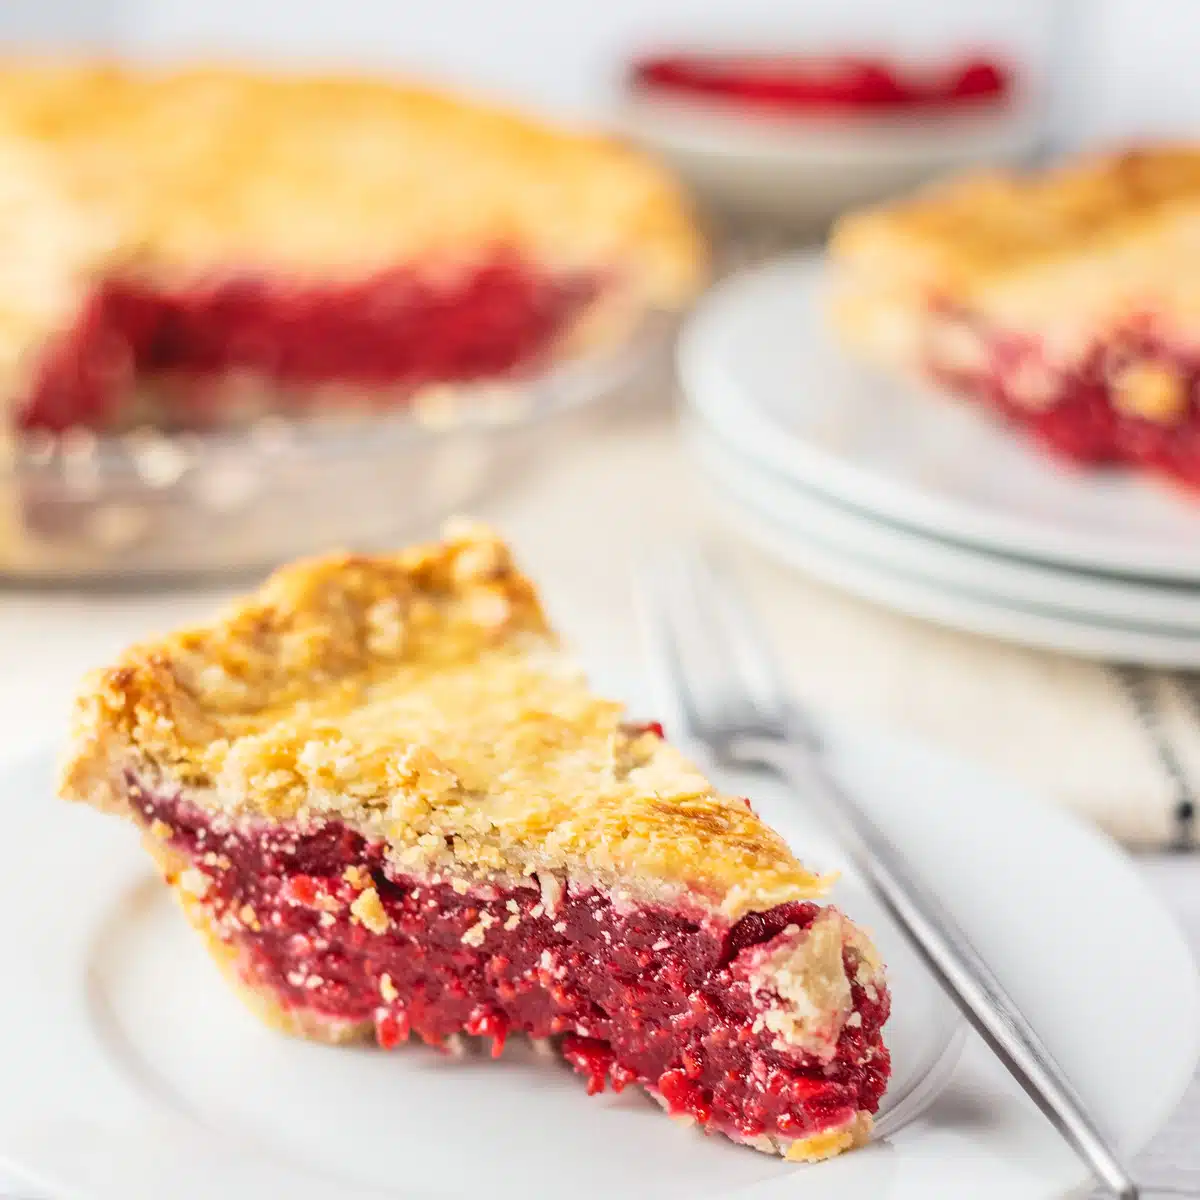
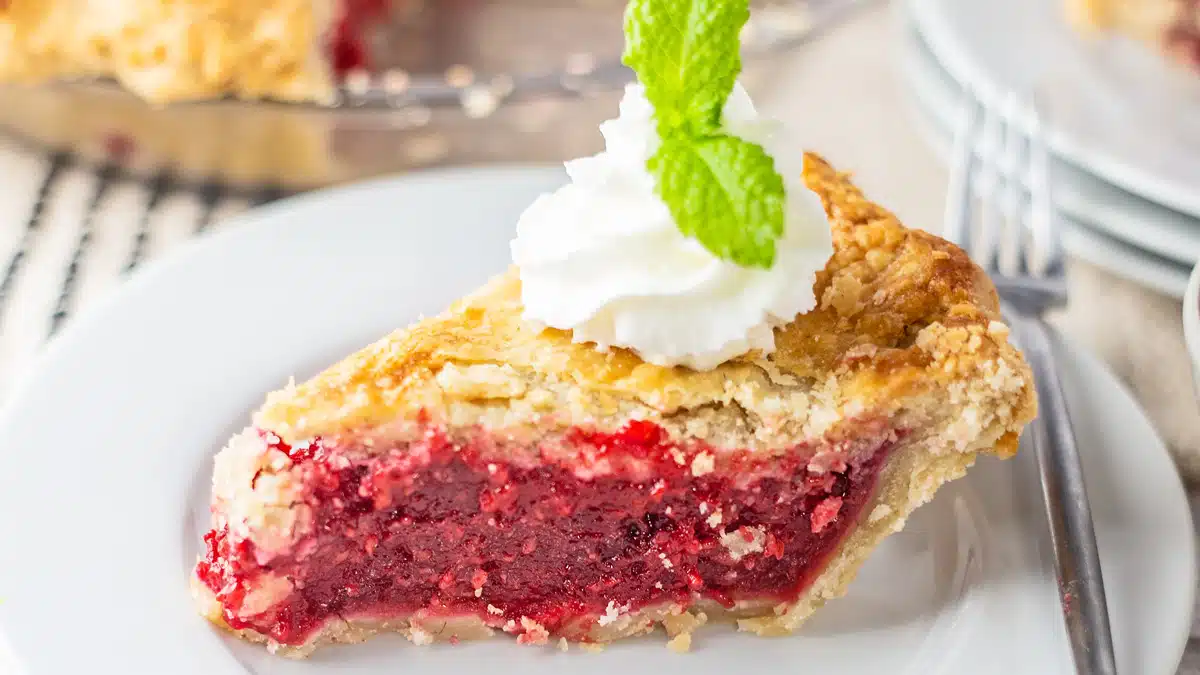
This raspberry pie is the perfect combination of sweet and tart flavors with a wonderfully flaky, buttery crust! Loaded with tons of juicy raspberries, it is easily a crowd favorite! You can use store-bought crust if you like, but nothing beats making the whole thing from scratch!
Easy Raspberry Pie Recipe
I'm always in the mood for a delicious fruit pie (like this sour cream blackberry pie or Granny Smith apple pie)! This one uses raspberries, making it perfect for a well-deserved treat after a day of picking raspberries!
Don't worry; you can still enjoy this sweet and tart pie with store-bought raspberries (or even frozen ones!)
Jump to:
🥘 Raspberry Pie Ingredients, Notes, & Substitutions
Making your pie filling and pie crust from scratch is definitely worth the trip to the store! To make things even easier, you can use fresh or frozen raspberries for this recipe.
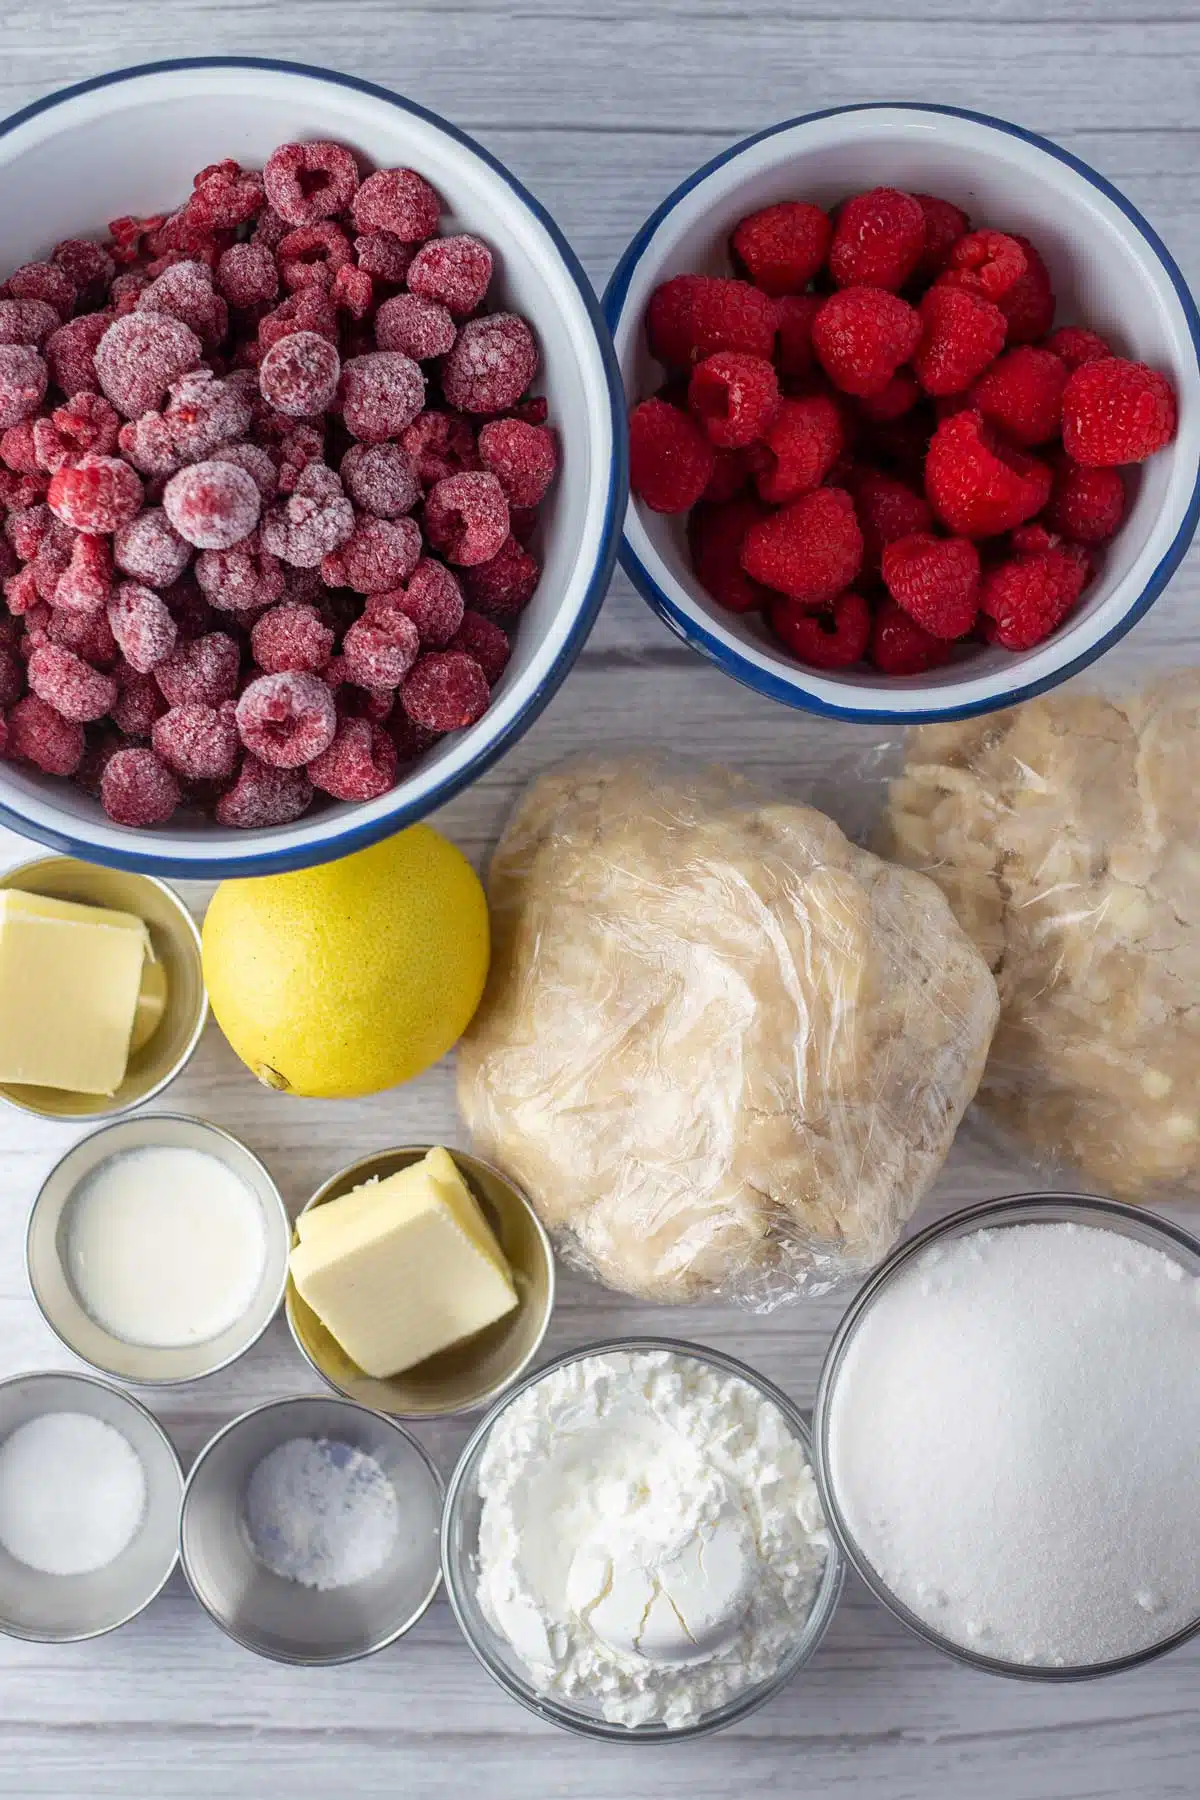
Raspberry Pie Filling
- Raspberries - 6 cups of raspberries, divided. You'll need 4 cups of either whole, mashed, or thawed from frozen raspberries, as well as an additional 2 cups of whole ones.
- Sugar - 1 cup of granulated sugar.
- Cornstarch - 6 tablespoons of cornstarch or a cornstarch substitute.
- Lemon - The zest and juice from 1 large lemon (or about 2-3 tablespoons of lemon juice).
- Salt - A pinch of salt.
- Butter - 2 tablespoons of butter.
Raspberry Pie
- Pie Crust - 1 butter pie crust. Check out my homemade recipe here. Alternatively, you can use a store-bought crust, just make sure it is a double pie crust.
- Butter - 2 tablespoons of butter that has been cut into small cubes.
- Milk - 1 tablespoon of milk for brushing over the top crust.
- Sugar - 1 teaspoon of sugar for finishing off the crust.
*Be sure to see the free printable recipe card below for ingredients, exact amounts & instructions with tips!*
🔪 How To Make Raspberry Pie
There's no need to worry if you've never made a pie completely from scratch before; it is super easy and quick! All you will need is a saucepan, a 9-inch pie pan, your measuring utensils, and a basting brush.
This recipe will make 1 pie, which can be cut into 8 servings.
Prepare The Pie Filling

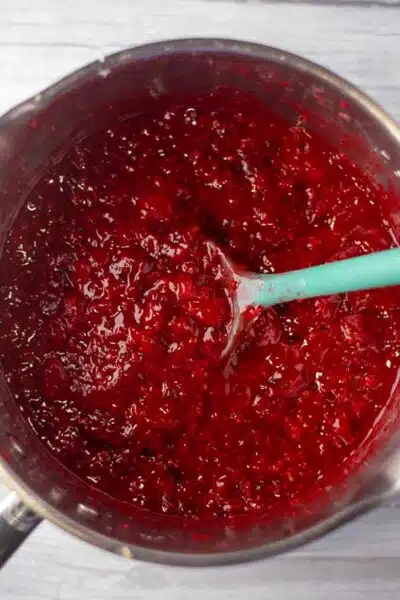
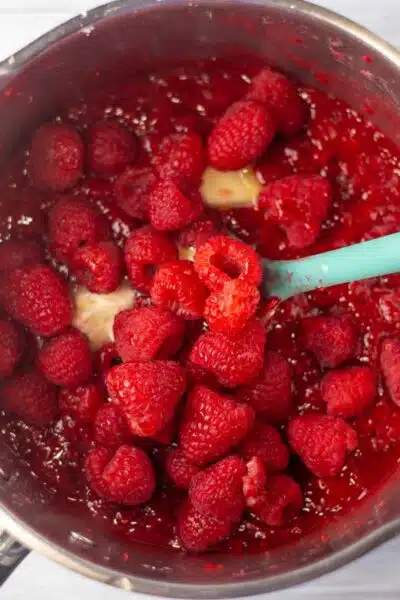
Step 1: Add. Add 4 cups (480 grams) of raspberries to a saucepan (reserving the other 2 cups of whole raspberries to the side). Stir in 1 cup (200 grams) of sugar, 6 tablespoons (48 grams) of cornstarch, the juice and zest of 1 large lemon, and 1 pinch of salt until everything is combined.
Step 2: Heat. Heat the mixture over medium to medium-high heat, stirring occasionally, until it starts to bubble.
Step 3: Mix. Once it starts to bubble, remove it from heat immediately and fold in the extra 2 cups (240 grams) of whole raspberries and 2 tablespoons (28 grams) of butter. Stir gently until thoroughly combined, then set it aside to cool completely before making your pie.
Assemble & Bake

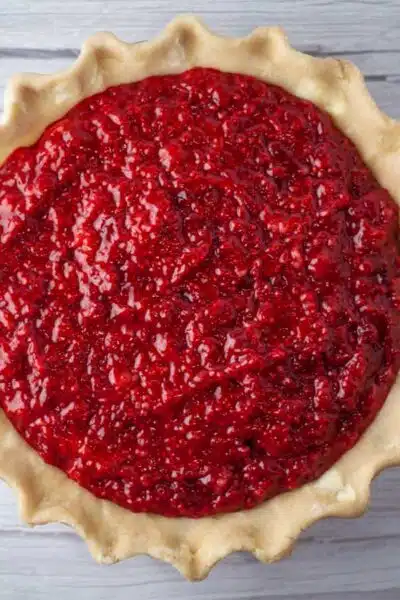
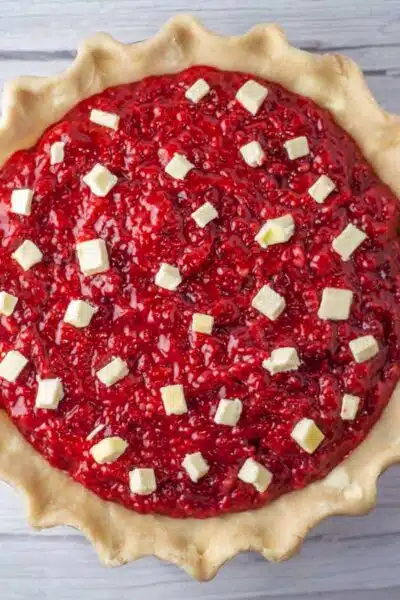
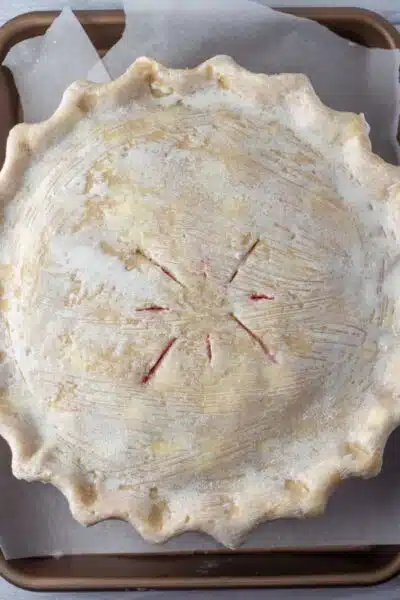
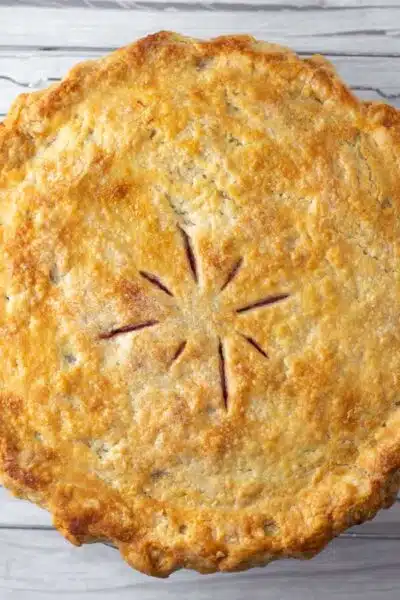
Step 4: Preheat. Preheat the oven to 400°F (205°C/Gas Mark 6) and line a 9-inch pie pan with 1 butter pie crust.
Step 5: Pour. Pour the raspberry pie filling into the crust and place 2 tablespoons (28 grams) of cubed butter on top, spreading it out as evenly as possible.
Step 6: Add the top crust. Gently roll out the remaining butter pie crust and place it over the top of the pie (you can also slice it into strips if making a lattice top). Slice a few slits in the top of the crust, then crimp the edges closed and trim off any excess.
Step 7: Brush. Use a basting brush to lightly brush the top of the pie crust with 1 tablespoon (15 milliliters) of milk, then sprinkle 1 teaspoon (4 grams) of sugar over the milk.
Step 8: Bake. Bake at 400°F (205°C/Gas Mark 6) for 20 minutes, then reduce the temperature to 350°F (175°C/Gas Mark 4) and bake for another 30-35 minutes. *Cover the edges with aluminum foil or a pie shield if needed.
Step 9: Cool. Remove your pie from the oven when the crust is golden and set it aside to cool fully (about 3 hours) before slicing and serving.
Add a scoop of no-churn vanilla ice cream and a spoonful of homemade whipped cream for the ultimate dessert! Enjoy!
💭 Angela's Pro Tips & Recipe Notes
- If you are worried that the edges of your pie crust are getting too dark, use a pie shield or aluminum foil to cover them after the initial 20 minutes of baking.
- While regular granulated sugar is still totally delicious, coarse sugar can add a delicious sugary crunch to the top of your pie.
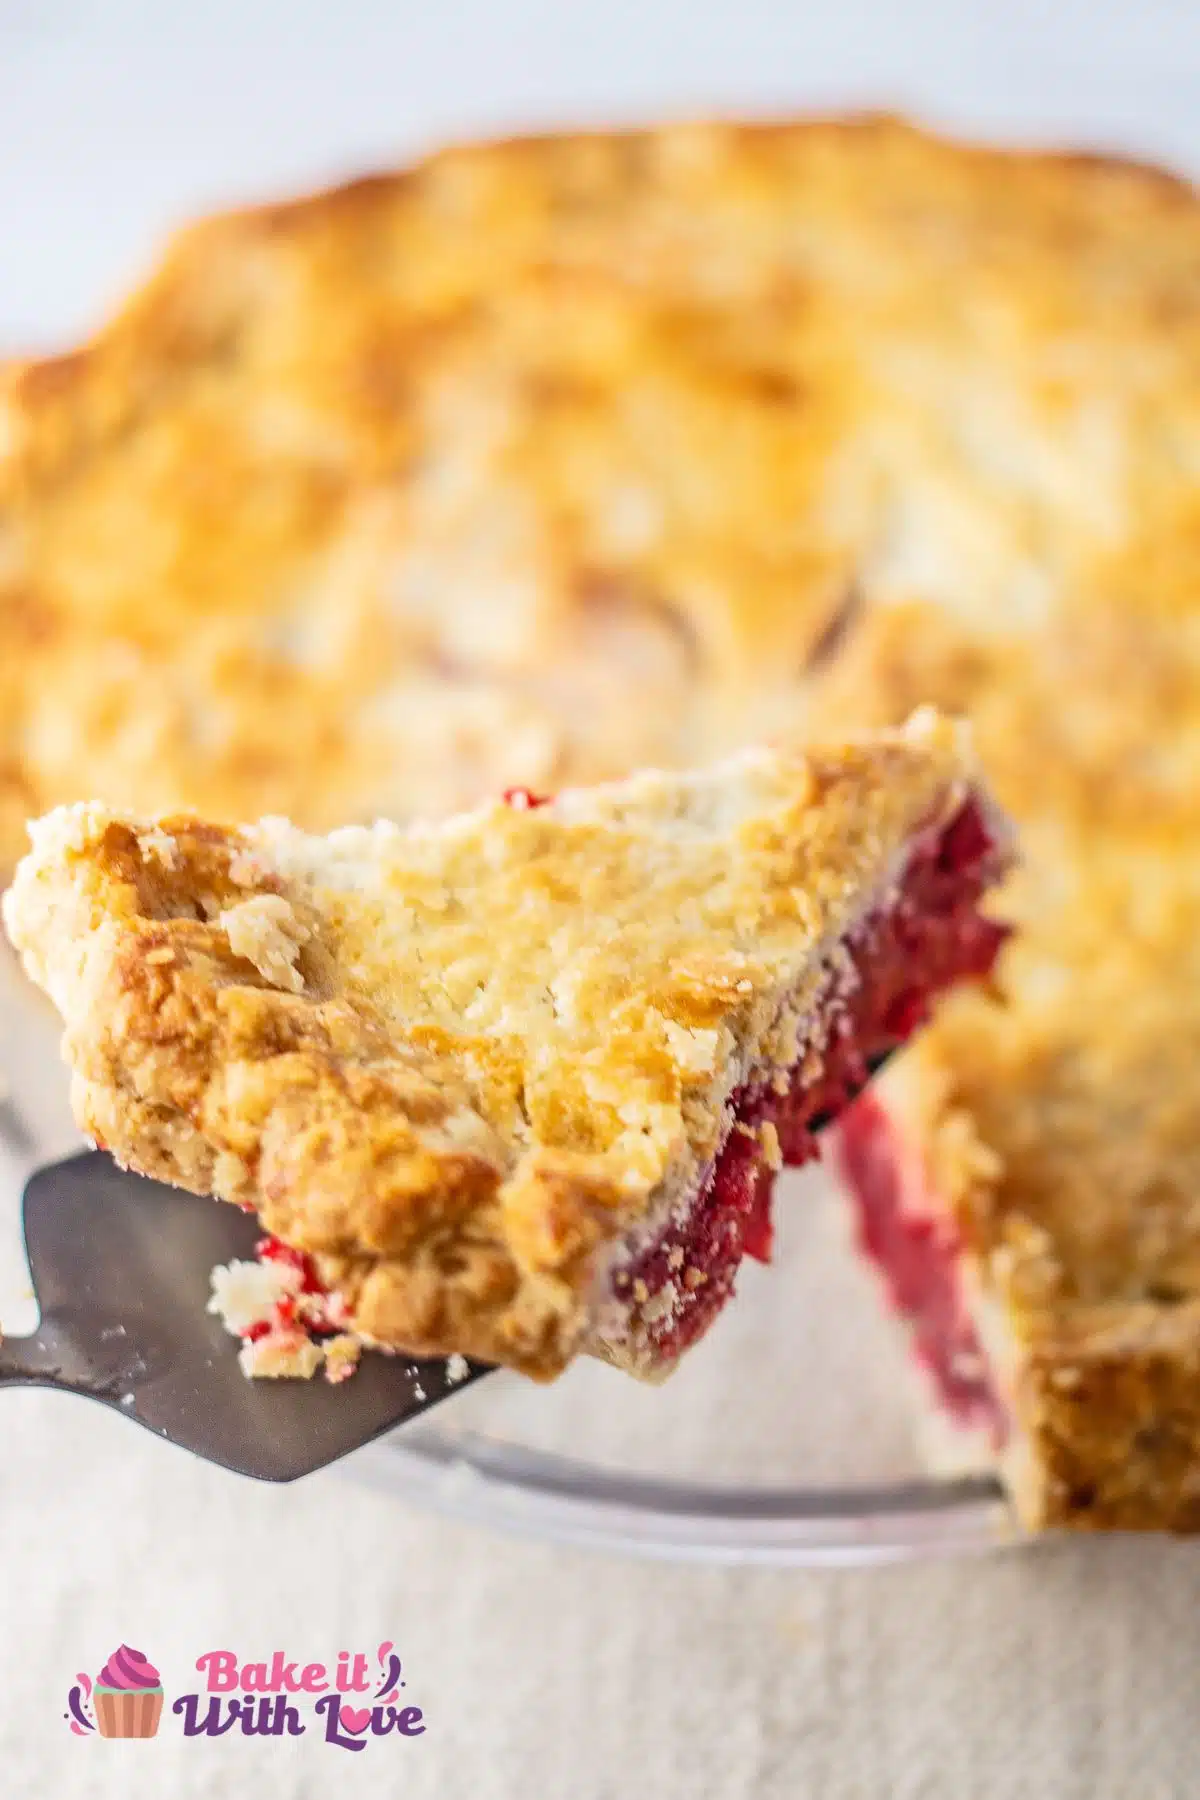
- Letting your pie cool fully is essential for picture-perfect slices. Otherwise, the warm pie filling will run right out!
🥄 Make Ahead Options
You can prepare your pie filling beforehand, allow it to cool, and store it in the fridge for up to 5 days. You can also make your butter pie crust and keep it tightly wrapped in plastic wrap in the fridge for up to 2 days.
When ready, assemble the pie and bake!
Freezing Raspberry Pie
Another option is to freeze your pie for later. It can be frozen, either baked or unbaked.
Wrap the whole pie, or individual slices, tightly in plastic wrap then by a layer of foil. Freeze for up to 2 months and let it thaw in the refrigerator overnight before serving or baking.
See my page on how to freeze fruit pies for more great tips!
🥡 Storing
Store any leftover raspberry pie covered and wrapped securely in plastic cling film. Keep the pie at room temperature for up to 2-3 days or in the refrigerator for up to 4-5 days.
>>>>See all of my recipes here<<<<
❓ Recipe FAQs
No. You do not need to bake the crust before adding the filling. Feel free to skip that extra step in this easy homemade fruit pie!
The cornstarch in the pie filling is the key ingredient to preventing a runny pie. It helps to thicken the filling so there isn't too much liquid. It's also important to let your pie cool completely before slicing to thicken the juices.
Sure! All you need to do is slice the top dough into strips that are all about ¾-inch wide. Then, you can arrange them atop the pie filling to make a lattice crust. You could also use cookie cutters to cut fun shapes out of the top crust instead of slicing steam vents!
Do you love a recipe you tried? Please leave a 5-star 🌟rating in the recipe card below and/or a review in the comments section further down the page.
Stay in touch with me through social media @ Pinterest, Facebook, Instagram, or Twitter! Subscribe to the newsletter today (no spam, I promise)! Don't forget to tag me when you try one of my recipes!
📖 Recipe Card
Raspberry Pie
Ingredients
Raspberry Pie Filling
- 6 cups raspberries (4 cups whole, mashed, or thawed from frozen as well as 2 cups whole)
- 1 cup sugar
- 6 tablespoon cornstarch
- 1 large lemon (zested and juiced, or use 2-3 tablespoons lemon juice)
- 1 pinch salt
- 2 tablespoon butter
Raspberry Pie
- 1 butter pie crust (see recipe or use store-bought, you'll need a double pie crust)
- 2 tablespoon butter (cut into small cubes)
- 1 tablespoon milk (for topping)
- 1 teaspoon sugar (for topping)
(Note: 2x or 3x only changes the ingredient list)
Instructions
Make The Pie Filling
- Add 4 cups out of your 6 cups raspberries to a saucepan (reserving 2 cups of whole raspberries to the side). Stir in 1 cup sugar, 6 tablespoon cornstarch, the juice and zest of 1 large lemon, and a 1 pinch salt until everything is combined.
- Heat the mixture over medium to medium-high heat, stirring occasionally, until it starts to bubble.
- Once it starts to bubble, remove it from heat immediately and fold in the extra 2 cups of whole raspberries and 2 tablespoon butter. Stir gently until thoroughly combined, then set it aside to cool completely before making your pie.
Assemble & Bake
- Preheat the oven to 400°F (205°C/Gas Mark 6) and line a 9-inch pie pan with 1 butter pie crust.
- Pour the raspberry pie filling into the crust and place the cubed 2 tablespoon butter on top, spreading it out as evenly as possible.
- Gently roll out the remaining butter pie crust and place it over the top of the pie (you can also slice it into strips if making a lattice top). Slice a few slits in the top to let steam escape, then crimp the edges closed and trim off any excess.
- Use a basting brush to lightly brush the top of the pie crust with 1 tablespoon milk, then sprinkle 1 teaspoon sugar over the milk.
- Bake at 400°F (205°C/Gas Mark 6) for 20 minutes, then reduce the temperature to 350°F (175°C/Gas Mark 4) and bake for another 30-35 minutes. *Cover the edges with aluminum foil or a pie shield if needed.
- Remove your pie from the oven when the crust is golden and set it aside to cool fully (about 3 hours) before slicing and serving.
Notes
- Use a pie shield or aluminum foil to cover the pie edges after the initial 20 minutes of baking if needed.
- Coarse sugar can also be used to add a delicious sugary crunch to the top of your pie.
- Letting your pie cool fully is essential for picture-perfect slices and no runny filling.
- You can keep your pie covered at room temperature for 3 days or in the refrigerator for up to 5 days.
- Wrap the whole pie, or individual slices, tightly in plastic wrap followed by a layer of foil. Freeze for up to 2 months and let it thaw in the refrigerator overnight before serving. See my page on how to freeze fruit pies for more great tips!



Comments
No Comments