

My delicious and creamy Pizza Aioli is the only sauce you'll ever want to drizzle over or dip your pizza in! Rich, succulent roasted garlic mixes with a seasoned creamy base to create a dipping sauce that's out-of-this-world tasty!

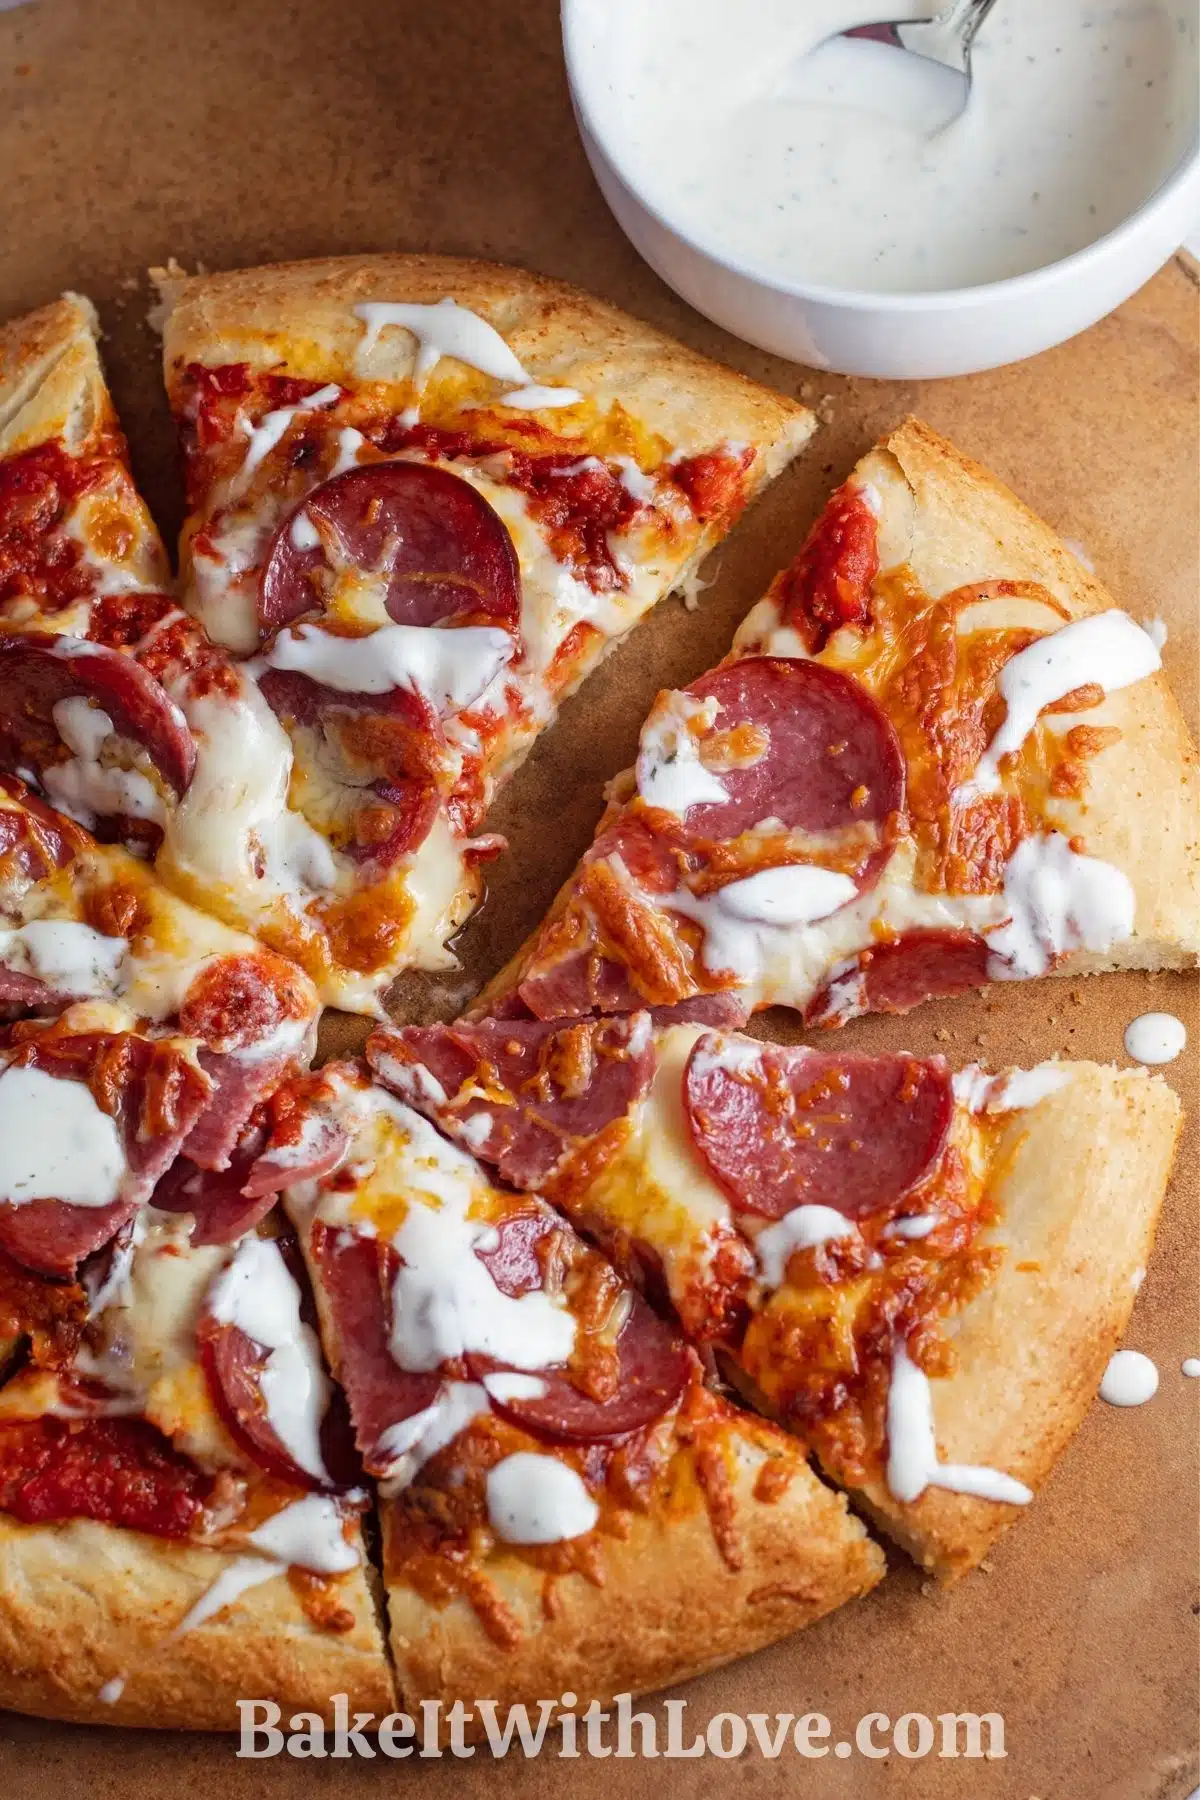
Creamy, savory, and rich - my pizza aioli is an absolute delight!
Pizza is one of our favorites! It's amazing on its own, but it's even better when dipped into or drizzled with a delicious sauce. The tangy tomato base and savory toppings become enhanced by the creamy sauce, taking your pizza to the next level.
Aioli is a Mediterranean sauce that's very similar to mayonnaise and traditionally seasoned with garlic. In my recipe, I keep it easy by using store-bought mayo and folding in delicious roasted garlic, tart lemon juice, and other delicious seasonings!
Jump to:
You'll want to use this amazing sauce on everything! This incredible Pizza Aioli is going to taste just as good as your favorite restaurant!
The best part - once you've roasted the garlic it takes just minutes to come together! Simply mix everything together, and you're done!
❤️ Why I Love This Recipe
It's Creamy! Who can resist a luxuriously creamy, savory sauce on your pizza? This sauce is ultra-creamy and so delicious. Your family will want it every time you make pizza!
It's Quick! Once the garlic is roasted (which you can do ahead of time, if you do meal prep), this recipe comes together in just a few minutes!
It's Perfect for Pizza! Move aside, ranch - this Pizza Aioli is going to be your family's new favorite pizza dipper.
🥘 Ingredients
My delicious, decadent pizza aioli uses just a few ingredients to create a delightful sauce! Try to use extra virgin olive oil for the best flavor.
- Garlic - You'll be using a whole bulb of garlic for this recipe. But don't worry - roasting the garlic takes away the harshness and makes it mellow and rich in flavor.
- Mayonnaise - Use your favorite, good-quality mayonnaise for this recipe. (See Tips & Recipe Notes)
- Olive Oil - Olive oil helps to roast the garlic and turn the cloves sweet and mellow. You'll also use it in the sauce, to help add flavor and make it extra creamy. Use extra virgin olive oil (EVOO) for the best quality.
- Lemon Juice - Use fresh lemon juice for this recipe - it's so worth it! Lemon juice adds a delicious zing to the aioli.
- Cayenne Pepper - We're just adding a pinch to this recipe to help balance the flavors and add a hint of spice. You can add a little bit more if you like it spicier.
- Dry Mustard Powder - I love adding dry mustard powder to sauces to add a savory flavor and an extra zip!
- Salt & Pepper - The classic seasoning base for everything! Add according to your taste.
🔪 Instructions
My decadent Pizza Aioli has just 4 steps! Making a pizza dipping sauce has never been easier!
- Prep the oven. Preheat your oven to 350°F (176°C).
- Roast the garlic. Cut the top off your garlic bulb to expose the cloves (save the extra for making broth or stock!). Then drizzle about 1 or 2 teaspoons of olive oil all over the bulb. Wrap in a square of aluminum foil large enough to completely enclose the garlic and bake at 350°F (176°C) for about an hour. When soft and golden, remove the garlic and allow it to cool for about 15 minutes.
- Make the sauce. When the garlic can be safely handled, squeeze the roasted garlic cloves out of the bulb and into a bowl or mortar and pestle. Mash up the roasted garlic until it forms a paste. Next, add 1 cup of mayo, 2 teaspoons of lemon juice, 1 tablespoon of olive oil, 1 pinch of cayenne pepper and dry mustard powder, and 1 teaspoon each of salt and pepper. Mix well, then taste and adjust seasonings if necessary.
- Meld the flavors. Place the pizza aioli in the refrigerator for about 30 minutes prior to use to help blend the flavors and thicken. After 30 minutes, serve with your favorite pizza and enjoy!
This sauce is amazing for any kind of pizza! Try it with my incredible Garlic Pizza or my savory pizza bombs for a flavor kick that'll knock your socks off!
💭 Angela's Pro Tips & Recipe Notes
While this is a super simple recipe, there are a few key things to note for best results!
Expert Tips
- For the best flavor take the time to roast the garlic.
- Do not freeze aioli!
- Use good quality mayo, or make your own.
- Mash or food process the heck out of the garlic, aioli should be smooth.
Recipe Notes
Use a good-quality mayo for the best flavor!
Try brands like Duke's, Hellman's/Best Choice, or a good local brand to ensure you're getting the best result.
I don't recommend using a sandwich spread like Miracle Whip for this recipe.
Meal Prepping? Try roasting the garlic ahead of time to make this recipe super easy!
Roasted garlic can last in your refrigerator for two weeks and up to several months in the freezer!
If you're short on time, you can roast garlic in the air fryer!
Simply preheat the air fryer to 380°F (190°C) then follow the instructions below on how to prepare the garlic. When it's ready to roast, place the foil-wrapped garlic in the air fryer basket and air fry for 16 to 20 minutes until soft and golden-brown.
Consider using a mortar and pestle to blend the sauce!
A mortar and pestle are a set of tools that crushes and grinds ingredients to blend them, usually made from ceramic or stone. It's a terrific investment for sauces like this aioli or pesto, or even grinding spices!
With a mortar and pestle, you can crush the roasted garlic into a paste, then add the rest of the ingredients and blend. The mortar and pestle help to create a fully blended sauce that's perfectly smooth and won't have any left behind bits.
🥡 Storing
Mayo-based products perish after 8 hours at room temperature, so make sure to put your aioli away after your pizza party! This delightful pizza aioli will keep in an airtight container for up 10 days in your fridge!
Pizza aioli will not keep in your freezer, though - mayo-based sauces and foods separate when being frozen.
When you're ready to serve the pizza aioli, serve it straight out of the fridge or let it sit out for no more than 30 minutes to come up to room temperature.
❓ Recipe FAQs
Mayo and aioli are super similar sauces, and both use eggs as the base! The main difference is that aioli traditionally uses olive oil to emulsify and is flavored with garlic and lemon, and mayonnaise usually is emulsified with a neutral oil, like canola, and is seasoned more simply with vinegar and sometimes a bit of mustard.
Absolutely! If you want to make this sauce vegan, try using a good quality vegan mayonnaise brand with few processed ingredients. It'll be just as tasty!
My flavorful pizza aioli isn't just perfect for pizza! It's also amazing on sandwiches, as a dressing for pasta or potato salad, served with a veggie tray, or even as a dip for French fries or roasted potatoes!
You can substitute a small amount of fresh mustard for the dry mustard powder. I would recommend using no more than ¼ teaspoon of the mustard, so the flavor isn't too pronounced. I also recommend using Dijon mustard for the best flavor if you have it!
Do you love a recipe you tried? Please leave a 5-star 🌟rating in the recipe card below and/or a review in the comments section further down the page.
Stay in touch with me through social media @ Pinterest, Facebook, Instagram, or Twitter! Subscribe to the newsletter today (no spam, I promise)! Don't forget to tag me when you try one of my recipes!
📖 Recipe Card

Pizza Aioli
Ingredients
- 1 bulb garlic
- 1 cup mayonnaise
- 1 tablespoon olive oil (extra virgin)
- 2 teaspoon lemon juice
- 1 pinch cayenne pepper
- 1 pinch dry mustard powder
- 1 teaspoon each, salt & pepper (to taste)
(Note: 2x or 3x only changes the ingredient list)
Instructions
- Preheat your oven to 350°F (176°C).
- Cut the top off your garlic to expose the cloves, drizzle with olive oil and wrap in aluminum foil and bake at 350°F (176°C) for about an hour, allow garlic to cool for about 15 minutes. When you can safely handle the garlic bulb squeeze out the garlic in to a bowl or mortar and pestle.
- Using a mortar and pestle if you have one, if not use a bowl and a fork, mash up the roasted garlic, add the mayo, lemon juice, olive oil, and seasonings. Mix well.
- Place in the refrigerator for about 30 minutes prior to use.
Notes
- Yields approximately 1 cup of aioli.
- For the best flavor take the time to roast the garlic.
- Do not freeze aioli!
- Use good quality mayo, or make your own.
- Mash or food process the heck out of the garlic, aioli should be smooth.
X says
Een hele bol knoflook gebruikt maar de smaak was heel heel ver te zoeken helaas.. heb het recept tot aan de puntjes opgevolgd maar helaas. Niet elk recept kan een goeie zijn.
"Used a whole bulb of garlic but the taste was very hard to find unfortunately .. I followed the recipe to perfection but unfortunately. Not every recipe can be good."
Angela @ BakeItWithLove.com says
Heb je de knoflook geroosterd? Als je dat deed, zou ik de volgende keer gewoon twee bollen roosteren en spelen met je hoeveelheid knoflook. Bedankt voor het delen!
"Did you roast the garlic? If you did, I would simply roast two bulbs next time and play with your garlic amount. Thanks for sharing!"
Anna Kohls says
Hi! I think this recipe was too salty. I had to put sugar in it cuz it was overwhelming. Since Mayo has salt already, maybe reduce the extra amount you wanna put in.
Angela @ BakeItWithLove.com says
Thanks for your comment, I'll be sure to add a new note to the recipe card.