

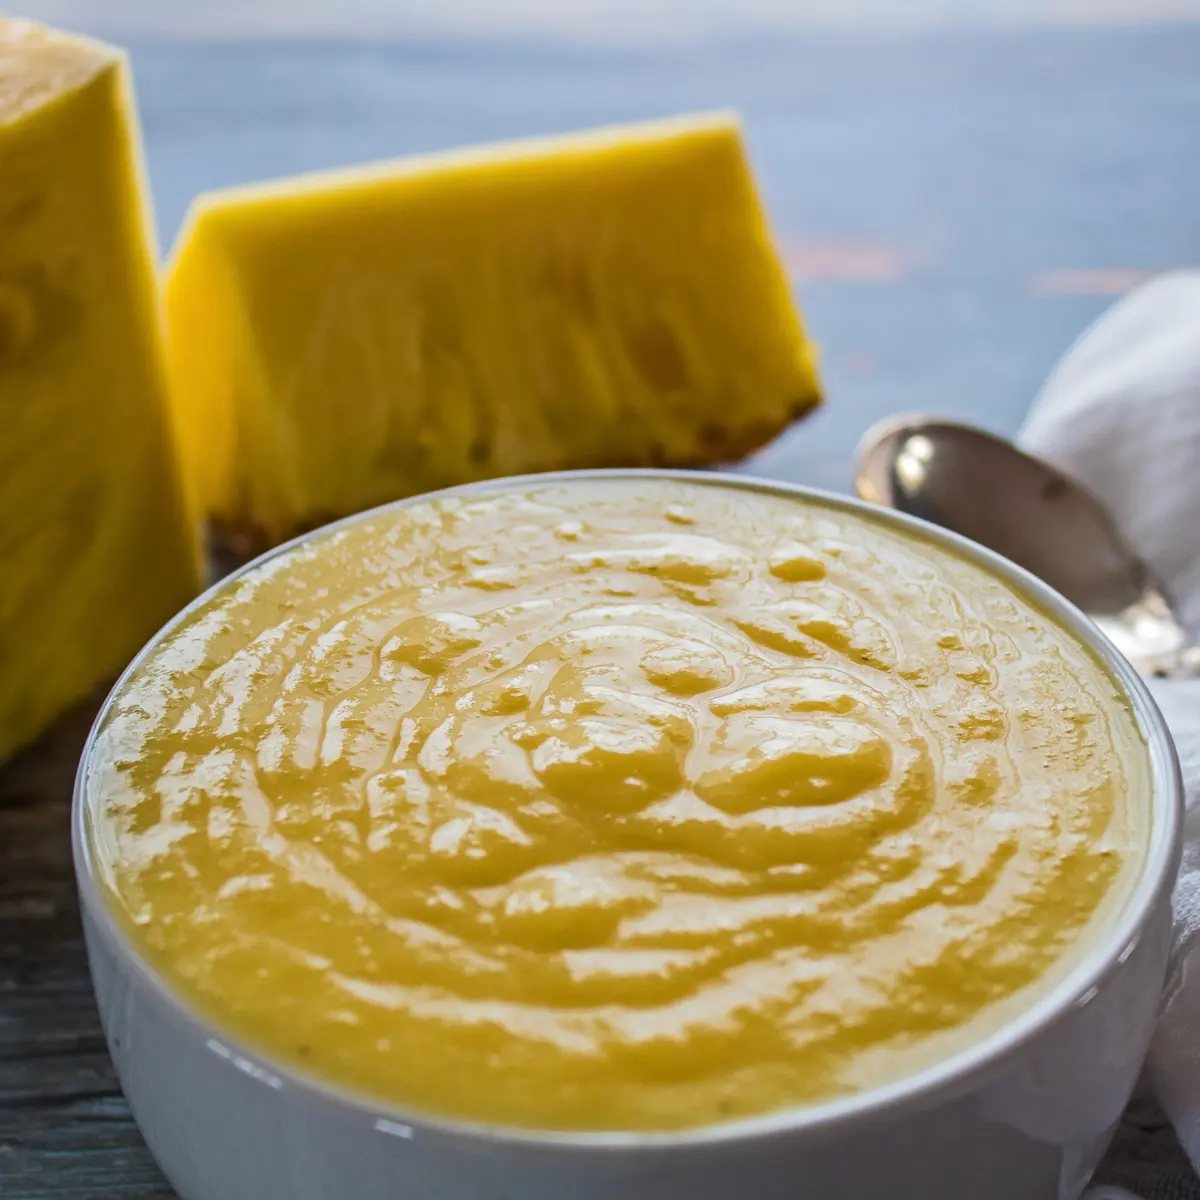
Pineapple curd is an easy-to-make treat that works wonderfully as a cake or cupcake filling, sweet roll filling, fruit dip, and so much more. All you need to make this flavorful fruit curd is eggs, egg yolks, canned pineapple juice, sugar, cornstarch, and butter. It has a sweet, tangy, tropical flavor no one can resist!
Pineapple curd is delicious layered in homemade white cake, on top of no-churn vanilla ice cream, or as a filling for vanilla cupcakes.
Jump to:
I do love all things pineapple. It's one of my favorite fruits, fresh or canned, either way, I'm a big fan! I also absolutely adore fruit curds and making homemade cake fillings, so making this pineapple curd was a natural next step in combining many of those things I love.
For a super creamy pineapple curd, use the canned pineapple juice. I am using pureed canned crushed pineapple for my curd, as I wanted the pineapple texture to still be present for my dessert filling.
Why You Should Make Curd With Canned Pineapple
Why am I only talking about canned pineapple products? Because fresh pineapple has the enzyme bromelain (which I also talked about in my super tasty sweet and sour sauce).
Bromelain will prevent cornstarch from thickening your curd. It will also prevent gelatin from firming up.
However, the heating process during the canning of pineapple inactivates the bromelain. To do this at home, if you want to use fresh pineapple, you would need to heat your pineapple or pineapple juice to 158ºF ( 0ºC) and follow the recipe below.
🥘 Ingredients
- Eggs - Start with room-temperature eggs.
- Egg Yolks - Extra egg yolks give the curd its rich and creamy texture.
- Sugar - Granulated white sugar or a suitable sugar substitute.
- Pineapple - Crushed pineapple (pureed, or use pineapple juice - must be canned).
- Cornstarch - Cornstarch is used to thicken the curd.
- Butter - Salted butter or unsalted with a pinch of salt, cold and cubed.
*Be sure to see the free printable recipe card below for ingredients, exact amounts & instructions with tips!*
🔪 How To Make Pineapple Curd
Pineapple curd is a versatile recipe that you can incorporate into all of your favorite baked goods, and it's easy to master! You'll need your measuring utensils, a mixing bowl, a whisk, a saucepan, and a silicone spatula to get started.
This recipe makes 1 ½ cups of pineapple curd, or 18 servings, which is more than plenty for most baked goods!
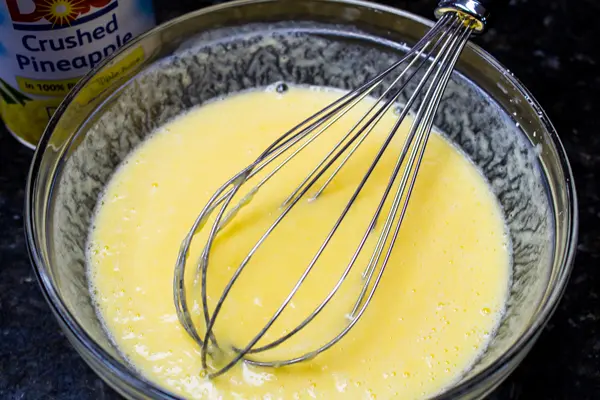
Combine The Ingredients
Step 1: Combine the ingredients. Whisk together all ingredients except butter: 2 large eggs, 2 egg yolks, ¾ cup (150 grams) of sugar, ½ cup (118.29 grams) of canned pineapple juice ( or pureed canned crushed pineapple ) and cornstarch. Leave the butter for adding at the end, after the pineapple curd has been cooked.
Step 2: Continue whisking the mixture, making sure that the cornstarch is fully dissolved and the ingredients are thoroughly combined.
Cook The Curd
Step 3: Heat. Transfer the pineapple curd mixture into a heavy-bottom saucepan and heat over medium-high heat. Switch your whisk to a silicone spatula so that you can scrape the saucepan's bottom and sides to prevent the curd from sticking or clumping.
Step 4: Cook. Cook the curd for about 7 - 10 minutes, stirring constantly, or until it clings to your spatula or spoon and has reached a slightly thinner-than-pudding consistency. *Lift your saucepan away from the heat, or reduce the temperature slightly, if needed to keep the curd from cooking too quickly. I have also used a double boiler method with my curds that works wonderfully!
Stir In Butter & Chill
Step 5: Stir in butter. Remove the saucepan with curd from heat when it reaches a thickened consistency. Stir in the first half (2 tablespoons) of cold, cubed butter until melted. Then add the second portion and stir in until it has melted and your pineapple curd is smooth and creamy in appearance.
Step 6: Strain (optional). Strain your curd, if desired, through a fine mesh sieve and into a small bowl. This will remove any bits of 'scrambled egg' that may have formed during the heating process.
Step 7: Cover. Cover the bowl of curd with a sheet of plastic clingwrap, letting the cling film settle into the bowl and onto the surface of the pineapple curd. You can also press across the surface gently to make sure that the entire surface area is well-covered. This will prevent a 'skin' from forming on the curd surface.
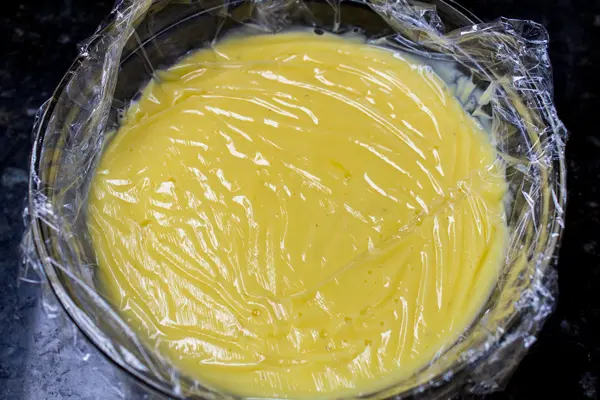
Step 8: Chill. Place the covered bowl of curd into your refrigerator and chill for at least two hours before serving.
💭 Angela's Pro Tips & Recipe Notes
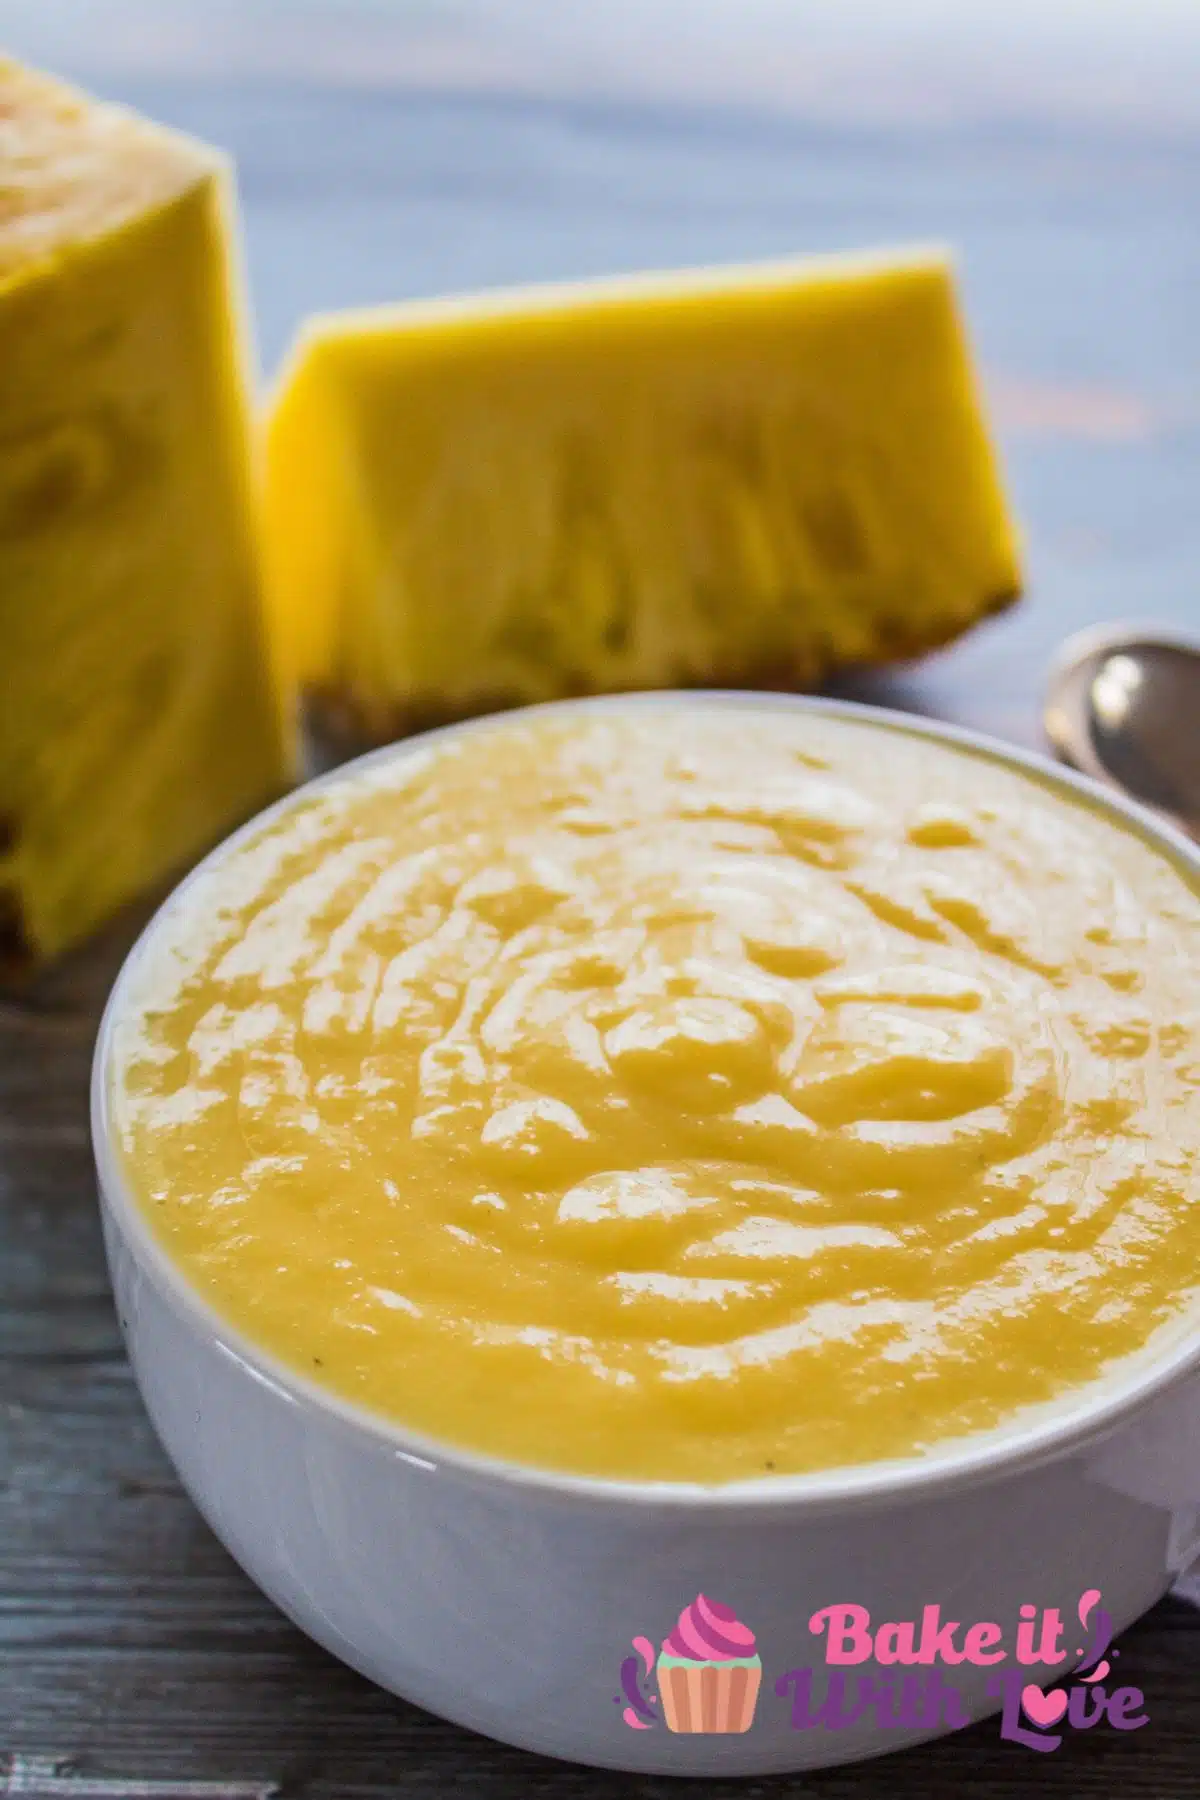
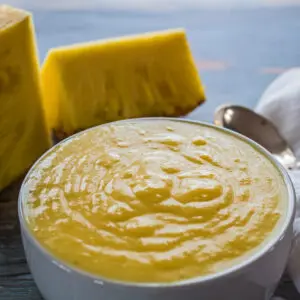
- Straining your curd is optional. I have not strained my pineapple curd shown here as I wanted the additional texture from the pureed crushed pineapple I used.
- Chill overnight for the best flavor. I like to serve or use my pineapple curd after about 6 hours of chilling time. I find that the texture is best for filling cakes after the curd has been allowed to set up fully overnight.
- Salt balances sweetness. If you're using unsalted butter, I recommend adding a small pinch of salt to your pineapple curd before cooking.
🥡 Storing
Store your curd in an air tight container, and keep it refrigerated between uses. It is best within 3 - 4 days and will last for about a week when stored properly.
If stored in sterilized and sealed jars, the curd can last for up to three weeks if the jars are kept sealed and refrigerated.
Do you love a recipe you tried? Please leave a 5-star 🌟rating in the recipe card below and/or a review in the comments section further down the page.
Stay in touch with me through social media @ Pinterest, Facebook, Instagram, or Twitter! Subscribe to the newsletter today (no spam, I promise)! Don't forget to tag me when you try one of my recipes!
📖 Recipe Card
Pineapple Curd
Ingredients
- 2 large eggs
- 2 large egg yolks
- ¾ cup sugar
- ½ cup crushed pineapple (pureed, or use pineapple juice - must be canned)
- 2 tablespoon cornstarch
- 4 tablespoon unsalted butter (¼ cup or ½ stick of butter, cubed)
(Note: 2x or 3x only changes the ingredient list)
Instructions
- In a medium to large size mixing bowl or the bowl of your stand mixer, whisk together the 2 large eggs, 2 large egg yolks, ¾ cup sugar, canned pineapple juice (or canned ½ cup crushed pineapple puree), and 2 tablespoon cornstarch. Whisk until the cornstarch is completely dissolved and the ingredients are thoroughly combined.
- Transfer the curd mixture to a saucepan (heavy bottom saucepans work best to distribute the heat evenly and not burn the curd). Heat the curd over medium high heat and use a spatula to scrape the sides and bottom, stirring constantly while cooking. It will take about 7-10 minutes for the curd to thicken, enough so that it clings to your spatula or spoon. *It will be a slightly thinner consistency than pudding.
- Remove the saucepan from heat and stir in the 4 tablespoon unsalted butter in two 2-tablespoon portions. Add the first portion immediately and stir until it is melted, then add the second portion of butter and stir again until well combined and creamy.
- Once combined, strain the curd through a fine mesh sieve (if desired, I opted for leaving some texture in mine) into a small bowl.
- Cover the pineapple curd with a sheet of plastic cling film wrap, allowing the cling film to settle onto the top surface of the pineapple curd. This prevents a 'skin' from forming as the curd chills.
- Place the covered bowl of curd into your refrigerator to chill for at least 2 hours before serving.
Comments
No Comments