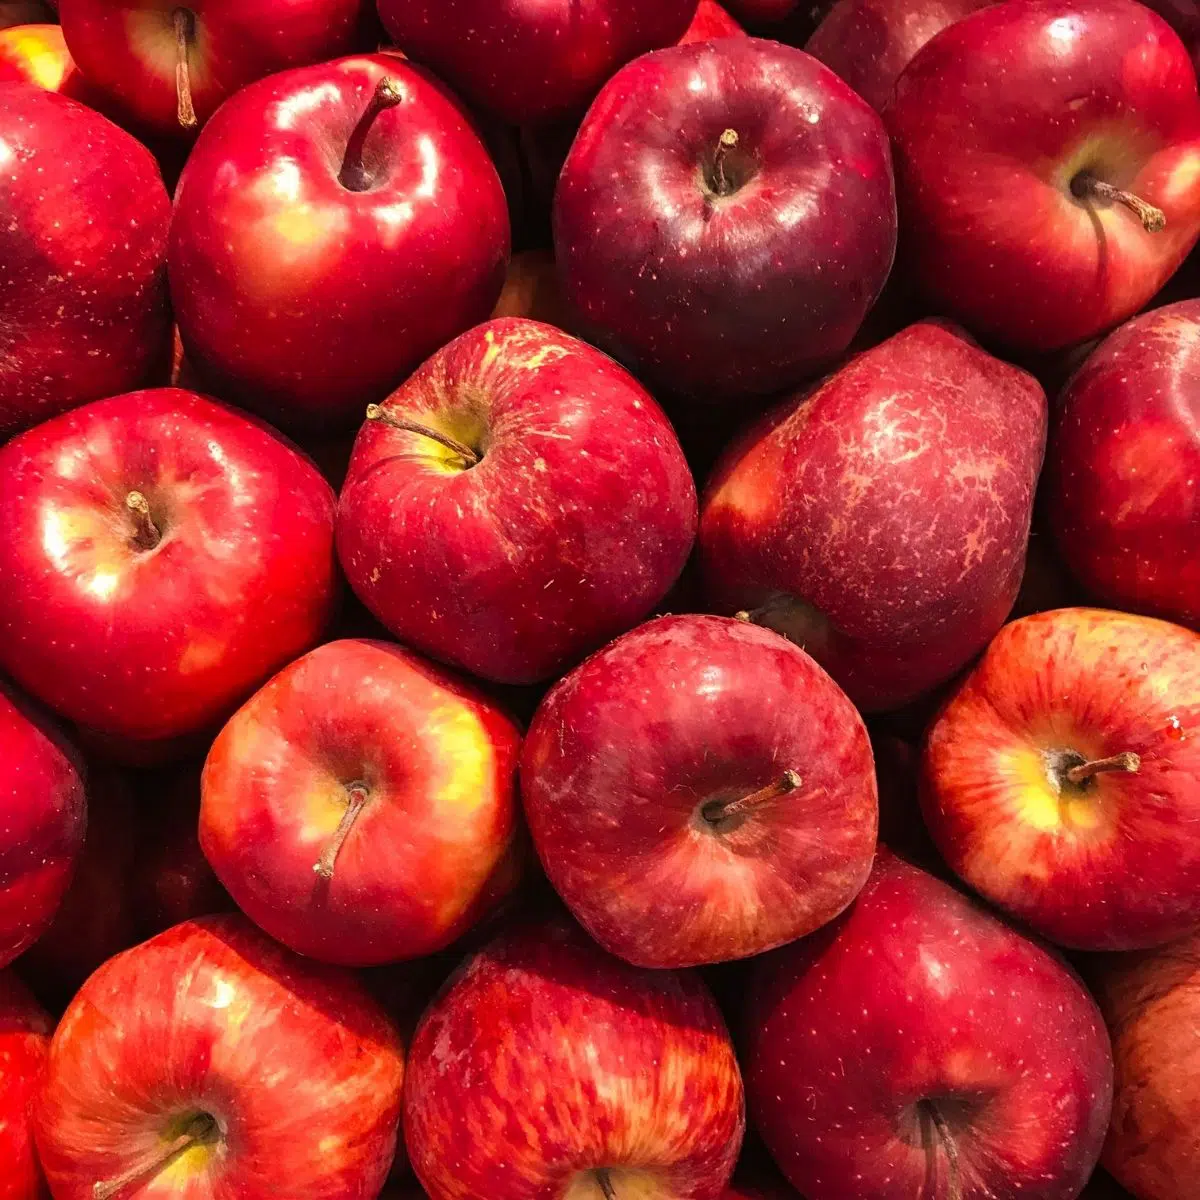
Here's how to store apples so that they last the longest and keep the best flavor and texture without browning! When you bring a beautiful bunch of apples home, it's best to know how to store them properly to keep them as fresh as possible. You want your tasty, fresh selection of apples readily available to enjoy whether you use them immediately or weeks later.
When ready to bake, try my apple snickerdoodle dump cake, cinnamon apple bread, Dutch apple cake, or Granny Smith apple pie.

Jump to:
- Apple Season in the United States
- ❔ How Do I Choose The Best Apples
- ❔ Are Bruised Apples Safe To Eat
- ❔ What Is Ethylene
- Room Temperature Apples vs. Refrigerating
- Humidity Helps Apples
- A Root Cellar: The Old Fashioned Way
- ❔ Should I Freeze Apples
- How To Freeze Apples
- Apples That Freeze Well
- Try An Apple Rack
- 💭 Quick Tips For Storing Apples
- 📖 Recipe Card
- 💬 Comments & Reviews
As the weather gets colder, I’m reminded of all of my favorite things about this season. There's hot chocolate, the beginning of sweater season, and of course, apples.
I love apples year-round, but there’s nothing better than going apple picking and using your freshly harvested fruit for your favorite apple recipes. Apple cake, apple cobbler, applesauce, apple pie, baked apples, apple cider. Is there anything apples aren’t good in?
Apple Season in the United States
The main harvest season in the US is between September and October. Farms across the country open their gates to enthusiastic customers who wish to get their ripe apples directly from the source.
Or, for some of you, you might be lucky enough to have a few of these amazing trees in your yard! Either way, there will inevitably be a time when you need to store your bounty for more than a few days.
It’s great to be able to access fresh fruit year-round at the grocery store, but if you’re trying to eat what’s in season locally, you might be left missing apples at certain times of the year.
When you find yourself in this situation or due to having healthy, mass-producing apple trees, read the info below to help keep your fruit fresh for as long as possible.
❔ How Do I Choose The Best Apples
Apples have the potential to stay fresh for up to five months if you choose the right ones and treat them carefully. If you’re trying to find something that will be great to eat many weeks after purchase, go for the varieties that are tart with thick skin.
Granny Smith apples are a perfect example. They’ll last twice as long as something like a Red Delicious. The latter has thin skin and is very sweet.
Heirloom Varieties
Many heirloom varieties are also long-lasting. While you’re less likely to find these as options at your grocers, there are many farmers that sell through farmers’ markets. The perk of buying directly from apple growers is access to the wealth of knowledge they’ve cultivated through years of work.
Heirloom apple varieties are unaltered breeds that originated hundreds of years ago and have been carefully tended to through generations for purity.
If you’re picking your own, don’t get the ones that have fallen to the ground for long-term storage purposes. They’re already too ripe. Those are best for cooking or eating within a week - and perfect for applesauce!
❔ Are Bruised Apples Safe To Eat
The second thing to watch out for is bruises. If you’re going to be eating them soon, bruised apples are perfectly fine. After all, they’re not supposed to be perfect, especially the organic kind! There’s nothing wrong with the flavor or freshness.
In fact, some companies will sell apples that grocery stores deem too “imperfect” to buy at a discounted rate.
❔ What Is Ethylene
If, however, you’re hoping to store them for the long term, bruises can cause ethylene. This naturally emitted gas starts the ripening process and is released faster when bruises are present.
This causes the fruit and any produce sitting around it to go bad much sooner than it would otherwise. Apricots, bananas, and pears release ethylene as well.
So do avocados. If you’ve ever been told to close an avocado in a paper bag in order to ripen it faster, you’ve used ethylene to your advantage. In short, if you find a bruised apple among the others, it’s best to separate it from the basket and eat it sooner rather than later.
Pro tip: Handle apples carefully when putting them in your cart at the store or transferring them to your car. Like eggs or chips, be sure not to squash your apples with canned goods when packing groceries.
Room Temperature Apples vs. Refrigerating
This might surprise you, but apples should be stored in areas 31 to 35°F (0.55-1.67°C). Due to their natural sugar, they don’t start to freeze until 29°F (-1.67°C).
While some fruits and vegetables degrade at cold temperatures, that’s not the case for this delicious fall fruit. Keeping them cold will add weeks to their edibility window by slowing the release of ethylene.
The average fridge is kept at around 40 degrees. Most people keep their homes in the upper 60s to lower 70s this time of year. So when it comes to preserving your apples, you’re going to get more mileage out of your fridge than if you leave them in a bowl on the counter.
In order to really extend the life of your apples, you can even get a mini-fridge and set it at a lower temperature just for them.
For most of us, realistically, the easiest thing to do is just put them next to the milk and leftover Thai food. After all, how many apples can you eat? Just remember to keep them out of the vegetable drawer or “crisper” unless there’s nothing else in there.
Even in the fridge, they’ll emit small amounts of ethylene, so if you trap other produce in with them, it’ll go bad faster. And if you can, crank down the temp as low as you can without damaging the other food in your fridge.
>>>See All Of My Recipes Here!<<<
Humidity Helps Apples
I used to love going to the grocery store and seeing all the produce get misted by the sprinkler system. It was like a breath of fresh air, especially in the summer. Plus, it always made the food look even more delicious.
Many grocers include apples in the misted areas because humidity helps them stay fresh. This is another ideal storage tip that can be difficult to replicate at home.
Try covering them in the fridge with a slightly dampened paper towel or leave them in the bag if they come in a bag. If you choose to do the latter, just poke a few tiny holes in the plastic to let the ethylene out while keeping some humidity in.
A Root Cellar: The Old Fashioned Way
For those of you with root cellars or unheated basements, you can also store apples the old-fashioned way. Even a garage will work!
For the generations before electricity came about, being able to keep food safe to eat for long periods of time, especially during the winter, was vital to their survival.
Root cellars played a very practical role in the process. With the tips above in mind, it’s easy to see why a cool room in the ground would make a great place to keep this fruit.
When you have lots of apples you want to keep fresh for months on end, a cellar or basement is the perfect place.
❔ Should I Freeze Apples
Apples shouldn’t be frozen for the best taste and texture. Remember, 31 to 35°F (0.55-1.67°C) is ideal, and apples don’t start to freeze until 29°F (-1.67°C). Depending on where you live, your garage can definitely reach colder temps in the early months of the year.
Freezing hurts the skin and will lead to a rapid ripening period. In other words, they’ll rot. So, it might be worth investing in a thermometer for the room you’re choosing to store your apples in if you choose to go this route.
How To Freeze Apples
If you are going to freeze your apples, it’s worth noting that each variety ripens at a different rate, and some freeze better than others. Keep like apples together and check periodically for any that are rotting or getting overly ripe.
Step 1: Prep the apples. Wash, dry, and core your apples. Slice them into wedges.
Step 2: Treat for browning (optional). Add 1 tablespoon (14.78 milliliters) of lemon juice per 1 cup (236.6 milliliters) of water to a large bowl, using enough water to cover your apples. Soak your sliced apples for 3-5 minutes, then drain and pat dry.
Step 2: Flash Freeze. Line a baking sheet with parchment paper and place the apples in a single layer on top. Pop them in the freezer for 2-3 hours to parfreeze so they don't stick together.
Step 3: Transfer the mostly frozen slices to a Ziploc freezer bag for easy storage and squeeze out any excess air. Label and date them. Frozen apples are best used within 3 months but are good for up to 6.
Apples That Freeze Well
You can find my full list of the best apples for baking and cooking here. Compare that to the following list of apple varieties that freeze well to find an apple that suits your needs:
- Granny Smith
- Golden Delicious
- Jonagold
- Honeycrisp
- Cortland
Frozen apples are great for smoothies and baking but would not be a great choice in recipes calling for fresh apples. The texture becomes softer when thawed, losing much of that fresh apple crunch!
If you are freezing a lot of apples or plan on giving some away, you can follow my guide to measuring apples. It breaks down exactly how much you'll get out of your apples!
Try An Apple Rack
An apple rack is perfect for long-term storage as it lets air circulate around each piece of fruit. If you don’t have one of these, consider using a sheet of newspaper to wrap each one individually. It’s important not to stack or let apples touch.
The newspaper will keep one spoiled apple from ruining the other apples around it. You may also want to sort by size, as the largest ones spoil the fastest.
Follow these tips; depending on the variety, your apples will last for months! Keep in mind that some apples purchased at the grocery store have already been stored for a while. So, your best bet is buying from a farmers’ market if you’re not picking your own.
>>>See All Of My Recipes Here!<<<
💭 Quick Tips For Storing Apples
Here's the TL;DR version of the information above. If you follow these guidelines, your apples will last much longer! Remember, apples keep best cold, but not frozen!
- Separation: Apples release ethylene gas, which can speed up the ripening of other fruits and vegetables. Store apples separately to prevent them from affecting other produce (or from being affected by other produce like onions).
- Humidity: Allow for some humidity (with ventilation) when storing apples. Don't pack them too tightly, as good air circulation helps prevent mold and decay.
- Store Whole: If possible, store apples whole. Cutting them exposes more surface area to air, which can lead to quicker spoilage.
- Sort by Variety: Different apple varieties have varying storage life. Sort them by type, and use those with shorter shelf life first.
- Avoid Sunlight: Keep apples away from direct sunlight! Exposure to light can cause them to ripen and spoil more quickly.
How do you store your apples, and do you have any tips or tricks to share? Let me know in the comments below!
Do you love a recipe you tried? Please leave a 5-star 🌟rating in the recipe card below and/or a review in the comments section further down the page.
Stay in touch with me through social media @ Pinterest, Facebook, Instagram, or Twitter! Subscribe to the newsletter today (no spam, I promise)! Don't forget to tag me when you try one of my recipes!
📖 Recipe Card
How To Store Apples For A Long Time (And How To Freeze Them!)
Ingredients
- 6 lbs apples
- 1-2 cups lemon juice (with an equal amount of cold water)
(Note: 2x or 3x only changes the ingredient list)
Instructions
- Cut your washed apples crossways into ⅛-inch slices (using a mandoline makes this very easy). Then, remove any seeds and, if desired, remove the apple core using an apple corer or a round piping tip. Alternatively, you can just trim them with a paring knife.
- In a large bowl, combine equal parts of lemon juice and cold water to act as a pre-treatment solution (this will prevent the apples from browning).
- Place the apples slices into the bowl of lemon water and swish them around so that both sides are fully coated. Let them soak for 10 minutes.
- Remove the apples from the bowl and place them into the trays of your dehydrator, making sure to leave about ½-inch of space between them.
- Turn on the dehydrator at 135°F (57°C) and allow the apples to dry for 6-12 hours. *The time will vary based on the moisture levels in the apples as well as the brand of your machine.
- Once you think the apples are almost done, remove them from the tray and let them sit for 1 hour. If they can snap in half like a chip, they are done. If they bend, go ahead and return them to the dehydrator until done.
Notes
- 6 pounds of apples are equivalent to about 1 pound of dried apple chips.
- You can cut your apples into either ⅛-inch or ¼-inch slices, depending on how crispy you want them! I highly recommend using a mandoline for even slicing.
- Pretreat your apples with a combination of lemon juice and water in order to keep them from browning.
- Some dehydrator machines don't have temperature control. In this case, just make sure to check on your apples more frequently as these machines could range from 125-165°F (52-74°C).
- Short-term storage: Once cool, keep your dehydrated apples in a Ziploc bag or airtight container for up to 2 weeks.
- Long-term storage: You can condition your apples by placing them into glass jars or see-through airtight containers (in separate, smaller portions). Watch them for 1 week, checking every day for any sign of residual moisture. If you do see any moisture, go ahead and return the apples to the dehydrator and dry them for a little longer. Start the process over again until you have gone 1 week without any signs of moisture. Then, the conditioned apple chips can be stored in an airtight container or vacuum-sealed for up to 1 year. *If you see mold at any time during the conditioning process, you must throw out the contents of that container.


Comments
No Comments