Here's how to cook canned corned beef hash perfectly using the air fryer, stovetop, oven, or even the microwave! I'm going to show you all of the best methods for cooking this tasty dish as well as some tips and tricks! Once you see how easy it is to make, you'll be able to enjoy canned corned beef hash whenever you like!
Guide To Cooking Canned Corned Beef Hash
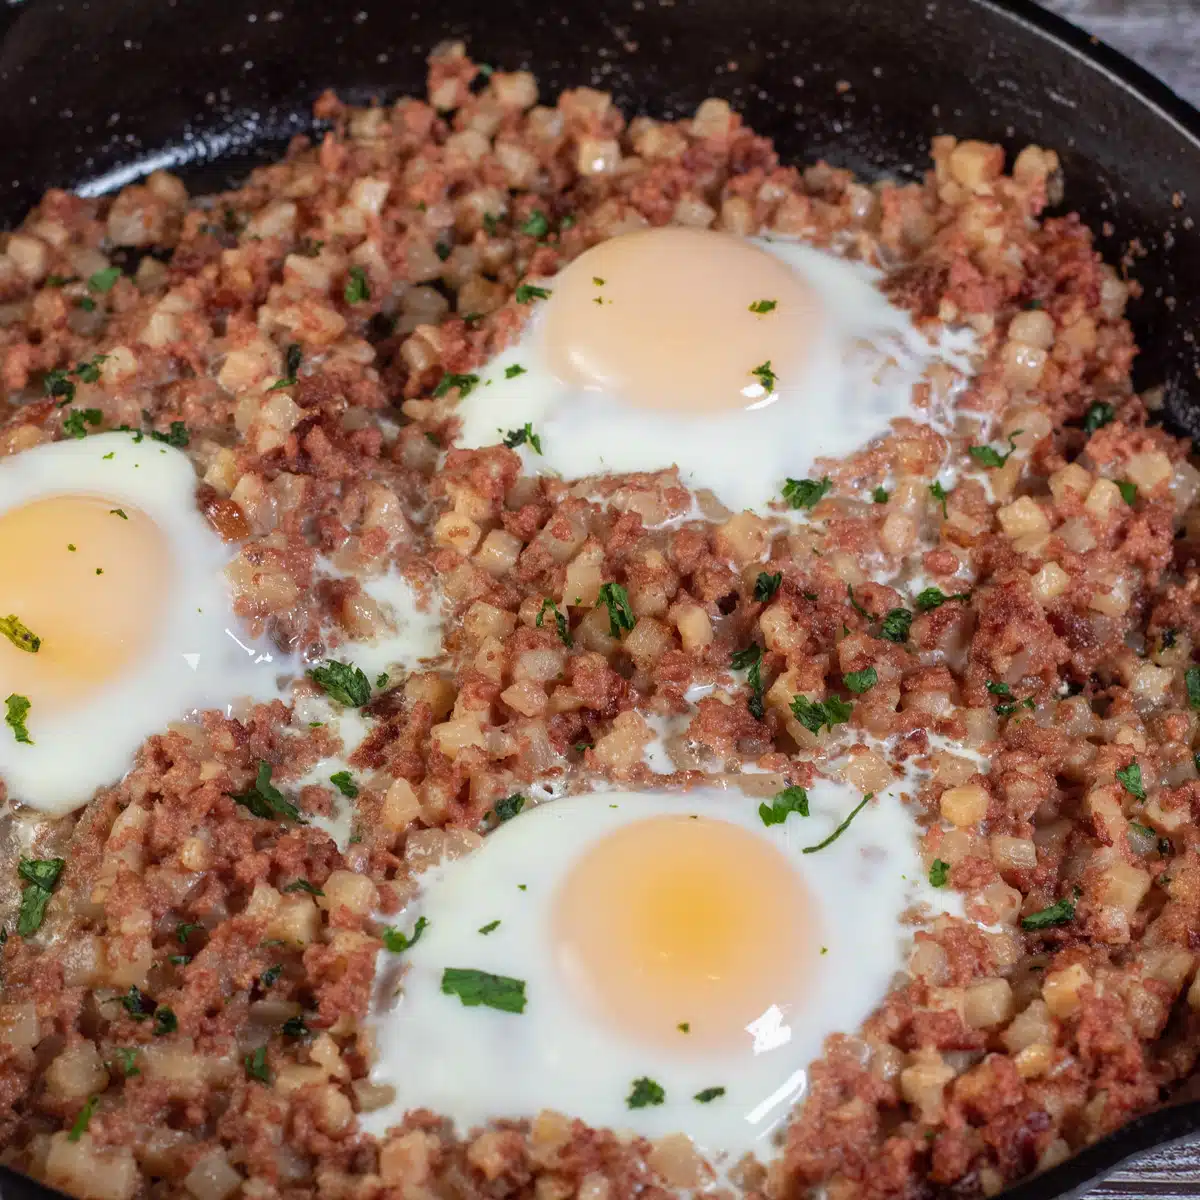
Corned beef hash is the ultimate breakfast comfort food. You can serve it with any kind of egg you like and you'll be in absolute Heaven!
Of course, homemade is best, but I'd be lying if I didn't say that the canned variety is still super delicious! Plus, it is incredibly easy to cook (and who doesn't love convenience?)
Jump to:
- Guide To Cooking Canned Corned Beef Hash
- What Is Canned Corned Beef Hash
- Ingredients
- How To Cook Canned Corned Beef Hash In The Oven
- How To Cook Canned Corned Beef Hash On The Stovetop
- How To Cook Canned Corned Beef Hash In The Air Fryer
- How To Cook Canned Corned Beef Hash In The Microwave
- How To Make Corned Beef Hash Using Canned Corned Beef
- Tips For Cooking Canned Corned Beef Hash
- Storing Canned Corned Beef Hash
- ❓ Recipe FAQs
- 🥚 More Breakfast Recipes
- 📖 Recipe Card
- 💬 Comments & Reviews
What Is Canned Corned Beef Hash
The exact ingredients in corned beef hash may slightly vary depending on what brand you buy. However, it typically consists of finely diced cured beef brisket (or another variety of meat), potatoes, and sometimes onions or bell peppers.
The dish originated as a way to use up some leftovers, but it is so tasty that it eventually become a favorite breakfast option!
Ingredients
I'm going to show you several cooking methods below for how to make canned corned beef hash. However, I will also show you how to make corned beef hash using canned corned beef (in which case you will need a few extra ingredients).
If you want to make a tasty breakfast hash (instead of only cooking the canned corned beef), you'll need these ingredients.
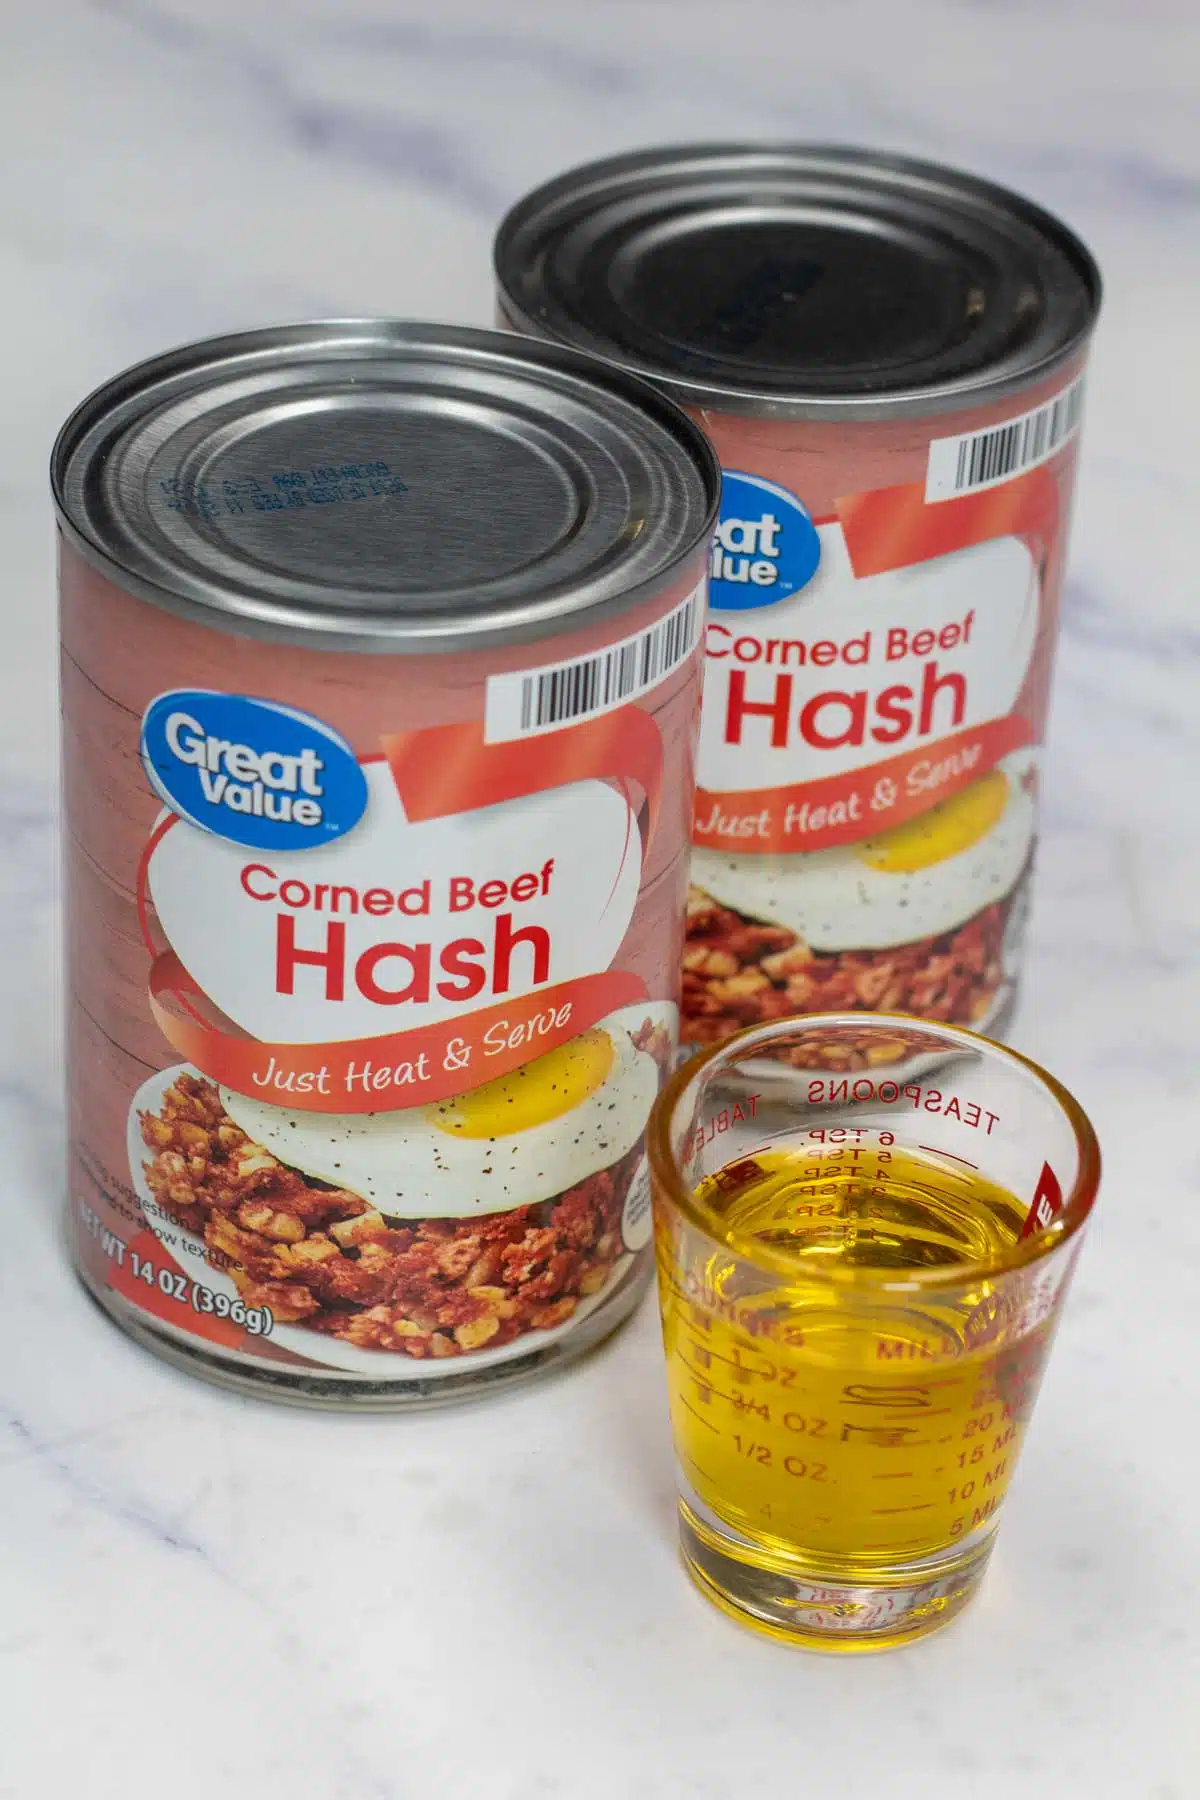
- Canned Corned Beef Hash - A 14-ounce can of corned beef hash.
- Olive Oil - 2 tablespoons of extra virgin olive oil.
- Onion - 1 small onion that has been finely diced.
- Potatoes - 2 small potatoes that have been peeled and finely diced.
- Bell Pepper - ½ of medium bell pepper (finely diced).
- Garlic - 1 clove of garlic that has been minced.
- Pepper - ¼ teaspoon of ground black pepper, to taste.
How To Cook Canned Corned Beef Hash In The Oven
Cooking corned beef hash in the oven is super simple and hands-off! All you need is a baking sheet and some aluminum foil!
- Preheat. Preheat the oven to 325°F (160°C) and line a baking sheet with aluminum foil that is lightly spritzed with nonstick cooking spray.
- Spread. Crumble up the canned corned beef hash and spread it evenly over the prepared baking sheet.
- Bake. Bake for 15-20 minutes, or until the hash is crispy and hot.
How To Cook Canned Corned Beef Hash On The Stovetop
I love how the stovetop gets the corned beef hash extra crisp! Grab your favorite cast iron skillet to get started!
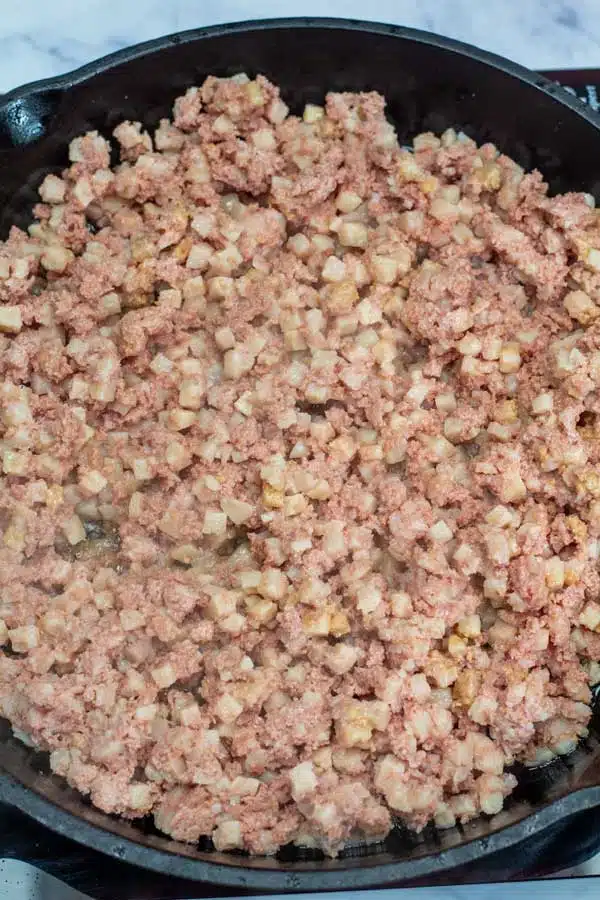
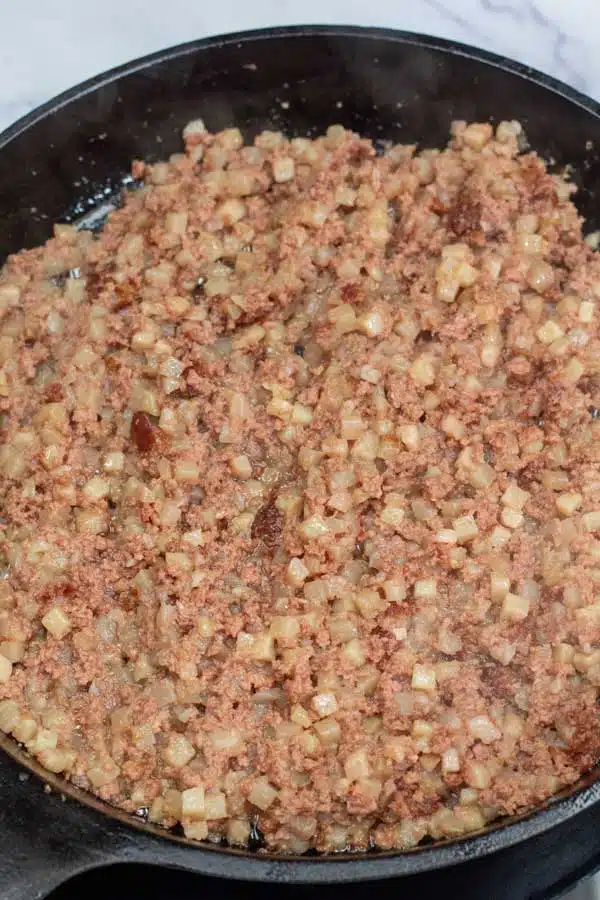
- Heat. Place a well-seasoned cast iron skillet over medium heat and add a tablespoon or two of olive oil.
- Add. Once hot, add the crumbled can of corned beef hash and reduce the heat to medium-low.
- Brown. Let the hash begin to brown (it will stick to the pan at first) and then cook, stirring periodically, until browned and crisp (about 15-20 minutes).
- Serve. Remove from the heat and serve immediately.
How To Cook Canned Corned Beef Hash In The Air Fryer
If you have an air fryer you know how amazing and convenient they are! You'll have some crispy and delicious corned beef hash in no time!
- Prepare. Line the basket of your air fryer with some aluminum foil and spritz it with some nonstick cooking spray.
- Crumble. Crumble up the corned beef hash and place it into the air fryer basket.
- Cook. Cook the hash at 400°F (205°C) for 7 minutes. Then, remove the basket and stir before cooking for an additional 7 minutes. Stir once more and cook for a final 7 minutes.
- Serve. Remove the hash from the air fryer and serve immediately.
How To Cook Canned Corned Beef Hash In The Microwave
While I don't recommend using the microwave to cook your canned corned beef hash, it can be done if you are in a pinch. However, you won't be able to achieve that delicious crisp and browned outside.
- Prepare. Place your corned beef hash into a microwave-safe bowl.
- Heat. Cook on high power for 2-3 minutes, making sure to stop halfway through and stir it.
- Serve. Serve immediately.
How To Make Corned Beef Hash Using Canned Corned Beef
If you are wanting to elevate your corned beef hash and take it to the next level, go ahead and add in a few extra ingredients to make the ultimate breakfast!
- Heat. Drizzle 2 tablespoons of extra virgin olive oil into a cast iron skillet and place it over medium heat.
- Saute the veggies. Once hot, add 1 small onion, 2 small potatoes, ½ medium bell pepper, and 1 clove of garlic. Cook, stirring often, for about 5 minutes.
- Cook. Crumble up the 14-ounce can of corned beef hash and add it to the skillet. Season with ¼ teaspoon of pepper and cook for about 20 minutes, making sure to stir and flip frequently.
- Serve. Once the potatoes are tender and the hash is crispy, remove it from the heat and serve immediately.
Tips For Cooking Canned Corned Beef Hash
- Canned corned beef hash is known for sticking to the pan when cooking. After you let the hash brown initially, it will be much easier to turn and flip.
- When it comes to brands, I recommend Hormel's corned beef hash. However, feel free to choose your favorite!
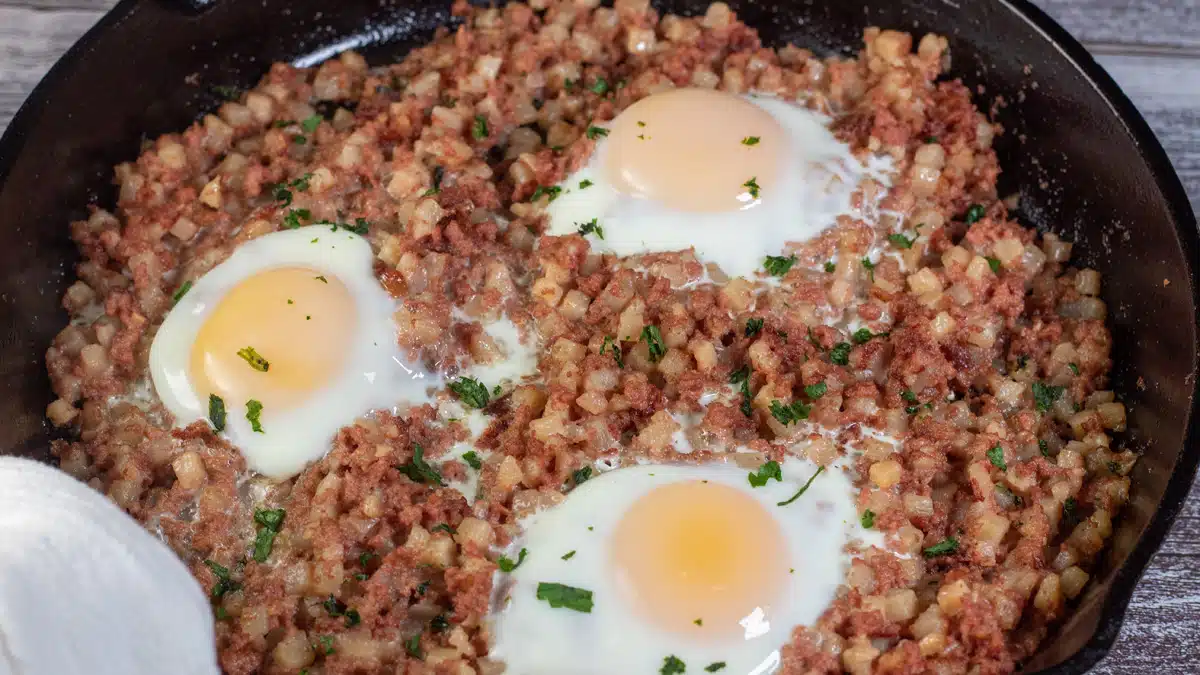
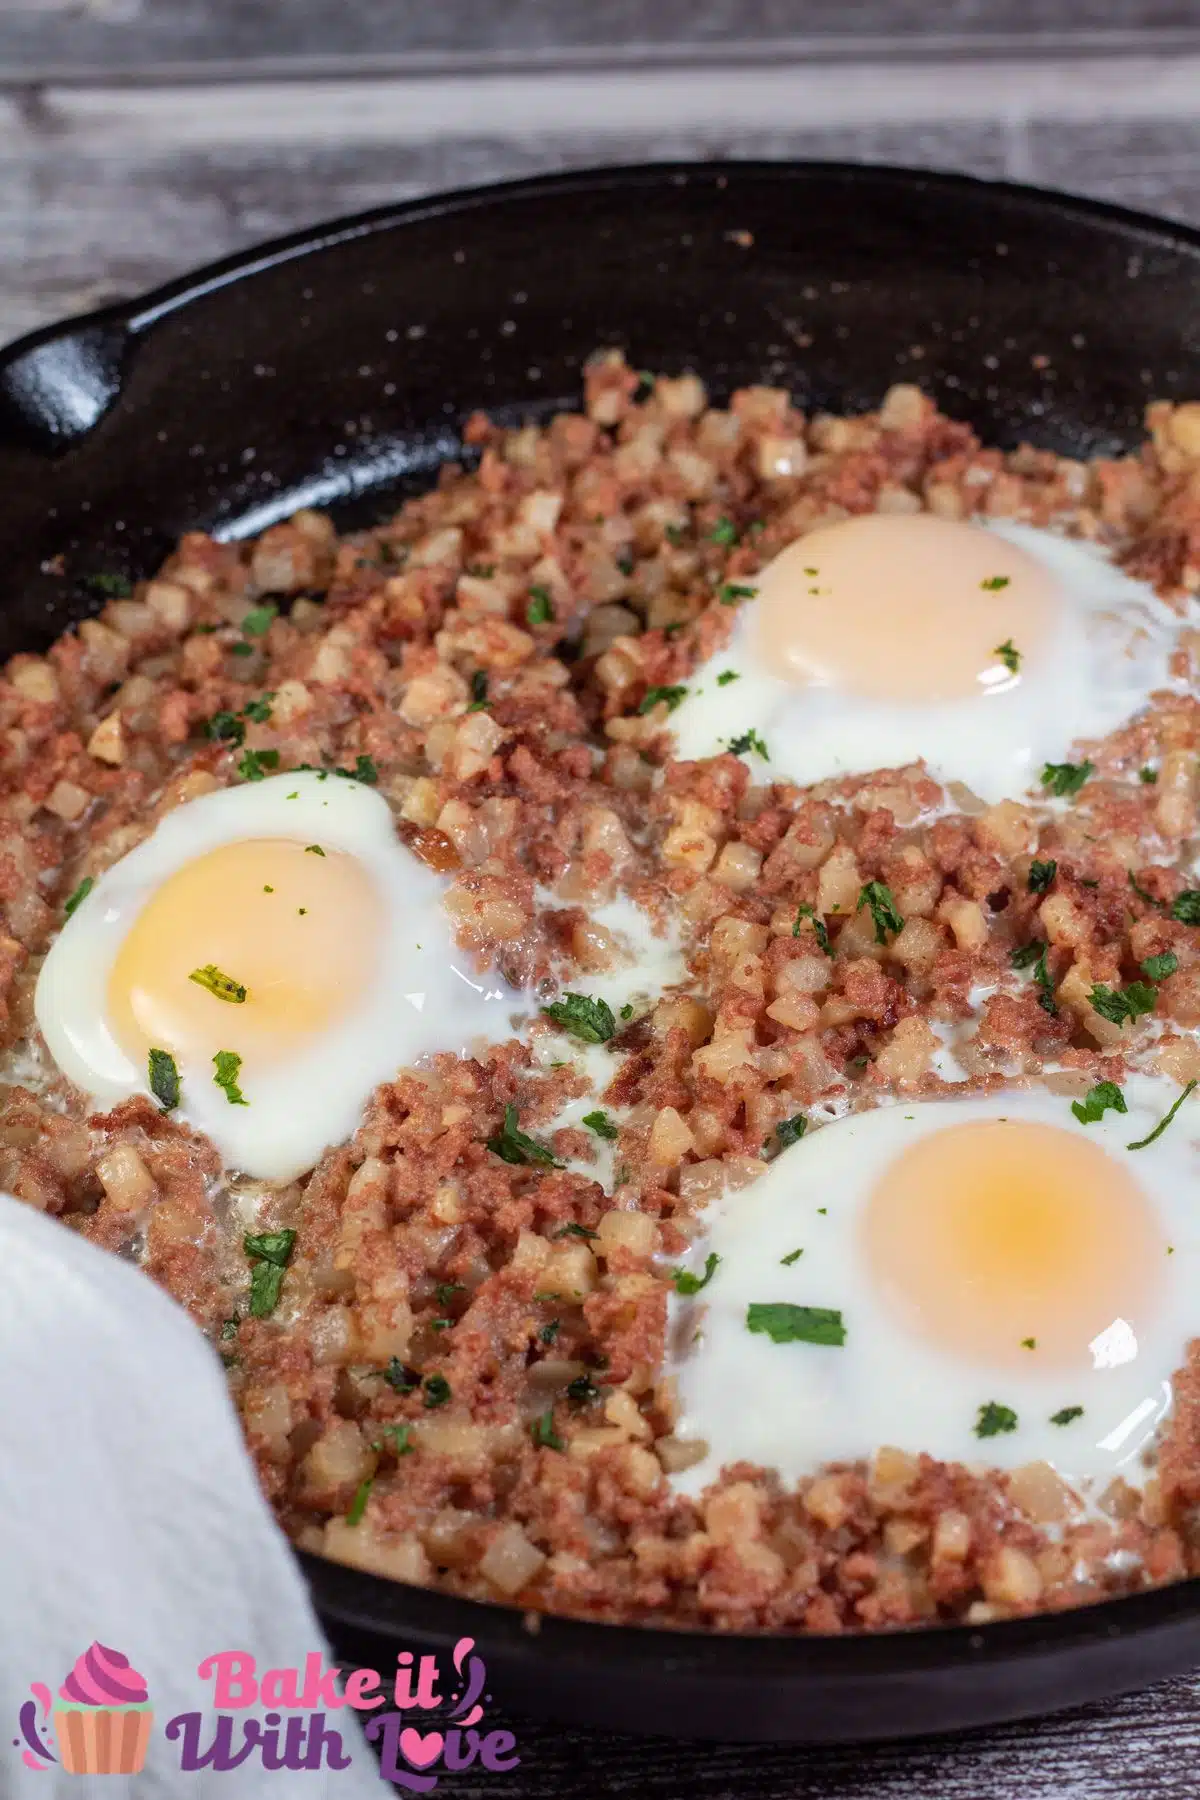
- Add some poached, fried, or sunny-side-up eggs to your hash for a tasty and complete breakfast!
Storing Canned Corned Beef Hash
Unopened cans of corned beef hash have a pretty long shelf life! They can be stored in your pantry, unopened, for anywhere from 2-5 years.
However, once you open the can, you'll need to store it in a sealed container in the fridge for up to 4 days.
>>>>See all of my recipes here<<<<
❓ Recipe FAQs
There are a few different opinions on what the best method is for preventing sticking. Some say that waiting a little bit to start flipping helps (because it sticks less once it begins to brown). Others insist on adding a little bit of oil. Of course, you could always choose to use the air fryer instead!
I really enjoy using the stovetop, oven, or air fryer for cooking canned corned beef hash (and don't typically recommend the microwave). However, I do slightly favor the air fryer since it is super simple and has absolutely no cleanup!
Like most canned meats, corned beef hash from a can is already cooked. Technically you could eat it straight out of the can, but it definitely tastes better after it has been heated and browned until nice and crispy!
🥚 More Breakfast Recipes
- Ham Steaks - These ham steaks are nicely browned and coated in a sweet brown sugar glaze!
- Candied Bacon - This sweet and delicious bacon makes a perfect addition to any breakfast dish!
- Peanut Butter Chocolate Chip Baked Donuts - Chocolate chip donuts are dunked in a sweet peanut butter glaze!
- Homemade Pancakes - A classic breakfast choice that everyone will love!
- Apple Banana Bread - This sweet quick bread doubles as both a snack and breakfast!
- Breakfast Sandwich - A hearty and filling choice when you need to eat on the go!
Do you love a recipe you tried? Please leave a 5-star 🌟rating in the recipe card below and/or a review in the comments section further down the page.
Stay in touch with me through social media @ Pinterest, Facebook, Instagram, or Twitter! Subscribe to the newsletter today (no spam, I promise)! Don't forget to tag me when you try one of my recipes!
📖 Recipe Card
How To Cook Canned Corned Beef Hash
Ingredients
- 14 oz canned corned beef hash
- 2 tablespoon olive oil (extra virgin)
- 1 small onion (finely diced)
- 2 small potatoes (peeled and finely diced)
- ½ medium red bell pepper (finely diced)
- 1 clove garlic (minced)
- ¼ teaspoon ground black pepper (to taste)
(Note: 2x or 3x only changes the ingredient list)
Instructions
Cook Canned Corned Beef Hash In The Oven
- Preheat the oven to 325°F (160°C) and line a baking sheet with aluminum foil that is lightly spritzed with nonstick cooking spray.
- Crumble up the canned corned beef hash and spread it evenly over the prepared baking sheet.
- Bake for 15-20 minutes, or until the hash is crispy and hot.
Cook Canned Corned Beef Hash On The Stovetop
- Place a well-seasoned cast iron skillet over medium heat and add a tablespoon or two of olive oil.
- Once hot, add the crumbled can of corned beef hash and reduce the heat to medium-low.
- Let the hash begin to brown (it will stick to the pan at first) and then cook, stirring periodically, until browned and crisp (about 15-20 minutes).
- Remove from the heat and serve immediately.
Cook Canned Corned Beef Hash In The Air Fryer
- Line the basket of your air fryer with some aluminum foil and spritz it with some nonstick cooking spray.
- Crumble up the corned beef hash and place it into the air fryer basket.
- Cook the hash at 400°F (205°C) for 7 minutes. Then, remove the basket and stir before cooking for an additional 7 minutes. Stir once more and cook for a final 7 minutes.
- Remove the hash from the air fryer and serve immediately.
Cook Canned Corned Beef Hash In The Microwave
- Place your corned beef hash into a microwave-safe bowl.
- Cook on high power for 2-3 minutes, making sure to stop halfway through and stir it.
- Serve immediately.
Make Corned Beef Hash Using Canned Corned Beef
- Drizzle extra virgin olive oil into a cast iron skillet and place it over medium heat.
- Once hot, add the onion, potatoes, bell pepper, and garlic. Cook, stirring often, for about 5 minutes.
- Crumble up the corned beef hash and add it to the skillet. Season with pepper and cook for about 20 minutes, making sure to stir and flip frequently.
- Once the potatoes are tender and the hash is crispy, remove it from the heat and serve immediately.


Frances Simmons says
Hi, when you say a well seasoned skillet, what seasoning should be used for canned corned beef hash?
Angela @ BakeItWithLove.com says
Hello Frances! A 'well seasoned skillet' refers to a skillet that has been treated with oil at high heat to prevent sticking. As long as your food won't stick to your skillet or frying pan you're all set. Enjoy!