

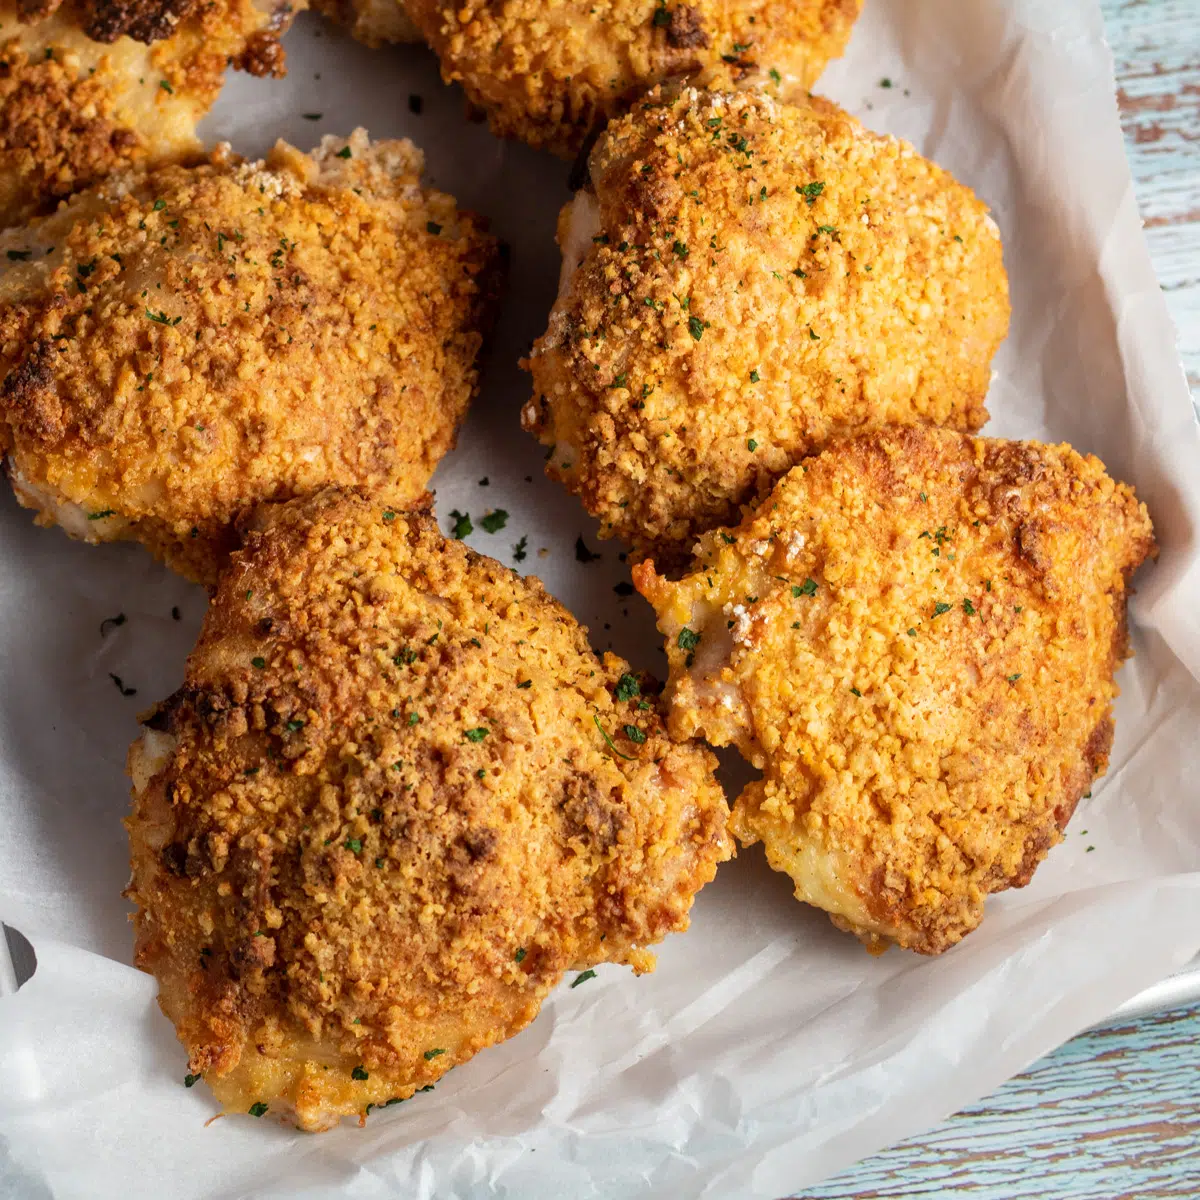
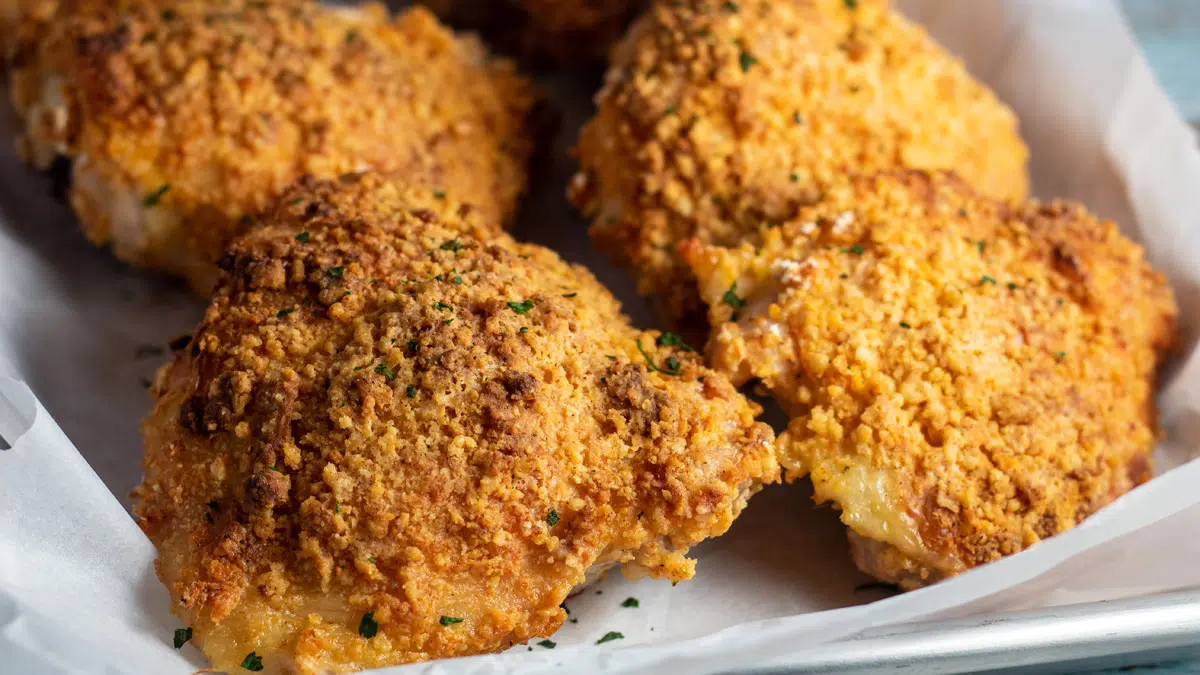
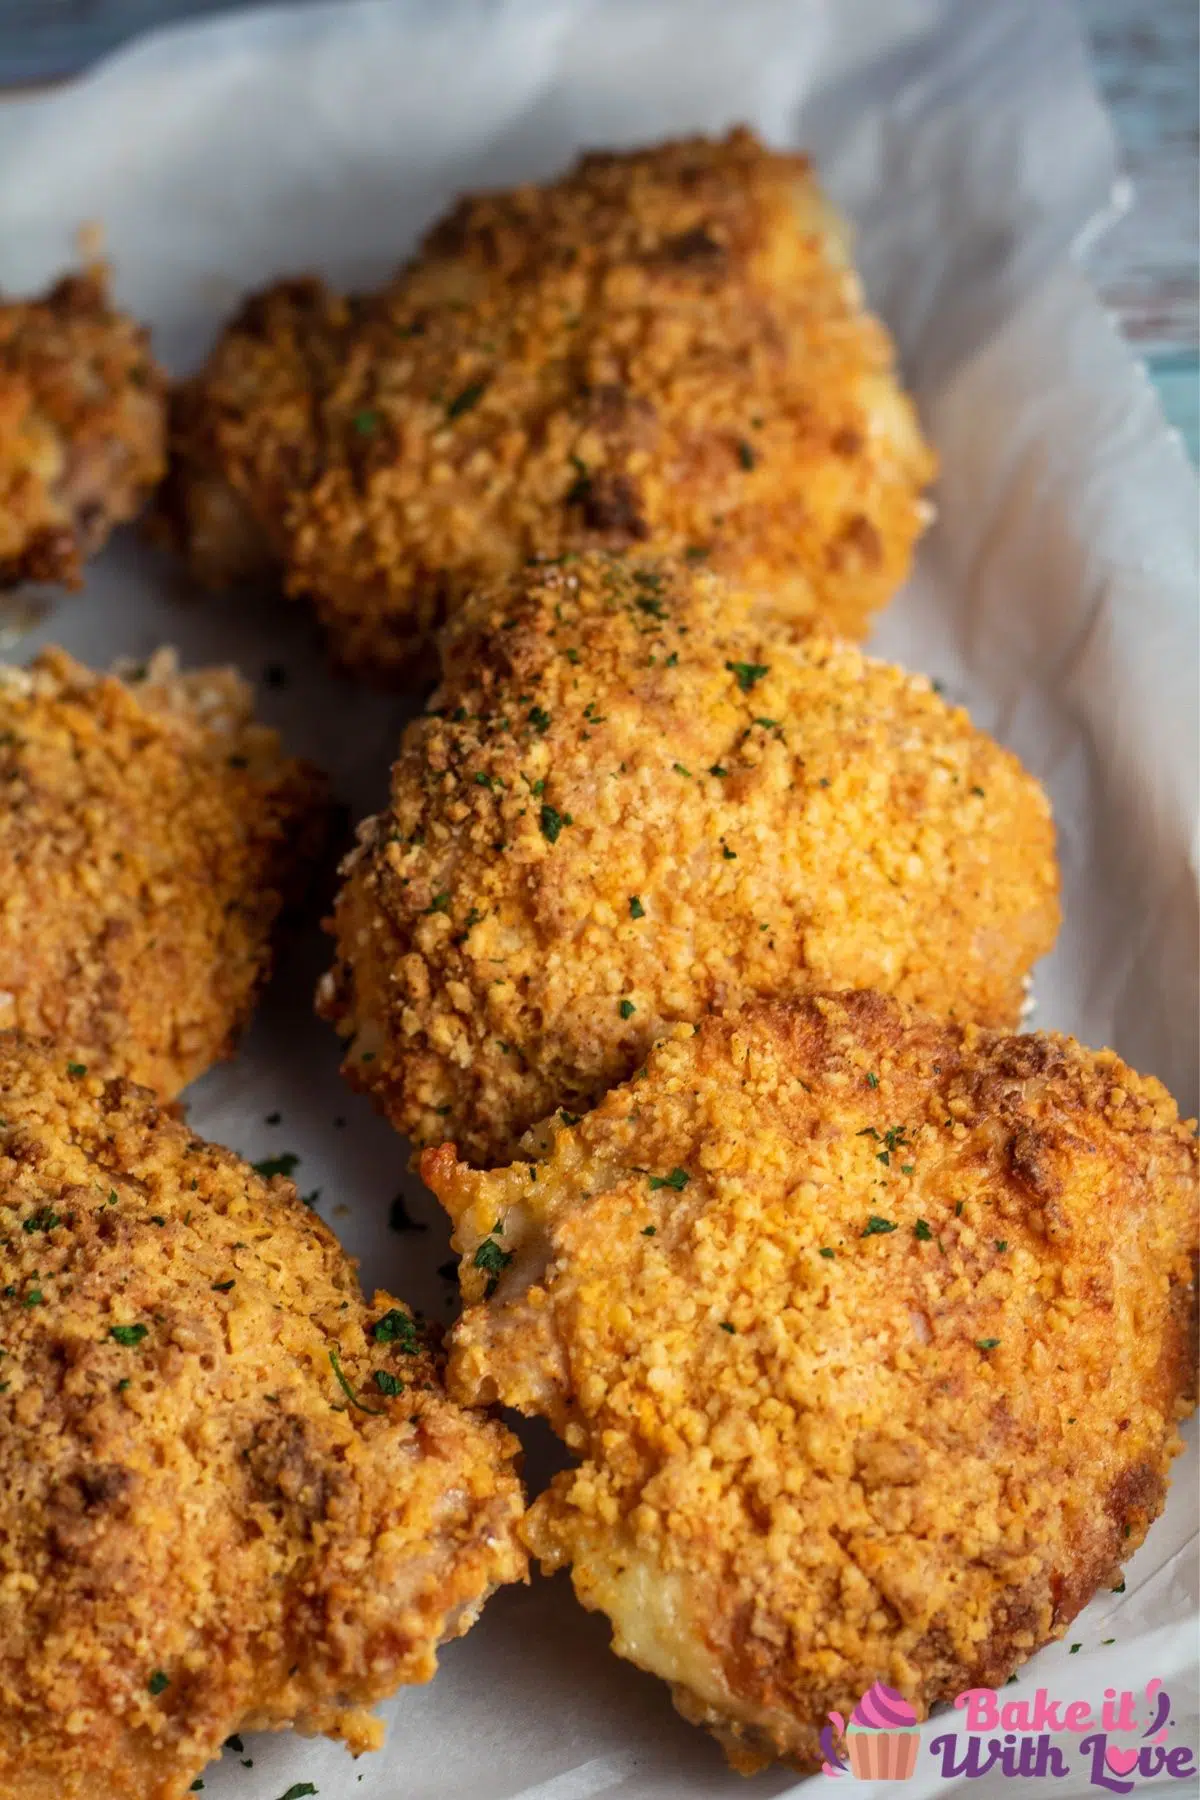
My Bisquick oven fried chicken is the quickest, easiest way to get your finger-licking good fried chicken fix. The chicken is coated in seasoned Bisquick mix and baked to golden perfection, creating a deliciously crunchy exterior while keeping the meat tender and juicy. This easy recipe is perfect for a family dinner or a casual gathering.
I love serving this with my quick, creamy white cheddar mac and cheese and a green veggie like my roasted brussels sprouts or even a wedge salad. Enjoy!
Jump to:
Craving an easy weeknight fried chicken recipe? I've got you covered! Bisquick oven fried chicken is a perfectly crunchy, super tasty recipe that my family loves.
I just bread chicken pieces with the baking mix and other spices, then bake until it's amazingly crisp. It couldn't be any easier.
The savory seasoning and crispy texture make every bite delightful. Every time I serve this oven fried chicken, it's a hit with family and friends.
❤️ Why I Love This Recipe
Classic. There are few people I know who don't like fried chicken-it's just such a delicious classic! Few can resist juicy chicken with a crispy, savory crust.
Healthier. Oven frying the chicken removes all the heavy grease and fat that we normally associate with fried chicken, so you're eating a dish that won't weigh you down!
Easy. I use Bisquick to make the breading for this recipe, so the breading is super easy and bakes up unbelievably crispy!
🥘 Ingredients
Oven fried chicken has never been easier. This recipe has just a few simple ingredients, like the super-convenient, ready-to-use Bisquick mix.
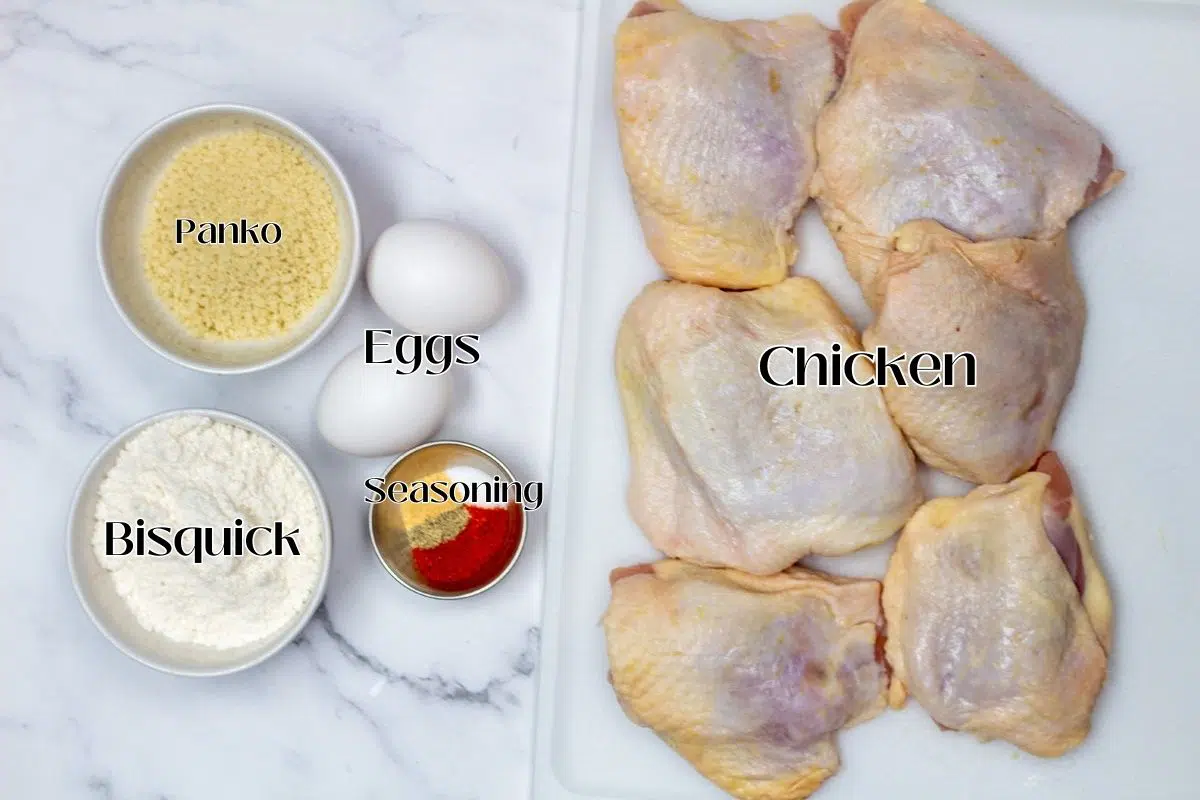
- Chicken - You can use any cut of chicken you like, a mix of pieces, or a broken down 8-piece chicken.
- Eggs - Eggs will be used as a part of the chicken breading. You'll just want these to be well beaten before dipping the chicken.
- Bisquick - This classic baking mix is a perfect breading for chicken. It bakes up thick and crunchy, with lots of flavor.
- Panko Breadcrumbs - This is optional, but it gives the chicken breading an extra layer of crunch that's super delicious.
- Paprika - Paprika is a fantastic seasoning for fried chicken. It gives great color and savory flavor.
- Salt & Pepper - You'll use these to taste. I like to start with 1 teaspoon each, but you can add more or less depending on what your preferences are.
Be sure to see the free printable recipe card below for ingredients, exact amounts & instructions with tips!
🧂 Substitutions
Can't find Panko breadcrumbs? You can use regular breadcrumbs or even crushed potato chips or Ritz crackers for extra crispiness, or make them from scratch with this recipe.
If you'd like a little spice and extra flavor, try substituting the salt and pepper for 2 teaspoons of Cajun seasoning! Typically, these have a good amount of salt added, but if your version is salt-free or is low sodium, then add extra salt to taste.
🔪 How To Make Bisquick Oven Fried Chicken
It takes about 45 minutes to cook, but that's so much easier than frying.
Prep the Chicken & Dredging Station
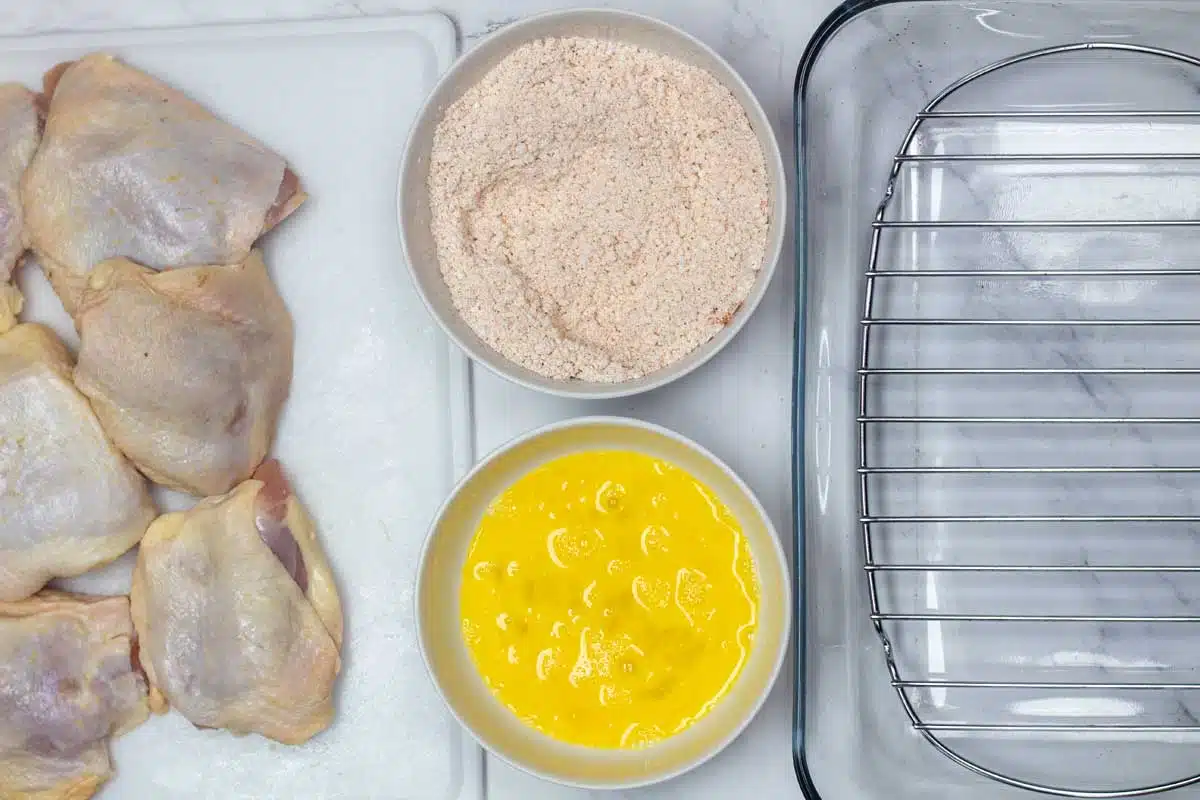
- Prep. Start by preheating your oven to 425°F (218°C) and line a baking sheet with parchment paper. Next, rinse 2 pounds of chicken pieces and pat dry, then set aside on a clean plate. *Make sure to sanitize your sink!
- Make Breading. In a bowl large enough to dip your chicken, crack two eggs into a bowl and whisk well. Then in another bowl that will fit the chicken pieces, combine ⅔ cup of Bisquick, ¼ cup of Panko breadcrumbs, 1 ½ teaspoon paprika, and 1 teaspoon each of salt and pepper (or to taste).
Bread & Bake the Chicken Pieces

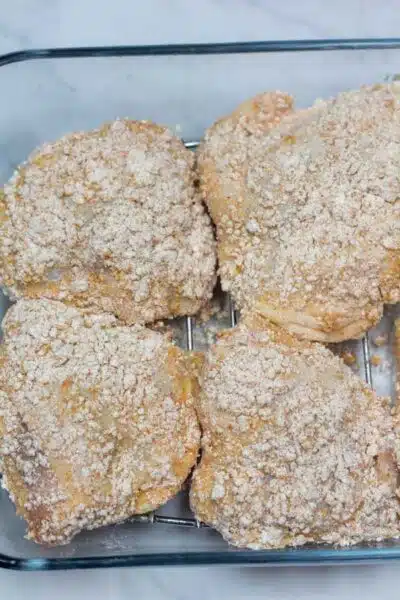
- Bread Chicken. Dip each chicken piece into the beaten eggs, then dip into the Bisquick mixture, fully coating the chicken.
- Bake. Place the coated pieces onto the prepared baking sheet and put into the middle of your oven's center rack. Bake at 425°F (218°C) for 40 to 50 minutes or until the internal temperature reaches 165°F (74°C)in the deepest part of your thickest chicken piece.
- Serve. When done, remove the chicken from the oven and let it cool slightly before serving. You can transfer the chicken to a wire cooling rack if desired to help keep the crispiness.
💭 Angela's Pro Tips & Recipe Notes
- If you prefer to use a whole chicken, you can typically buy one pre-cut. I'm a big fan of getting my butcher to help me out with cutting various meats. Ask your butcher to cut the whole chicken into fryer pieces - this way you can easily have a fresh chicken cut perfectly into pieces without having to do the hard work yourself.
- Use an instant read thermometer or digital meat thermometer to make sure the chicken is the right temperature. No one wants to bite into raw chicken. Check the internal temperature at the deepest part of your thickest chicken piece (usually the breast or thigh).
- Turning the chicken is optional, but if you can if you'd like. If you want to turn the chicken pieces, you'll need to about halfway through the baking time.
- Get better air circulation. You can also skip the turning and put the chicken on a greased wire cooling rack on top of the baking sheet. This can help the air circulate under the chicken to make it extra crispy without turning.
>>>See All Of My Tasty Recipes Here!<<<
🥡 Storing & Reheating
Keep leftovers in the fridge for 3 to 4 days. To maximize the quality, be sure to keep the chicken in an airtight container or wrap it tightly in aluminum foil.
Freezing - Place the cooked chicken pieces on a baking sheet and freeze for an hour or two until they're mostly frozen. Then transfer to airtight container or freezer storage bag and they'll keep for about 4 months.
Reheating - The oven is the best way to reheat. Start by preheating your oven to 400°F (205°C).
Put the chicken on a greased wire cooling rack on top of a baking sheet and bake for 15 to 20 minutes until reheated and crispy. You can also do this same process with an air fryer - just don't crowd the air fryer basket or the pieces won't get crispy.
❓ Recipe FAQs
Yes! As long as the chicken is baked at a high heat, spaced evenly on the pan, and not crowded it should definitely be crispy! You can put the chicken on a wire rack before baking to make sure the air circulates under the chicken and that'll ensure crispiness.
Bonus points if you have a convection oven - that'll basically turn your whole oven into an air fryer and make the chicken super crispy!
It sure is! There is no frying or oil in this recipe, so that removes most of the fat that you consume when eating fried chicken. My recipe makes sure the chicken is just as crispy and flavorful as deep-fried chicken!
😋 Other Amazing Recipes
- Steamed Broccoli & Cheese Sauce
- Air Fryer Cornish Hen
- Broiled Lobster Tails
- Peach Dump Cake
- Roasted Green Beans
- Creamy Beef & Shells
Do you love a recipe you tried? Please leave a 5-star 🌟rating in the recipe card below and/or a review in the comments section further down the page.
Stay in touch with me through social media @ Pinterest, Facebook, Instagram, or Twitter! Subscribe to the newsletter today (no spam, I promise)! Don't forget to tag me when you try one of my recipes!
📖 Recipe Card
Bisquick Oven Fried Chicken
Ingredients
- 2 lbs chicken (various pieces or 1 broken down 8 piece chicken)
- 2 large eggs (beaten)
- ⅔ cup Bisquick
- ¼ cup Panko breadcrumbs (optional)
- 1 ½ teaspoon paprika
- 1 teaspoon each, salt & pepper (to taste)
(Note: 2x or 3x only changes the ingredient list)
Instructions
- Preheat oven to 425°F (218°C).
- Rinse and pat dry your chicken pieces, set aside.
- Crack the eggs into a bowl and whisk.
- In a small mixing bowl combine the Bisquick, Panko, paprika, salt, and pepper.
- Begin by dipping chicken pieces into the eggs then dip into the Bisquick mixture fully coating the chicken.
- Place coated pieces on a parchment paper-lined baking sheet and bake at 425°F (218°C) for 40 to 50 minutes or until chicken internal temperature reaches 165°F (74°C) in the deepest part of the chicken.
- Remove from oven allow to cool slightly, serve and enjoy!
Notes
- Panko is optional for additional crispiness, or you can try regular breadcrumbs or even crushed potato chips or Ritz crackers.
- You do not need to turn the chicken, that is optional.
- If you want to turn the chicken, you will need to do this about halfway through the baking time. Or skip the turning and place the chicken on a greased cooling rack on the baking sheet.
Ivette says
Can I oven fry chicken wings? If so for how long and to what temp. on thermometer ?
Thanks,
Ivette
P.S.: Just found your site and it's just what I needed as a Full Time Caregiver to my Mom. Thank you.👍
Angela @ BakeItWithLove.com says
Yes, you can definitely oven fry chicken wings too! See my baked chicken wings for more info, but I cook mine at 400F for 45-50 minutes. I like the internal temperature to be 180F on any bone-in chicken, although you only need to cook chicken to 165F according to the USDA.
Thanks for asking! 🙂
Dorie says
Cooked this recipe and has a great taste and very easy.
DIANE says
The best I've ever made! Fantastic! Would it still be crunchy if I took the skin off? Seems like all the flavor is in the skin but was wondering if it would still be crunchy without it.
Angela @ BakeItWithLove.com says
You can pull the skin or use skinless chicken (it's like making chicken tenders). You will still get delicious, crispy fried chicken! 🙂
Joanne says
I am going to use boneless skinless thighs. Any idea what the cooking time will be?
Angela @ BakeItWithLove.com says
I would check them at 18 minutes, and up to 25 minutes depending on the thickness of your chicken thighs. Enjoy!
Alisa says
Well, I am so happy. Not only was the chicken nice and juicy but it was delicious.
Thank you for the recipe💕
Alisa says
I just made this and patiently waiting for it to get done. It is such an easy recipe and it smells amazing. I'll let you know how it tastes when it's all done
Gaëtan Caron says
Super facile et croustillant à faire. (Super easy and crispy to make.)
Kathy says
Do you have to use parchment
Angela @ BakeItWithLove.com says
No, any pan liner you would like to use is fine, or lightly grease your pan or baking sheet. I prefer some kind of paper liner for easy cleanup. Enjoy!
Mike says
I followed this recipe to the letter (except I doubled it) I've never had such crispy oven baked chicken before, and juicy on the inside! And of all the recipes for this that I previewed, this was the most simple. 5 starts!