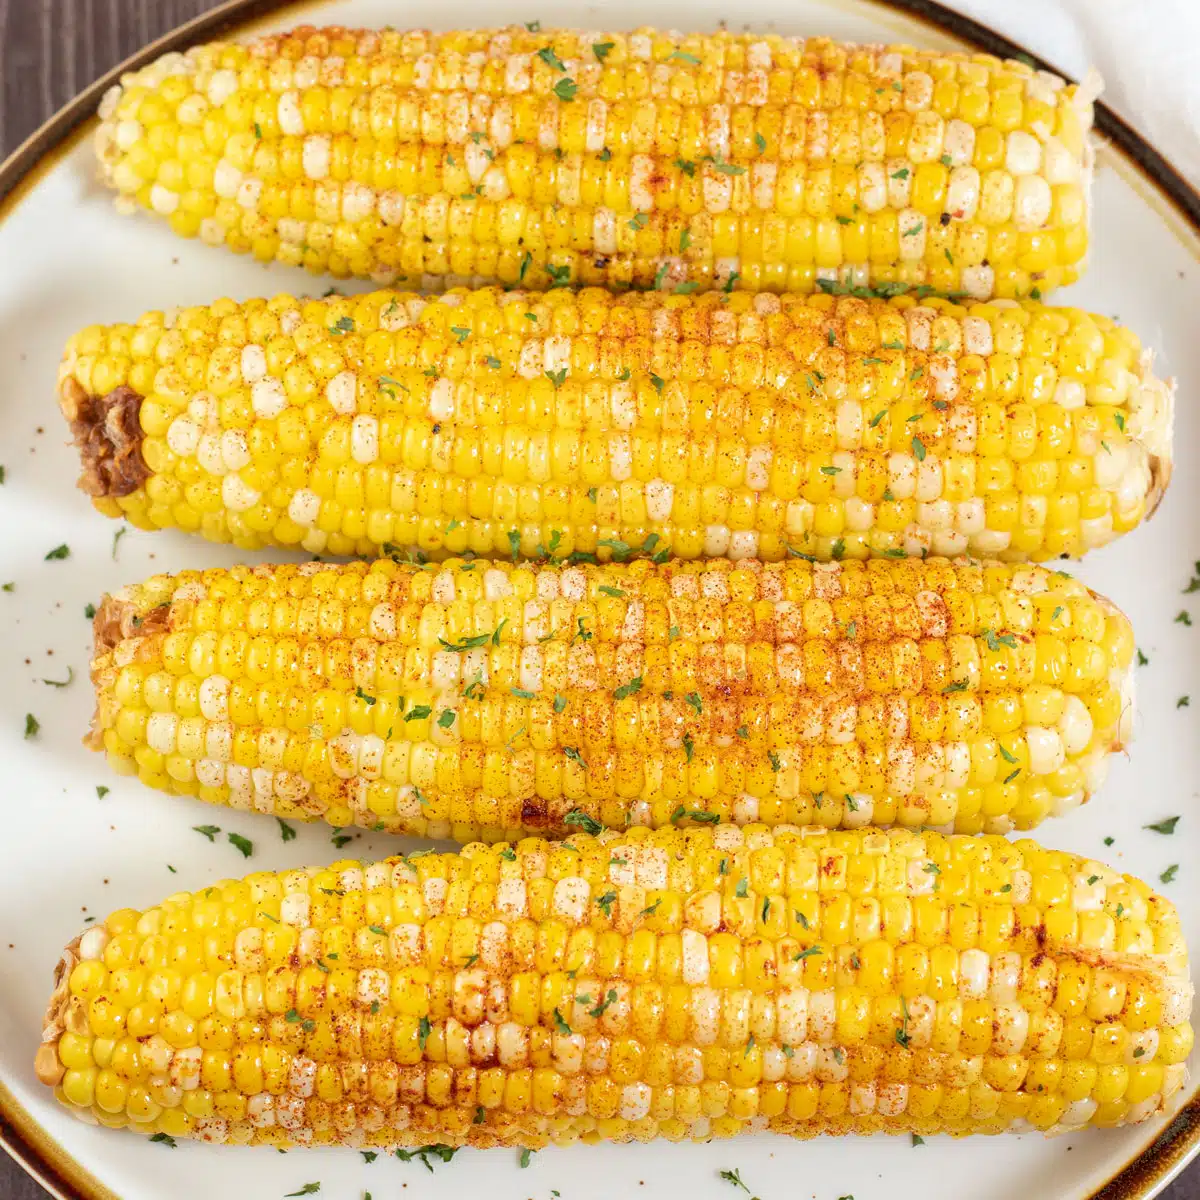
This Instant Pot corn on the cob is a classic summertime side dish that is simple to make and completely hands-off! Using your pressure cooker to make corn is quick, effective, and incredibly convenient! You'll be able to enjoy sweet and tender corn in just a few minutes!
Pressure Cooker Corn On The Cob Recipe
While I do love some grilled corn on the cob (or smoked corn on the cob) when I'm firing up the grill, I really appreciate the convenience of making corn in my pressure cooker on days when I'm not grilling. It's simple and still completely delicious!
Corn on the cob is incredibly versatile, making a great side dish for practically anything! Plus, the kids always love it!
Jump to:
🥘 Instant Pot Corn On The Cob Ingredients
All you really need is some corn and water. However, butter and seasonings will certainly make your corn extra delicious!
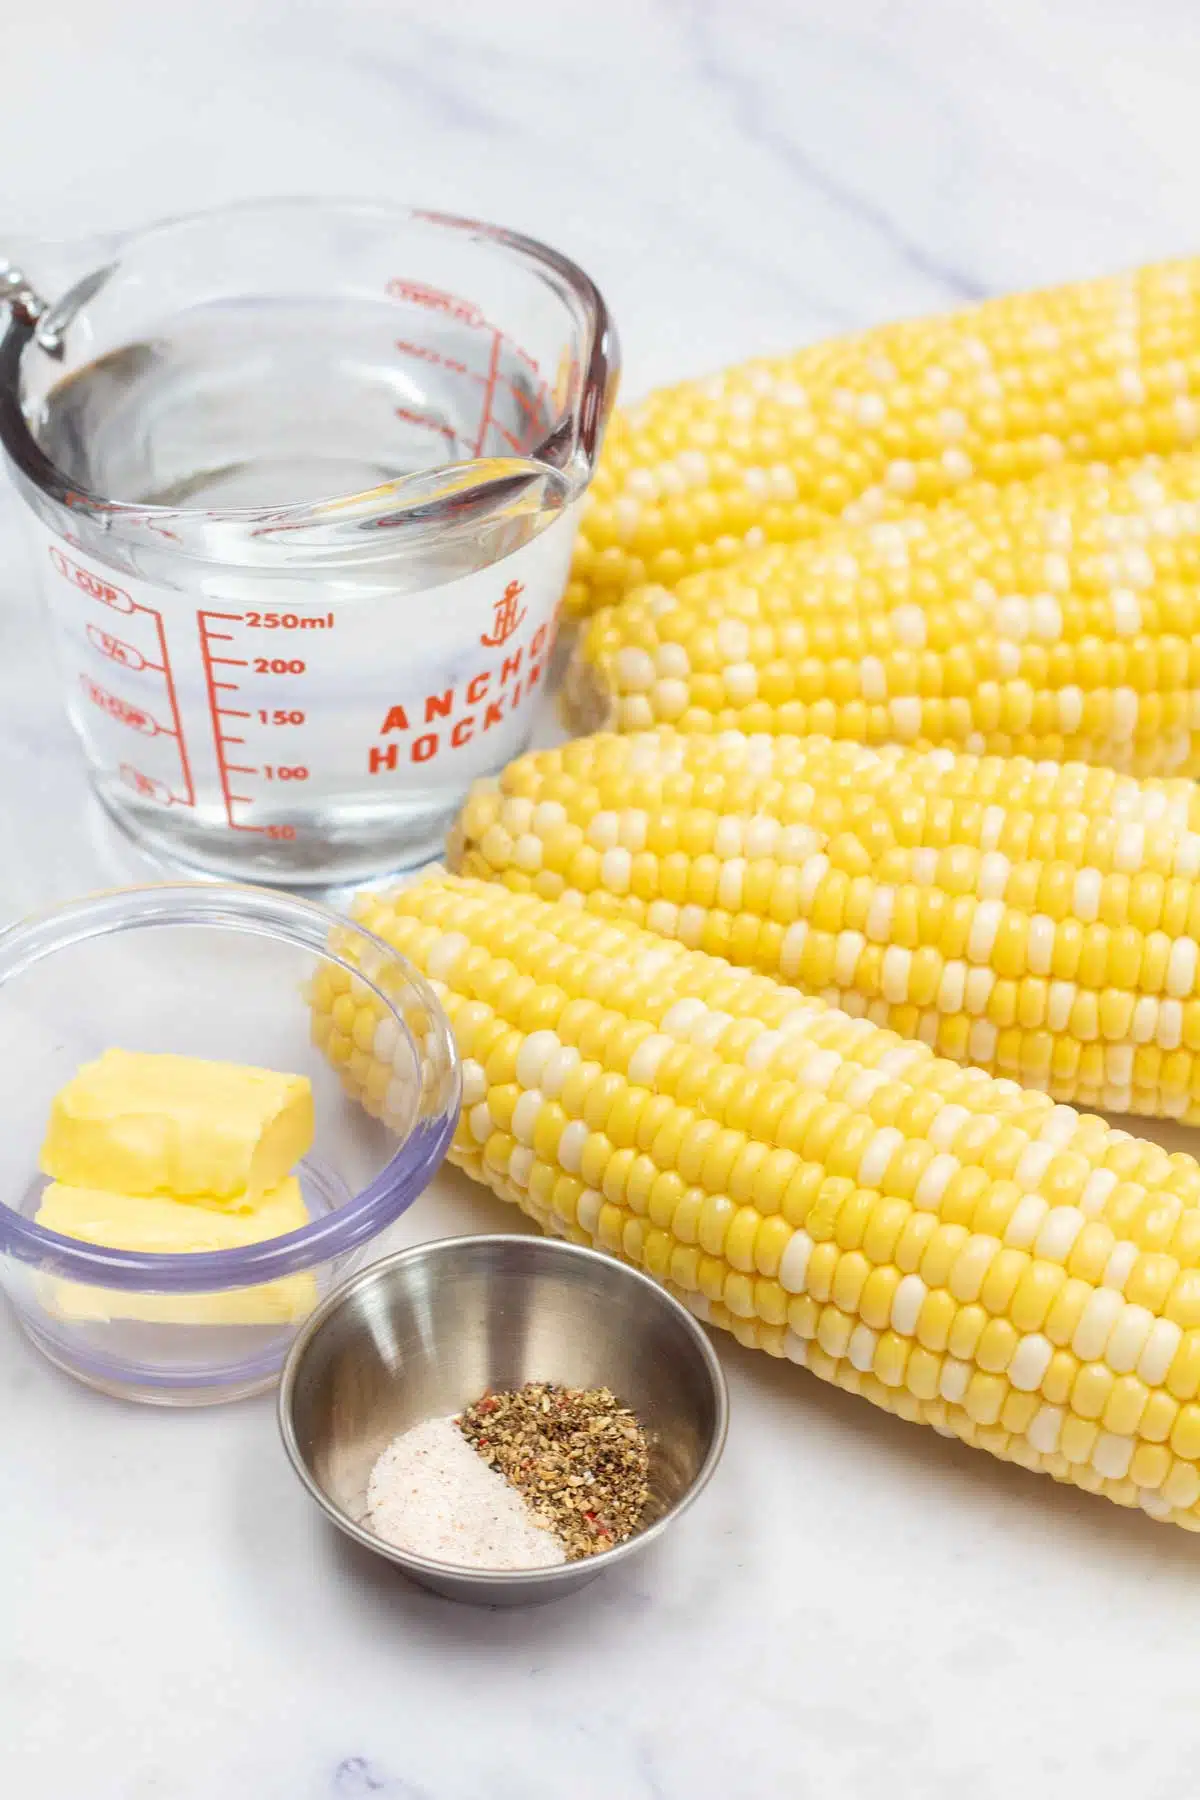
- Corn - 4 ears of corn, shucked.
- Water - 1 cup of cold water.
- Butter (optional) - 2 tablespoons of butter for serving. If making more than 4 ears of corn, aim for ½ tablespoon of butter per ear.
- Salt & Pepper (optional) - Salt and pepper to taste, or you can use your preferred seasonings.
*Be sure to see the free printable recipe card below for ingredients, exact amounts & instructions with tips!*
🔪 How To Make Instant Pot Corn On The Cob
Your pressure cooker really does all of the work here. In fact, the only things you are going to need are your Instant Pot, the trivet that comes with it, some tongs, and a measuring cup.
This recipe is for 4 ears of corn, but you can make as many as you like (as long as they fit into the pressure cooker!) There's no need to change the cooking time or the amount of water.
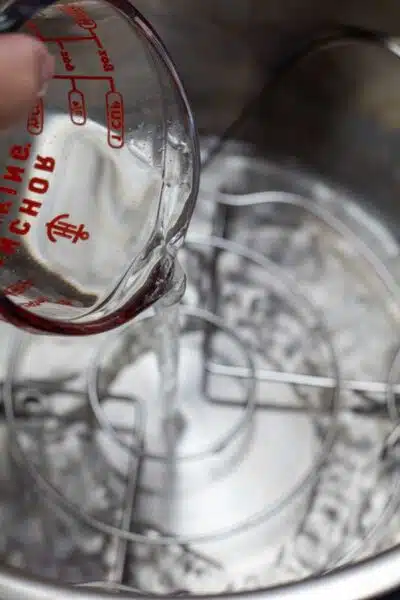
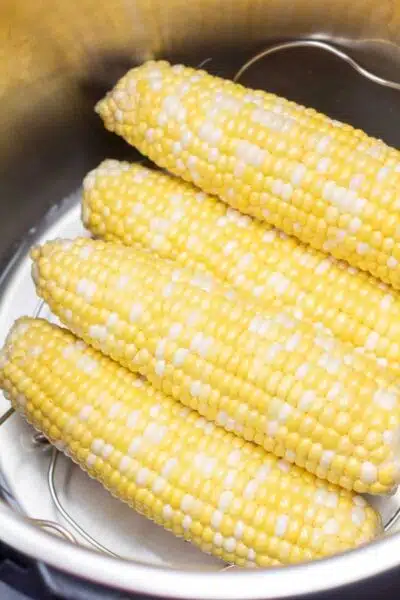
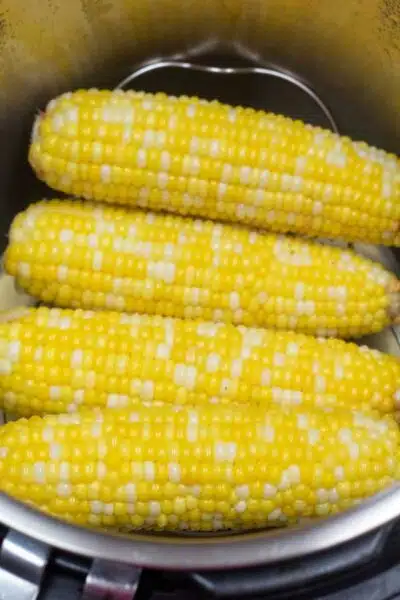
- Prepare. Place the trivet into your Instant Pot and pour 1 cup of cold water over it. Then, set 4 ears of corn on top of it.
- Cook. Close the lid and set the valve to the sealed position. Manual pressure cook at high pressure for 1-2 minutes.
- Release pressure. When the time is up, perform a quick release by carefully turning the valve to the vent position. Then, open the lid.
- Serve. Serve immediately with 2 tablespoons of butter, salt, and pepper.
🍴 What To Serve Instant Pot Corn On The Cob With

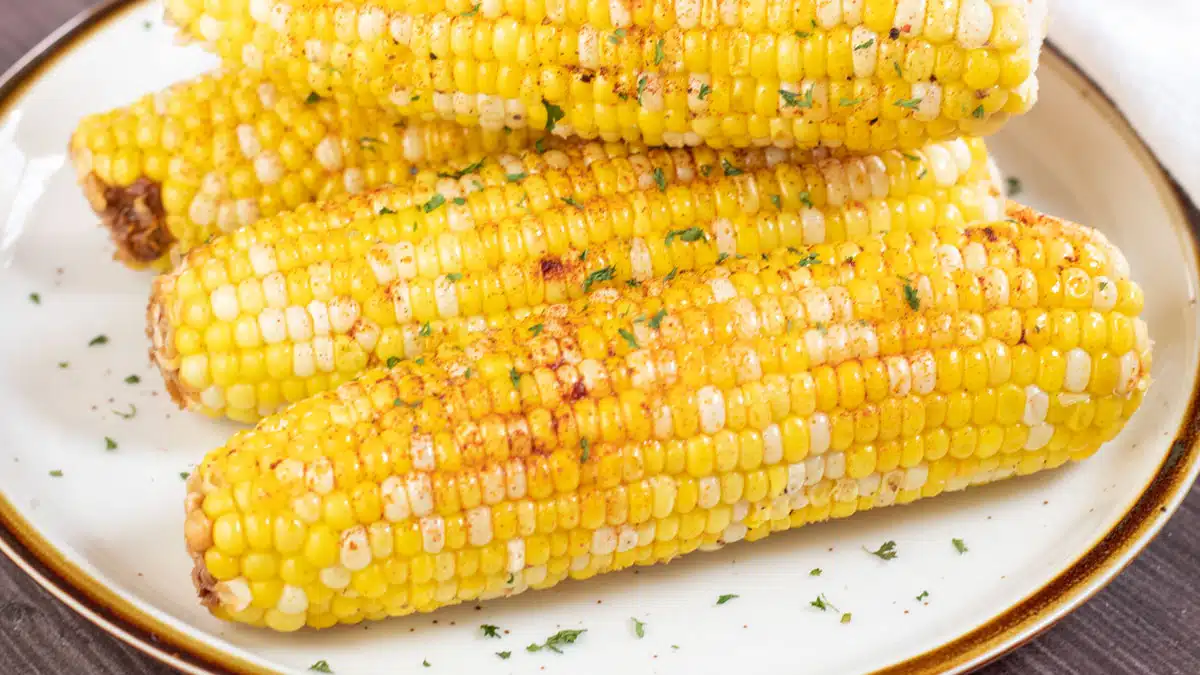
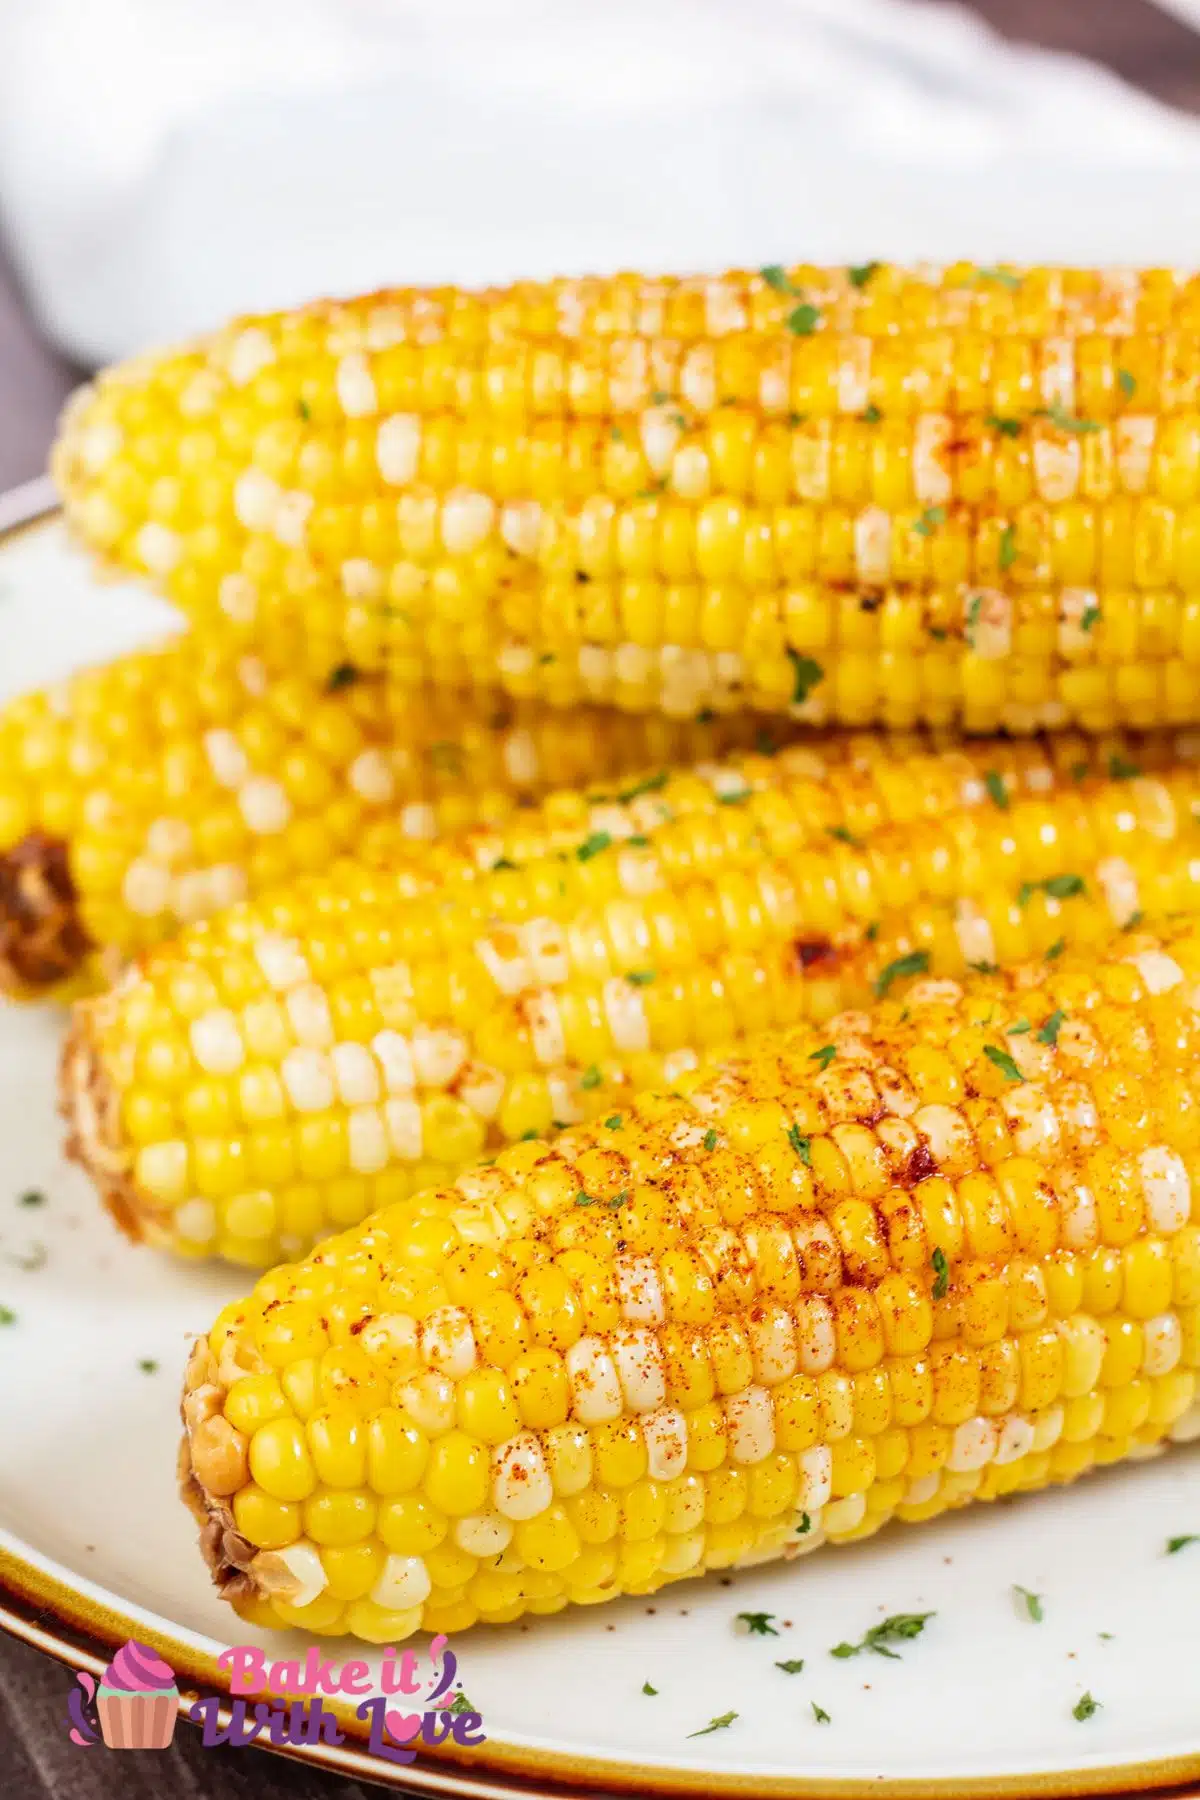
Corn on the cob is such a versatile side dish that can be paired with so many things! Slather your cooked corn on the cob with cowboy butter and serve it with grilled baby back ribs, baked boneless chicken thighs, or sous vide ribeye steak! Enjoy!
💭 Angela's Pro Tips & Recipe Notes
- Your Instant Pot could take anywhere from 5-15 minutes to come up to pressure before the cooking timer begins counting down.
- If cooking frozen corn on the cob, you'll need to increase the cooking time to 4-5 minutes.
- It's alright if you need to stack the corn on top of one another. As long as the lid can close securely, it will cook properly.
🥡 Storing & Reheating
Wrap your cooked corn on the cob in aluminum foil and then place them into a sealed container. They can be stored in the fridge for 3-5 days.
Freezing Leftover Instant Pot Corn On The Cob
Wrap any cooled corn on the cob with plastic cling film, then transfer it into an airtight freezer storage container. If using a freezer storage bag, make sure to squeeze out as much excess air as possible, then freeze for up to 6 months.
Reheating Corn On The Cob
You can reheat your corn on the cob either in the microwave or by placing them into a baking dish with 2 tablespoons of water. Tightly cover the dish with aluminum foil, then bake in the oven at 400°F (205°C) for 5 minutes.
Alternatively, you could use the "warm" setting on the Instant Pot.
>>>>See all of my recipes here<<<<
❓ Recipe FAQs
Nope! As long as all of the corn can fit inside the pot with the lid secured, you don't have to make any adjustments. The corn can be stacked on top of one another and will still have the same cook time.
This is up to you. You can remove the husks before or after cooking. If left on, they could help to retain some moisture and the corn's natural flavor, but they will still need to be removed before serving.
While you could season the corn before cooking, the butter and/or seasonings will stick to the corn much better after it has been cooked.
😋 More Instant Pot Recipes
- Instant Pot Artichokes - An effortless way to enjoy some perfectly cooked artichokes.
- Instant Pot Baked Potatoes - A quick and easy method to prepare fluffy baked potatoes.
- Instant Pot Au Gratin Potatoes - Thinly sliced potatoes are layered with a rich cheese sauce.
- Instant Pot Acorn Squash - Acorn squash halves are cooked in the Instant Pot before being brushed with a sweet honey sauce.
- Instant Pot Cilantro Lime Rice - Fluffy rice makes a versatile side dish for any meal.
- Instant Pot Mashed Potatoes - Creamy mashed potatoes that only use 5 ingredients.
Do you love a recipe you tried? Please leave a 5-star 🌟rating in the recipe card below and/or a review in the comments section further down the page.
Stay in touch with me through social media @ Pinterest, Facebook, Instagram, or Twitter! Subscribe to the newsletter today (no spam, I promise)! Don't forget to tag me when you try one of my recipes!
📖 Recipe Card
Instant Pot Corn on the Cob
Ingredients
- 4 ears corn (shucked)
- 1 cup cold water
- 2 tablespoon butter (optional, ½ tablespoon butter per ear of corn if desired)
- each, salt & pepper (to taste, or use your favorite seasonings)
(Note: 2x or 3x only changes the ingredient list)
Instructions
- Place the trivet into your Instant Pot and pour 1 cup cold water over it. Then, set 4 ears corn on top of it.
- Close the lid and set the valve to the sealed position. Manual pressure cook at high pressure for 1-2 minutes.
- When the time is up, perform a quick release by carefully turning the valve to the vent position. Then, open the lid.
- Serve immediately with some 2 tablespoon butter, and each, salt & pepper
Notes
- Your Instant Pot could take anywhere from 5-15 minutes to come up to pressure before the cooking timer begins counting down.
- If cooking frozen corn on the cob, you'll need to increase the cooking time to 4-5 minutes.
- It's alright if you need to stack the corn on top of one another. As long as the lid can close securely, it will cook properly.
- To store: Wrap your cooked corn on the cob in aluminum foil and then place them into a sealed container. They can be stored in the fridge for 3-5 days.
- To freeze: Wrap any cooled corn on the cob with plastic cling film, then transfer it into an airtight freezer storage container. If using a freezer storage bag, make sure to squeeze out as much excess air as possible, then freeze for up to 6 months.
- To reheat: You can reheat your corn on the cob in the microwave or by placing them into a baking dish with 2 tablespoons of water. Tightly cover the dish with aluminum foil, then bake in the oven at 400°F (205°C) for 5 minutes. Alternatively, you could use the "warm" setting on the Instant Pot.


Comments
No Comments