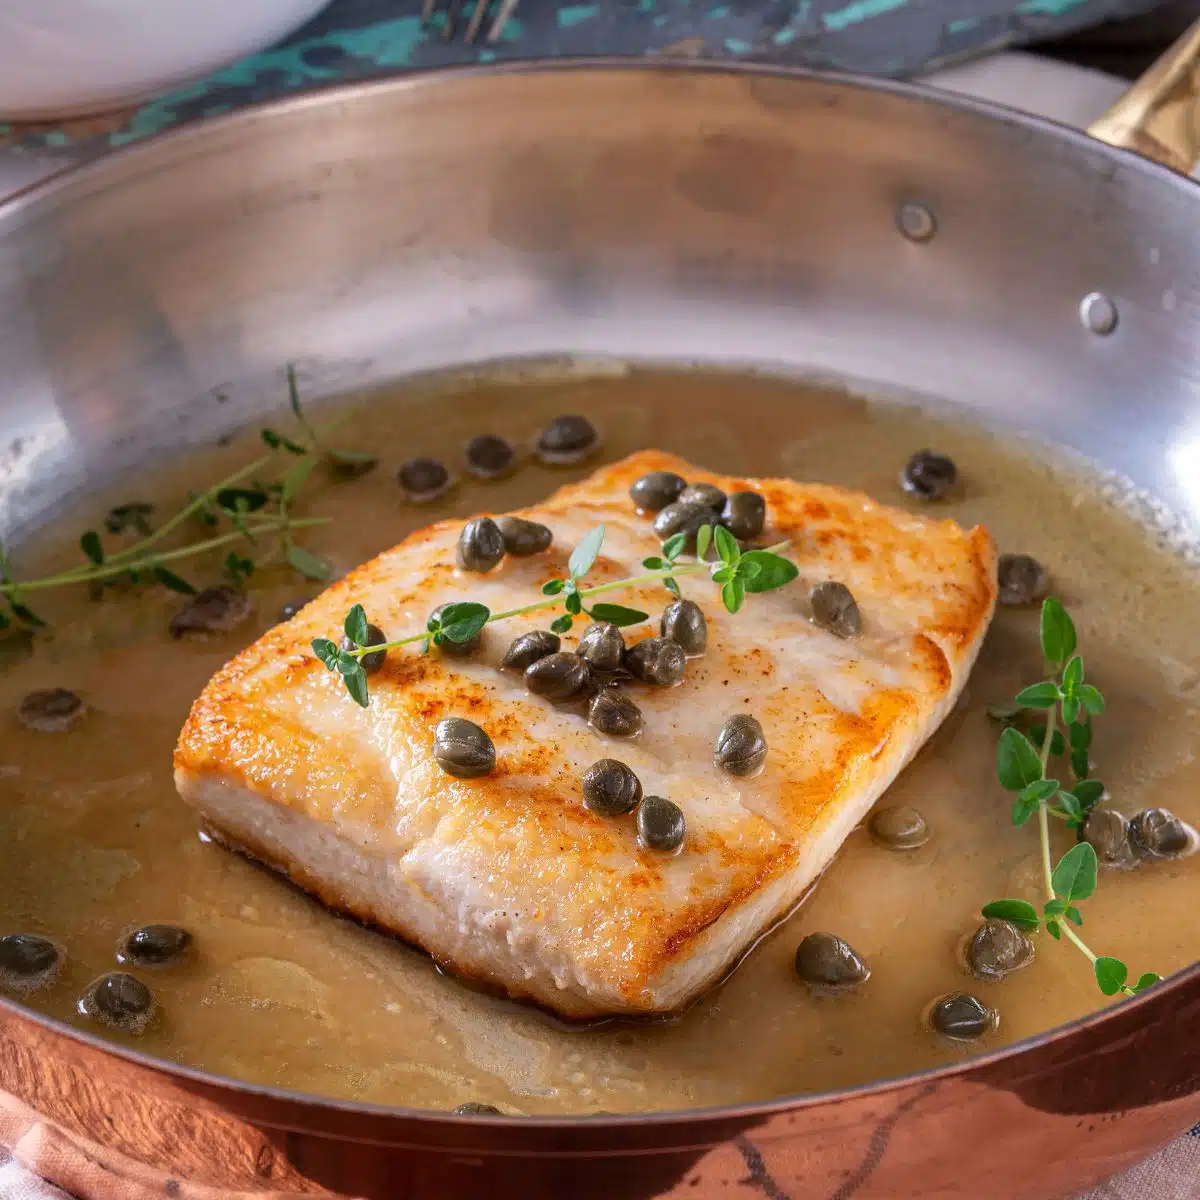
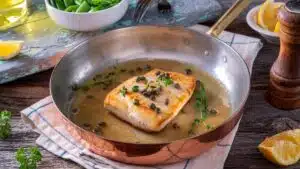
Learn how to pan sear fish so you can enjoy a perfectly crisp, juicy, and delicious piece of fish whenever you like! This technique is easy, fool-proof, and guaranteed to work every single time. Regardless of your favorite variety of fish, this is the best way to pan-sear it!
Guide To Pan-Searing Fish
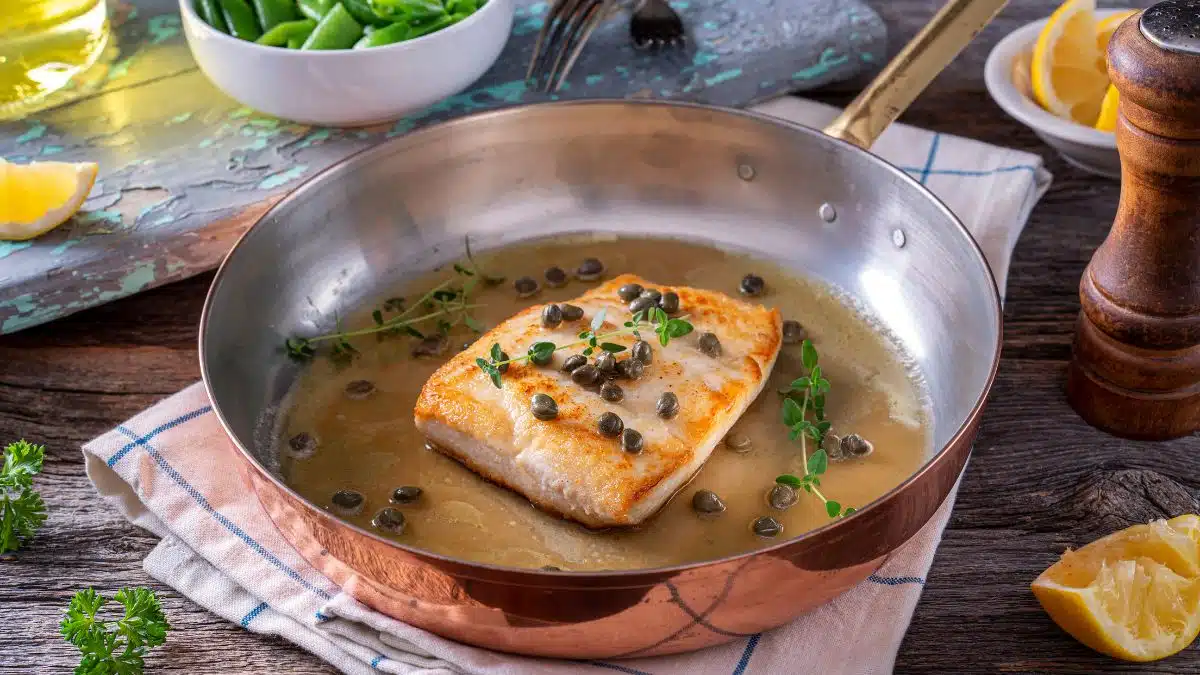
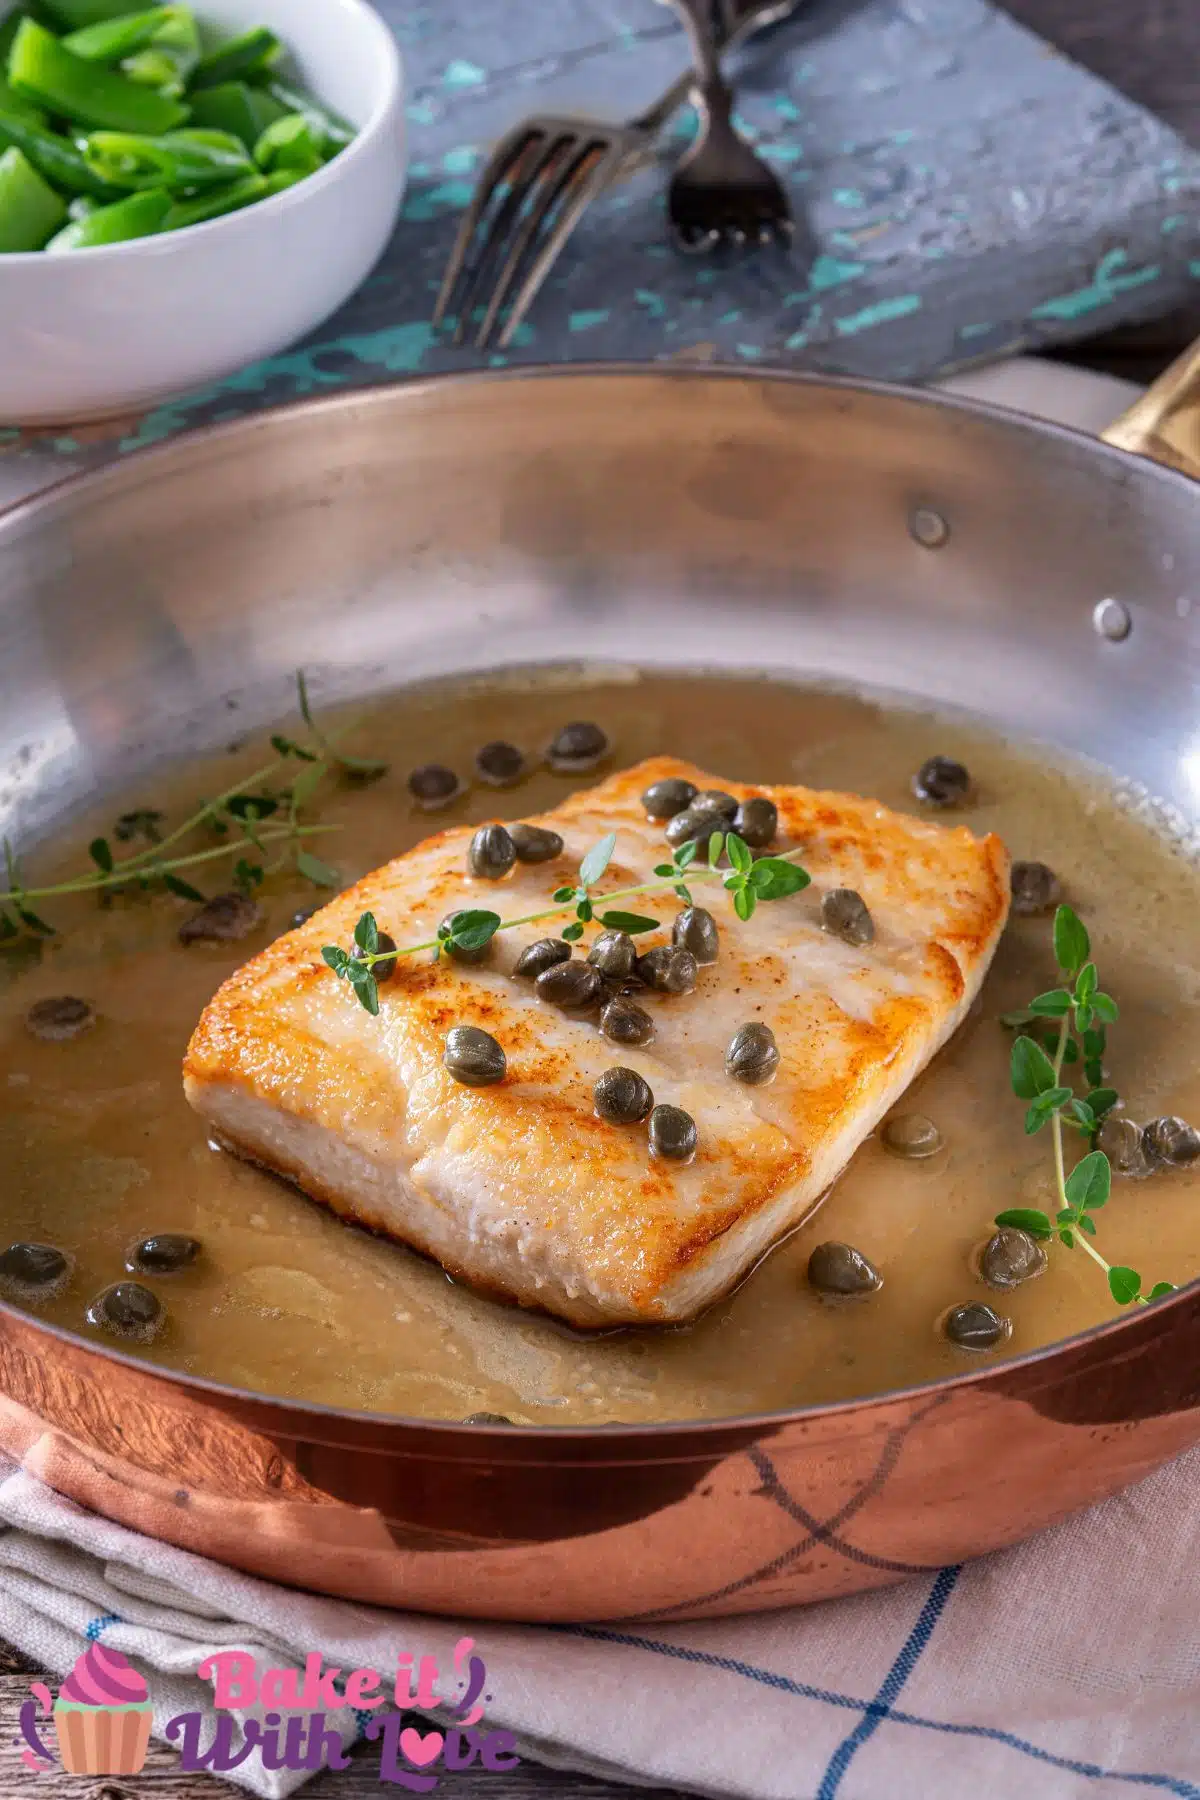
Pan-searing is a classic method for cooking fish that is used in restaurants. The result is a piece of fish that has a crisp exterior and a juicy and flavorful interior. It's so easy to do that you can simply prepare the fish yourself at home and skip the restaurant altogether!
You can use this foolproof method on virtually any thick fillet of fish you like! Go ahead and try out this technique with some tuna, catfish, grouper, mahi mahi, sea bass, and more! The only varieties that I would not recommend cooking this way would be the kinds of fish that are very small (such as sardines), have incredibly thin fillets (like sole), or ones that have a ton of bones in them (such as shad).
Jump to:
Skinless vs Skin-On Fish
When cooked properly, a lot of fish varieties have incredibly delicious skin! However, it really depends on the type of fish itself. Some kinds of fish have skin that is tough, thick, or leathery, regardless of how it is cooked.
Additionally, it comes down to personal preference. Some people just don't enjoy eating fish skin, which is completely okay. If you do want to eat some skin-on fish, make sure to descale the fish or have your fishmonger do it.
Either way, you can use this simple method to sear your fish whether or not it has skin!
Tasty Fish Skin
These types of fish have skin that sears perfectly! Of course, there are hundreds of varieties of fish so I won't be able to cover all of them. However, these options are a great place to start!
- Salmon
- Mackerel
- Trout
- Snapper
- Pacific Rockfish
- Bass (any kind)
- Seabass
- Perch (including walleye and sauger)
- Redfish
Bad Fish Skin
These fish varieties have skin that is less desirable. They can be thick, tough, slimy, leathery, or simply don't taste good and are best to be removed (if not already removed when you purchased the fish).
- Catfish
- Eel
- Bluefish
- Codfish
- Halibut
- Carp
- Monkfish
- Tuna
Note that there are a few species of fish that have thick skin that can be prepared similarly to pork rinds (but aren't necessarily ideal for searing). The skin can be boiled, scraped off of the fish, dried, and then deep-fried until it puffs up like a chip. This includes fish such as triggerfish, sturgeon, swordfish, and mahi mahi.
Best Types of Oil For Searing Fish
For searing fish, you'll actually want to use two separate sources of oil or fat. First, an oil with a very high smoke point. This is then followed up with some butter (or finishing oil) at the end of cooking.
Fish is seared at a high temperature in order to develop that deliciously crisp skin. However, if you just use butter, it will burn and become bitter.
Some good options for oil include refined safflower oil or avocado oil since they both have high smoke points of 500°F (260°C). You could also try out canola oil, refined peanut oil, beef tallow, or clarified butter.
The finishing oil (or butter) at the end of cooking is used strictly to add some extra flavor. Butter is my preferred fat of choice, but you could also use sesame oil or olive oil depending on the flavor you're going for.
How To Pan Sear Fish
Follow these simple steps to get a perfectly seared fillet of fish! You'll need a metal spatula and a cast iron skillet.
Prepare
- Season. Bring your fish out of the fridge 20-30 minutes before cooking and sprinkle both sides of it with salt.
- Heat. Meanwhile, place a cast-iron skillet or steel pan over high heat and let it get roaring hot.
- Dry. Use a butter knife to gently scrape down the skin side of the fillet in order to remove any excess moisture. *If you are using a skinless filet, you can skip this step. Then, pat the entire filet down with paper towels in order to dry it off.
- Add oil. Pour 2 tablespoons of your preferred oil into the center of the hot pan and swirl it around so that it coats the entire bottom of the pan. *You'll want to let the oil get hot, but not quite smoking.
Sear the Fish
- Place the fish. Lay the fillet with the skin facing down (or the side where the skin used to be) and give the pan a firm jiggle to prevent the fish from sticking.
- Reduce heat. Immediately reduce the heat to medium-high (or medium if your fillet is exceptionally thick). Use a metal spatula to firmly press down on the fillet for 30-60 seconds.
- Cook. Stop touching the fish and leave it completely undisturbed to cook for another minute or so (this amount of time can greatly vary depending on the type of fish, ranging from a minute to 8 or 9 minutes). You'll want the fish to spend ⅔ of the cooking time on the skin side.
- Flip if needed. Read the section below to determine if your fish needs to be flipped or not. Some thinner filets of fish don't need to be flipped at all and can be cooked completely by simply spooning the hot oil over top.
- Finish cooking. Once flipped (if needed), you'll only need to cook for another minute or so. Typically, you can just turn off the heat and allow the carryover heat to finish it off (the remaining heat from the pan, even after the stovetop is turned off, will continue to cook the fish until it is done).
- Baste. Add one tablespoon of butter (or your preferred finishing oil) to the pan and swirl it around so that it quickly melts. Tilt the pan and use a spoon to baste the butter or oil over the top of the fish.
- Serve. Serve immediately.
Turning The Fish
Some varieties of fish don't need to be flipped at all when searing (basically any normal-sized fillet). Simply skip the step of flipping and spoon the hot oil over the top of the fillet until the meat turns opaque.
If you have a thicker fillet (such as swordfish, tuna, or a thick cut of salmon) you'll want to keep an eye on the edge of the fish where the meat meets the pan.
You'll be able to see the color change moving up the side of the fillet as it cooks. When there is a solid ring of golden color around the outside, you can go ahead and flip the fish.
A good rule of thumb is to simply give the pan a firm shake. If your fish moves, then it's time to go ahead and flip it using a metal spatula. *Note that the fish should not be completely stuck to the pan, but you may have a few spots that are sticking and you can unstick it with the spatula.
If the fish is legitimately stuck to the pan, it is not time to flip it yet. Be patient and give it some more time to cook. It will release itself from the pan when it is perfectly seared.
Tips For Pan-Searing Fish
- Bring your fish out of the fridge 20-30 minutes before cooking so that you can bring it up to room temperature. This ensures even cooking.
- Don't use a nonstick skillet, as these pans can't handle the high level of heat.
- If the oil begins to smoke, remove it from the heat until it stops, as this is too hot.
- When fish is seared in this manner, the fillets tend to arc when they are first placed into the hot pan. Using the spatula to press them down ensures that the skin browns evenly.
- Unlike many types of meat, seared fish is actually best when served immediately and not given time to rest.
- Serve your seared fish with the skin side facing up!
I hope this has helped you learn how to sear fish perfectly every time! Leave a comment down below and let me know your favorite type of fish!
>>>>See all of my recipes here<<<<
🐠 Best Pan Seared Fish Recipes
- Pan Seared Wahoo Saku Block - A perfectly cooked piece of wahoo fish that is ready in a snap!
- Pan Seared Red Snapper - A wonderfully seared piece of fish with a rich butter sauce!
- Pan Seared Mahi Mahi - An incredibly popular variety of fish due to its versatility!
- Pan Seared Sea Bass - A flaky white fish that is ready in under 15 minutes!
- Pan Seared Swordfish - A thick fillet of fish smothered in a lemon pepper sauce!
- Pan Seared Salmon - Salmon is ultra tasty and easy to prepare!
Do you love a recipe you tried? Please leave a 5-star 🌟rating in the recipe card below and/or a review in the comments section further down the page.
Stay in touch with me through social media @ Pinterest, Facebook, Instagram, or Twitter! Subscribe to the newsletter today (no spam, I promise)! Don't forget to tag me when you try one of my recipes!
📖 Recipe Card
How To Pan Sear Fish: Pan Seared Mahi Mahi (Best Tips & Tricks For Perfect Fish Entrees!)
Ingredients
- ½ tablespoon olive oil (extra virgin)
- 1 lb mahi mahi fillets (approx 1 inch thick 4 ounce portions)
- ¼ teaspoon each, salt & pepper
- 2 tablespoon butter
- 1 tablespoon lime juice
- 1 tablespoon cilantro (chopped)
(Note: 2x or 3x only changes the ingredient list)
Instructions
- Heat a large skillet, non-stick frying pan, or cast iron skillet to medium-high to high heat with the olive oil.
- Start out with patting the mahi mahi fillets completely dry using paper towels before seasoning with salt and pepper.
- Once the oil is shimmering and just beginning to smoke, touch the corner of a fish fillet in the pan to make sure it is literally 'sizzling' hot. Place the seasoned mahi mahi into your pan or skillet and cook the first side for 3-4 minutes without moving the fish.
- You're looking for the fish to have that whitish cooked color about ⅓ up the side of your fillets and a nicely golden color before flipping to cook the second side for an additional 3-4 minutes.
- Reduce heat when the fish is cooked to 135°F. Add the butter and melt until bubbling, then add the garlic and toasting for about 30 seconds. Remove from heat and the lime juice and chopped cilantro. Stir to combine and spoon over the mahi mahi fillets.
- Serve with more of the pan juices spooned over your fish, along with fresh lime wedges or slices on the side.
Notes
- Making sure that your pan or skillet is super hot is key to a great sear and quick cooking time, both part of ensuring delicious results.
- A heavy bottom pan or skillet (which is why cast iron skillets are preferred) will transfer heat more evenly and help you get perfect seared mahi mahi.
- USDA recommends that fish be cooked to 145°F (63°C) but this may be overcooked for you. Use your best judgment when choosing your desired level of doneness.

adolfe kemgang says
très bonne idée de donner les détailles sur l'apport nutritif ,permet que la recette soit adopter selon les besoins de chacun
"very good idea to give details on the nutritional intake, allows the recipe to be adopted according to the needs of each"