

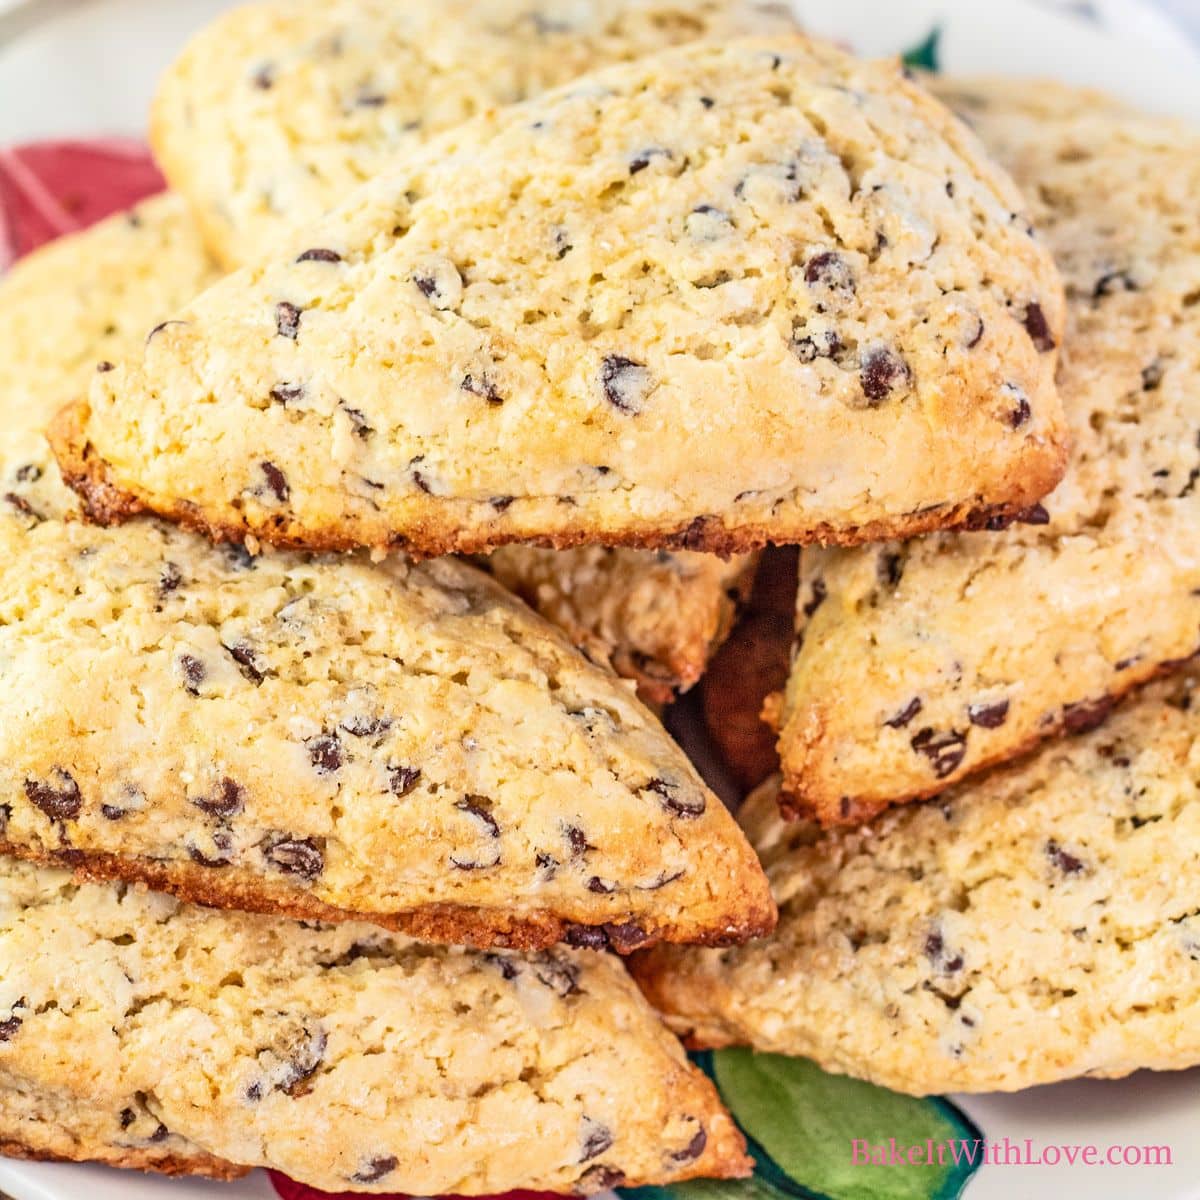
Bake up the best chocolate chip scones that are pure breakfast-on-the-go perfection with their tender crumb studded with sweet mini chocolate chips. The crisp edges offer an amazing texture contrast that everyone loves. One bite and you'll know why scones are so popular!
New to scone baking? Be sure to see my master scones recipe for all the tips and tricks you need to bake better-than-bakery scones the very first batch.
The secret to a perfect scone is in the technique. Using frozen grated butter creates steam in the oven, resulting in an incredibly light and tender texture.
A quick chill before baking ensures that your scones hold their shape, giving you those coveted tall sides and crisp edges. It's a straightforward method that consistently yields 💯 satisfying results. Yum!
🥘 Ingredients
You only need a handful of pantry staples to make these incredible scones. I'm using a combination of granulated white sugar and brown sugar for the perfect balance of sweetness and moisture (just like your favorite chocolate chip cookies)!

- Flour: All-purpose flour provides the structure and foundation for the scones. You'll also use a little extra for dusting your work surface to prevent the dough from sticking.
- Butter: Frozen butter is the non-negotiable secret to a perfect scone. As it bakes, the cold butter creates pockets of steam, resulting in a flaky, incredibly tender texture and those delicious, crispy edges. I use either salted or unsalted butter when baking scones; both work.
- White & Light Brown Sugar: I use a combination of sugars for the best flavor and texture in this scone recipe. Granulated sugar provides pure sweetness, while the light brown sugar adds moisture and a subtle hint of caramel richness that beautifully complements the chocolate.
- Mini Chocolate Chips: Using mini chips ensures you get a delightful burst of chocolate in every single bite. Their small size allows them to be evenly distributed throughout the dough without weighing down the scone's light and tender crumb.
- Heavy Cream: A high-fat liquid like heavy cream, full-fat buttermilk, or half & half is essential for a rich, traditional scone. Lower-fat dairy like whole milk, 2%, skim milk, or non-dairy alternatives don't have enough fat to produce the desired tenderness on their own.
- Baking Powder: This is the leavening agent that gives the scones their signature lift, making them light and airy rather than dense and heavy.
- Vanilla Extract & Salt: These two are the ultimate flavor enhancers. Salt balances the sweetness and makes the chocolate pop, while pure vanilla extract adds a layer of aromatic warmth that ties everything together.
- Egg (optional): Adding an egg creates what's known as an "enriched" scone. It's not required, but it will give your scones an even richer flavor, a softer crumb, and a beautiful golden brown hue you'll love.
Be sure to see the free printable recipe card below for ingredients, exact amounts & instructions with tips!
👩🏻🍳 How To Bake Chocolate Chip Scones
Grab your ingredients, measuring cup, mixing bowls, pastry mat, parchment paper, and a baking sheet to whip up these tasty scones.
This recipe yields 8 standard-sized wedge-shaped scones cut from an 8-inch round disc that is 1 to 1½-inch-high. You can also cut 10-12 round scones using a biscuit cutter, portion out about 10-12 drop scones, or make 16 petite scones or mini scones.
Prep The Butter & Ingredients
Step 1: Grate the chilled butter. The ½ cup (113.5 grams) of butter should be chilled and preferably frozen beforehand. You can grate it on a box grater (cheese grater), but my secret to perfectly incorporating butter into my scone dough is to use my food processor, which prevents the warmth of my hands from melting the butter.
Once shredded, scrape the butter from your food processor bowl into a clean bowl. Put the bowl of butter back into the fridge or freezer while preparing the other ingredients.
Step 2: Measure out the other ingredients. Once everything is measured out, return any cold ingredients to the fridge until needed. *I keep my flour stored in the freezer, which is a bonus!
Mix The Scone Dough


Step 3: Combine dry ingredients. In a large bowl, combine the flour mixture, including 2 cups (250 grams) of spooned and leveled all-purpose flour, ¼ cup (50 grams) of granulated sugar, 1 tablespoon of baking powder, plus ½ teaspoon salt (photo 1). Whisk until evenly distributed, then set aside (photo 2).


Step 4: Add butter. Add the grated butter to the dry ingredients (photo 3) and work until just coated with the dry ingredient mixture with some pea-sized crumbs (photo 4). Form a well in the center. *This is SO EASY when the butter is grated.


Step 5: Combine wet ingredients. Add ½ cup (118.29 milliliters) heavy cream, buttermilk, or half & half, ¼ cup (55 grams) light brown sugar, 2 teaspoons of vanilla extract, and the optional egg (photo 5). Whisk until fully combined (photo 6).


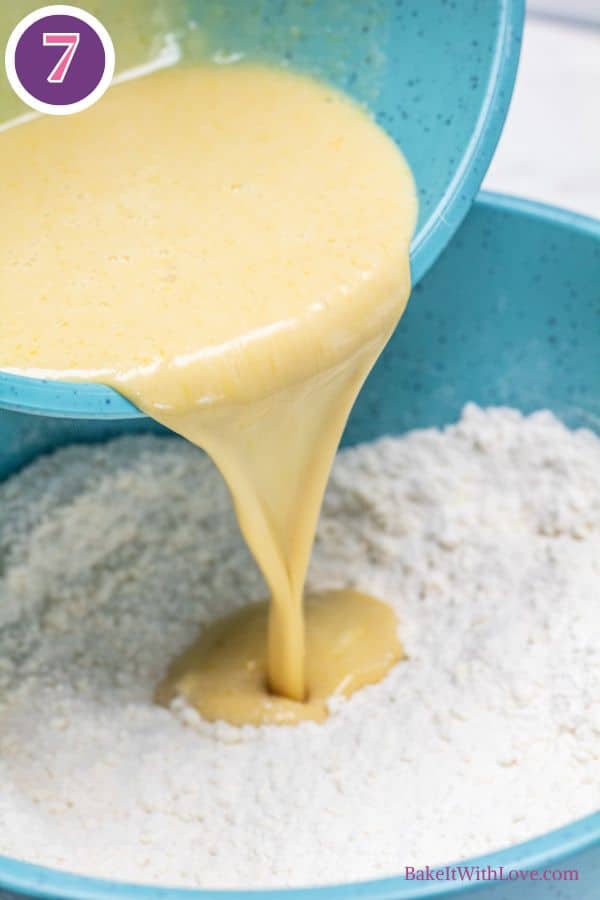
Step 6: Mix the dough. Pour the wet ingredients into the dry ingredients (photo 7) and add mini chocolate chips (photo 8).
Step 8: Mix gently. Fold the wet mixture and chocolate chips into the scone dough (photo 9). Make adjustments to the flour or liquid as needed to offset the optional ingredients.
Note that the scone dough can also be mixed using a food processor - grate the butter, then remove and add the dry ingredients, pulse to blend. Add the combined wet ingredients and chocolate chips, then pulse until just combined. Turn out onto your floured working surface and continue as directed.
Shape, Cut & Cool


Step 9: Shape the dough. Turn the dough out onto a lightly floured working surface or pastry mat (photo 10). Flour your hands, and then pull the dough together. The dough should be sticky and not too dry.
Work the dough as little as possible. Shape it into a round disc that is 1-1½ inches thick and approximately 8 inches around for the standard wedge-shaped scones (photo 11).
Step 10: Cut and Chill or Chill and Cut. You can cut the scones into 8 wedge-shaped pieces like pizza slices (photo 12) and pop them into the oven as-is, or chill the dough for 15 minutes (in the freezer) or 15-30 minutes (in the refrigerator), either as the round (before cutting) or as cut scones (wedges, rounds, or as mini scones), before baking.
To make round scones, shape the dough into a rectangle and use a biscuit cutter to cut out the rounds (do not twist the biscuit cutter as this crimps the edges and prevents the scone from being flaky).
To make mini scones, shape the scone dough into two smaller rounds and cut them into 6-8 wedges. Alternatively, you can shape a rectangle like my jalapeno cheddar scones for 12 perfect petite scones. Smaller scones will bake faster, so check on them after 15 minutes of baking.
Place 10-12 drop scones 3 inches apart on a parchment paper-lined baking sheet.
Bake, Cool & Serve
Step 11: Preheat oven. While the scones chill in your fridge or freezer, preheat the oven to 400°F (205°C/Gas Mark 6).


Step 12: Add toppings. Brush scones with cream (photo 13), egg wash, or melted butter and top with coarse sugar (photo 14) before or after chilling.


Step 13: Bake until golden. Once your oven is preheated and the dough is chilled, bake your scones on a parchment paper-lined baking sheet for 18-22 minutes - large scones may take closer to 24-25 minutes to bake fully. *I like the way my scones brown on the bottom with parchment paper, versus baking directly on the baking sheet or on a silicone mat.
Step 14: Cool before serving. Leave the scones on your baking sheet after removing from the oven for 5 minutes, then transfer them to a wire cooling rack to cool completely before storing or serving while warm.

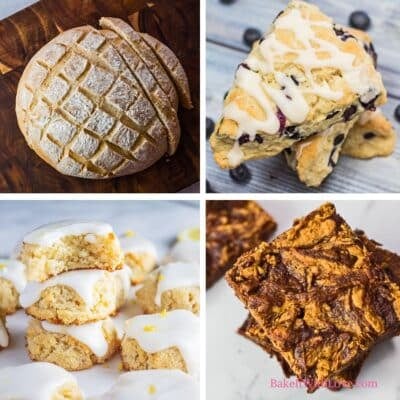
>>>See All Of My Tasty Recipes Here!<<<
💭 Angela's Pro Tips & Recipe Notes
- Keep your butter cold (and everything else). I chill my mixing bowls and my food processor bowl, freeze my butter and flour, and make it a point to return the scone dough to the fridge or freezer if I feel my butter is getting too warm when I'm working with it.
- Don't mix or handle the scone dough more than is needed. Gently fold in your stir-in ingredients and shape the dough quickly to avoid overworking the dough and/or melting the cold butter.
- Adjust the dough consistency slowly, just a drizzle more liquid to a dry mixture, or add flour one tablespoon at a time to a wet dough.
- Arrange the cut scones or drop scones with 3 inches of spacing between the scones to allow for spreading and to keep air circulating around them for crisp, crumbly edges.
- If your scones are spreading during baking, pop them out of the oven and use a spatula to press the edges back into your desired wedge or round shapes.
🔐 Secrets For Tall, Flaky Scone Perfection
Baking perfectly flaky scones is a rewarding experience that tastes amazing, too. One of the trademark components of a great scone is a light, flaky, and airy scone that is tender inside with crisp edges.
To achieve tall, flaky scones, remember my key tips:
- Try folding the scones for the lamination process. The butter in folded layers creates steam as it melts while baking, adding lift to your layered scones. It's easy to do, too. Bring the dough together, flatten it, fold, and repeat up to 4-5 times to complete the laminating process.
- Chill the scone dough. Chilling the scones reduces the likelihood of them spreading while baking. You can chill the dough once shaped into a round before baking, or after cutting scones into wedges or rounds using a biscuit cutter.
- Bake in a preheated oven. Don't pop your scones into the oven before it's done preheating. You need the correct temperature to fully activate the baking powder.
- Use fresh leavening agents if your scones are turning out flat and dense. This would be the last troubleshooting item I would look at if you've followed all of the instructions, tips, and extra tidbits on my master scones recipe page. If you're using old baking powder, test it, then try a new container in a fresh batch of scones.
🥄 Make Ahead Options
- Follow the instructions for making your scones through shaping the round, then cover with plastic wrap and store overnight in the fridge. Cut and place onto your baking sheet in the morning and bake as instructed.
- Alternatively, you can par-bake scones about ½-¾ way done. Place in a single layer on a baking sheet to flash freeze, then store them in an airtight freezer container for up to 2 months. Bake from frozen when ready to serve.
- Freeze the scone dough to bake later. Flash freeze the cut scones as directed above, then place them into an airtight freezer bag or container. I prefer to wrap the frozen scones with cling film first to prevent freezer burn.
Freeze for up to 2 months before baking for best results. Bake from frozen, adding a few minutes to the baking time. Or, thaw overnight and bake as usual.

🥡 Storing
Store cooled, leftover scones in an airtight container in a single layer, or with a sheet of parchment paper between layers. Alternatively, single scones can be wrapped tightly in plastic cling film.
At room temperature, the scones will store for up to 2 days. I suggest keeping them away from heat sources, and out of the sunlight - a cool, dark place like a cabinet or pantry.
Refrigerated
Scones should last for up to a week in the fridge.
Freezing Scones
Freeze scones in a single layer on a baking sheet, then wrap with plastic wrap and store in a freezer bag or an airtight container for up to 3 months. Thaw at room temperature or in the refrigerator overnight.
Reheating
I think that scones are best served slightly warm, so I warm them on half power in the microwave for 20-30 seconds with a glass of water. Heat in a toaster oven on the warm setting or at 300°F (150°C), or in the oven at 350°F (175°C/Gas Mark 4) for 5 minutes - cover with aluminum foil for best results with either of these reheating methods.
For frozen scones, reheat on high heat at 450°F (230°C/Gas Mark 8) for about 5 minutes to restore their crisp edges and all.


Do you love a recipe you tried? Please leave a 5-star 🌟rating in the recipe card below and/or a review in the comments section further down the page.
Stay in touch with me through social media @ Pinterest, Facebook, Instagram, or Twitter! Subscribe to the newsletter today (no spam, I promise)! Don't forget to tag me when you try one of my recipes!
📖 Recipe Card

Chocolate Chip Scones
Ingredients
- ½ cup butter (frozen or chilled)
- 2 cups all-purpose flour (spooned & leveled - more for flouring your working surface)
- ¼ cup sugar
- ¼ cup light brown sugar (packed)
- 1 tablespoon baking powder
- ½ teaspoon salt
- ½ cup heavy cream (or buttermilk, see notes - to brush on scones)
- 2 teaspoon vanilla extract
- 1 large egg (optional)
- 1¼ cups chocolate chips (mini chocolate chips, semi-sweet chocolate chips, or dark chocolate chips)
- coarse sugar (optional - for topping the scones)
(Note: 2x or 3x only changes the ingredient list)
Instructions
Prep Ingredients
- Shred or grate the frozen ½ cup butter. Return it to the freezer while you measure the remaining ingredients.
Mix Scone Dough
- Whisk together 2 cups all-purpose flour, ¼ cup sugar, 1 tablespoon baking powder, and ½ teaspoon salt in a large mixing bowl.
- Add grated butter, then work it into the flour using a pastry cutter, a pair of knives, a fork, or your hands. The mixture should resemble coarse crumbs with some pea-sized butter pieces remaining. Make a well for the wet ingredients.
- Combine wet ingredients in a medium-sized mixing bowl. Add ½ cup heavy cream, ¼ cup light brown sugar, 2 teaspoon vanilla extract, and the optional 1 large egg. Whisk until well combined and the brown sugar is dissolved.
- Pour the cream mixture and 1¼ cups chocolate chips into the dry ingredients. Gently fold with a spatula to form a shaggy, slightly sticky dough. *Make any adjustments to the dough as needed with your additional ingredients, see post.
Shape, Chill & Bake
- Turn the dough onto a lightly floured surface. Gently pat it into an 8-inch round disc about 1 inch thick. Slice the disc into 8 equal wedges. Arrange the wedges on a parchment-lined baking sheet and chill in the refrigerator or freezer for at least 15 minutes.
- While the scones are chilling, preheat your oven to 400°F (205°C/Gas Mark 6).
- Just before baking, lightly brush the tops of the scones with cream and sprinkle with coarse sugar, if using. Bake for 18-22 minutes (large scones may bake for closer to 24 minutes).
- Remove the baked scones when done and let them sit on the baking sheet for 5 minutes. Serve while warm or transfer scones to a cooling rack to cool completely.
Notes
- Keep your ingredients and equipment cold before and during the mixing process.
- Don't handle the dough more than needed (the warmth from your hands can melt the butter).
- Arrange scones on a parchment paper-lined baking sheet with 3 inches of spacing to allow the air to circulate and crisp the edges.
- If your scones start spreading while baking, use a spatula to gently push the edges back into place.
- Make ahead: Shape the dough and chill it the night before, covered with cling film. Refrigerate overnight. Slice, brush with cream, and bake as directed the next day, adding a minute or two if needed.
- To store: Wrap scones in plastic wrap and place them into an airtight container. Store for 2 days at room temperature. Store in the refrigerator for up to a week.
- To freeze: For best results, freeze the unbaked scone wedges. Place them on a baking sheet and freeze until solid (about 1 hour). Wrap in cling film and transfer the frozen scones to a freezer-safe bag. They will keep for up to 2-3 months. Bake directly from frozen, adding 3-5 minutes to the total baking time.
Angela Latimer says
Absolutely perfect scones with a not-too-sweet flavor in a tender crumb. The edges are so delightfully crisp you'll be making this easy scones recipe all the time. ~ Angela