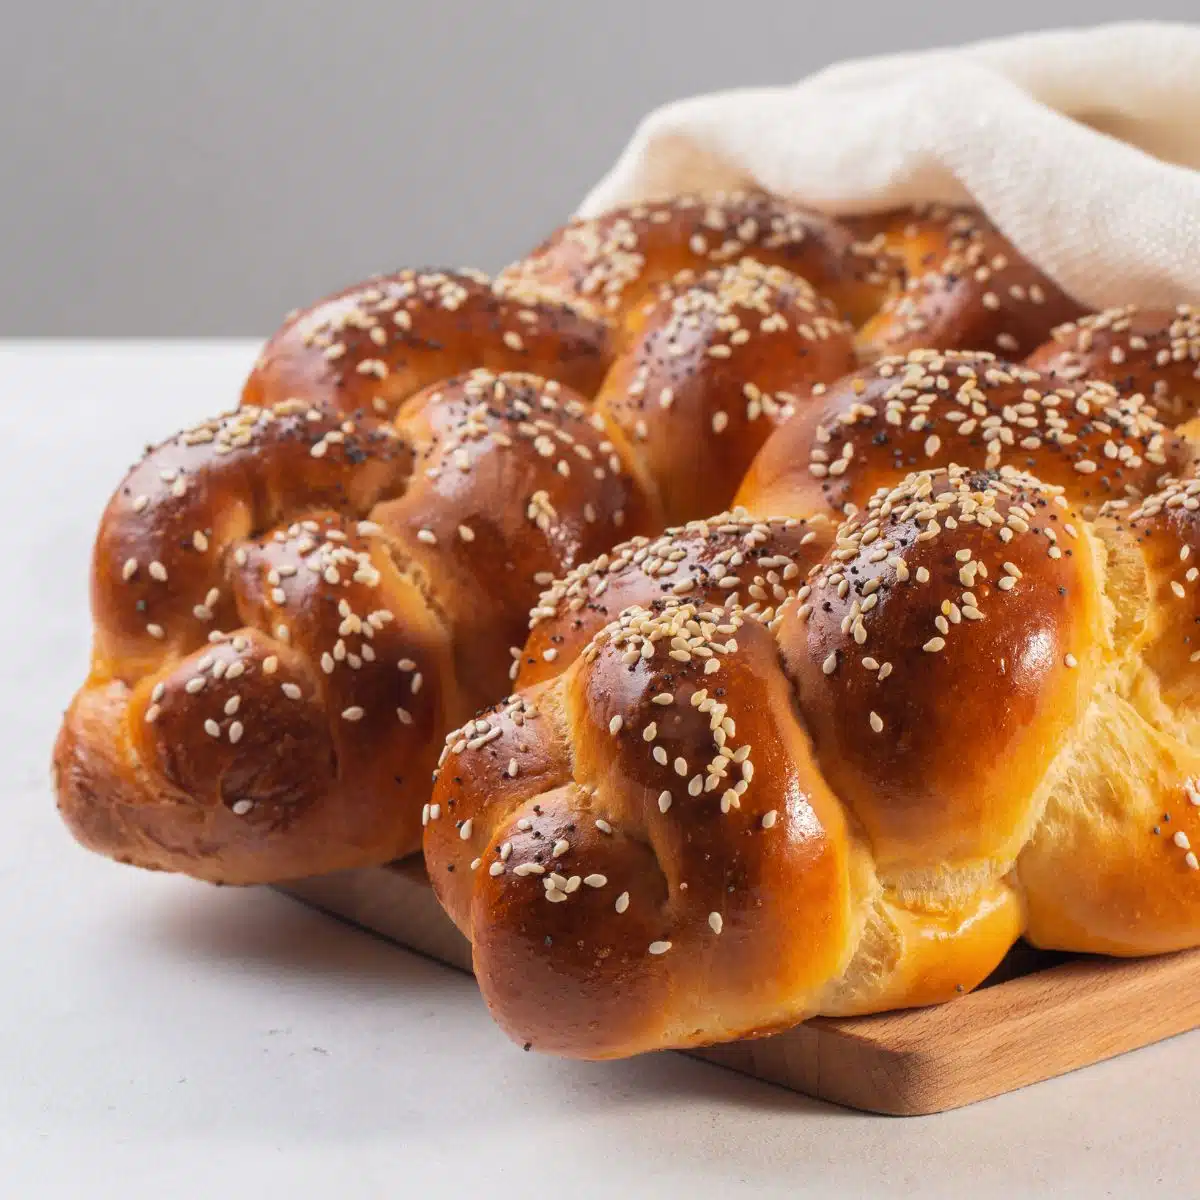
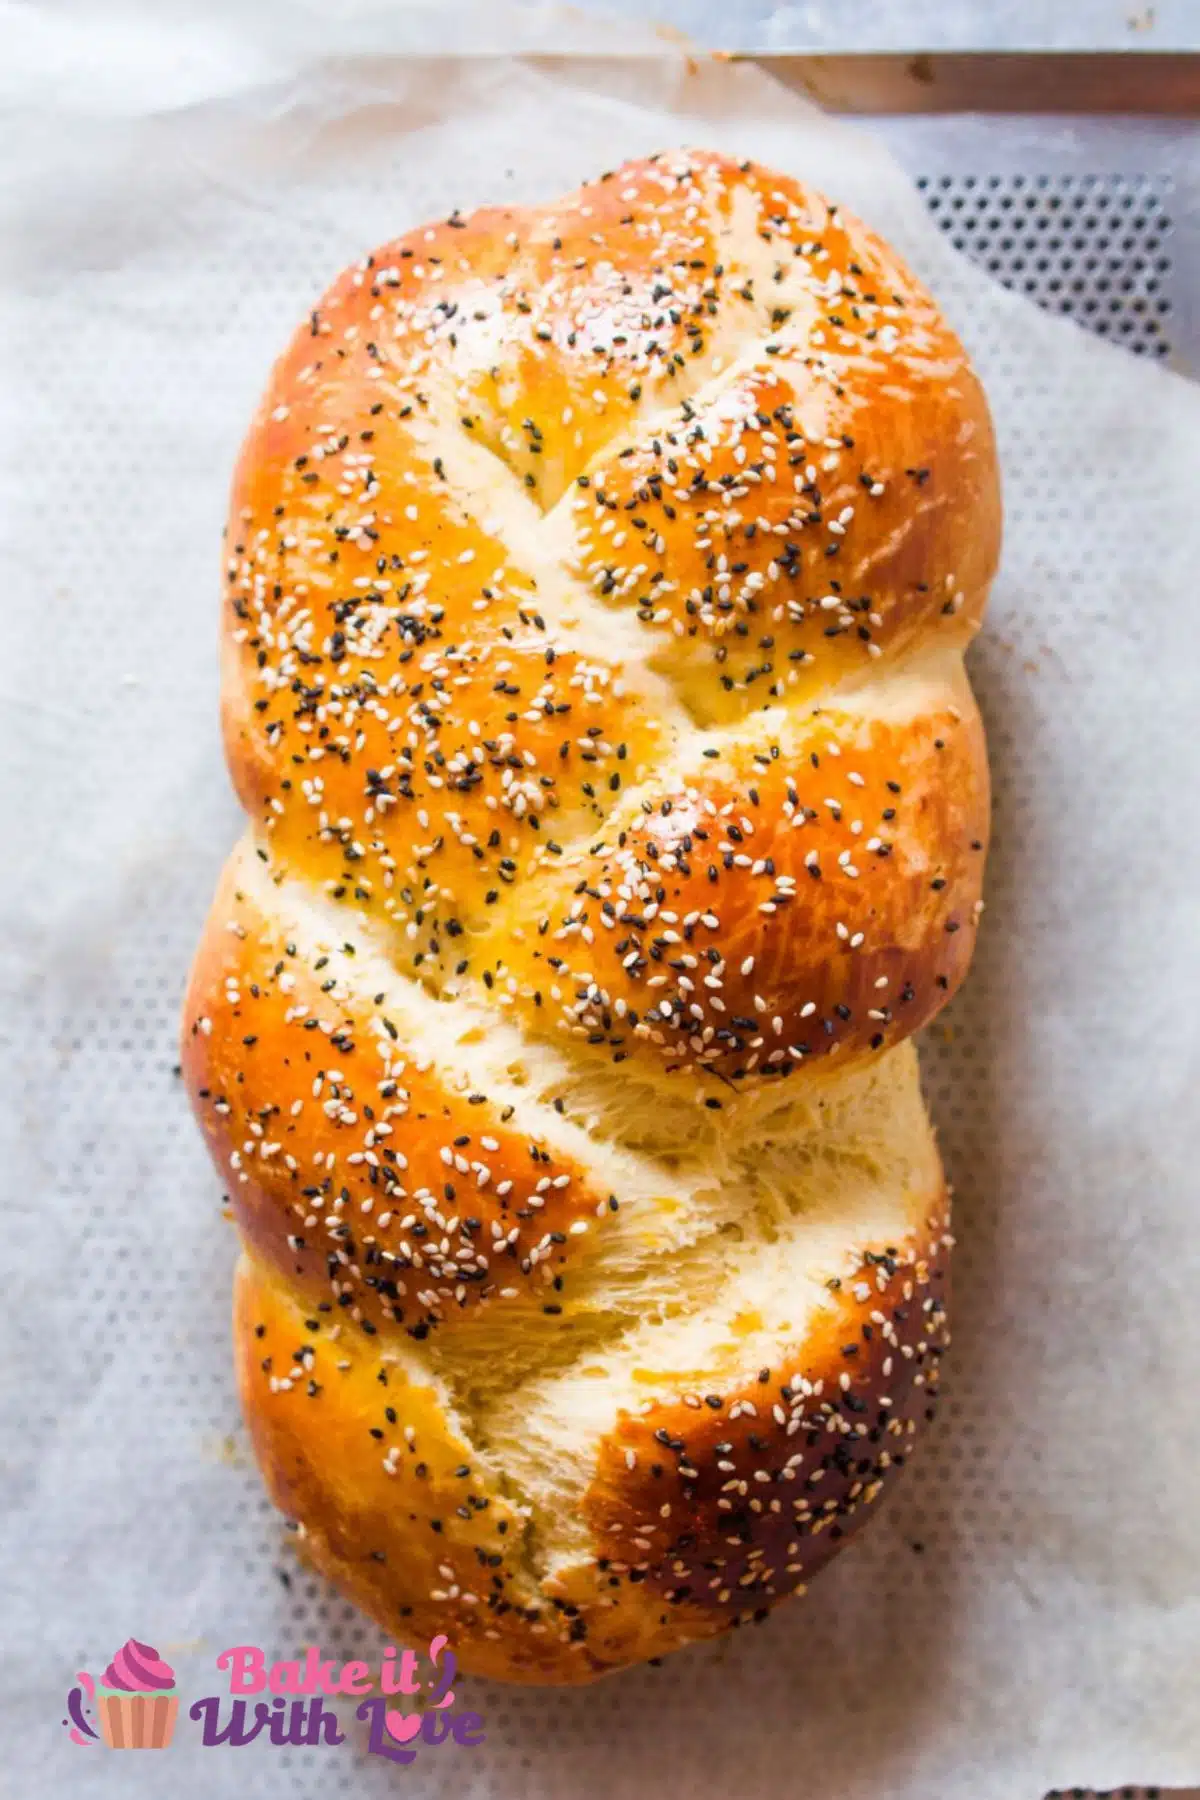
Challah bread is an eggy, slightly sweet bread that is beautiful and fun to make as it is traditionally braided! Use your Challah bread to make incredible sandwiches, French toast, and more! Enjoy this Challah bread recipe for a real treat!
Best Homemade Challah Bread
There's something truly special about the aroma and taste of homemade challah bread. This traditional Jewish bread, with its golden crust and soft, pillowy interior, holds a place of honor at Sabbath tables and holiday celebrations.
Baking your own challah allows you to experience the joy of creating this symbolic and delicious bread from scratch! I'll guide you through the process of making your very own challah bread, from mixing the dough to braiding it into a beautiful golden loaf!
Jump to:
🥘 Challah Bread Ingredients
This homemade challah bread has a fairly short list of ingredients. It's one of the many reasons to love this recipe!
- Water - 1 tablespoon of warm water at 100ºF (43ºC).
- Active Dry Yeast - 1 teaspoon of active dry yeast (proofed).
- All-Purpose Flour - 5 cups of all-purpose flour plus 1 teaspoon for proofing the yeast and about ½ cup for dusting your work surface.
- Sugar - ¼ cup of granulated white sugar.
- Milk - ½ cup of warmed milk.
- Eggs - 5 large eggs warmed in the shell plus 2 egg yolks.
- Salt - 1 teaspoon of salt to help balance the sweetness.
- Butter - 1 tablespoon of softened butter for coating the pan.
- Egg Wash - 1 whole egg plus 1 egg yolk.
*Be sure to see the free printable recipe card below for ingredients, exact amounts & instructions with tips!*
🔪 How To Make Challah Bread
Making challah bread is a slightly lengthy process, but if you follow the steps to a T, you'll have fluffy homemade bread in no time! You'll need your measuring utensils, a mixing bowl, a whisk, 2 baking sheets, and a food-grade spray bottle.
This recipe makes 1 large loaf of challah bread.
Make The Dough
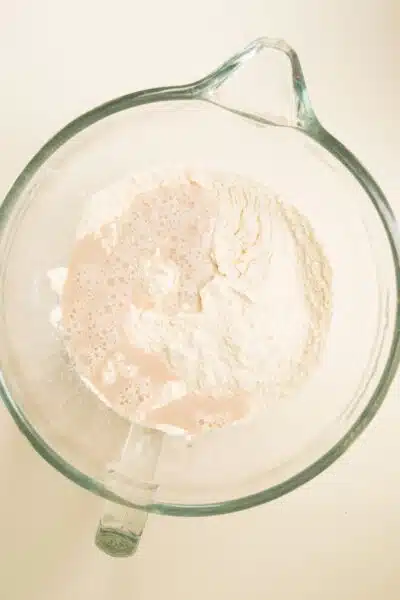
- Proof the yeast. The first step to making Challah bread is to proof your active dry yeast with 1 tablespoon of warm water (110ºF/43ºC) and 1 teaspoon of all-purpose flour.
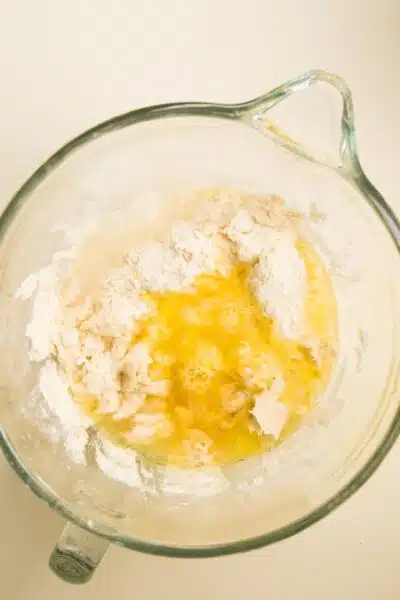
- Start your dough. Allow the yeast to proof for ten minutes, then start the Challah bread by combining a 1 cup portion of your flour with ¼ cup of sugar, ½ cup of warmed milk, and 5 eggs that have been warmed in the shell (set them into a bowl of hot tap water for 5 minutes), 2 egg yolks at room temperature, and the proofed yeast. Whisk the ingredients to combine them, then cover with plastic wrap and allow the yeast mixture to ferment for an hour at room temperature.
- Finish the dough. When the hour fermenting time has passed, combine the remaining 4 cups of flour with 1 teaspoon of salt and then pour the fermented yeast and egg mixture over the top of the flour and salt dry mixture. Mix for roughly two minutes or until all ingredients are moistened, then cover with plastic wrap and allow to rest for 20 minutes.
Knead The Dough
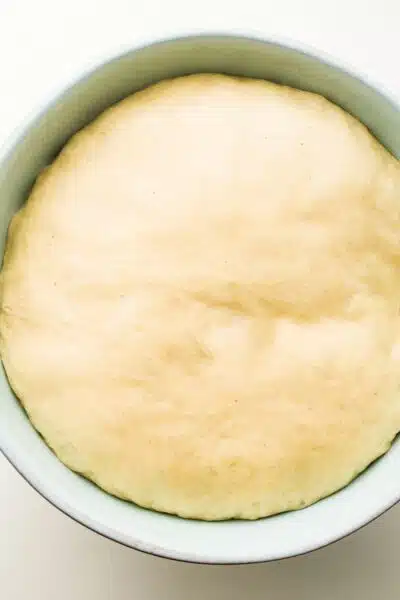
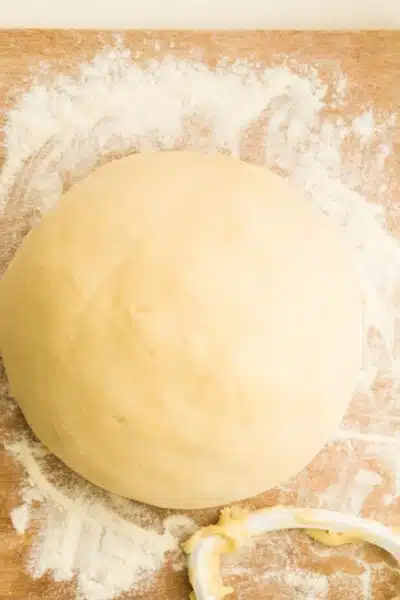
- Knead the dough. After the dough has rested for 20 minutes (if using a stand mixer), knead the dough using the dough hook attachment on medium speed for 3 minutes, rest for 5 minutes, then return to kneading for another 4-5 minutes. The dough should slap against the sides of the bowl (use a higher speed setting if needed to achieve this) and pass the 'windowpane' test when stretched. (if kneading by hand) Turn the dough out onto your floured work surface and knead for about 10 minutes. Cover with plastic wrap or a damp towel and allow to rise at room temperature for about two hours or until the dough has doubled in size.
- Punch down. Next, punch down the dough by spreading your hand in a somewhat claw-like position and pressing your fingertips into the dough. How far you press down into the dough will depend on how many air pockets you desire in your bread. In our case, we want relatively few air pockets, so press down until the dough is 'deflated' halfway.
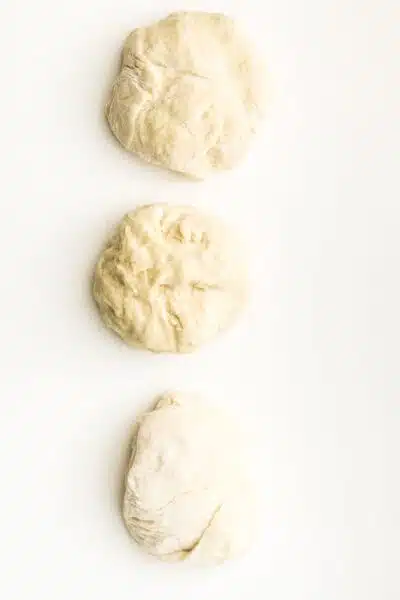
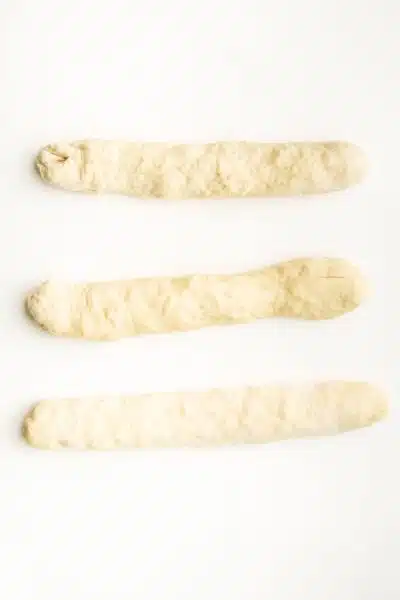
- Portion. Divide the dough into three portions and round each portion, then roll and stretch each portion out into ropes about 24 inches long. I tend to stretch mine more than roll, and you will want to let the dough rest between rolling or stretching. When I get a little bit more length on each portion, I then rest the dough ropes for ten minutes before returning to stretch it out some more. Repeat this process until each section is the appropriate length.
Braid The Challah Braid
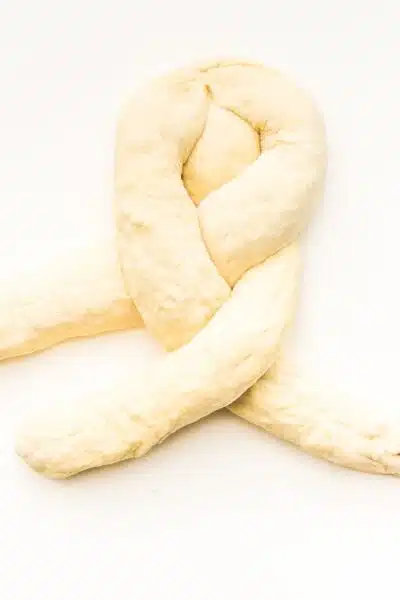
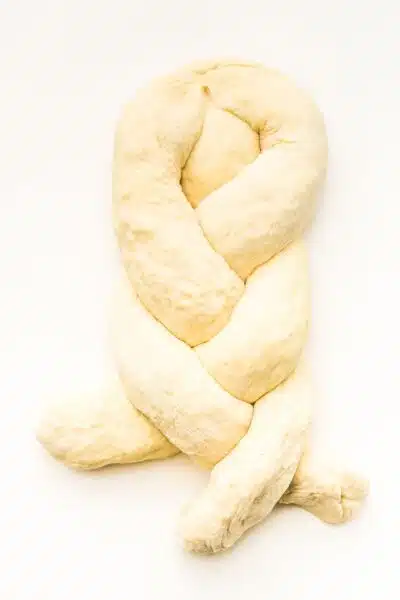
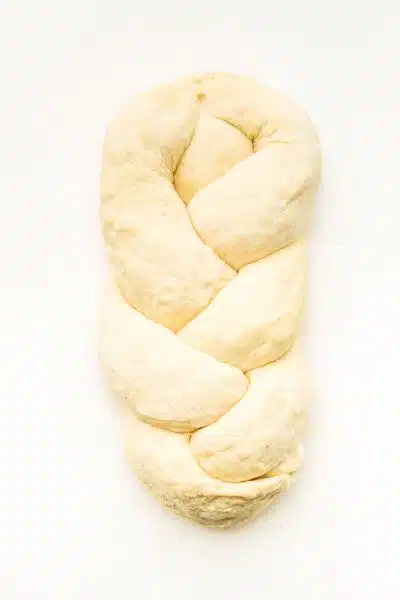
- Prep. Butter your baking sheet that is at least 13 x 18 inches, such as a half sheet - sheet cake pan. I use parchment paper that I butter and place it on my baking sheet before transferring my ropes to the baking pan.
- Line up the dough. When braiding, line up your three ropes of dough next to each other in the center of the baking sheet.
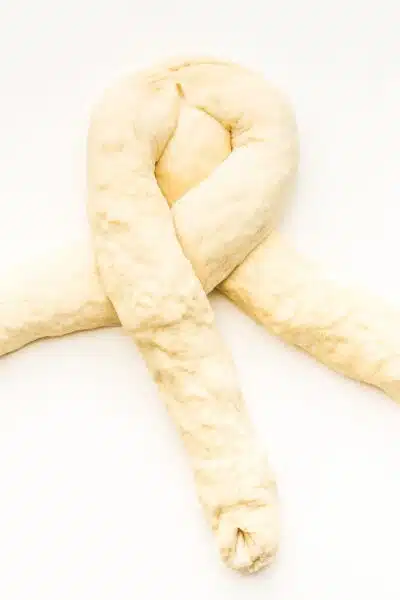
- Braid. Starting at the middle, braid out toward one end by first moving your left rope off to the side (making a V away from the center rope at the midpoint), then crossing the right rope over the center, the left rope over the re-positioned right rope, and the middle rope over the re-positioned left rope.
- Finish braiding. Continue this braiding until you reach the ends and press them in on each other while rolling them under to tuck them in on the pan. Repeat on the opposite end.
- Rise. Cover with oiled plastic wrap or a damp towel and allow to rise at room temperature again for one to two hours or until doubled in size.
Baking The Challah Bread

- Preheat. Preheat your oven to 400ºF (204ºC) and place a sheet pan that is about ¼ filled with water on the lower cooking rack.
- Brush with egg wash. Brush your Challah bread loaf with the egg wash made from 1 full egg, 1 egg yolk, and a pinch of salt.
- Put in the oven. Place the baking sheet with the loaf over the rack containing the pan with water and close the door.
- Bake and spritz. Spritz the loaf with water from a spray bottle 3 times in 30-second intervals after initially closing the door when you place the loaf in the oven to bake. Then reduce the cooking temperature to 375ºF (190ºC) and bake for about 45 minutes.
- Enjoy. The loaf will be a deep brown color, and the internal temperature will be 185ºF (85ºC) when done.
🍴 What to Serve With
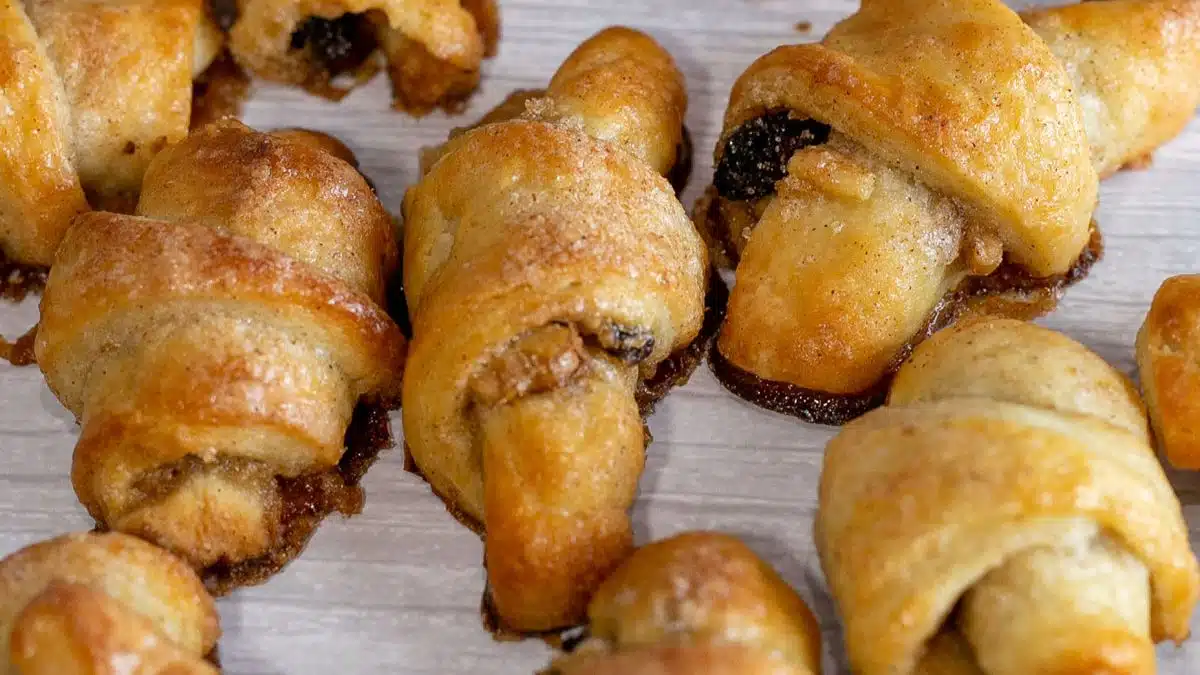
Homemade challah bread is delicious at any time but is commonly made around Jewish holidays like Hannukuh, Passover, or Shavuot. Try pairing it with some rugelach for dessert! Enjoy!
💭 Angela's Pro Tips & Recipe Notes
- Your ropes will extend beyond the edges of your baking sheet prior to being braided.
- If your Challah bread is turning too brown, but the internal temperature has already reached 185ºF (85ºC), cover the loaf with aluminum foil and reduce the oven temperature to 325-350 degrees. This is not usually an issue when your oven cooks at the correct temperature. Remove the baked Challah bread loaf to a cooling rack when done.
- If you are unsure if your oven cooks spot on, too high, or too low, purchase an oven thermometer to help you make any necessary temperature corrections.
🥡 Storing
Store your homemade challah bread in an airtight container, Ziploc bag, or bread box at room temperature for 3-5 days.
Freezing Challah Bread
To freeze your challah bread, let it cool completely. Then wrap it tightly in plastic wrap and place it in a Ziploc freezer bag with the excess air squeezed out. Freeze for up to 3 months and defrost on the counter when needed.
>>>>See all of my recipes here<<<<
❓ Recipe FAQs
The braided shape of challah bread is said to symbolize unity and togetherness within the Jewish community. It also represents the intertwining of the spiritual and physical aspects of life.
Yes, you can make challah bread with whole wheat flour or a combination of whole wheat and all-purpose flour. The texture and flavor will be slightly different, but it will still be delicious!
Yes, you can make challah bread without a stand mixer. While a stand mixer makes the process easier, you can mix and knead the dough by hand. It may require a bit more effort, but it is certainly doable!
🍞 More Homemade Bread Recipes
- Cheesecake Factory Brown Bread - Enjoy the warm, fluffy delight of Cheesecake Factory's famous brown bread at home!
- Cinnamon Apple Bread - A moist and aromatic cinnamon-infused bread generously studded with chunks of juicy apples!
- Homemade Flatbread
- Homemade Bread Bowls - Elevate your soups and stews to the next level with these edible bread bowls!
- Rustic Bread - Homemade rustic brown bread that tastes delightful with a smear of butter!
- Irish Soda Bread - Irish soda bread is delightfully dense and infused with the subtle tang of buttermilk!
Do you love a recipe you tried? Please leave a 5-star 🌟rating in the recipe card below and/or a review in the comments section further down the page.
Stay in touch with me through social media @ Pinterest, Facebook, Instagram, or Twitter! Subscribe to the newsletter today (no spam, I promise)! Don't forget to tag me when you try one of my recipes!
📖 Recipe Card
Challah Bread Recipe
Ingredients
- 1 tablespoon water (warm water at 100°F 43°C)
- 1 teaspoon active dry yeast (proofed)
- 5 cups all-purpose flour (plus 1 teaspoon for proofing the yeast and ½ c for dusting your work surface)
- ¼ cup sugar
- ½ cup milk (slightly warmed)
- 5 large eggs (warmed in the shell)
- 2 egg yolks
- 1 teaspoon salt
- butter (softened at room temperature for coating the pan)
- egg wash (reserve 1 egg white, add 1 whole egg & a pinch of salt)
(Note: 2x or 3x only changes the ingredient list)
Instructions
- Proof the yeast with warm water and flour for 10 minutes. In a small bowl, combine 1 cup of the flour, sugar, milk, eggs, egg yolks, and proofed yeast. Whisk lightly to combine, then cover with plastic wrap and allow to ferment for 1 hour.
- In a large mixing bowl, combine the remaining 4 cups of flour and the salt. Pour the yeast and egg mixture over the flour and slat mixture. Combine just until moist, about two minutes. Cover with plastic wrap or a damp towel and allow to rest for 20 minutes.
- Using a stand mixer: knead the dough with the dough hook on medium speed for 3 minutes, allow the dough to rest for 5 minutes, then knead again for 4-5 minutes more or until the dough slaps against the sides of the bowl (use a higher speed if necessary). By hand: knead the dough for 10 minutes. Either way, the dough should pass the windowpane test.
- Cover again with plastic wrap or a damp towel and allow to rise at room temperature for about two hours, or until doubled in size. Punch down the dough and divide into three portions.
- Round the three dough portions then begin to roll and stretch them out into 24 inch long ropes. Do this in stages by stretching and/or rolling out a bit more length, then allowing the dough to rest, covered, for 10 minutes before rolling and stretching again.
- Butter your 13 x 18 baking sheet (or line it with parchment paper, and butter the paper). Place the three ropes onto the baking sheet with one going down the very center, and one of the other three on each side so that all three ropes are laying down the center of the baking sheet next to each other. (they will extend beyond the baking sheet prior to braiding)
- Braid the ropes, starting at the center and working toward each end of the baking sheet. Tuck each completed end in by pressing the ends together and tucking them downward and under the loaf. Cover the loaf with oiled plastic wrap or a damp cloth and allow to rise between 1-2 hours, or until doubled in size.
- Preheat your oven to 400°F (204°C) and coat the Challah bread loaf with the egg wash. Place the baking sheet with the loaf on it into the oven on the center rack, with another baking pan or sheet on the bottom rack filled ¼ full with water.
- After placing the loaf in the oven, and closing the oven door, have a spray bottle ready to spritz the loaf with water at 30-second intervals 3 times. After moistening the loaf with the water, reduce the oven temperature to 375°F (190°C) and bake for 45 minutes or until the internal temperature is 185°F (85°C). Remove to a wire rack to cool.
Notes
- Your ropes will extend beyond the edges of your baking sheet prior to being braided.
- If your Challah bread is turning too brown, but the internal temperature has already reached 185ºF (85ºC), cover the loaf with aluminum foil and reduce the oven temperature to 325-350 degrees. This is not usually an issue when your oven cooks at the correct temperature. Remove the baked Challah bread loaf to a cooling rack when done.
- If you are unsure if your oven cooks spot on, too high, or too low, purchase an oven thermometer to help you make any necessary temperature corrections.

Comments
No Comments