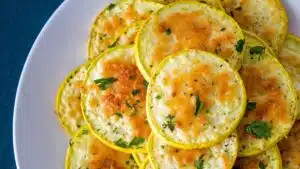
This baked Parmesan yellow squash is an easy and tasty snack, appetizer, or vegetable side dish that your whole family will enjoy! Slice your yellow squash, top it with seasoning and Parmesan cheese, and then bake until golden! It's both simple and delicious!
Serve with shake & bake chicken, slow-cooker pork loin, and Instant Pot baked potatoes or Ranch roasted potatoes.
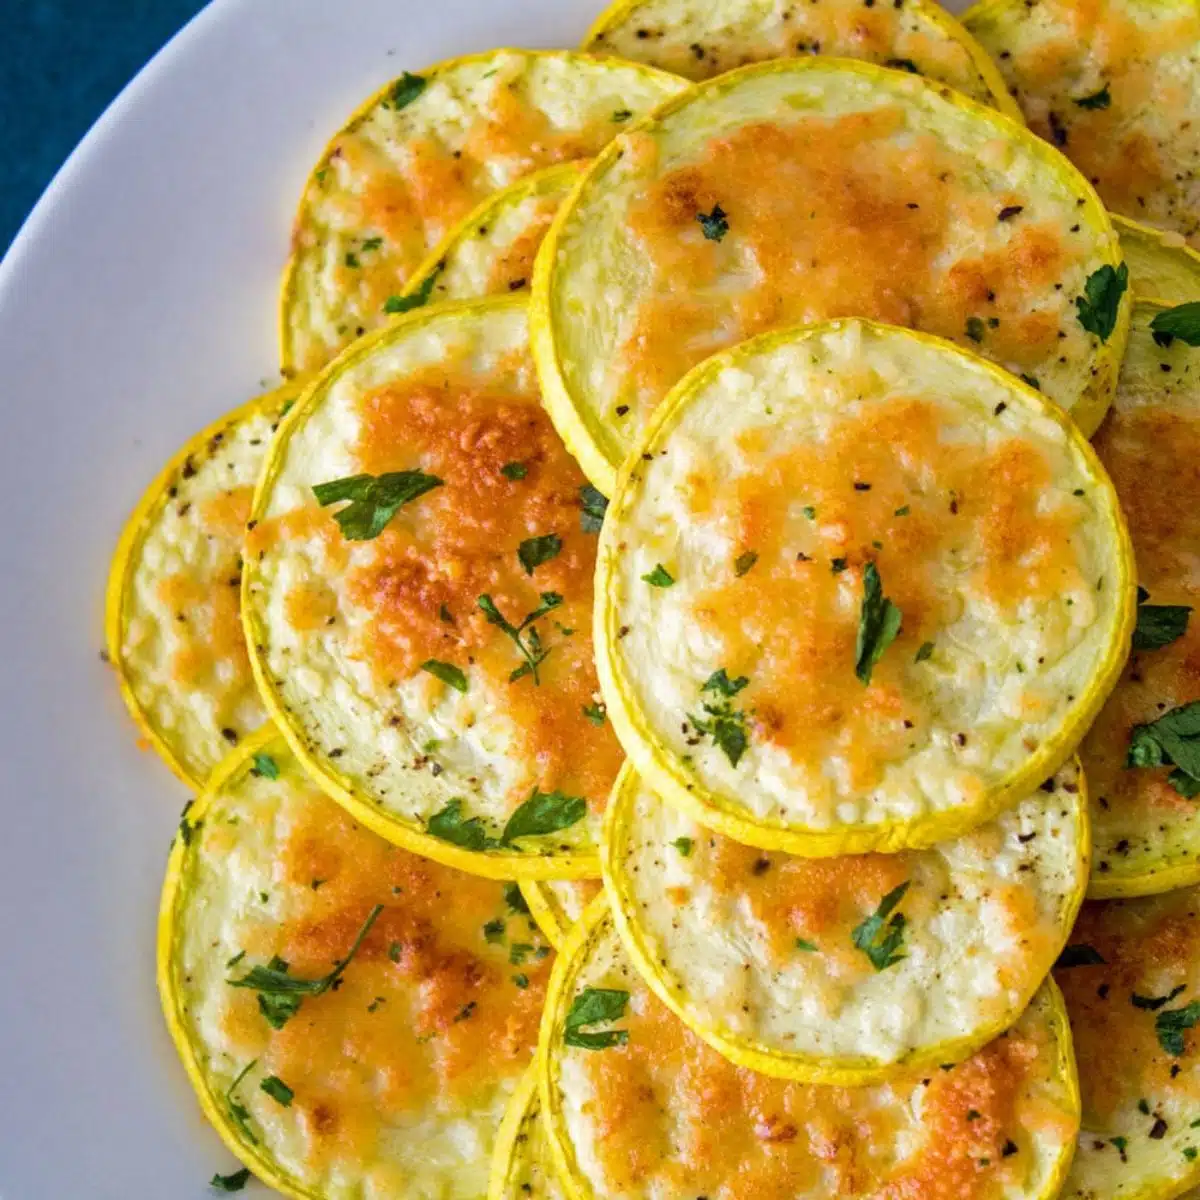
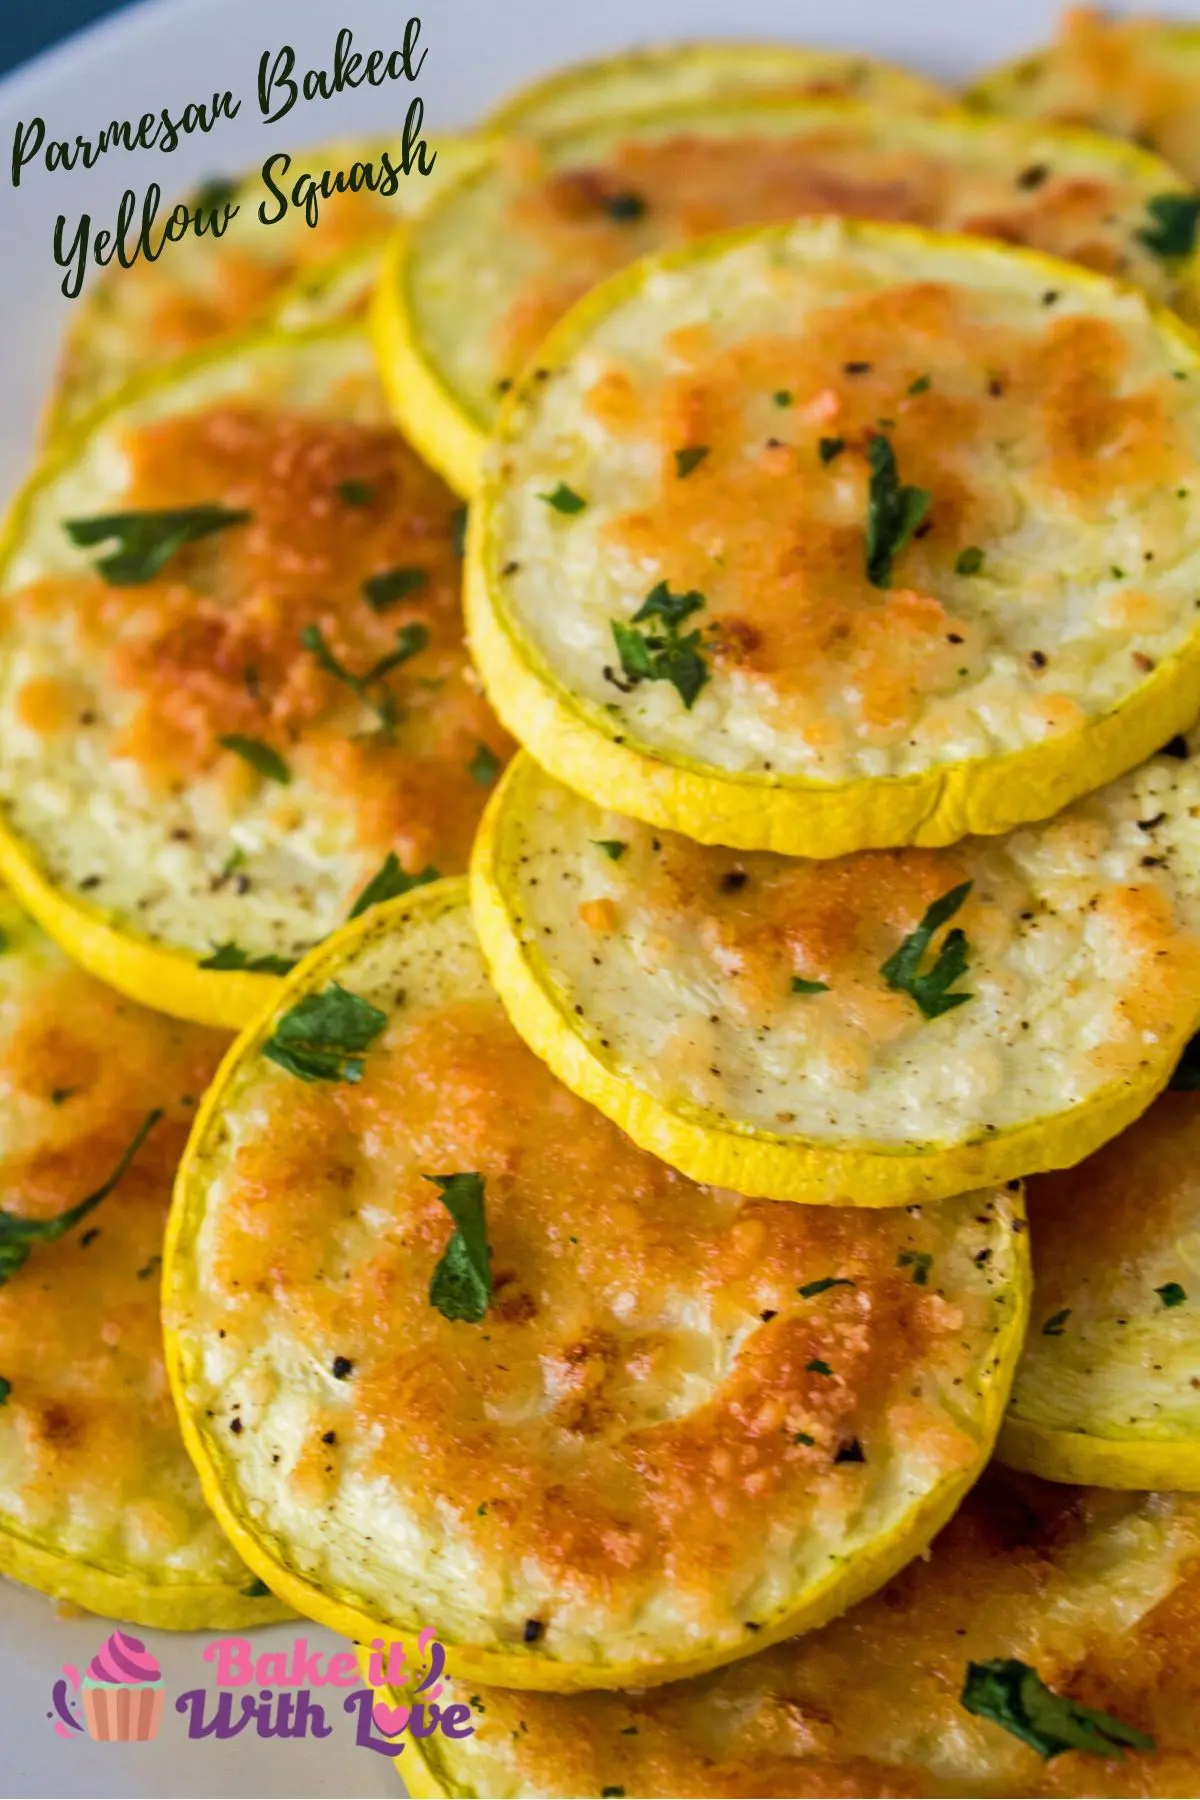
It's ridiculously easy to oven-bake these Parmesan yellow squash rounds! Cooked until tender and the Parmesan cheese is melted and absolutely delicious, continue to roast these golden rounds until crispy and enjoy them like chips!
Yellow squash is a variety of summer squash, also called yellow straight-neck squash or yellow crookneck squash.
Likely you've seen both in the grocery store and called them one or the other interchangeably, this is common and something that I did for many years too!
The delicious mellow flavor of yellow squash is brought out best when oven-roasted! I have always thought the slightly sweetened roasted flavor complements the melted Parmesan cheese topping perfectly!
Plus, for those in your family that usually complain about the soft texture of cooked summer squash, these baked squash rounds retain their texture without turning to mush!
🥘 Ingredients
This easy recipe only uses 2 ingredients, plus some seasonings. The yellow squash and Parmesan cheese really get to shine!
- Yellow Squash - 3 yellow squash that have been washed and cut into thin slices.
- Parmesan Cheese - ½ cup of grated Parmesan cheese. Grate the cheese yourself for the best results!
- Garlic Salt & Pepper - Add some seasoning to taste.
*Be sure to see the free printable recipe card below for ingredients, exact amounts & instructions with tips!*
🔪 How To Bake Parmesan Yellow Squash
Making this squash is as easy as slicing, grating, and baking! You'll need a mandoline (or knife and cutting board), a cheese grater, and a baking sheet.
This recipe will make about 6 servings of tasty squash!
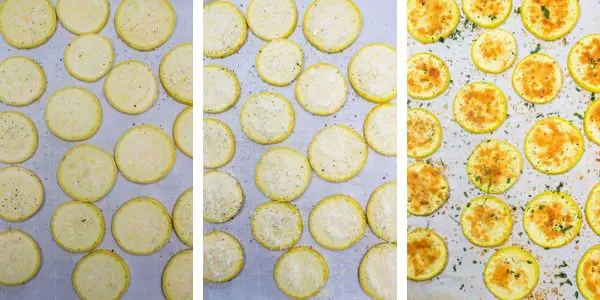
- Preheat. Preheat your oven to 425°F (220°C) and line a baking sheet or two with parchment paper, non-stick spray-coated aluminum foil, or a Silpat mat.
- Prep the squash. Prepare 3 yellow squash by washing each squash and trimming the ends. Slice in thin, even-sized slices so that they cook evenly and are done at the same time. I use a mandoline to cut the slices so they are just under ¼ inch in thickness.
- Add seasoning. Spread sliced squash on your baking sheet(s) in a single layer. Sprinkle with garlic salt and pepper to taste.
- Add Parmesan. Grate ½ cup of Parmesan and spoon it onto the yellow squash rounds. Dollop grated Parmesan cheese in the center of the slices, or use the back of your spoon to push the cheese out to the edges of each slice.
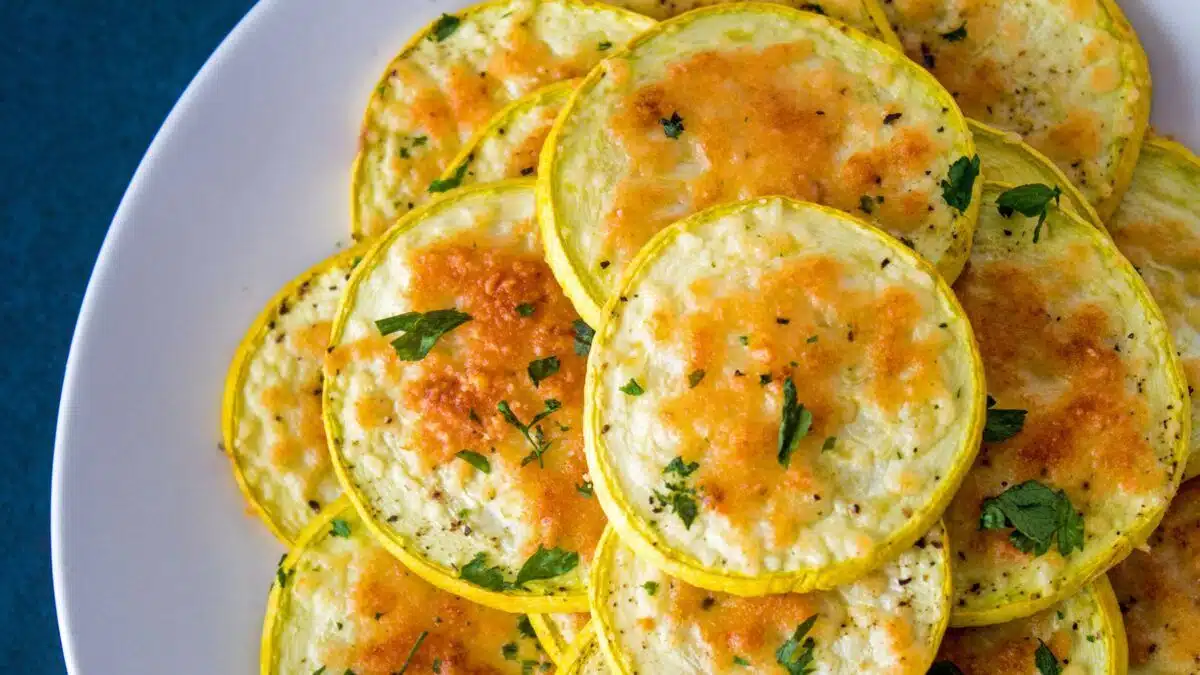
- Bake. Bake in the center of your oven at 425°F (220°C) for approximately 15 minutes, or until golden browned on the tops and the cheese has melted.
- Serve. Remove from the oven and serve warm.
💭 Angela's Pro Tips & Recipe Notes
- Selecting Parmesan Cheese: Opt for high-quality Parmigiano-Reggiano cheese, a regulated hard cheese produced in Italy. Authentic Parmigiano-Reggiano cheeses are stamped with their name on the rind, indicating they meet strict production standards.
- Ingredients in Parmesan: If choosing domestic brands, ensure the cheese contains only three ingredients: milk, salt, and rennet. Rennet is a natural enzyme found in calf intestines that is crucial for cheese production.
- Uniform Squash Slices: For even cooking, slice your squash to a consistent thickness. A mandoline slicer is an excellent tool for achieving uniform slices quickly and efficiently.
- Arranging Squash Slices: When baking squash, arrange the slices in a single layer without overlapping on the baking sheet. This ensures each slice can become crispy and cook evenly.
🥡 Storing & Reheating
Place any leftovers into a sealed container and store them in the fridge for 3-5 days.
Reheat your squash in the oven at 350°F (175°C) until hot and crisp. You could also use the microwave, but the squash will lose its crispiness.
>>>>See all of my recipes here<<<<
❓ Recipe FAQs
So summer squash is harvested while immature and before maturation while the rind is still soft and edible. Ideally, yellow squash should be harvested when between 6-8 inches in length and 4-8 days after the plant flowers.
If the yellow squash in the produce aisle at the store is larger than that size, it will be less than optimal. The rind will be firmer than squash selected at the right age.
Baby squash, however, is absolutely superb!
Definitely not! It's a personal preference if you feel the need to peel your zucchini or squash, but it's not necessary at all. The only reason I would peel any summer squash is if there had been some deterioration or blemish on the skin's surface.
Summer squash varieties all have a delicate flavor that can easily be overwhelmed by strong seasoning. No matter what you use, start with small amounts and increase as needed.
Use garlic sparingly with yellow squash. Marjoram, cumin, dill, parsley, and rosemary are great herbs that complement yellow squash.
🫑 More Vegetable Side Dishes
- Candied Carrots - Simple carrots enhanced with a sweet brown sugar glaze!
- Creamed Corn - A creamy corn dish ready to enjoy in only 15 minutes!
- Instant Pot Acorn Squash - This yummy squash can easily be made sweet or savory!
- Roasted Butternut Squash - A super easy squash recipe with just a few ingredients!
- Roasted Beets - Diced beets are folded into foil pouches and popped into the oven!
- Roasted Peppers & Onions - Enjoy these peppers and onions as a side dish or a topping for steak, fajitas, or tacos!
Do you love a recipe you tried? Please leave a 5-star 🌟rating in the recipe card below and/or a review in the comments section further down the page.
Stay in touch with me through social media @ Pinterest, Facebook, Instagram, or Twitter! Subscribe to the newsletter today (no spam, I promise)! Don't forget to tag me when you try one of my recipes!
📖 Recipe Card
Baked Parmesan Yellow Squash
Ingredients
- 3 large yellow squash (washed and sliced thin)
- ½ cup Parmesan cheese (grated)
- garlic salt & pepper (to taste)
(Note: 2x or 3x only changes the ingredient list)
Instructions
- Preheat your oven to 425℉ (220℃) and line a baking sheet or two with parchment paper, non-stick spray-coated aluminum foil, or a silpat mat.
- Prepare your yellow squash, wash each squash, and trim the ends. Slice in thin, even-sized slices so that they cook evenly and are done at the same time. I use a mandoline to cut the slices so they are just under ¼ inch in thickness.
- Spread sliced squash on your baking sheet(s) in a single layer. Sprinkle with seasoning, garlic salt and pepper.
- Grate Parmesan and spoon it onto the yellow squash rounds. Dollop grated Parmesan cheese in the center of the slices, or use the back of your spoon to push the cheese out to the edges of each slice.
- Bake in the center of your oven at 425℉ (220℃) for approximately 15 minutes, or until golden browned on the tops and the cheese has melted.
- Remove from the oven and serve warm.



Dawn D Slaton says
We raise our yellow squash and get so tired of it! BUT, I just made this recipe and it takes the cake. Great recipe, thanks! I'm going to freeze some of the leftovers and see how it comes out. This was outstanding. No more boiled stuff. (Oh, and I hate to cook!)
Regina says
They didn't crisp up and they were alot thinner than the recipe calls for because I didn't see the 1/4 inch in the directions. They were still good and I don't even like squash.
Sarah says
Yummy! LIke others, i don’t usually like cooked yellow squash. I loved it and so did my daughter. We sprinkled cayenne over as well. Thanks!
JzShea says
Easy recipe, but mine did not turn crisp.
Angela @ BakeItWithLove.com says
I didn't bake these until crisp, just firm enough to eat as finger food. You could crisp these up with a bit more baking time (prior to adding the cheese) or thinner squash slices. Thanks!
Beth says
I couldn't get them to crisp up but they tasted good.
Audrey says
How would you make these in an instapot airfryer oven?
Angela @ BakeItWithLove.com says
Pretty similar, I would use the same temp and watch for your cooking time. It should be fast, and I would make sure I had preheated too 🙂 Hope that helps!
Shannon says
I made this tonight and it was so good and easy - thank you!
Angela @ BakeItWithLove.com says
Thank you Shannon! I think those are the reasons it's also so easy to love as a quick side 🙂
Susan G. says
I love this recipe and I don't even like squash.
Angela @ BakeItWithLove.com says
I love that you love the recipe, despite not liking squash! That's wonderful to read, thank you!!