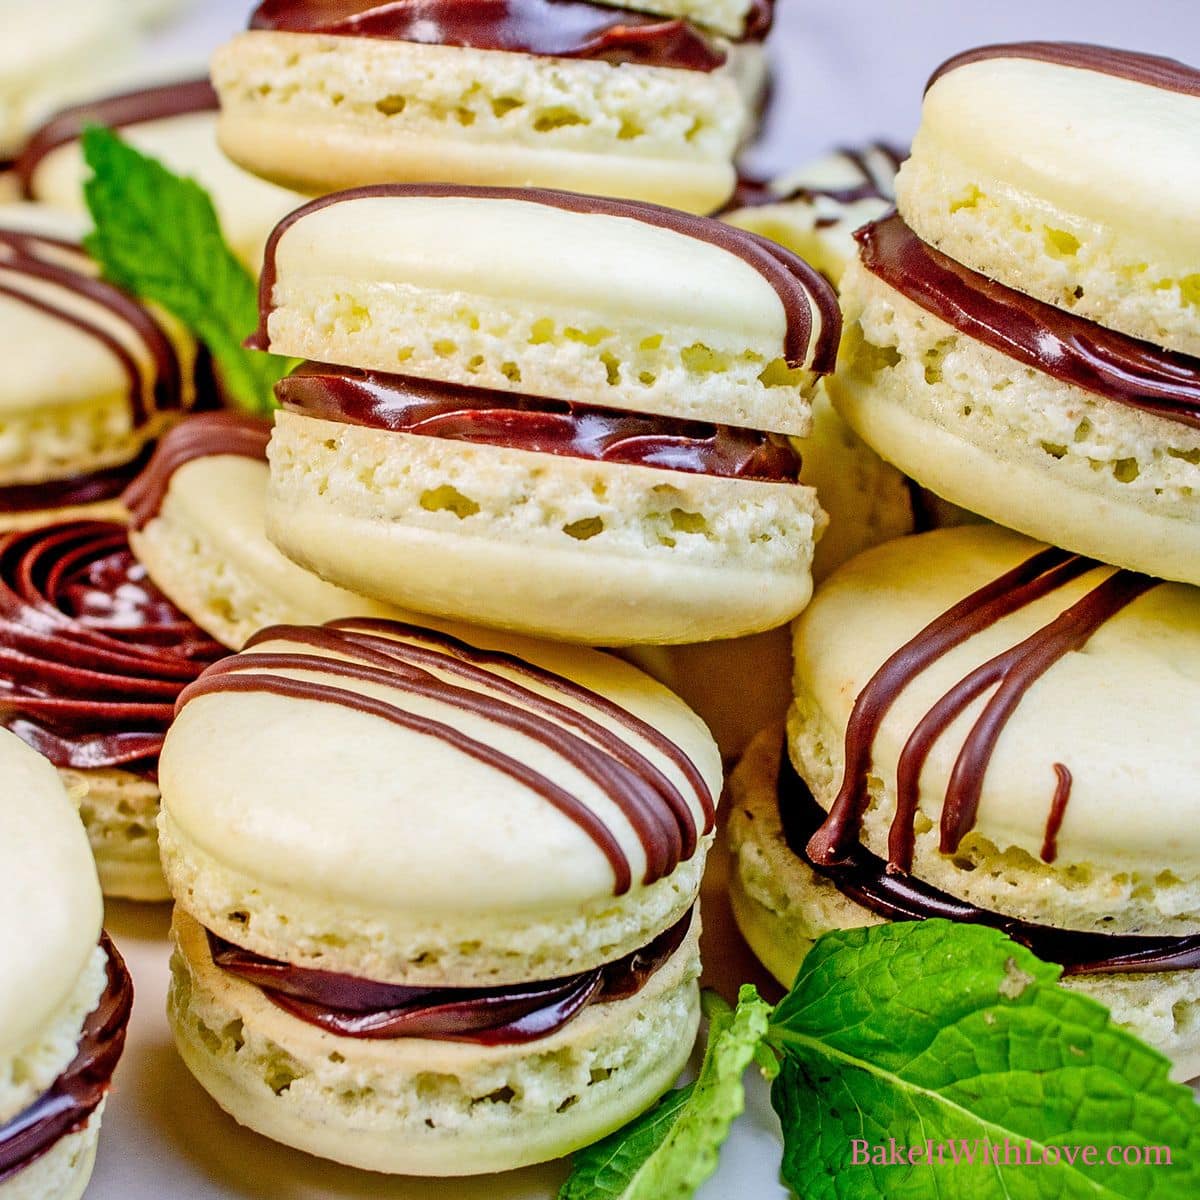
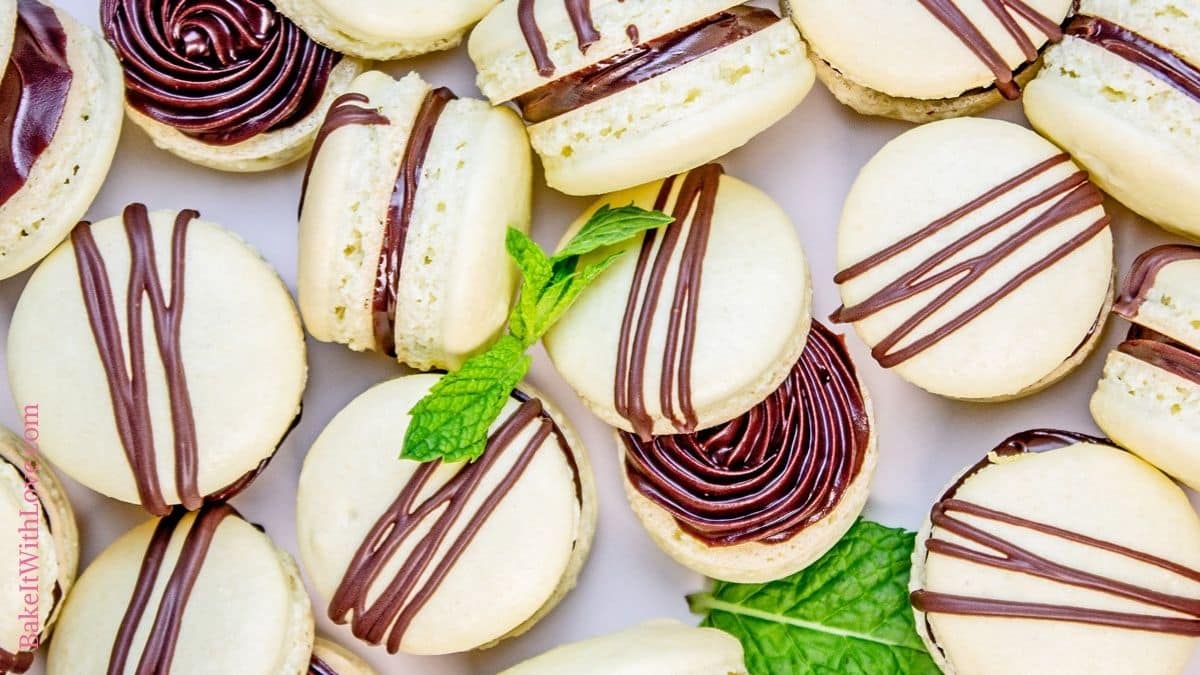
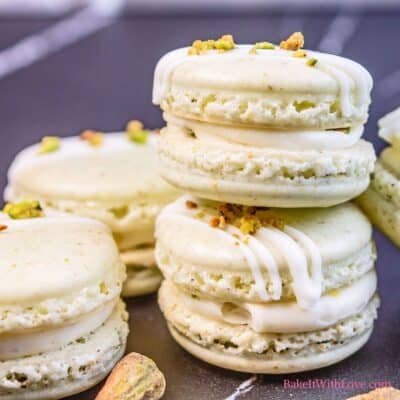
My tasty mint chocolate macarons feature French mint macaron shells and a decadent mint dark chocolate ganache filling. The combination is perfect for anyone who is a fan of mint. They are the perfect mint chocolate treat!
For more minty treats, try my mint chocolate chip buttercream, chocolate peppermint crinkle cookies, and peppermint sugar cookie bars.
As the weather cools down, mint quickly makes its way to the top of my list of cravings (specifically the combination of mint and chocolate). It gives me all my favorite winter vibes for the Christmas season and I just can't resist it. Check out my peppermint macarons I made this week too!
No matter the time of year, these minty macarons will always be a welcome treat. The filling is a rich and creamy homemade dark chocolate mint ganache, they are pretty irresistible.
🥘 Ingredients

Mint Macaron Shells (above, left)
- Almond Flour - This is a key ingredient in all macaron recipes. It cannot be substituted for any other variety of flour. I recommend using Bob's Red Mill brand.
- Confectioners Sugar - Another key ingredient, powdered sugar helps to create the proper consistency and add sweetness.
- Egg Whites - Use room temperature egg whites. For extra stability in your meringue, try aging the egg whites in the fridge for 24 hours before letting them come to room temperature and using them.
- Cream of Tartar - Another way to strengthen your meringue is by using cream of tartar.
- Sugar - White granulated sugar is added to the whipped egg whites to make the meringue.
- Peppermint Extract - Since peppermint extract is pretty strong, you will only need a little bit.
- Green Gel Food Coloring (optional) - These shells will be naturally beige in color. If you want them to be green (or any other color), make sure you are using a gel-based coloring.
🆚️ Mint vs Peppermint Extract
When it comes to sweets and baking, always use peppermint extract. Peppermint has a flavor that is stronger and more defined, whereas mint extract can sometimes give a toothpaste flavor.
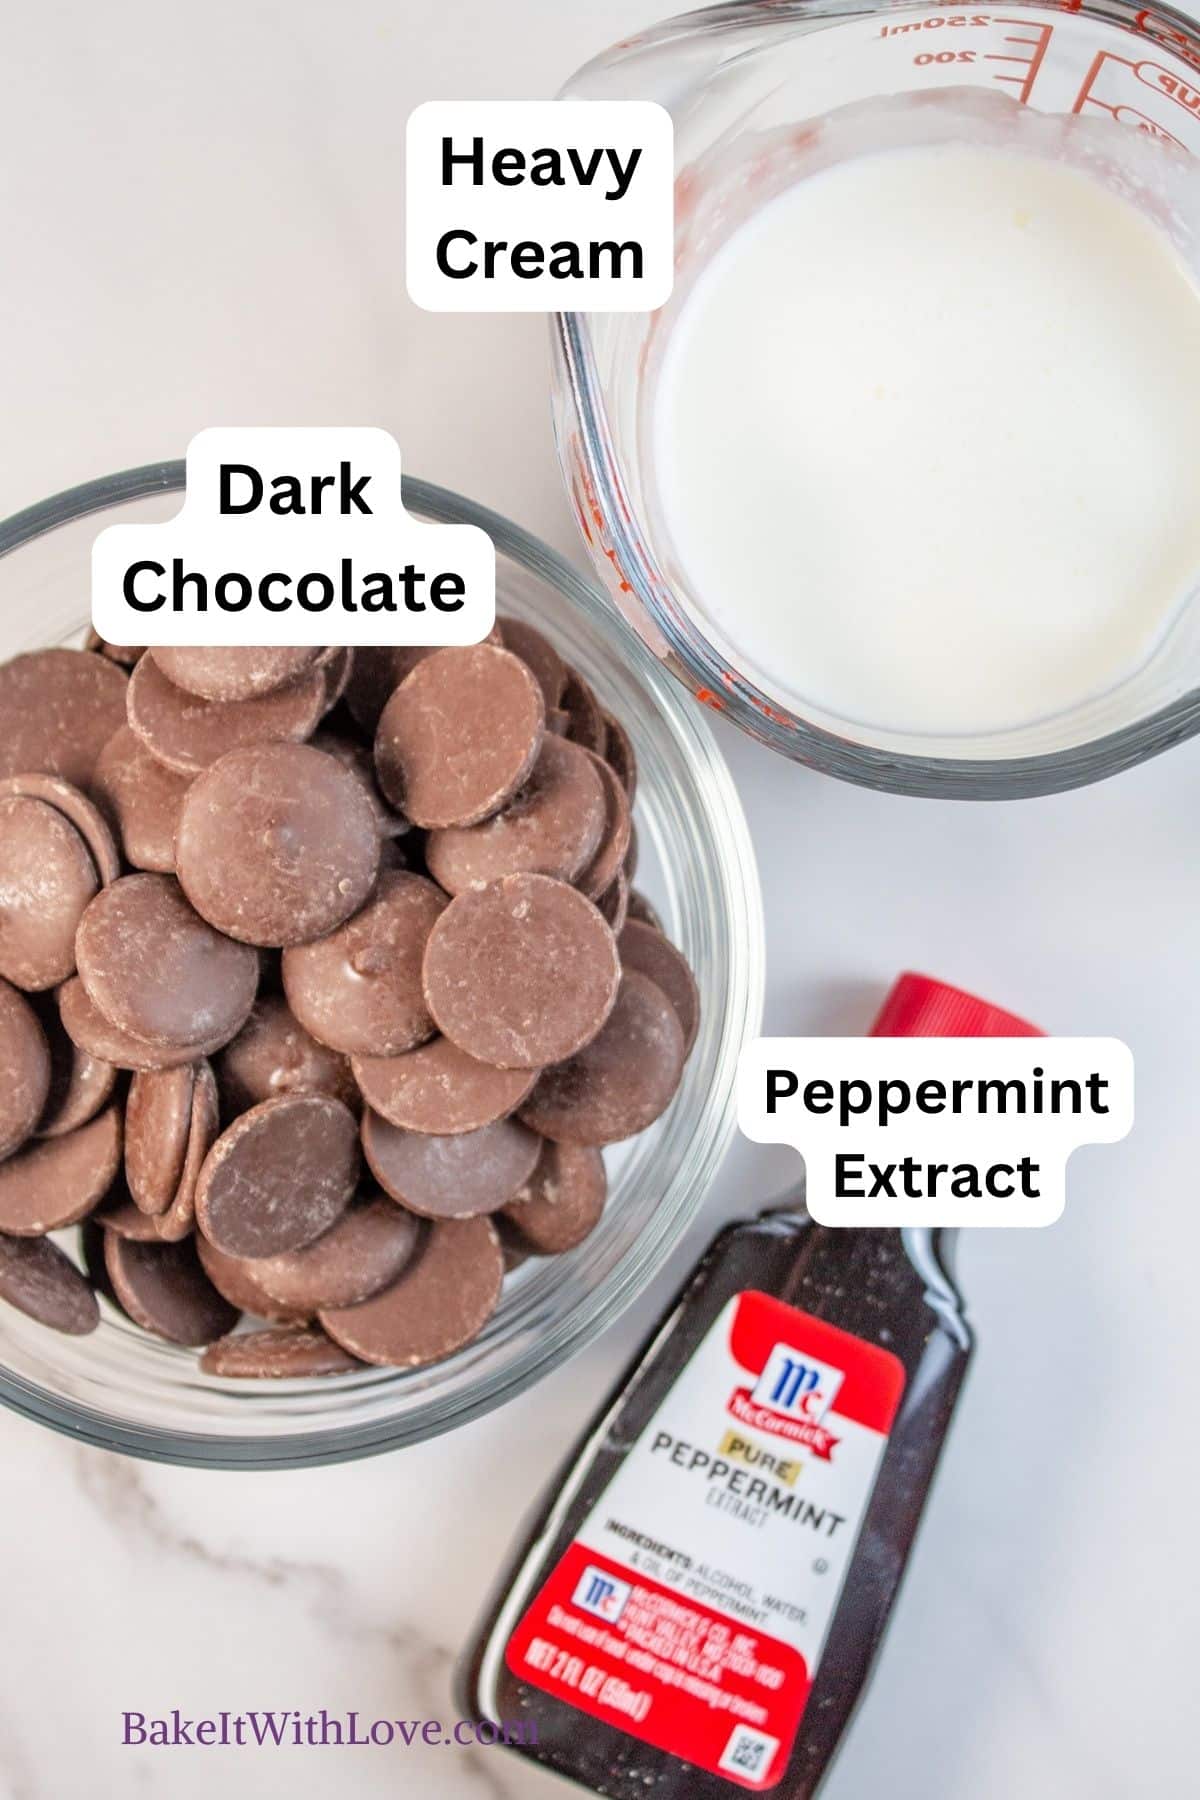
Mint Dark Chocolate Ganache (above, right)
- Dark Chocolate - You can use a chopped candy bar, melting wafers, or dark chocolate chips. I also have a little extra to melt for topping the shells.
- Heavy Cream - Heated heavy cream combined with chocolate is what makes up your ganache.
- Peppermint Extract - You could leave this out if you just want dark chocolate ganache, but I chose to incorporate mint into every part of these macarons.
Be sure to see the free printable recipe card below for ingredients, exact amounts & instructions with tips!
👩🏻🍳 How To Make Mint Chocolate Macarons
There are two components in these macarons, the shells and the ganache. Make the ganache first so it has plenty of time to set up for piping.
You will need a kitchen scale, some mixing bowls, a stand mixer, some piping bags and tips, a couple of baking sheets, and your food processor.
This recipe will make 30 assembled macarons.
Make the Ganache
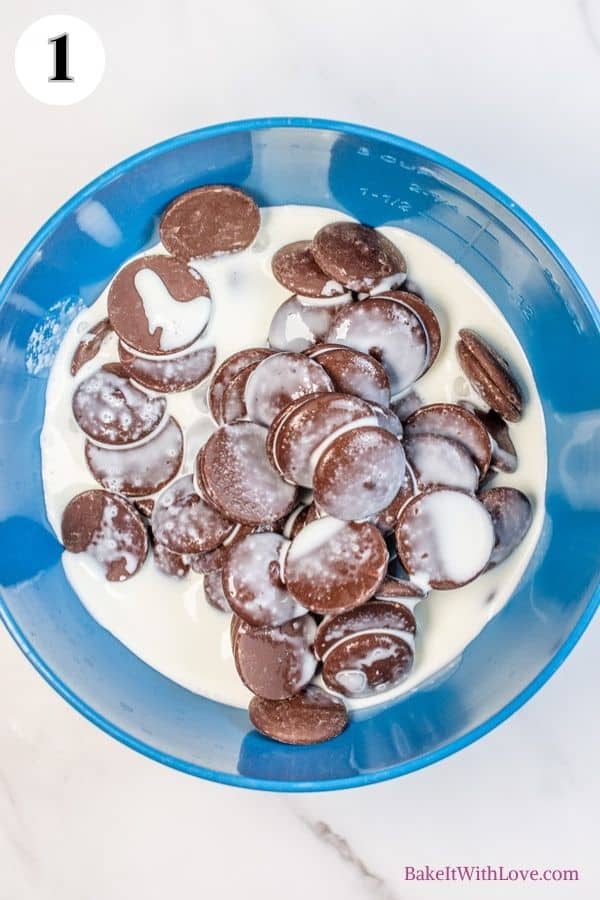
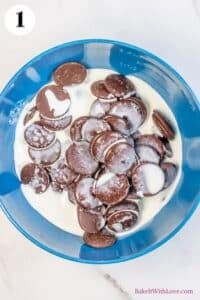
Step 1: Heat. Into a microwave-safe bowl, add 1⅓ cup (233 grams) of dark chocolate and ½ cup (118 milliliters) of heavy cream (photo 1). Heat in the microwave for 1 minute.
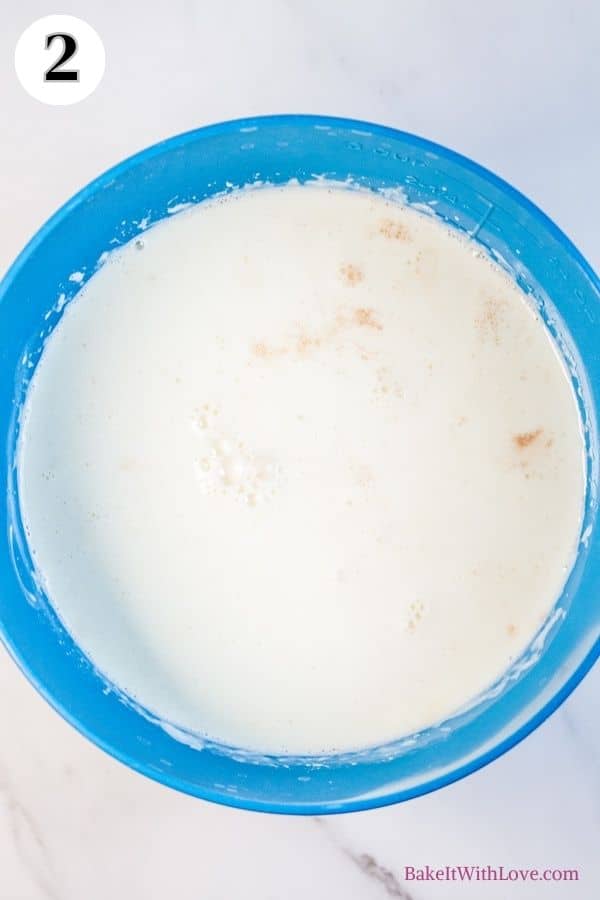
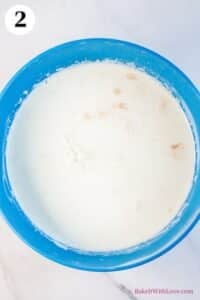
Step 2: Sit. Remove from the microwave (photo 2) and let the bowl sit undisturbed for 5 minutes.
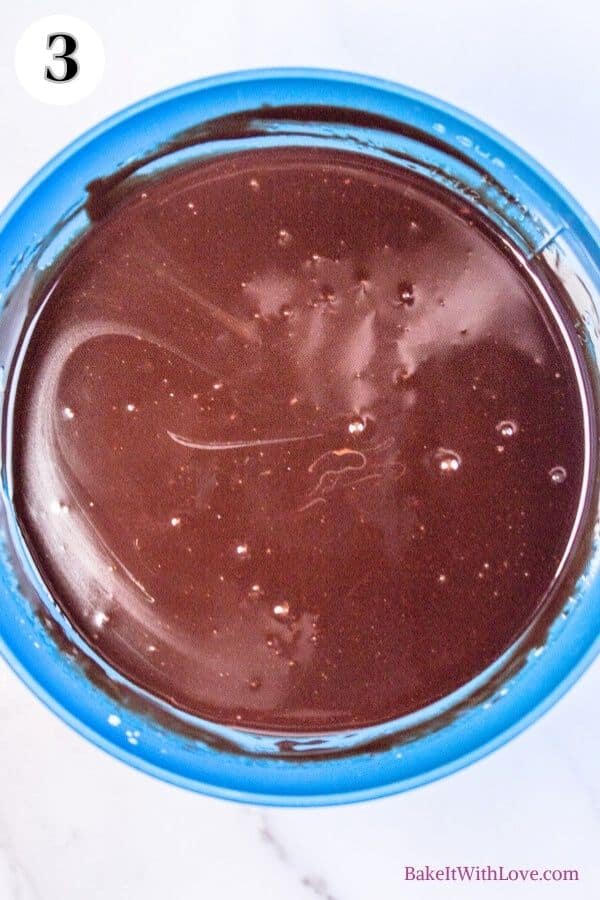
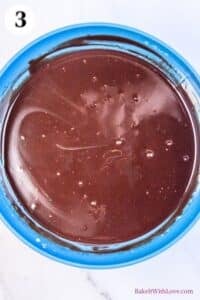
Step 3: Add. Add 1 teaspoon of peppermint extract and use a spoon to stir until fully combined (photo 3).
Step 4: Chill. Place the bowl into the fridge to chill and firm up while you make the macarons.
Prepare the Macaron Batter


Step 5: Prepare. Prepare your baking sheets with either parchment paper or a silicone baking mat and fit a piping bag with a Wilton 12 tip.
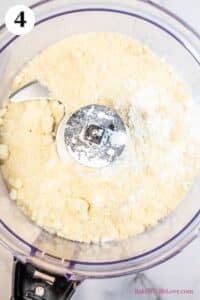
Step 6: Pulse. Add 110 grams of almond flour and 200 grams of confectioners sugar to the bowl of your food processor (photo 4). Pulse a few times until you have a fine flour mixture.
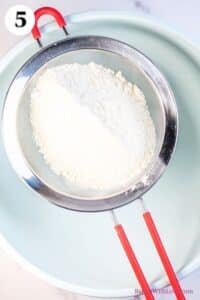
Step 7: Sift. Sift the mixture into a medium-large mixing bowl (photo 5) and set it aside.
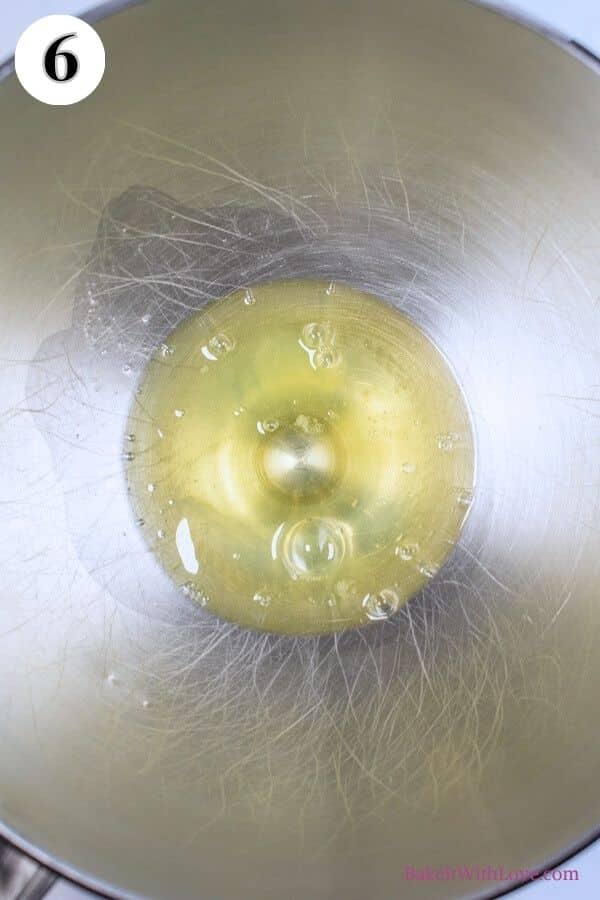
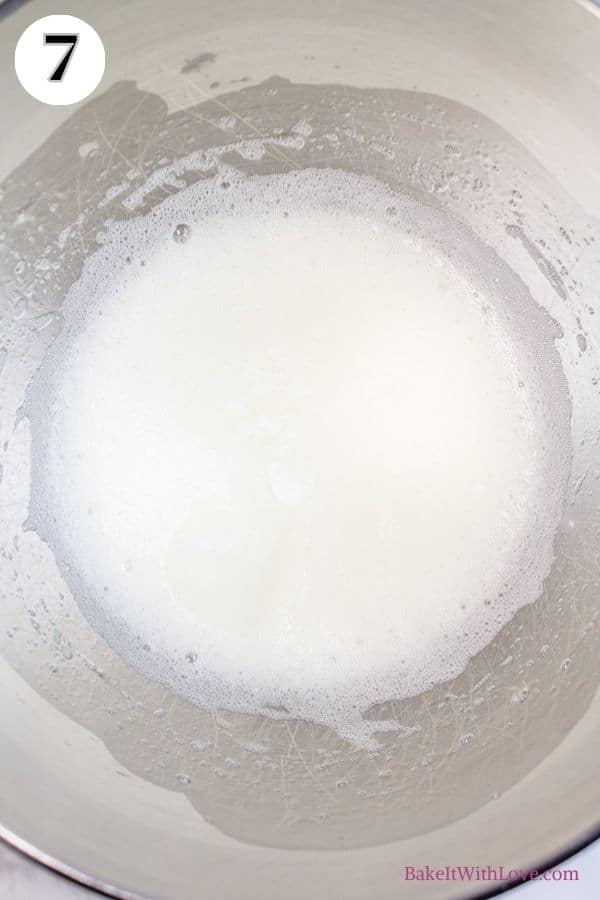
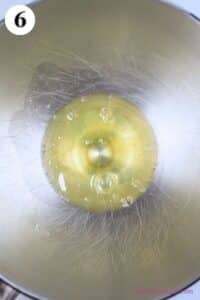
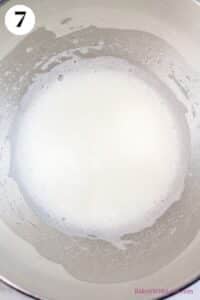
Step 8: Begin whisking the eggs. Add your 100 grams of egg whites to the bowl of your stand mixer (photo 6) and beat using the whisk attachment at medium speed until foamy (photo 7).
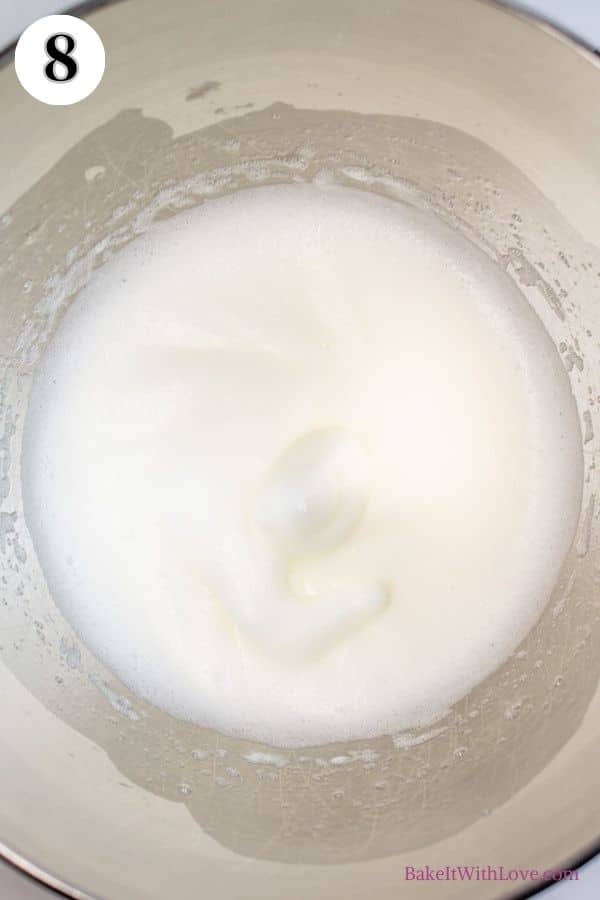
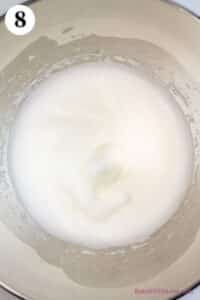
Step 9: Mix. Add ¼ teaspoon of cream of tartar and continue mixing until you reach soft peaks (photo 8).
Step 10: Add sugar. Very slowly add 60 grams of sugar while continuing to mix until all of the sugar has been incorporated.
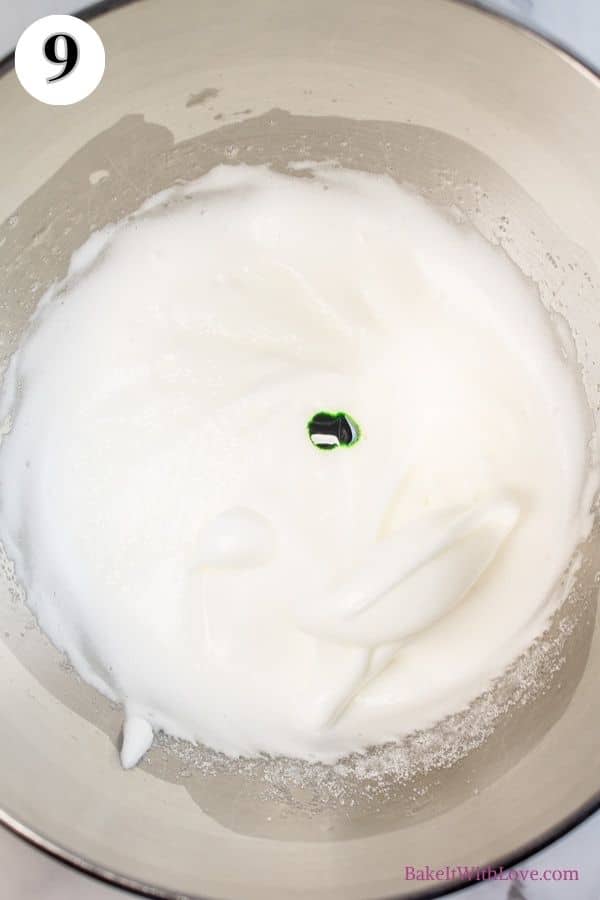
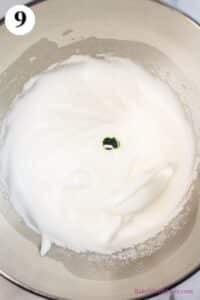
Step 11: Combine. Stop the mixer and add ¼ teaspoon of peppermint extract and green gel food coloring (photo 9).
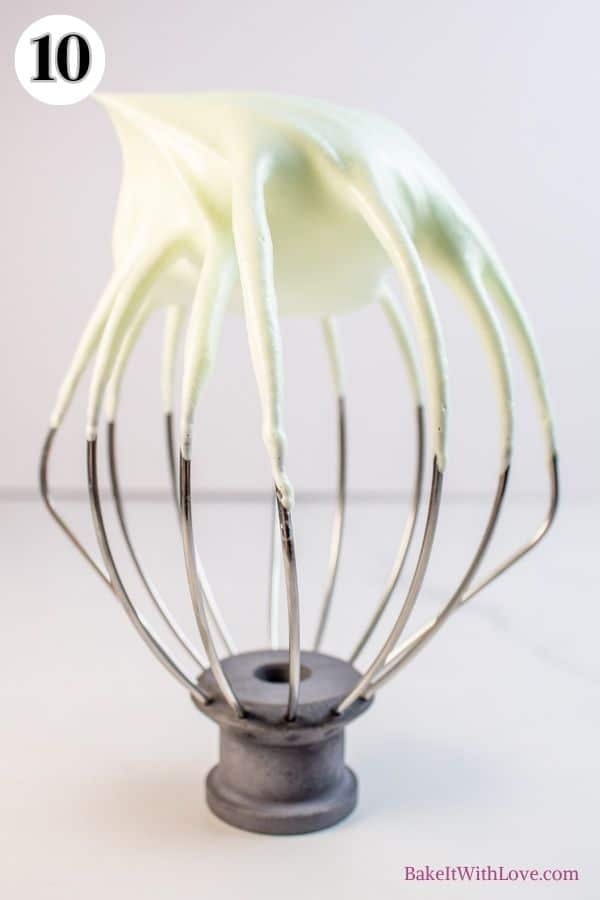
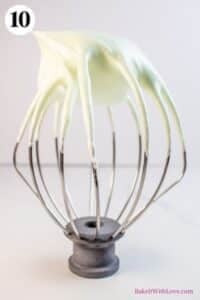
Step 12: Mix. Continue mixing on medium-high speed until the meringue is glossy, starts bunching up inside the whisk, and has stiff peaks (photo 10).
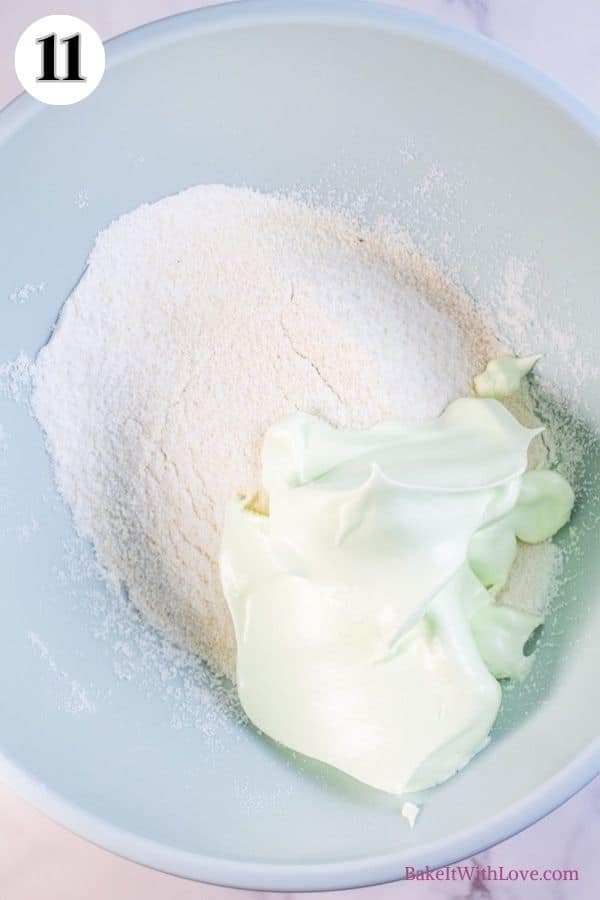

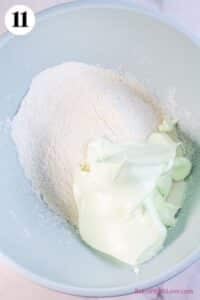
Step 13: Start folding. Add ⅓ of your meringue to the bowl with the flour (photo 11) and use a silicone spatula to slowly fold the mixture.
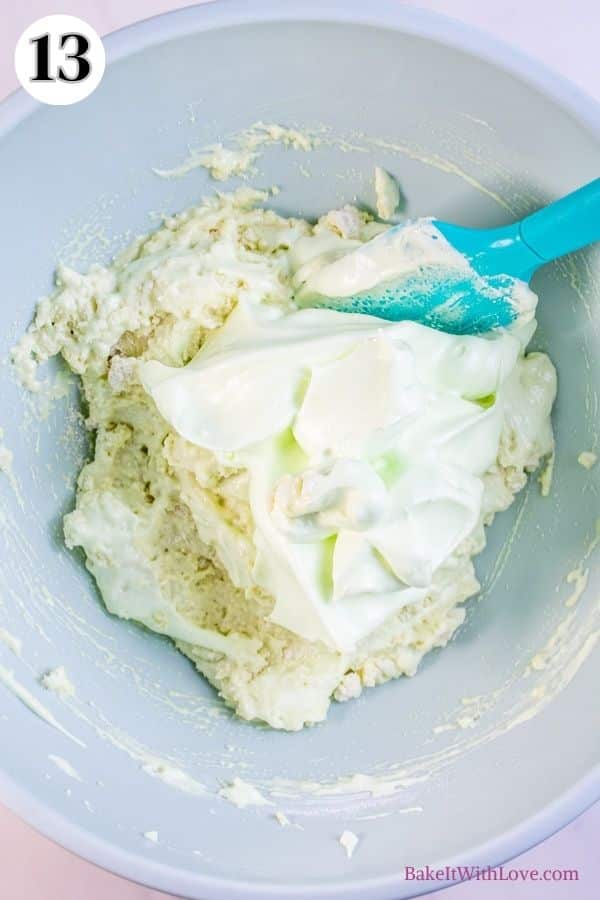
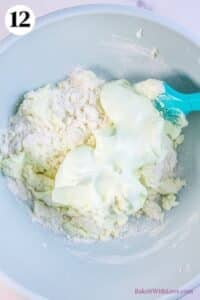
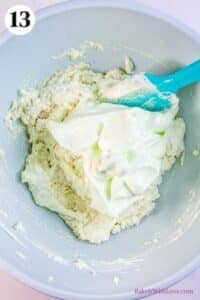
Step 14: Repeat. Repeat this process two more times with the remaining meringue (photos 12 and 13).
Step 15: Fold. Once all the meringue has been added, slowly continue folding the batter until it moves similarly to lava and falls off the spatula in ribbons.
❗ Top Tip: Macaron Batter Consistency
One of the biggest mistakes bakers make with macarons is not combining the batter until it reaches the right consistency (this is called macaronage).
When you first start folding, the mixture will be very thick. As you continue to fold, it will become thinner.
The ideal consistency will move similarly to lava and will fall off your spatula in ribbons. It should also be shiny.
An easy way to test if it is ready is to form a figure 8 with the batter as it falls off of your spatula. It should take about 10 seconds for the batter to sink back into itself.
If it takes longer, your batter is too thick and needs to be folded some more. If it happens more quickly, your batter is too thin and has been overmixed.
Overmixed batter can't be fixed, and it will cause your shells to crack or not develop feet. Undermixed batter will cause lumpy and hollow shells. Go slow to avoid accidentally overmixing it.
Pipe & Bake
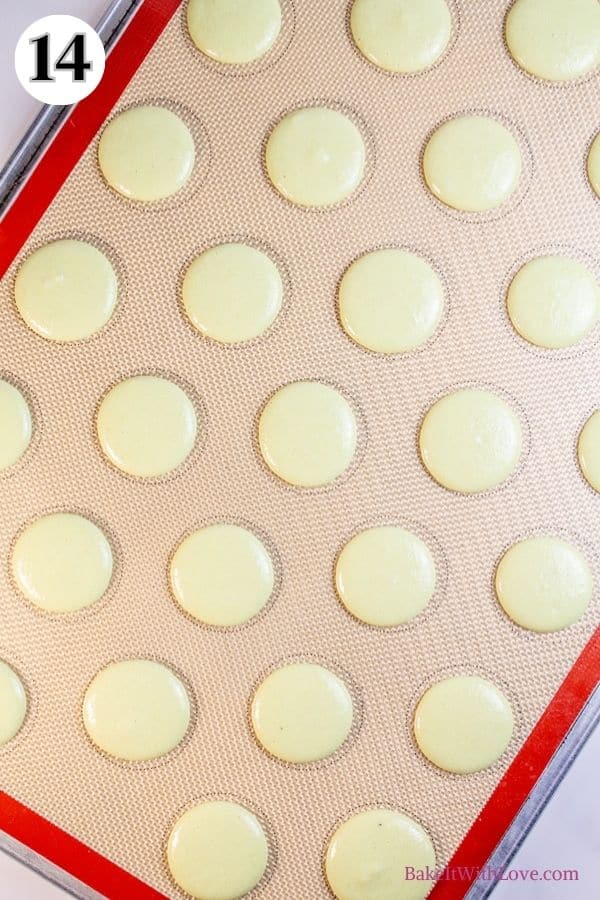

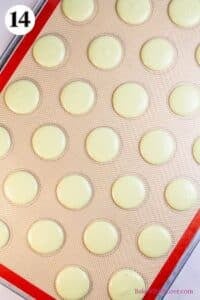
Step 16: Pipe. Transfer the batter to your piping bag and pipe the macarons by holding your bag at a 90° angle and squeezing until the batter fills the inner circle of your template (photo 14).
Step 17: Tap. Lift the baking sheet about 5-8 inches off the counter, then drop it 5 times to help raise and pop any air bubbles.
Step 18: Pop. Use a toothpick to pop any remaining air bubbles you might see.
Step 19: Rest. Leave the macarons to rest for 30-60 minutes, or until they have formed a skin and are no longer sticky to the touch.
Step 20: Preheat. Meanwhile, preheat your oven to 300°F (150°C/Gas Mark 2).
Step 21: Bake. Once the macarons are done resting, bake them for 15-18 minutes, rotating the tray halfway through until they no longer move on their feet when nudged.
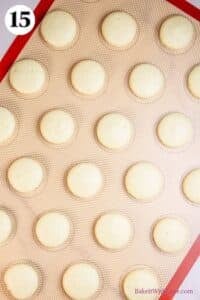
Step 22: Cool. Remove the tray from the oven (photo 15) and let the macarons cool completely before removing them. If baked long enough, they should easily release from the baking sheet without sticking.
Assemble
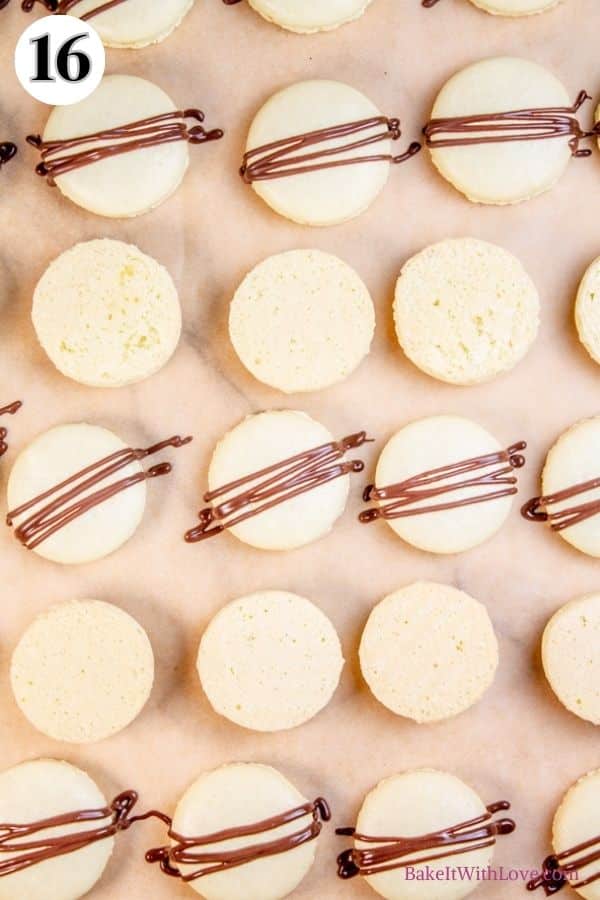

Step 23: Match. Match up your shells based on size, then add a chocolate drizzle to the top if desired (photo 16).
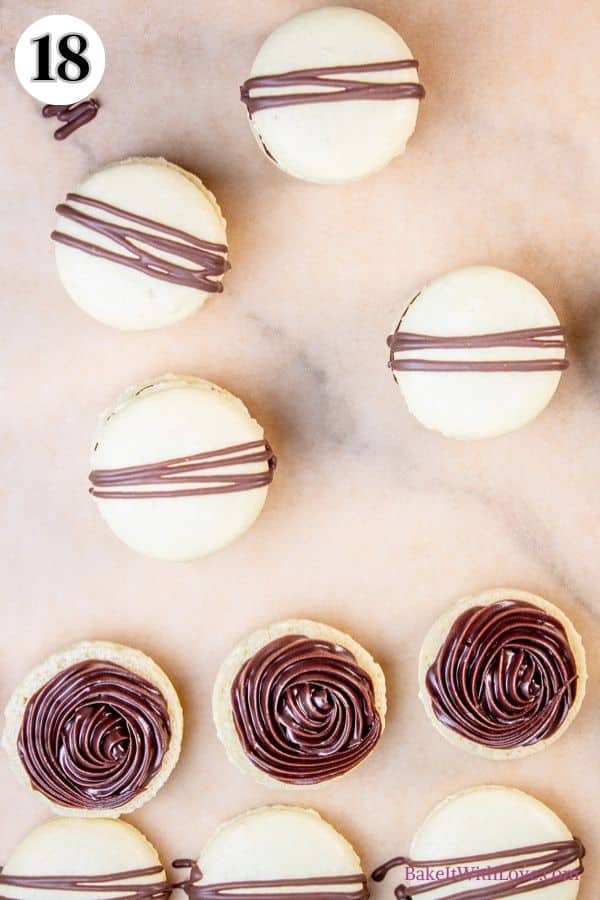
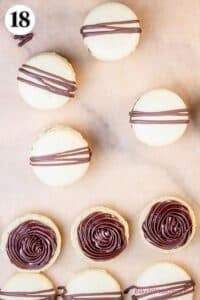
Step 24: Pipe. Pipe a swirl of chocolate ganache onto the bottom shell (photo 17) and press them together to form a sandwiched macaron (photo 18).
Step 25: Chill. Place your macarons into the fridge to bloom for 24 hours before letting them come up to room temperature and serving them.
📚 Looking for More Macaron Resources?
See the complete beginner's guide to making macarons for starting your journey to macaron mastery. Or get help with the baking process in my troubleshooting macarons article.
>>>See All Of My Tasty Recipes Here!<<<
💭 Angela's Pro Tips & Recipe Notes
- Use gel coloring. When using food coloring for macarons, make sure to use gel coloring to avoid excess moisture. I also recommend using a small amount because too much food coloring can mess with the outcome of the macarons.
- Have a firm ganache. Your ganache should have a consistency similar to peanut butter. If it is still too soft, it needs to be chilled for longer. If you think it is too firm, you can microwave it for a few seconds.
- Weigh your ingredients. Make sure to use a kitchen scale to weigh all ingredients for the best results.
- Reach stiff peaks. While you want to avoid overwhipping your meringue, make sure it completely reaches stiff peaks before continuing. Underwhipped meringue can also cause problems.
- Use an oven thermometer. If you are having issues with your macarons, try investing in an oven thermometer to ensure that your temperature is accurate.
- Get the right consistency. When folding your macaron batter, you want to reach an ideal consistency that moves similarly to lava. You don't want it to be too thin or too thick, so check frequently while you are folding.
🥡 Storing
Shells can be made in advance and stored for up to 6 days in the fridge without filling.
Once you have added your ganache and assembled the macarons, keep them in the fridge for up to 4 days.

Freezing
Shells can also be frozen for 3-6 months without filling. Let them thaw to room temperature before assembling them.
If you want to freeze finished macarons, let them bloom in the fridge for 24 hours before transferring them to the freezer.
Do you love a recipe you tried? Please leave a 5-star 🌟rating in the recipe card below and/or a review in the comments section further down the page.
Stay in touch with me through social media @ Pinterest, Facebook, Instagram, or Twitter! Subscribe to the newsletter today (no spam, I promise)! Don't forget to tag me when you try one of my recipes!
📖 Recipe Card
Mint Chocolate Macarons
Ingredients
Mint Macaron Shells
- 110 grams almond flour
- 200 grams confectioners sugar
- 100 grams egg whites (at room temperature)
- ¼ teaspoon cream of tartar
- 60 grams sugar
- ¼ teaspoon peppermint extract
- green gel food coloring (optional)
Mint Dark Chocolate Ganache
- 1⅓ cup dark chocolate (chopped candy bar, melting wafers, or chocolate chips, plus more for topping)
- ½ cup heavy cream
- 1 teaspoon peppermint extract
(Note: 2x or 3x only changes the ingredient list)
Instructions
Make the Ganache
- Into a microwave-safe bowl, add 1⅓ cup dark chocolate and ½ cup heavy cream. Microwave for 1 minute.
- Remove from the microwave and let the bowl sit undisturbed for 5 minutes.
- Add 1 teaspoon peppermint extract and use a spoon to stir until fully combined.
- Place the bowl into the fridge to chill and firm up while you make the macarons.
Prepare the Macaron Batter
- Prepare your baking sheets with either parchment paper or a silicone baking mat, and fit a piping bag with a Wilton 12 tip or cut off the tip.
- Add 110 grams almond flour and 200 grams confectioners sugar to the bowl of your food processor. Pulse a few times until you have a fine flour mixture.
- Sift the mixture into a medium-large mixing bowl and set it aside.
- Add your 100 grams egg whites to the bowl of your stand mixer and beat using the whisk attachment at medium speed until foamy.
- Add ¼ teaspoon cream of tartar and continue mixing until you reach soft peaks.
- Very slowly add 60 grams sugar while continuing to mix until all of the sugar has been incorporated.
- Stop the mixer and add ¼ teaspoon peppermint extract and green gel food coloring.
- Continue mixing on medium-high speed until the meringue is glossy, starts bunching up inside the whisk, and has stiff peaks.
- Add ⅓ of your meringue to the bowl with the flour and use a silicone spatula to slowly fold the mixture until combined.
- Repeat this process two more times with the remaining meringue.
- Once all the meringue has been added, slowly continue folding the batter until it moves similarly to lava and falls off the spatula in ribbons.
Pipe & Bake
- Transfer the batter to your piping bag and pipe the macarons by holding your bag at a 90° angle and squeezing until the batter fills the inner circle of your template (if using one).
- Lift the baking sheet about 5-8 inches off of the counter and then drop it 5 times to help raise and pop any air bubbles.
- Use a toothpick to pop and remaining air bubbles you might see.
- Leave the macarons to rest for 30-60 minutes, or until they have formed a skin and are no longer sticky to the touch.
- Meanwhile, preheat your oven to 300°F (150°C/Gas Mark 2).
- Once the macarons are done resting, bake them for 15-18 minutes, rotating the tray halfway through until they no longer move on their feet when nudged.
- Remove the tray from the oven and let the macarons cool completely before removing them. If baked long enough, they should easily release from the baking sheet without sticking.
Assemble
- Match up your shells based on size and then add a chocolate drizzle to the top if desired.
- Pipe a swirl of chocolate ganache onto the bottom shell and press them together to form a sandwich.
- Place your macarons into the fridge to bloom for 24 hours before letting them come up to room temperature and serving them.
Notes
- When using food coloring for macarons, make sure to use gel coloring to avoid excess moisture. I also recommend using a small amount because too much food coloring can mess with the outcome of the macarons.
- Your ganache should have a consistency similar to peanut butter. If it is still too soft, it needs to be chilled for longer. If you think it is too firm, you can microwave it for a few seconds.
- Make sure to use a kitchen scale to weigh all ingredients for the best results.
- While you want to avoid overwhipping your meringue, make sure it completely reaches stiff peaks before continuing. Underwhipped meringue can also cause problems.
- If you are having issues with your macarons, try investing in an oven thermometer to ensure that your temperature is accurate.
- When folding your macaron batter, you want to reach an ideal consistency that moves similarly to lava. You don't want it to be too thin or too thick, so check frequently while you are folding.
- Shells can be made in advance and stored for up to 6 days in the fridge without filling.
- Once you have added your ganache and assembled the macarons, keep them in the fridge for up to 4 days.
- Shells can also be frozen for 3-6 months without filling. Let them thaw to room temperature before assembling them.
- If you want to freeze finished macarons, let them bloom in the fridge for 24 hours before transferring them to the freezer.






Angela Latimer says
I love mint and chocolate when combined and these tasty macarons are no exception. The delicious macaron shells are perfect when paired with the chocolate ganache filling and I know you'll love them as much as I do. ~ Angela