

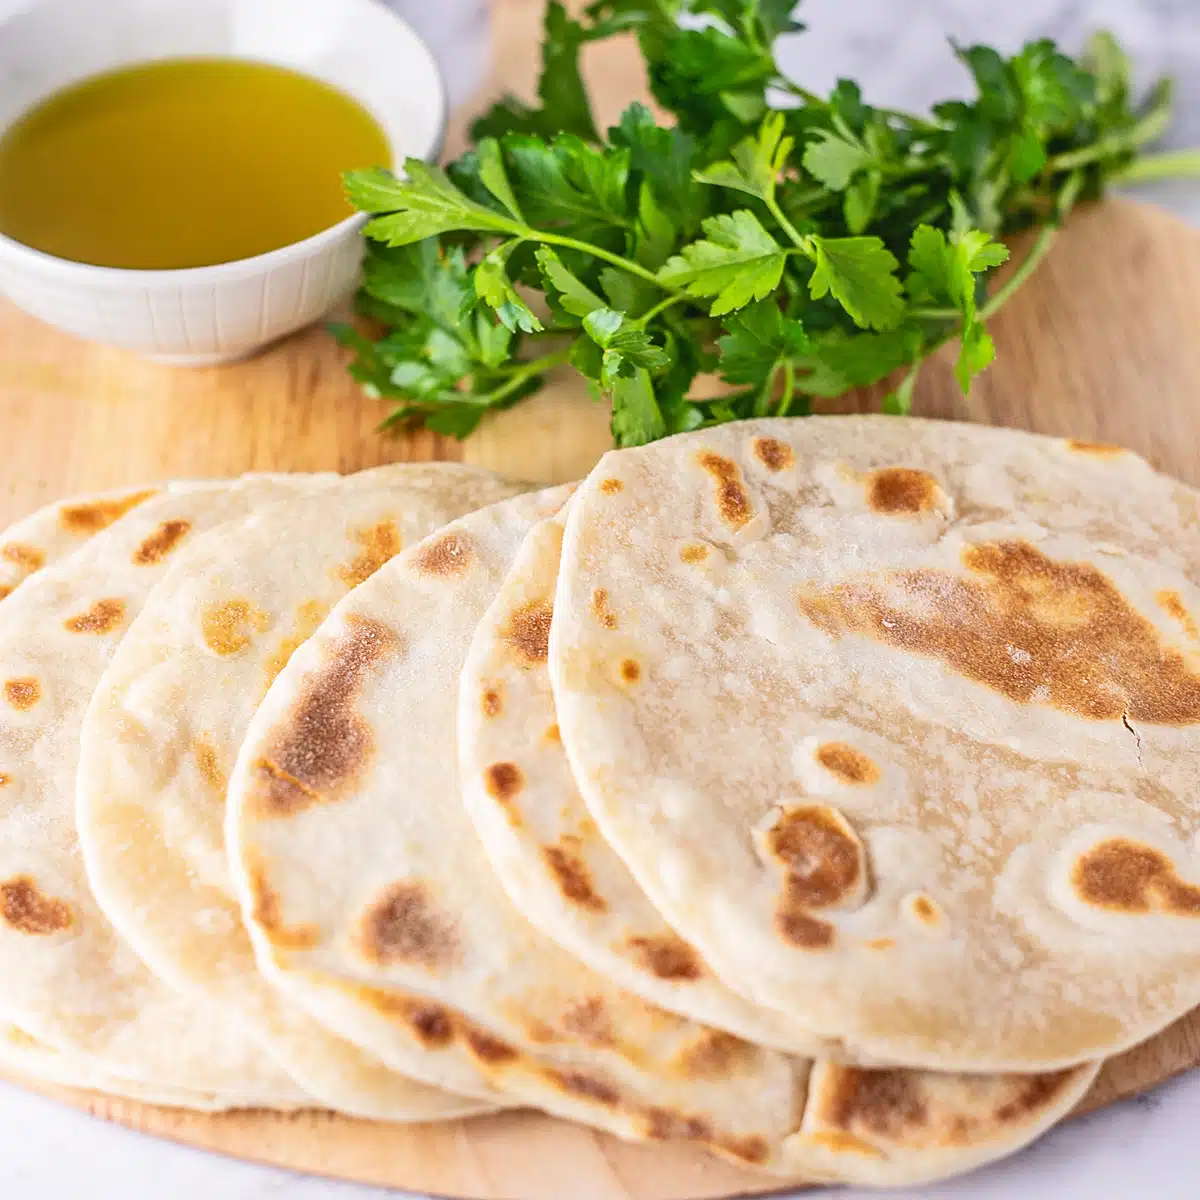
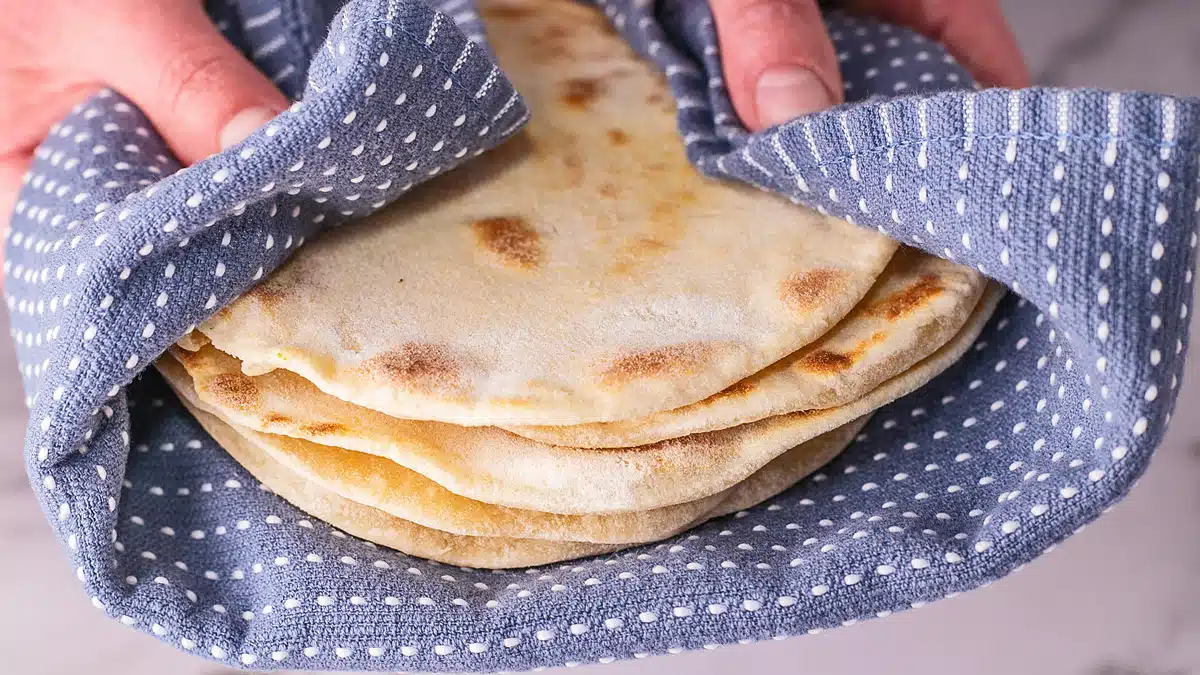
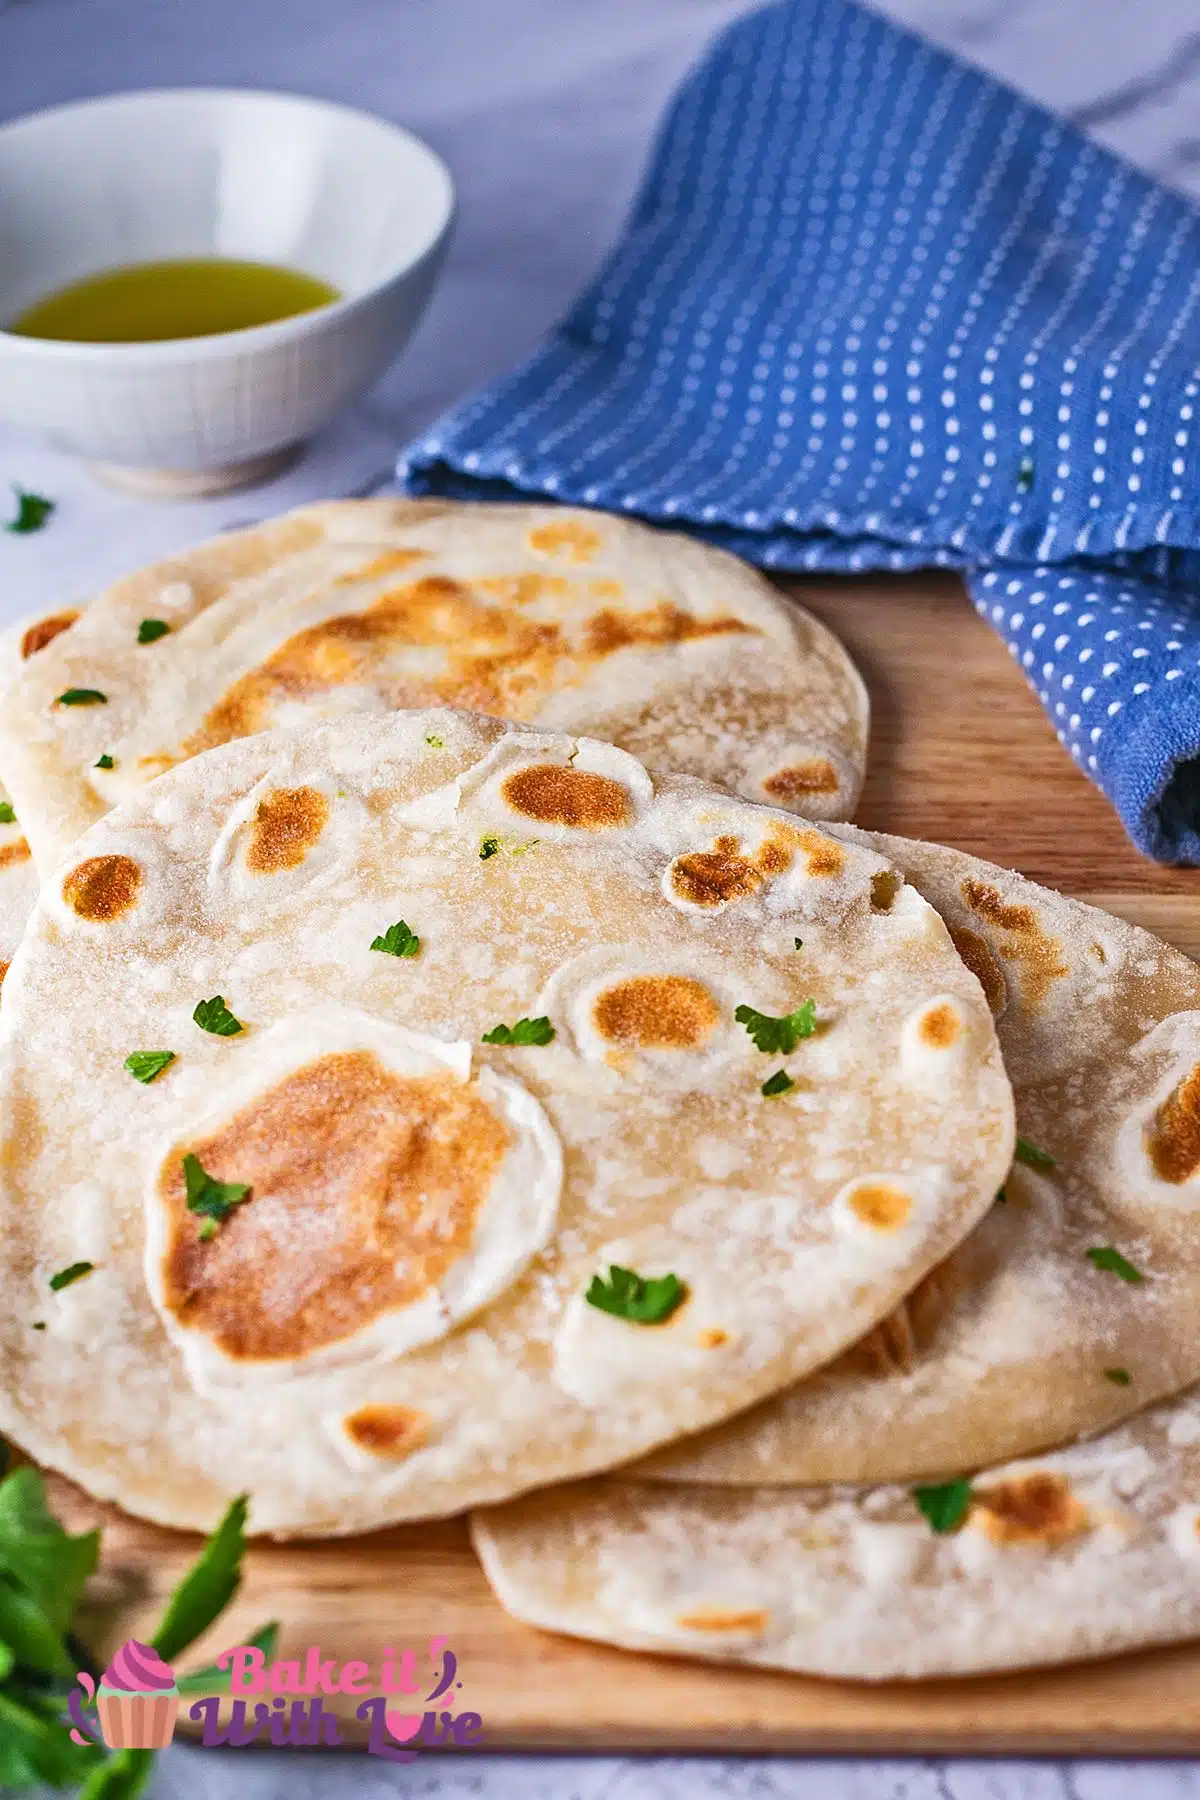
This no-yeast flatbread recipe is for quick and easy homemade flatbreads you can whip up on the stovetop. There are only 4 ingredients, so it's the perfect recipe to make bread from scratch. You can fold, wrap, or dip them - this flatbread is incredibly versatile.
This can be dipped in tzatziki sauce or hummus. Or stuff it with baked boneless chicken breast and my Caesar dressing to make a chicken Caesar wrap!
Jump to:
This flatbread is super soft and pliable, perfect for anything from sandwiches to personal pizzas! Best of all, it's a super simple version made without yeast.
So, even if you have no experience making bread, you should find this pretty easy. You can slice your flatbread for dips, use it to soak up delicious sauces or enjoy it as-is.
This super easy homemade flatbread is incredibly versatile and can be used in any of these delicious flatbread recipes!
🥘 Ingredients
This flatbread only requires four simple ingredients. These are all things I keep stocked in my kitchen, so you might already have them on hand.
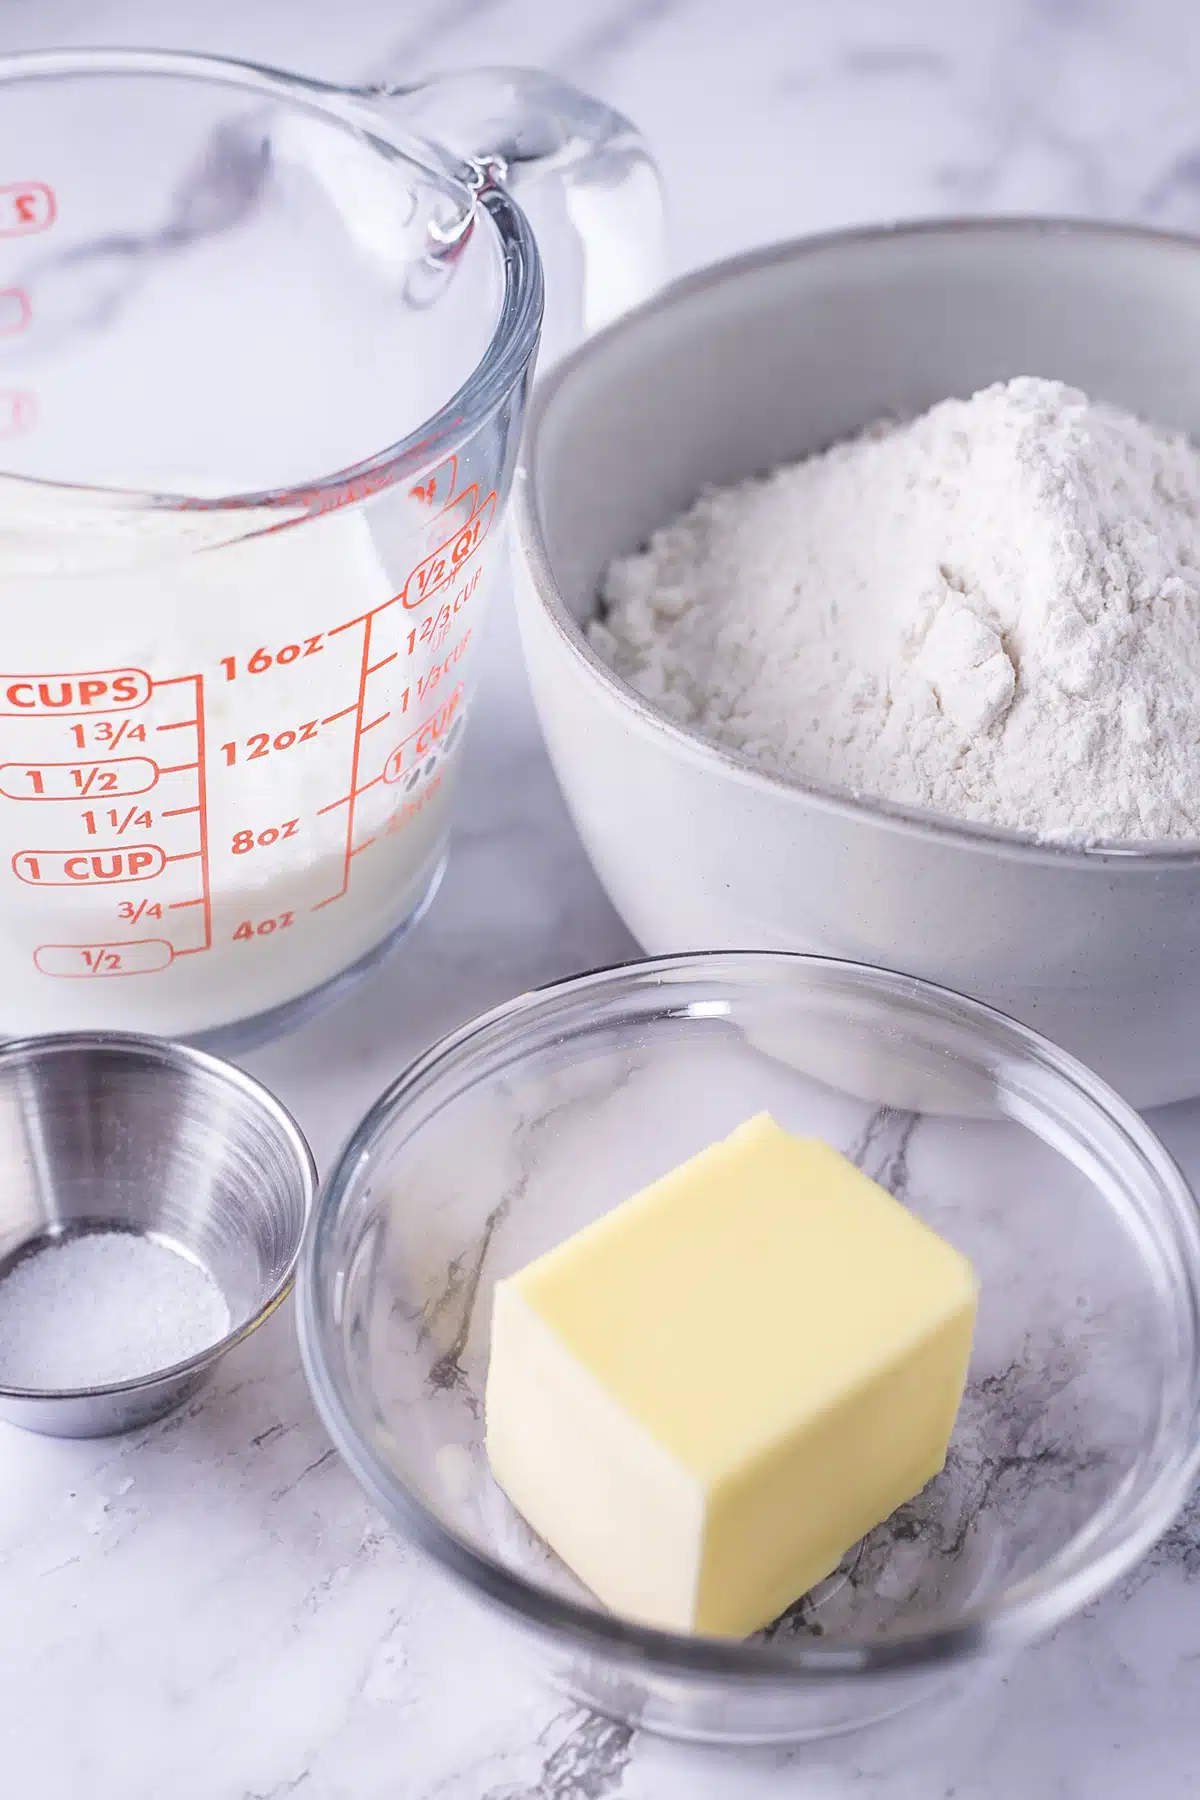
- Milk - ¾ cup of milk (or try my milk substitute).
- Butter - 3 ½ tablespoons of butter (or try my butter substitute).
- Flour - 2 cups of all-purpose flour (or try my all-purpose flour substitute).
- Salt - ½ teaspoon of salt.
*Be sure to see the free printable recipe card below for ingredients, exact amounts & instructions with tips!*
🔪 How To Make Flatbread With No Yeast
When it comes to making bread, it doesn't get much simpler than this!
You'll need a saucepan, a mixing bowl, a non-stick skillet, a silicone spatula, and plastic wrap to get started.
This recipe makes 6 flatbreads. Double the recipe if you want leftovers for lunch the next day.

- Melt butter. Add the ¾ cup of milk and 3 ½ tablespoons of butter to a saucepan (or microwave-safe bowl) and heat just until the butter melts.
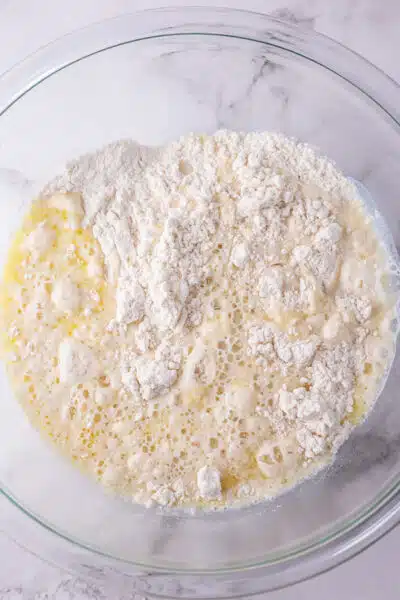
- Combine. In a medium-sized mixing bowl, combine the milk with the butter, the 2 cups of all-purpose flour, and ½ teaspoon of salt.
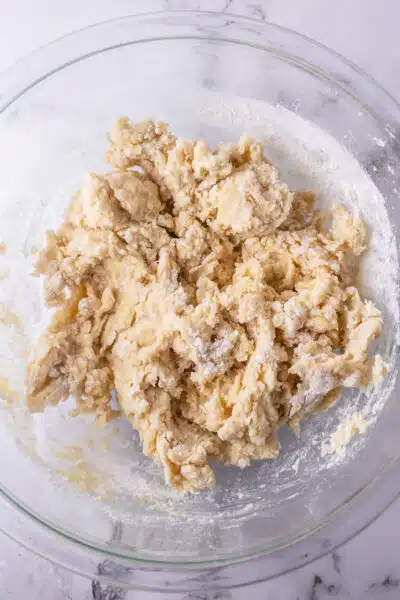
- Knead. Dust a flat work surface with flour and knead the dough for a few minutes until smooth.
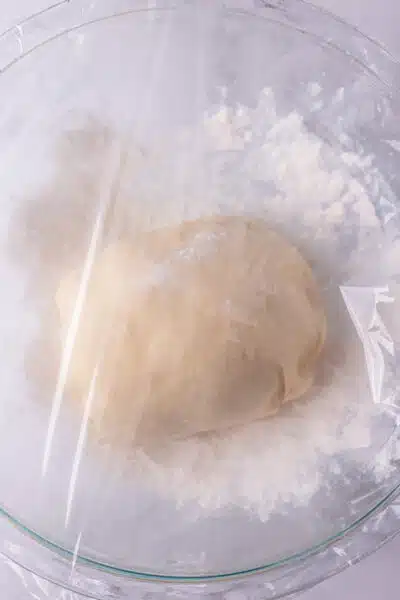
- Let it rest. Wrap the dough in plastic wrap and let it rest for 30 minutes at room temperature.
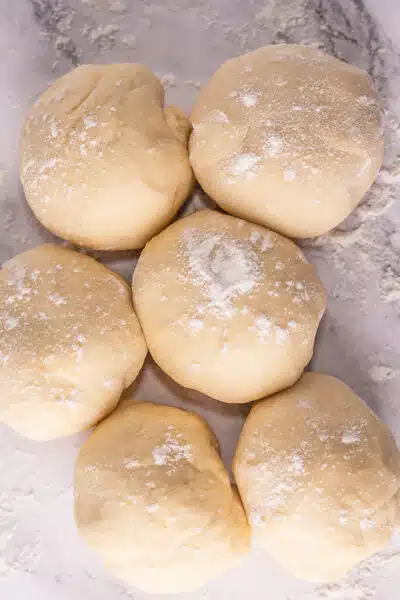
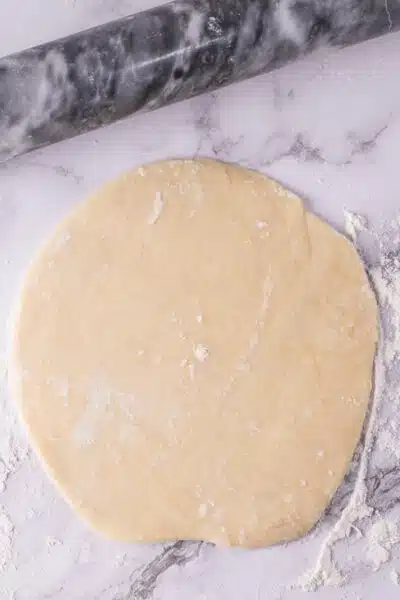
- Roll it out. Dust your work surface with flour again and unwrap the dough. Slice it into 6 even pieces. Roll each piece into a ball, then roll each ball out into an 8-inch round about 3mm thick.
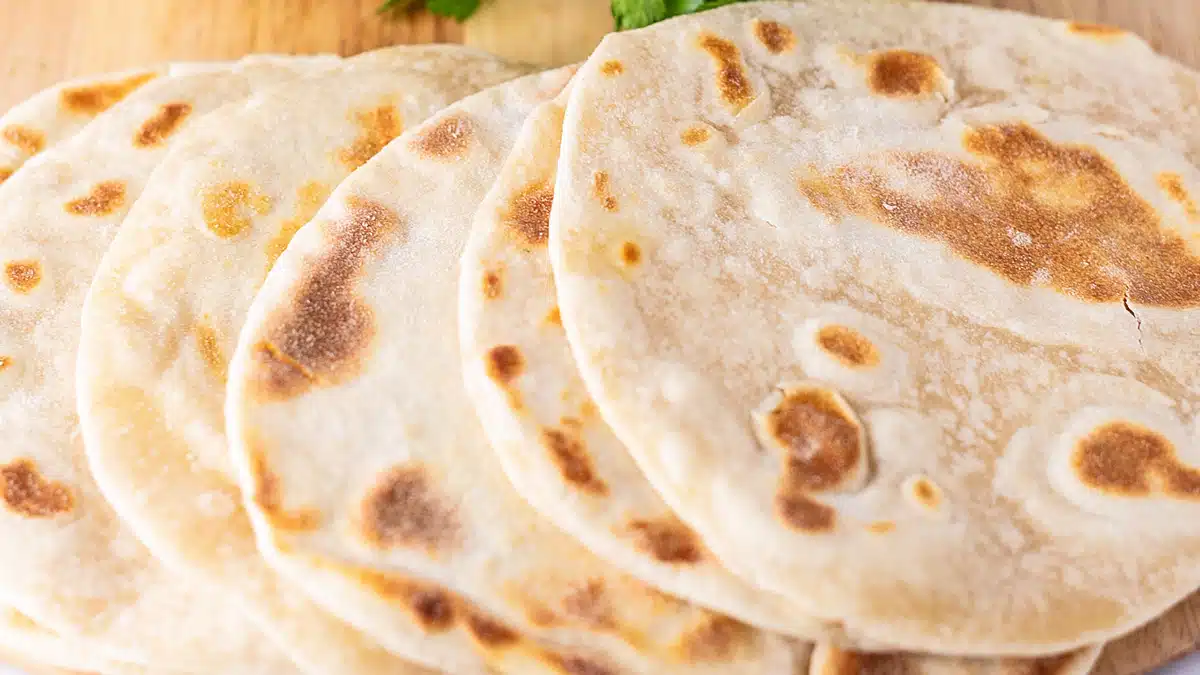
- Cook. Heat a non-stick skillet over high heat. Once hot, place one round of dough in the pan and cook for 1-1 ½ minutes (the flatbread will puff up).
- Flip it. Check the underside. If it is nicely golden, flip it and cook the other side for 45 seconds to 1 minute until it is equally golden (the flatbread will puff up again).
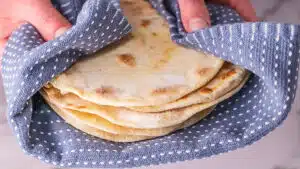
- Serve. Transfer the cooked flatbread to a plate and cover it with a kitchen towel to keep it warm as you repeat the process with the remaining rounds of dough. Serve as soon as they are ready.
💭 Tips & Notes
- Getting your dough to a good consistency shouldn't take much kneading. Once it's free of lumps, it is ready to go!
- If your dough seems too sticky, add a little more flour.
- You can brush the flatbreads with melted butter or spritz them with olive oil for added flavor.
- If you need a version that is dairy-free, swap the milk for almond milk. To make your flatbreads vegan-friendly, use almond milk and swap the butter for olive oil.
>>>>See all of my recipes here<<<<
🥡 Storing
The dough can be refrigerated for up to 3 days. I like to slice it into rounds and wrap each round in plastic wrap so they are ready to grab and go!
The baked flatbread can be kept in a sealed Ziploc bag at room temperature for up to 3 days or refrigerated for up to 5 days.
Freezing Flatbreads
Let the flatbreads cool completely, then wrap them in plastic wrap or foil and place them in a heavy-duty freezer bag. If needed, you can put parchment paper between them to keep them from sticking. Freeze for up to 3 months and place them on the counter to thaw.
❓ FAQ
Flatbread can be made gluten-free, but this recipe is not. If you have gluten sensitivity or allergies, be sure to use gluten-free flour when making your flatbread (the texture may change some).
Absolutely! Flatbread makes a great pizza crust. Just add your favorite toppings and bake in the oven until the cheese is melted and bubbly!
Yes! You can make your flatbread in advance and store it in an air-tight container for up to 3 days. You can also freeze flatbread for up to 3 months!
🍞 More Delicious Bread Recipes
- Sweet Potato Cornbread - Sweet potato adds a subtle sweetness and lots of moisture to this fluffy and delicious cornbread!
- Whole Wheat Bread - Get your daily dose of whole grains with this hearty made-from-scratch whole wheat bread recipe!
- Naan Bread - This easy-to-make and irresistibly delicious naan bread is perfect for all your favorite Indian recipes!
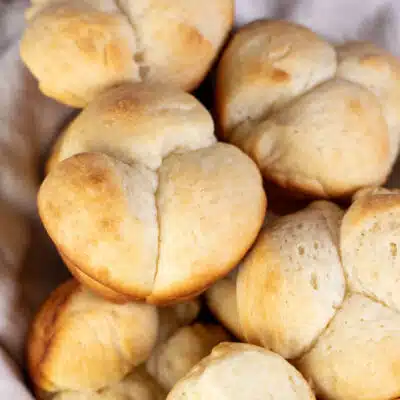
- Homemade Bread Bowls - Turn any soup or stew into a cozy and comforting meal with these homemade bread bowls!
- Rustic Bread - Take a bite into the simple goodness of this crusty and chewy rustic bread that is perfect for any meal!
- Irish Soda Bread - A St. Patrick's Day staple, this quick and easy bread is perfect for any time of year!
Do you love a recipe you tried? Please leave a 5-star 🌟rating in the recipe card below and/or a review in the comments section further down the page.
Stay in touch with me through social media @ Pinterest, Facebook, Instagram, or Twitter! Subscribe to the newsletter today (no spam, I promise)! Don't forget to tag me when you try one of my recipes!
📖 Recipe Card
No Yeast Flatbread
Ingredients
- ¾ cup milk
- 3 ½ tablespoon butter
- 2 cups all-purpose flour
- ½ teaspoon salt
Instructions
- Add the ¾ cup milk and 3 ½ tablespoon butter to a saucepan (or microwave-safe bowl) and heat just until the butter melts.
- In a medium-sized mixing bowl, combine the milk with the butter, the 2 cups all-purpose flour, and the ½ teaspoon salt.
- Dust a flat work surface with flour and knead the dough for just a few minutes until smooth.
- Wrap the dough in plastic wrap and let it rest for 30 minutes at room temperature.
- Dust your work surface with flour again and unwrap the dough. Slice it into 6 even pieces. Roll each piece into a ball, then roll each ball out into an 8-inch round about 3mm thick.
- Heat a non-stick skillet over high heat. Once hot, place one round of dough in the pan and cook for 1-1 ½ minutes (the flatbread will puff up).
- Check the underside. If it is nicely golden, flip and cook the other side for 45 seconds to 1 minute until equally golden (the flatbread will puff up again).
- Transfer the cooked flatbread to a plate and cover it with a kitchen towel to keep it warm as you repeat the process with the remaining rounds of dough. Serve as soon as they are ready.
Notes
- It shouldn't take much kneading to get your dough to a good consistency. Once it's free of lumps, it is ready to go!
- If your dough seems too sticky, add a little more flour.
- You can brush the flatbreads with melted butter or spritz them with olive oil for a little added flavor.
- If you need a version that is dairy free, swap the milk for almond milk. To make your flatbreads vegan-friendly, use almond milk and swap the butter for olive oil.
- To store: The dough can be refrigerated for up to 3 days. I like to slice it into rounds and wrap each round in plastic wrap so they are ready to grab and go! The flatbread can be kept in a sealed Ziploc bag at room temperature for up to 3 days or refrigerated for up to 5 days.
- To freeze: Let the flatbreads cool completely, then wrap them in plastic wrap or foil and place them in a heavy-duty freezer bag. If needed, you can put parchment paper between them to keep them from sticking. Freeze for up to 3 months and place them on the counter to thaw.
Nutrition

Angela is an at home chef that developed a passion for all things cooking and baking at a young age in her Grandma's kitchen. After many years in the food service industry, she now enjoys sharing all of her family favorite recipes and creating tasty dinner and amazing dessert recipes here at Bake It With Love!


Jacob says
Simple and delicious. Thank you for sharing!